
*This post contains affiliate links. Rocket Mommy will receive a small percentage of any purchases made through these links, which she will likely turn around and sink right back into more crafty DIY supplies to share with all of you*
A few months ago, back when all of the dollar stores were still full of supplies for Fourth of July parties, I was lucky enough to find a way to make a very cheap, very easy version of Miles’s “laserang” for the kids to play with. Basically, I bought this:
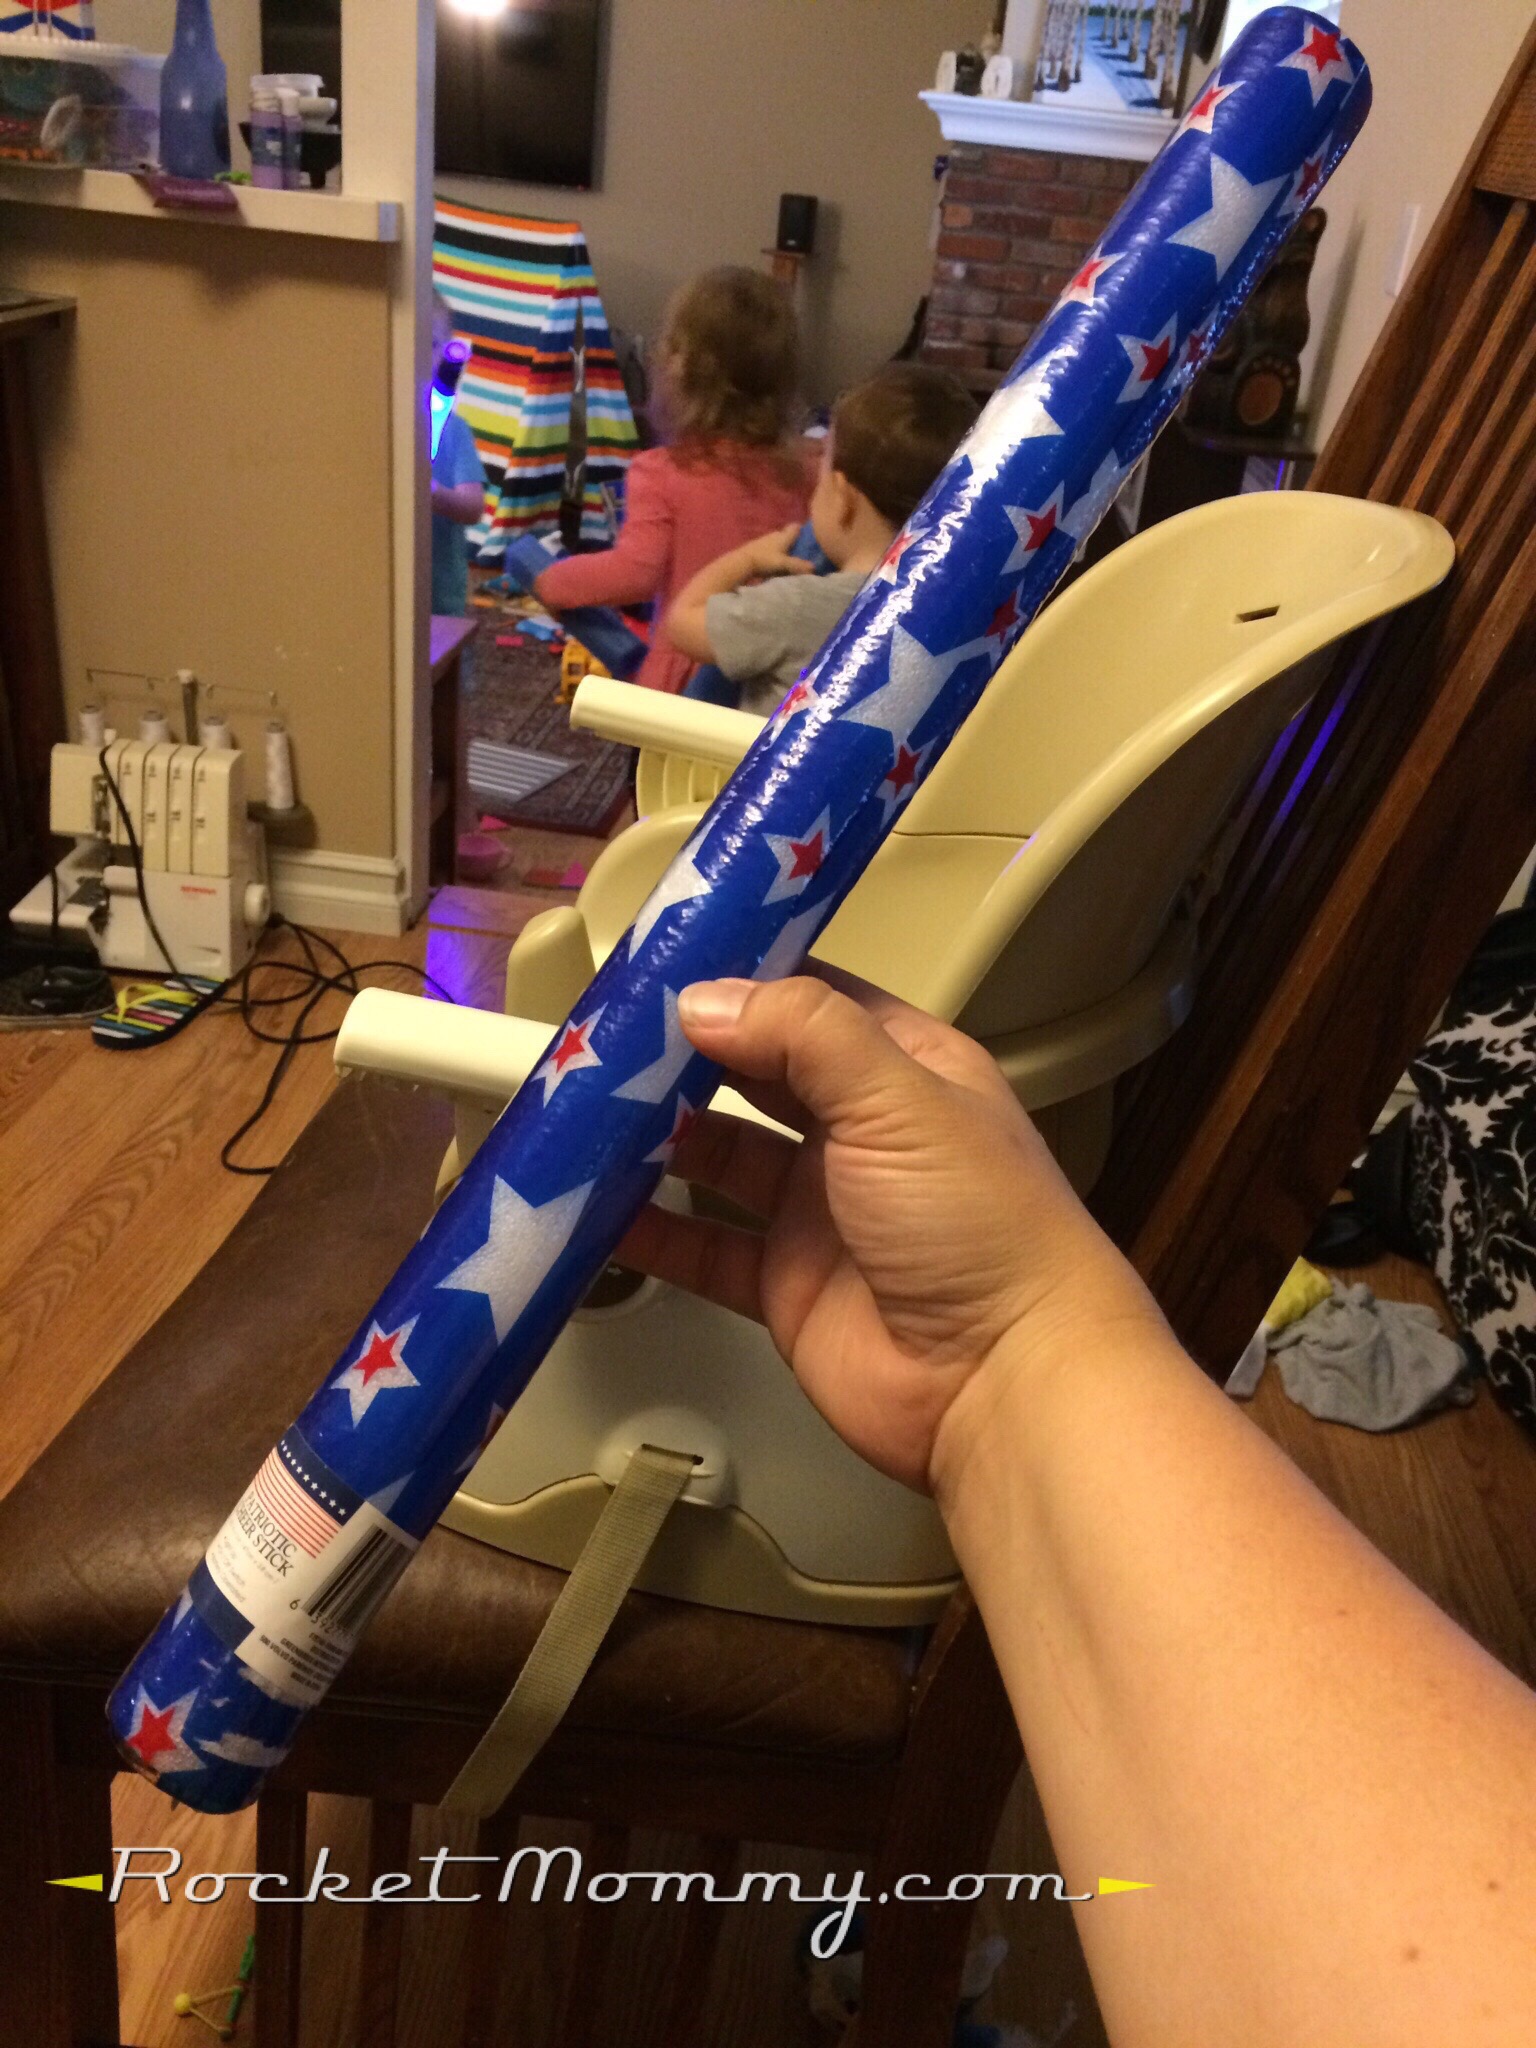
It’s labeled as a “Patriotic Cheer Stick” (whatever that means), but it’s a white styrofoam tube with a couple of LEDs inside. This particular one had blue LEDs, which was perfect for what I needed. I unwrapped the patriotic cellophane, wrapped some duct and electrical tape around the ends to decorate the “handles,” and boom – a $1 light-up laserang!
(Ugh, don’t judge me for my messy background, please.)
Now, of course those instructions don’t help you very much in October, because your chances of finding a “patriotic cheer stick” at your local Dollar Tree are pretty much zero. But as luck would have it, I was browsing at the dollar store the other day and found some other items that you can cobble together to make a bigger, better, fancier laserang – and it will still only cost you $2!

The “Light Up Sticks” pictured here are made of the same foam as the cheer sticks. The only problem is that they’ve changed the LEDs inside, so they are rainbow colored and blink off and on in three different patterns.
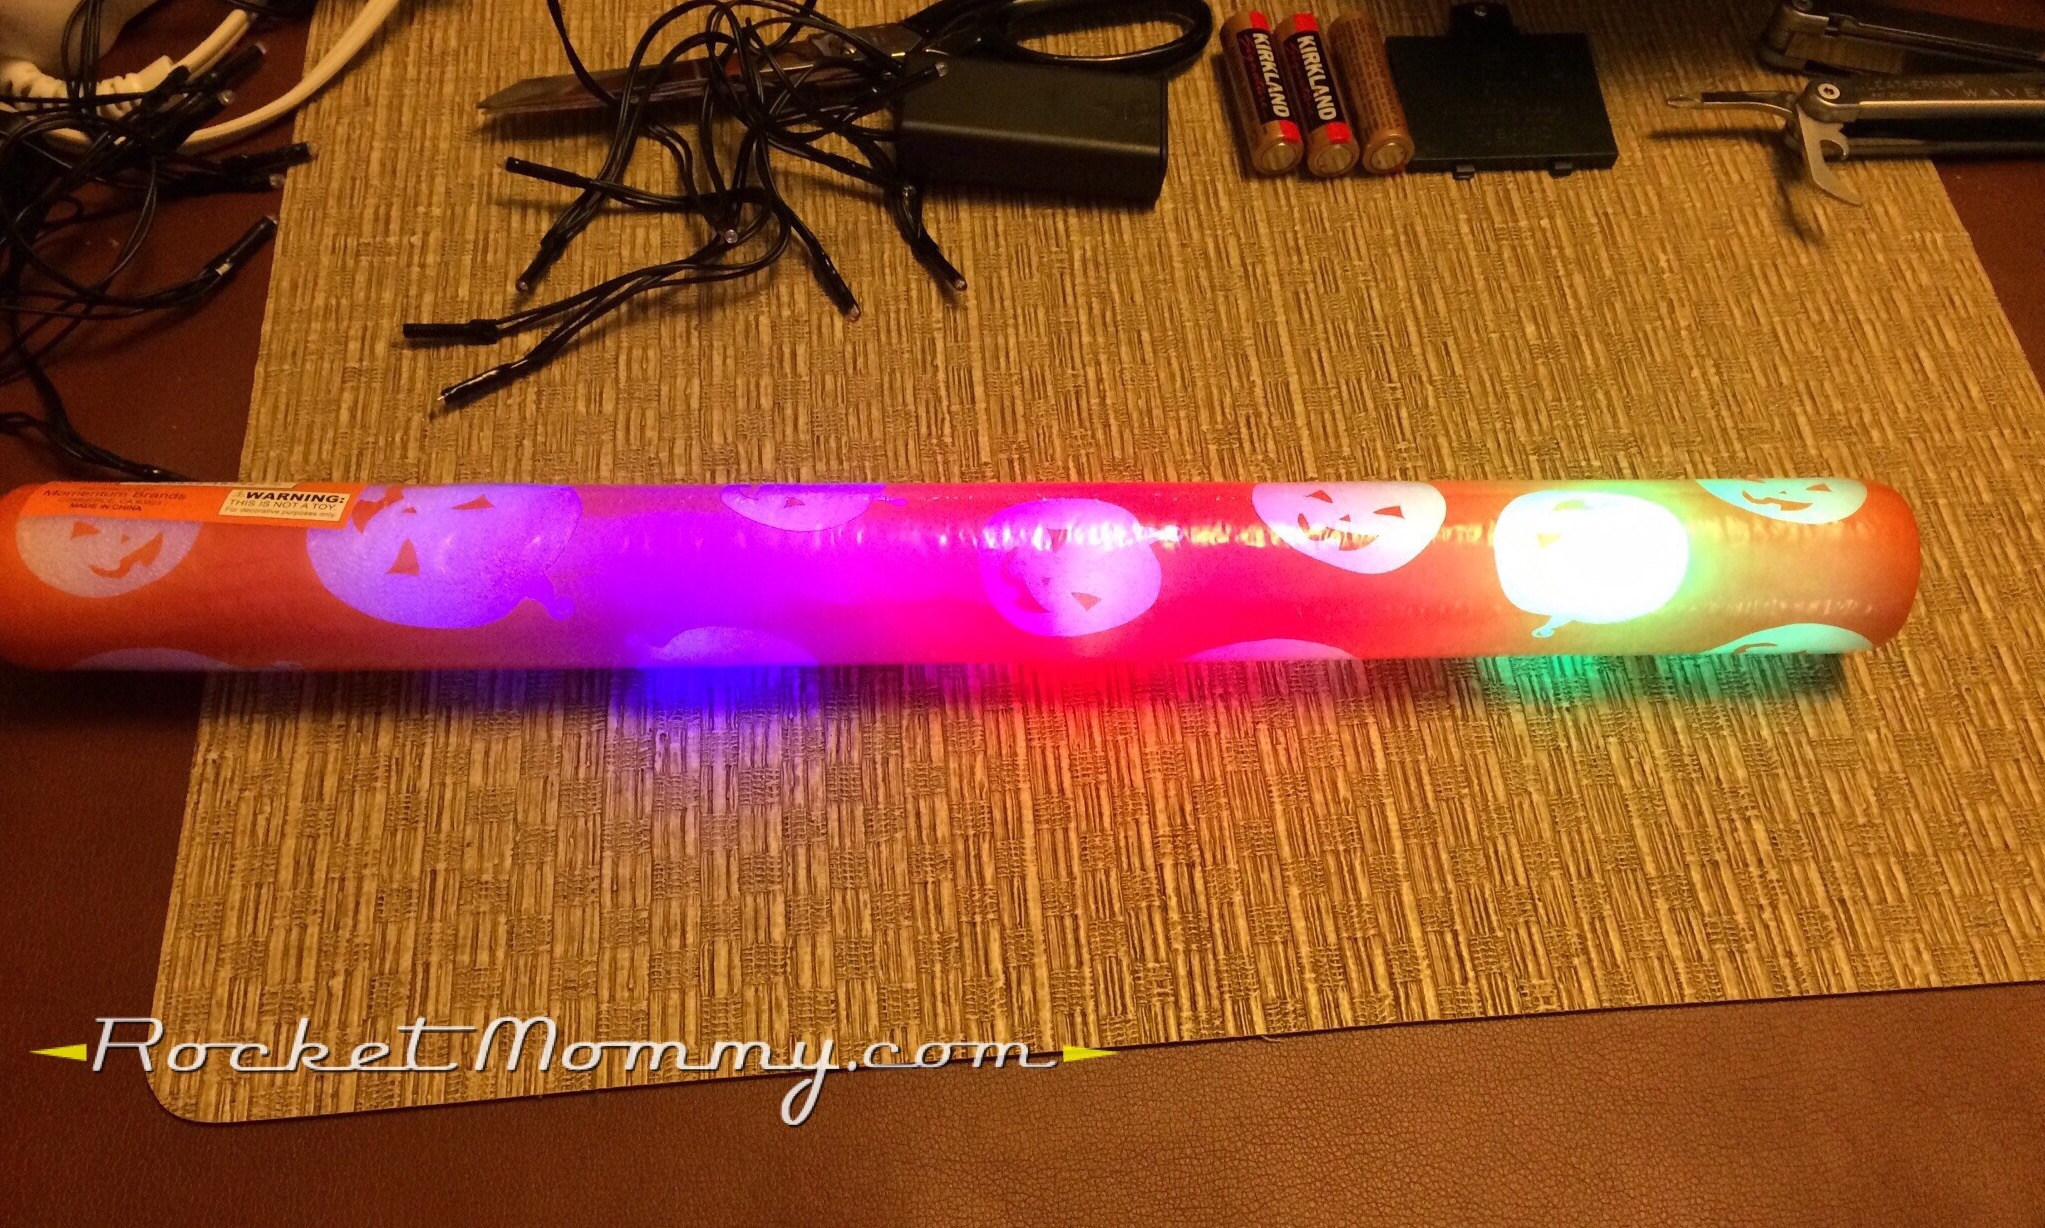
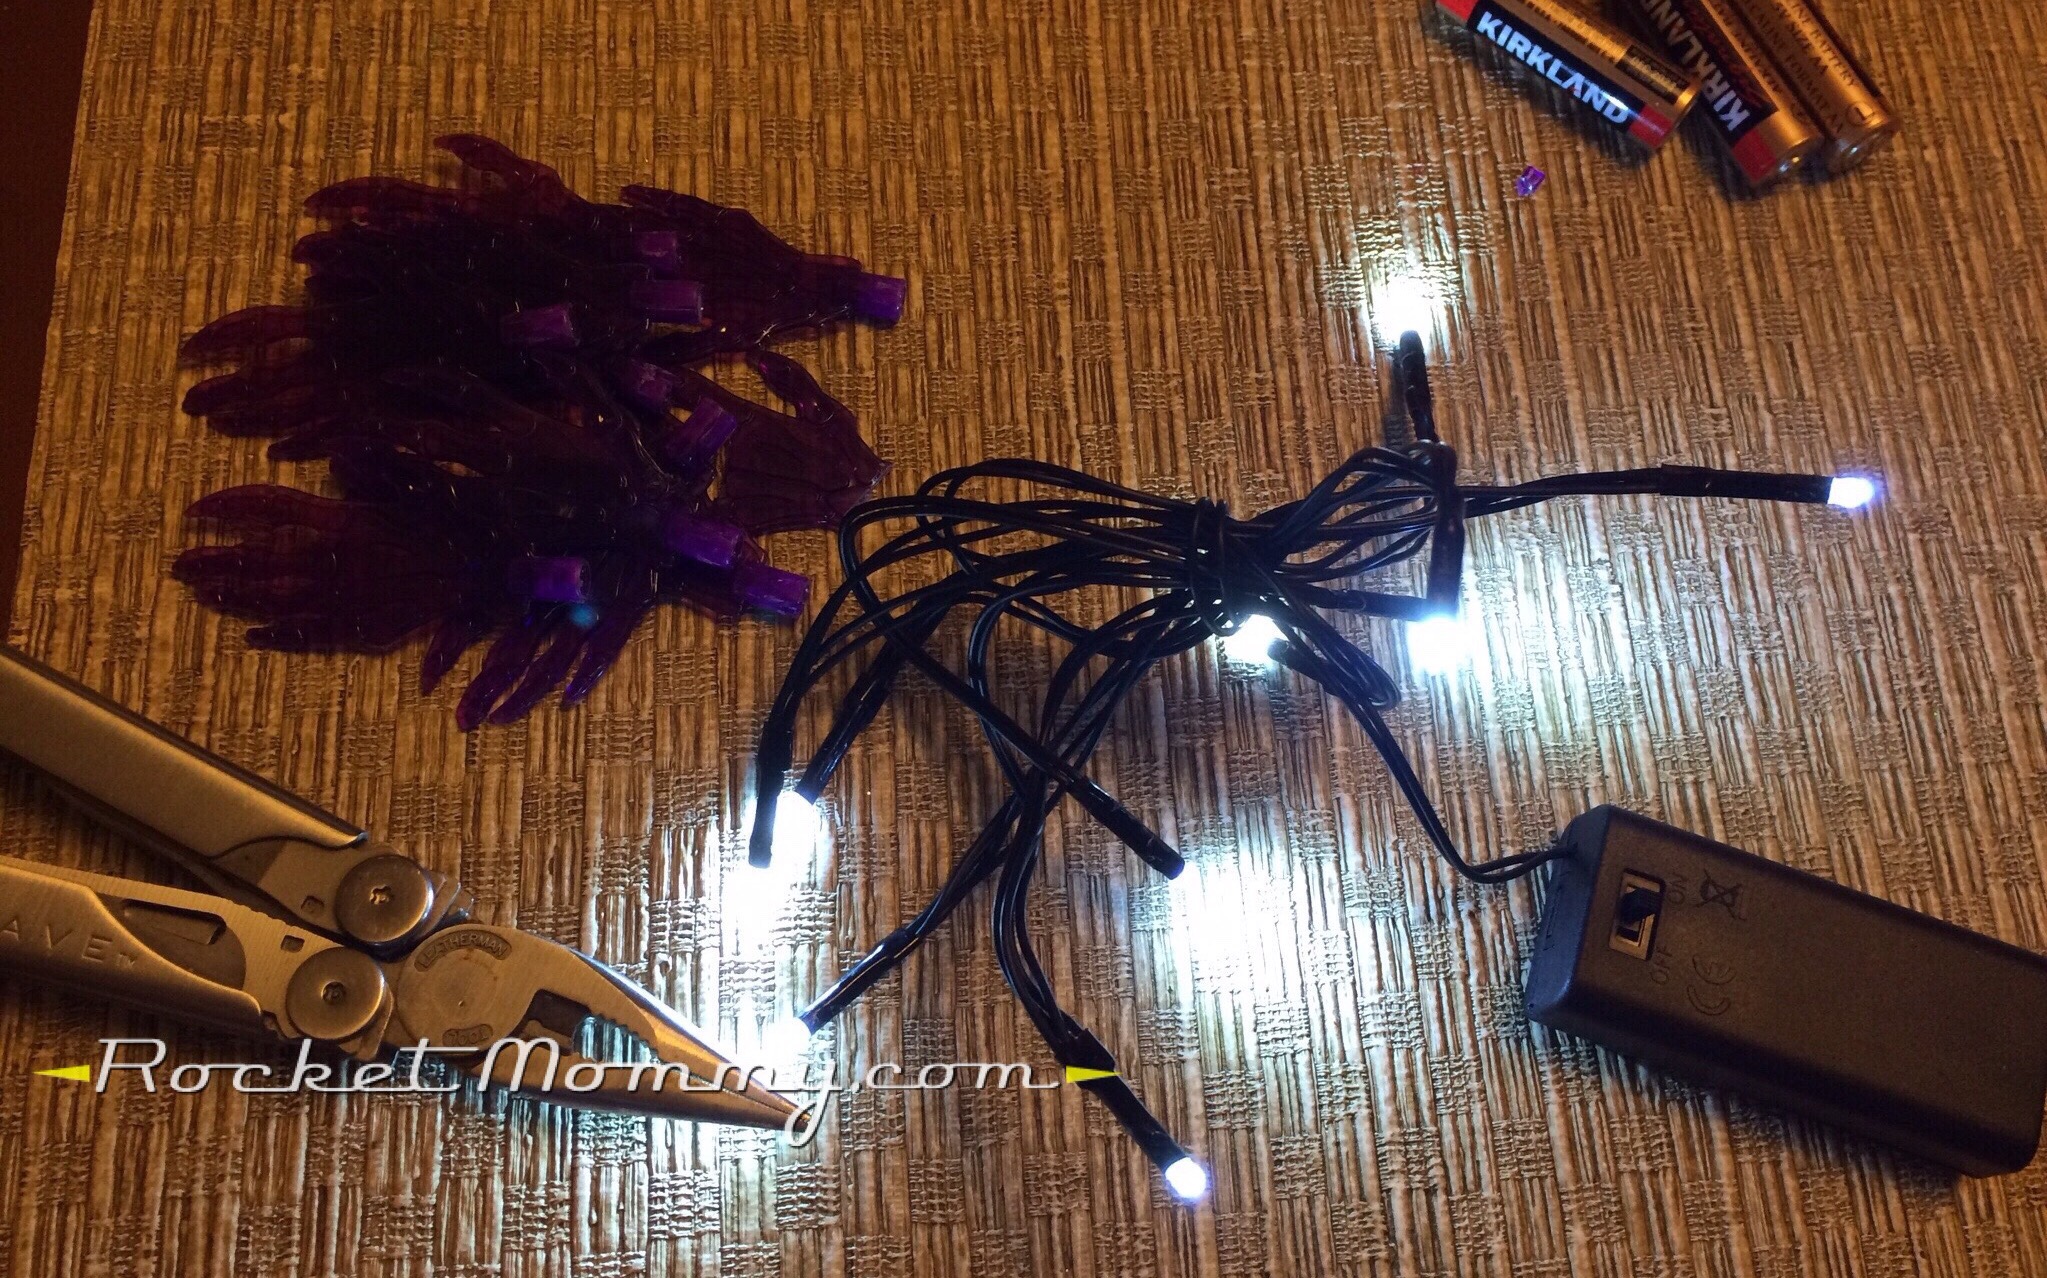
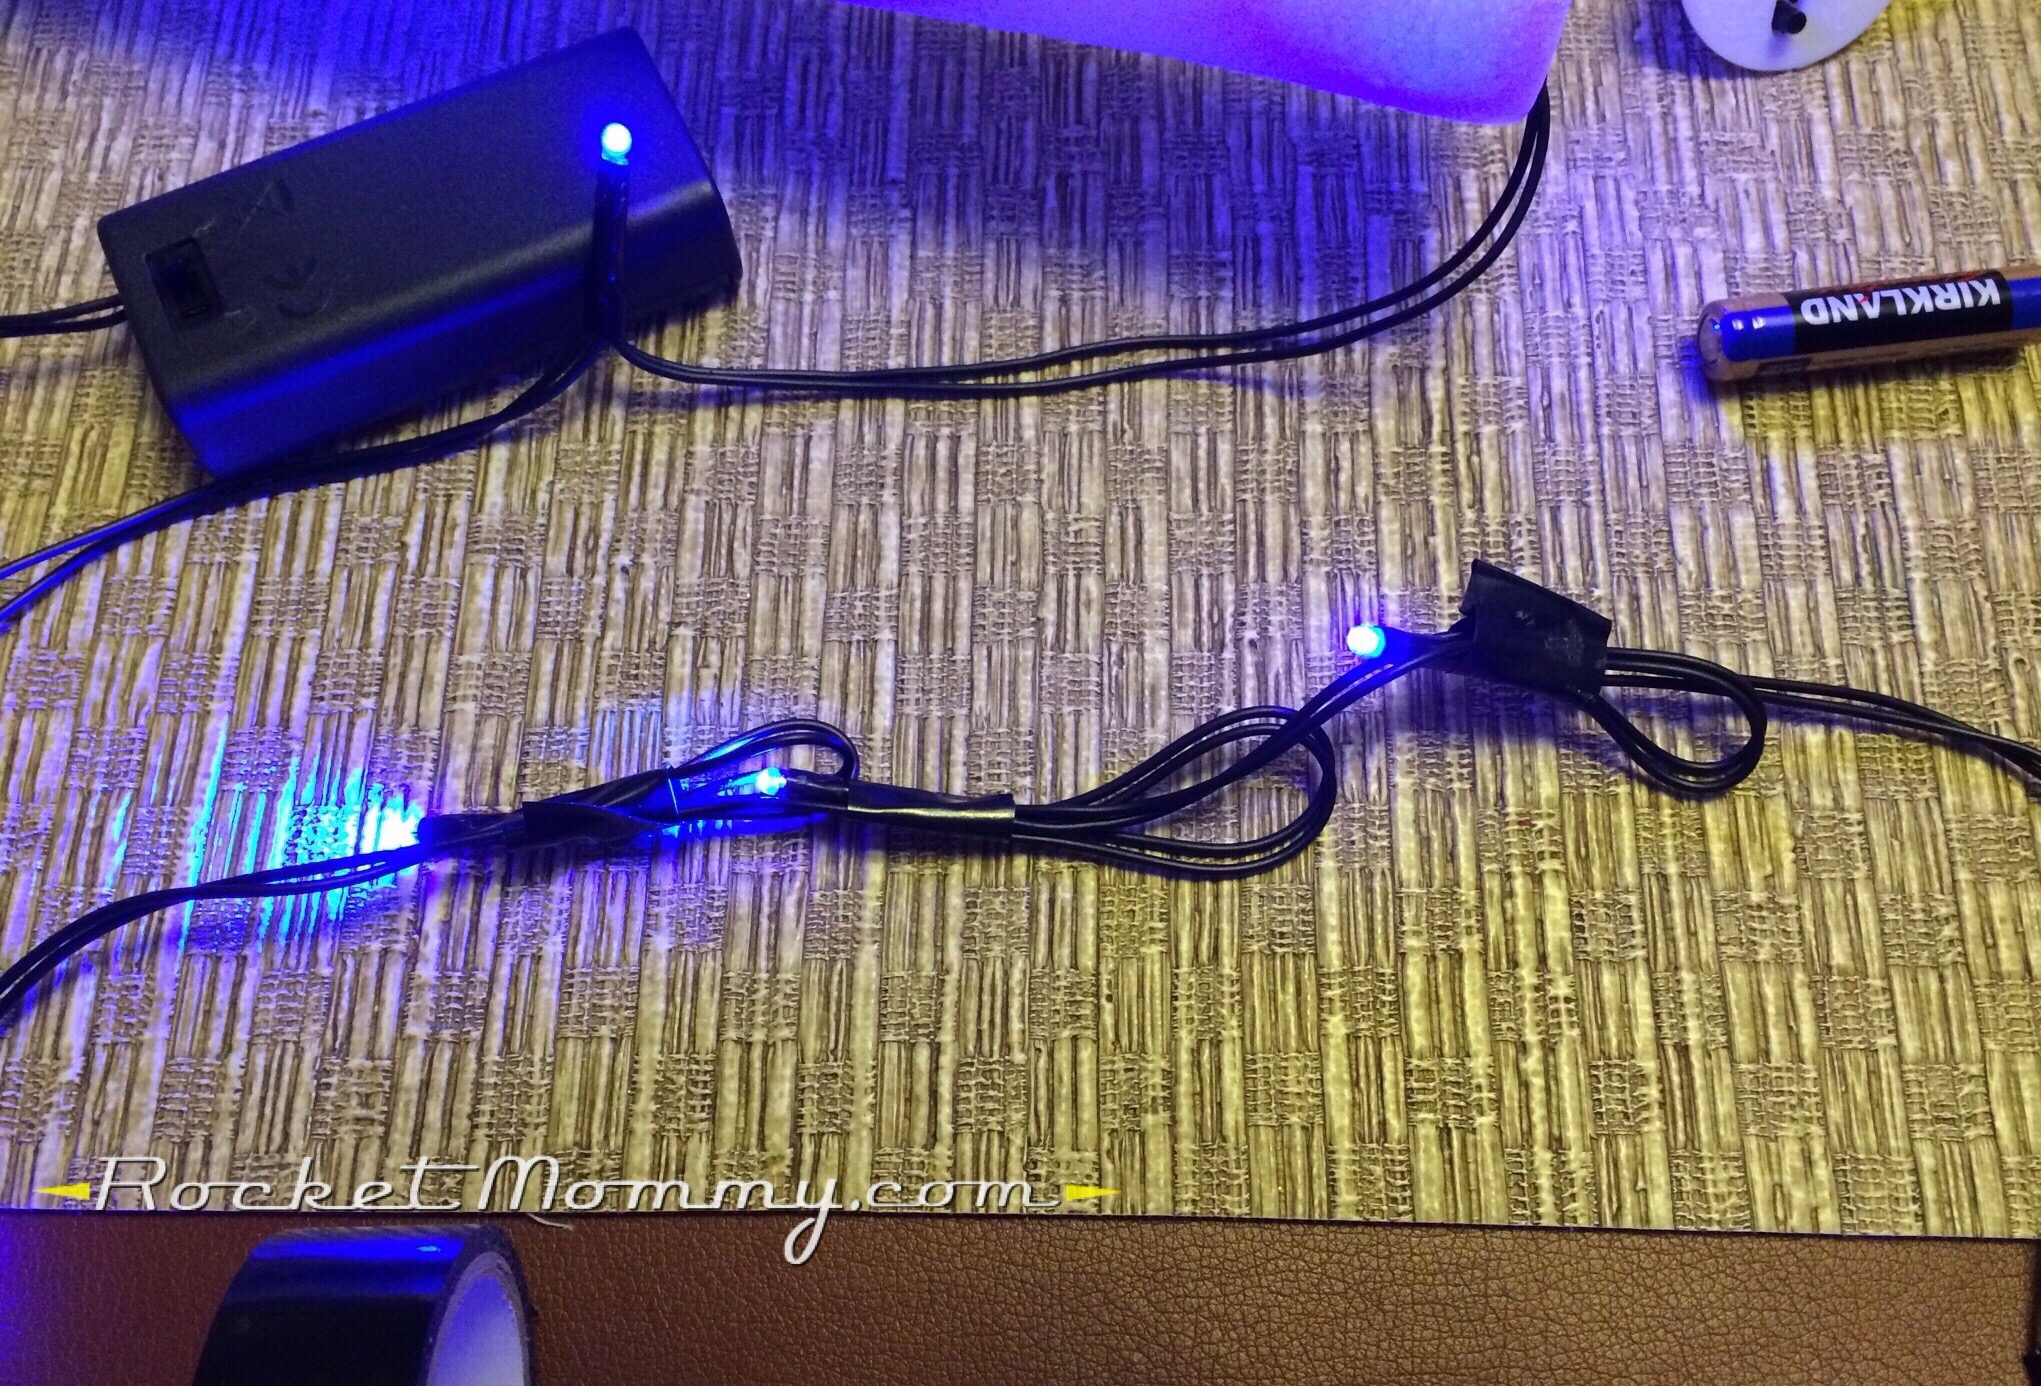
Kind of nifty technology for a $1 throwaway item, but not really what we’re looking for for this project. Also, this set of battery-operated LED string lights is a STEAL for $1. I bought one string with green spiders and one with creepy purple hands that I didn’t think to photograph while it was still in the package. Turns out the one with the purple hands is what you need – I was quite surprised to find out that the LEDs underneath those spiders lit up green too! The purple string had white LEDs, which are much more versatile. You’ll want to pop off the plastic decorations. The spiders all came off easily, but the creepy hands were glued down and needed a gentle squeeze from a pair of pliers to crack them and remove them. Don’t do this too hard; you don’t want to crack the little bulbs underneath!
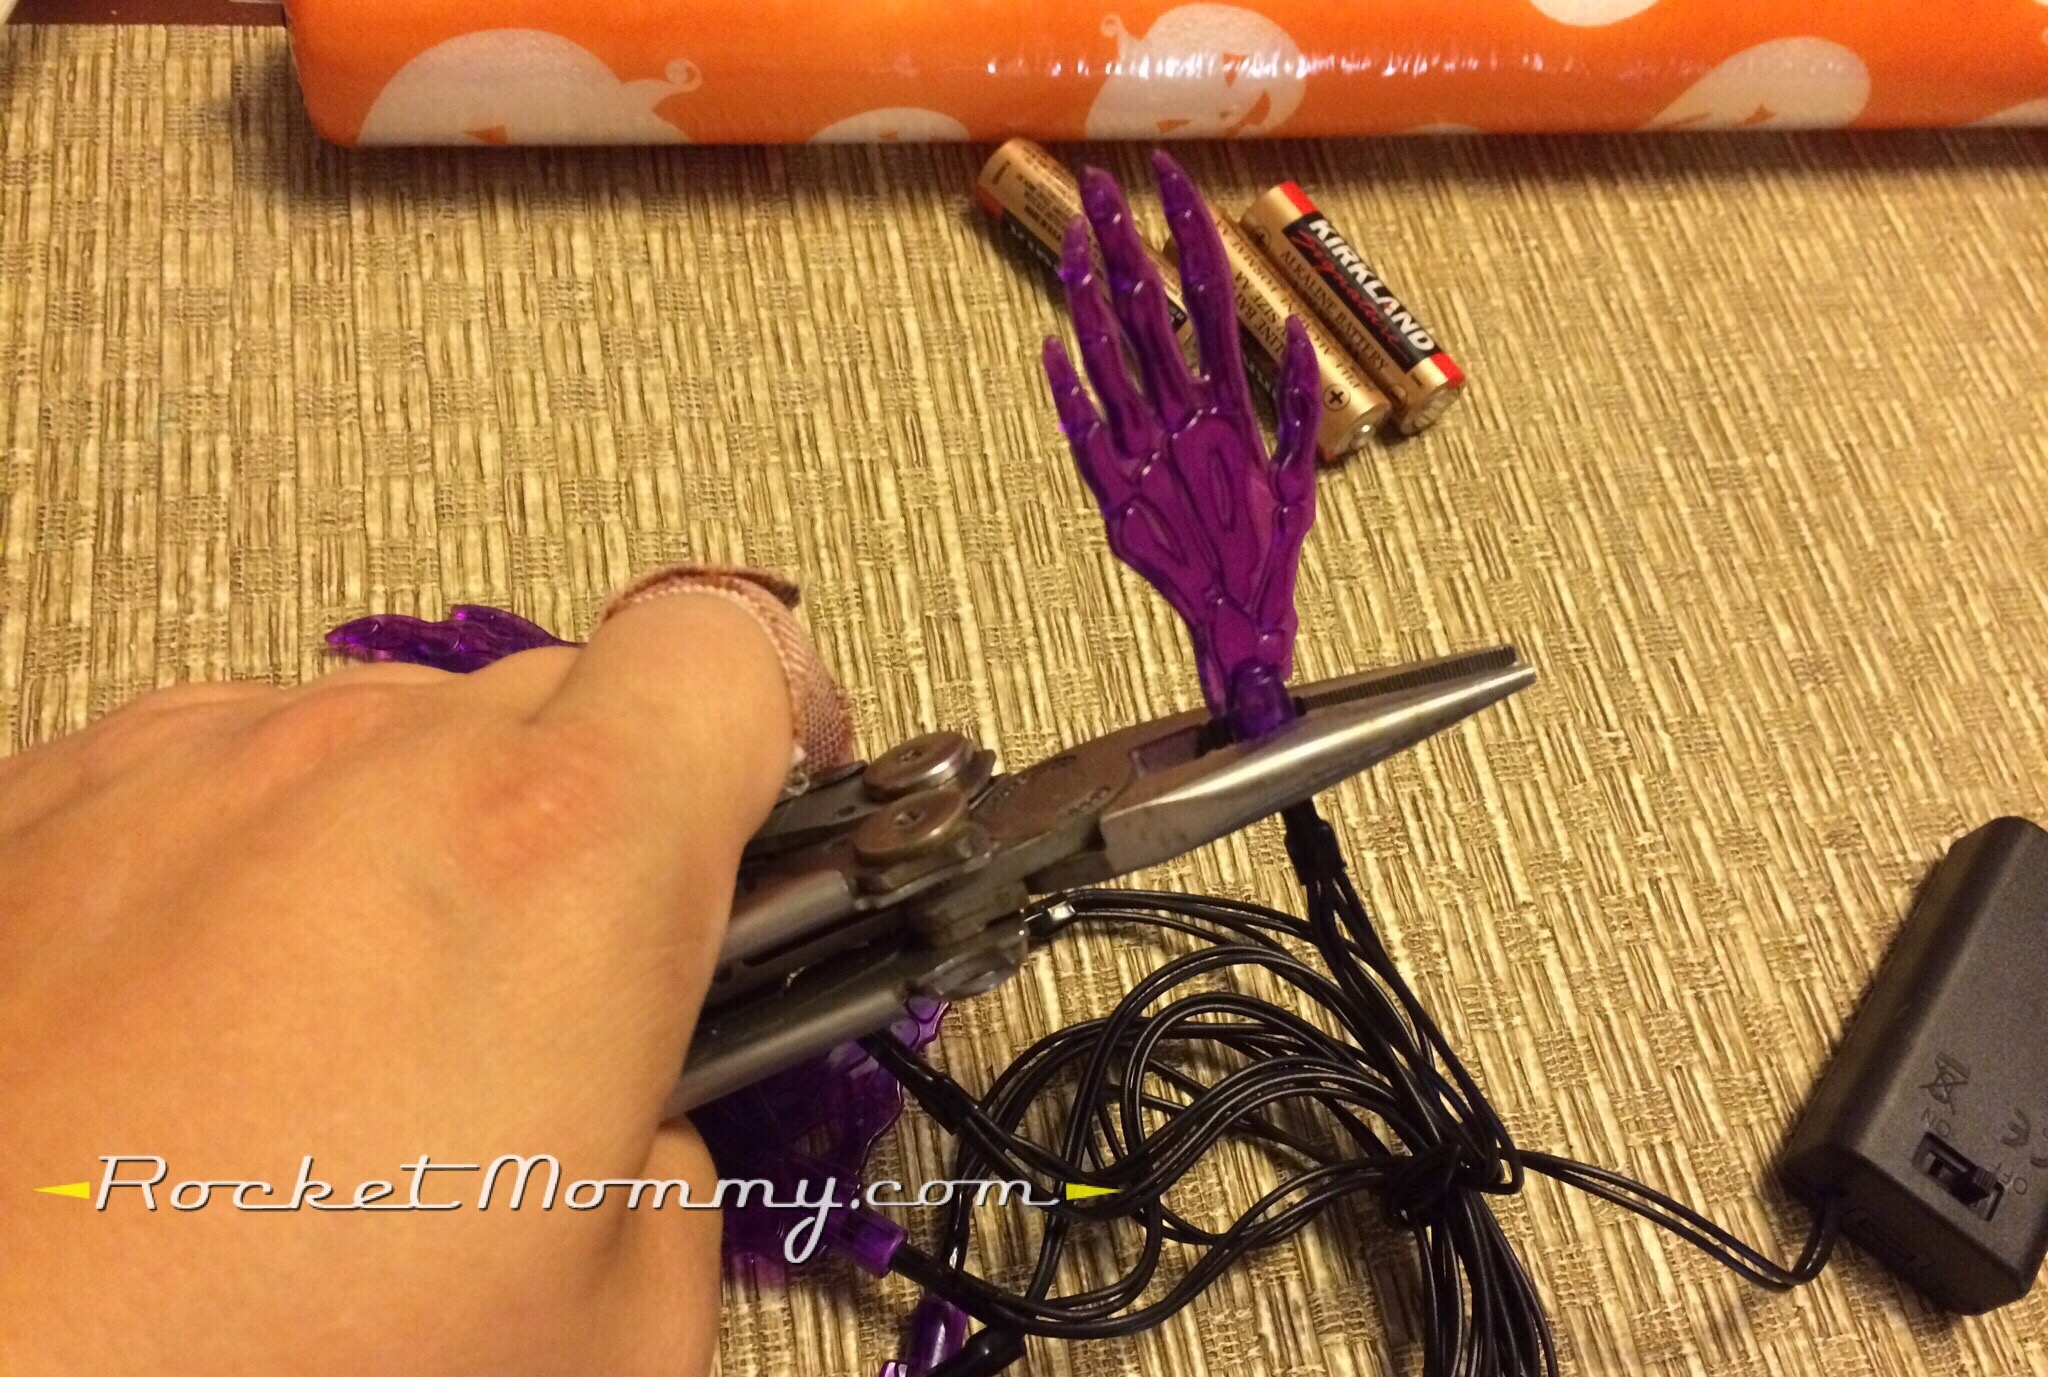
Once you’ve taken off all the creepy hands, you’re left with a battery operated string of white LEDs. For $1. That’s a smokin’ deal – I mean, a similar string of lights is on Amazon for about $11. You might want to go back and stock up on a bunch more for future projects!
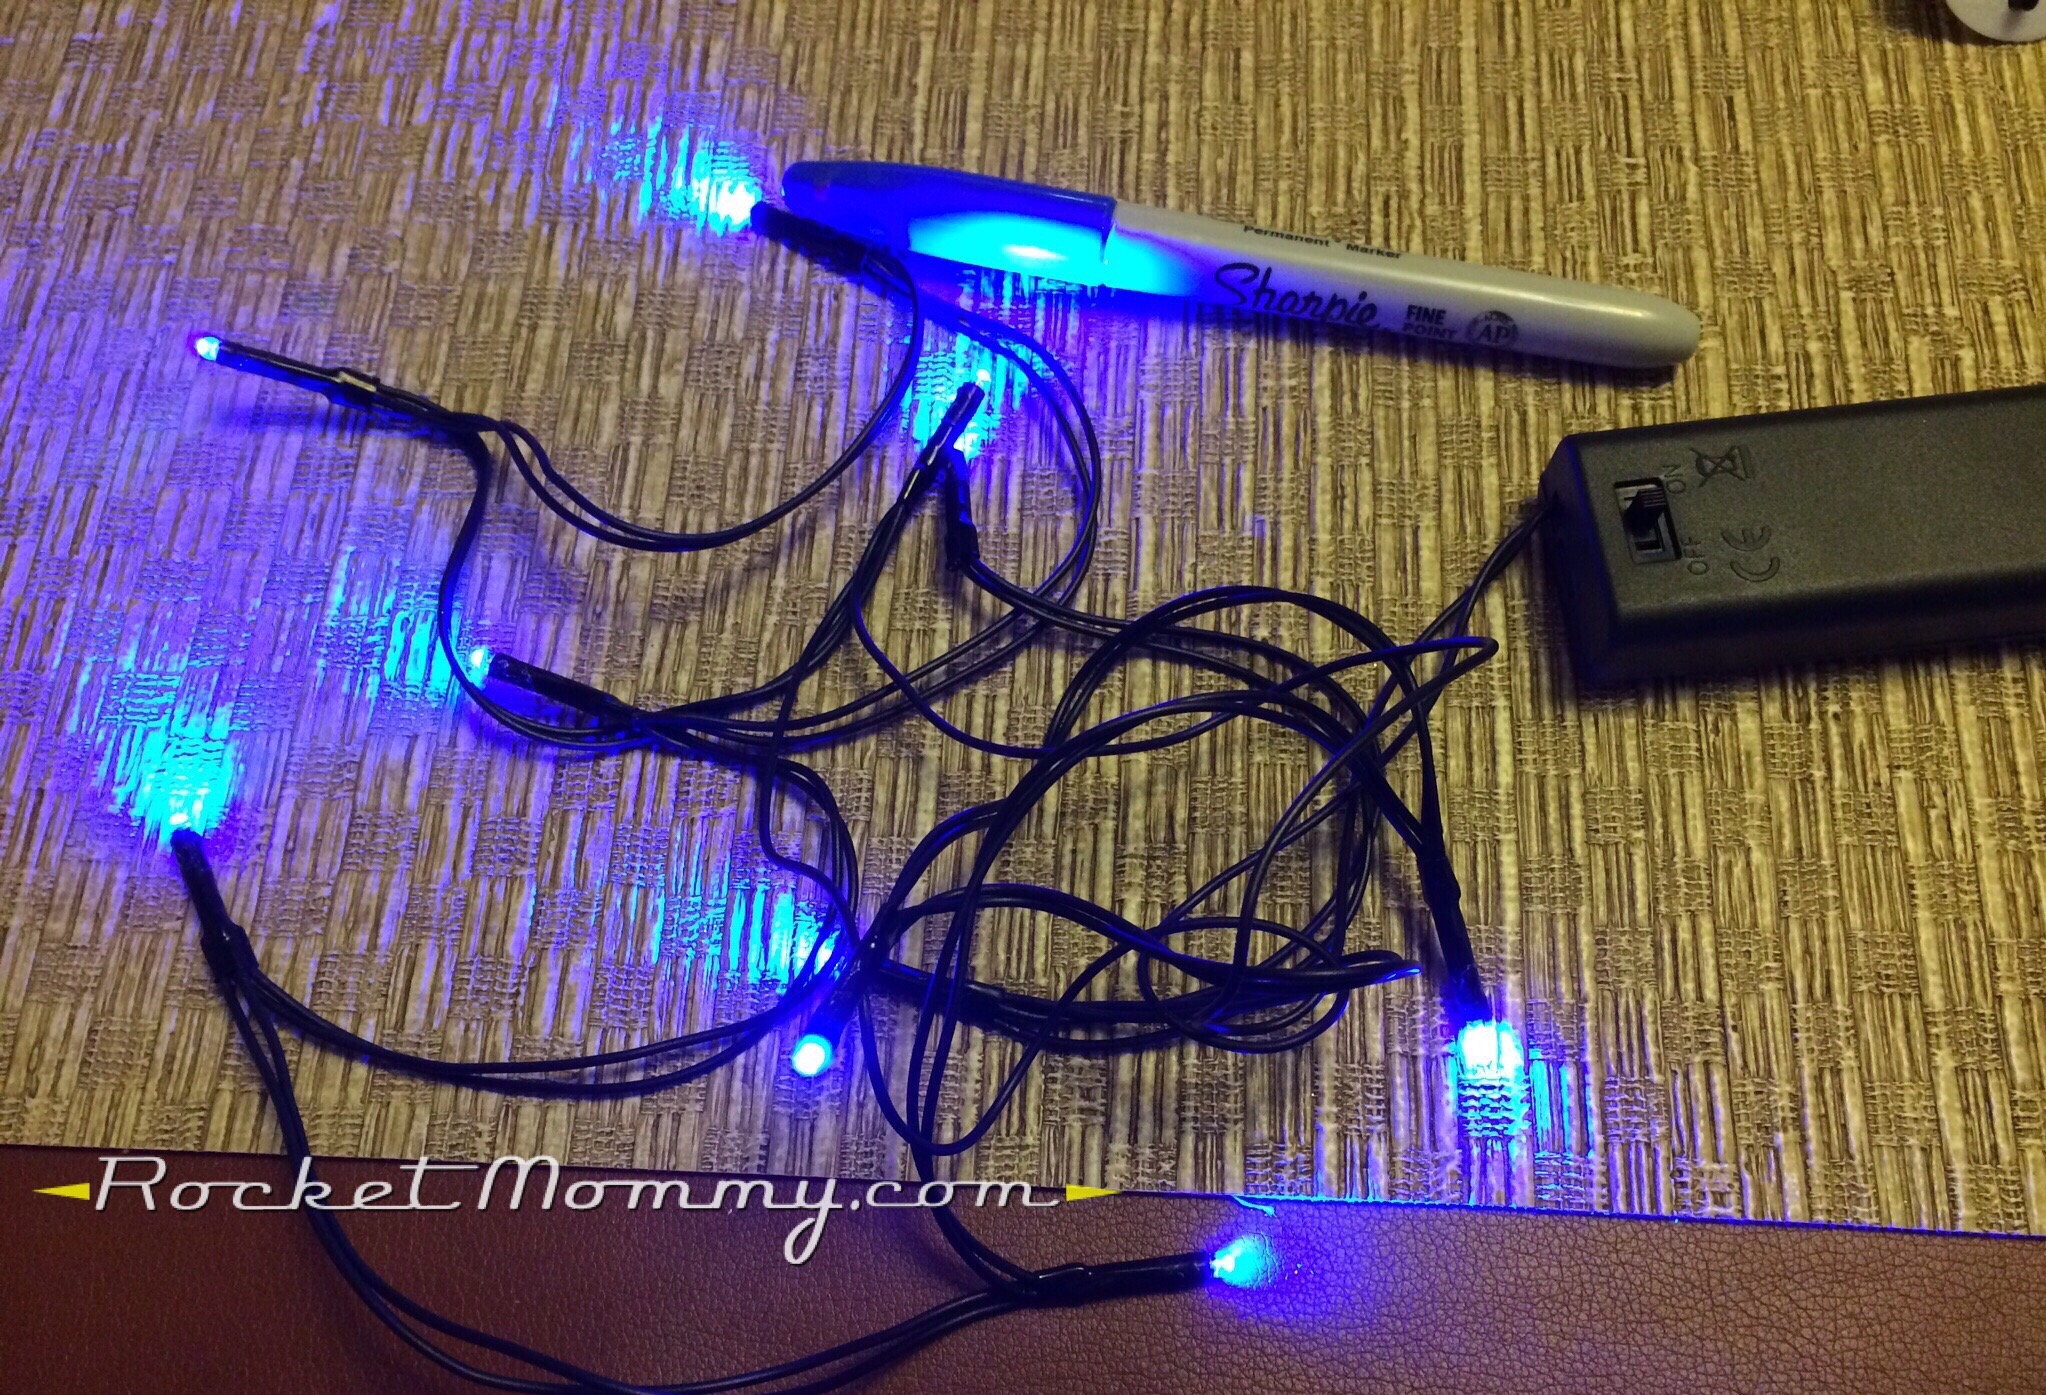
White LEDs are very versatile, but I wanted blue for this project. That’s easy enough to fix! Get out a blue Sharpie and go to town on them.
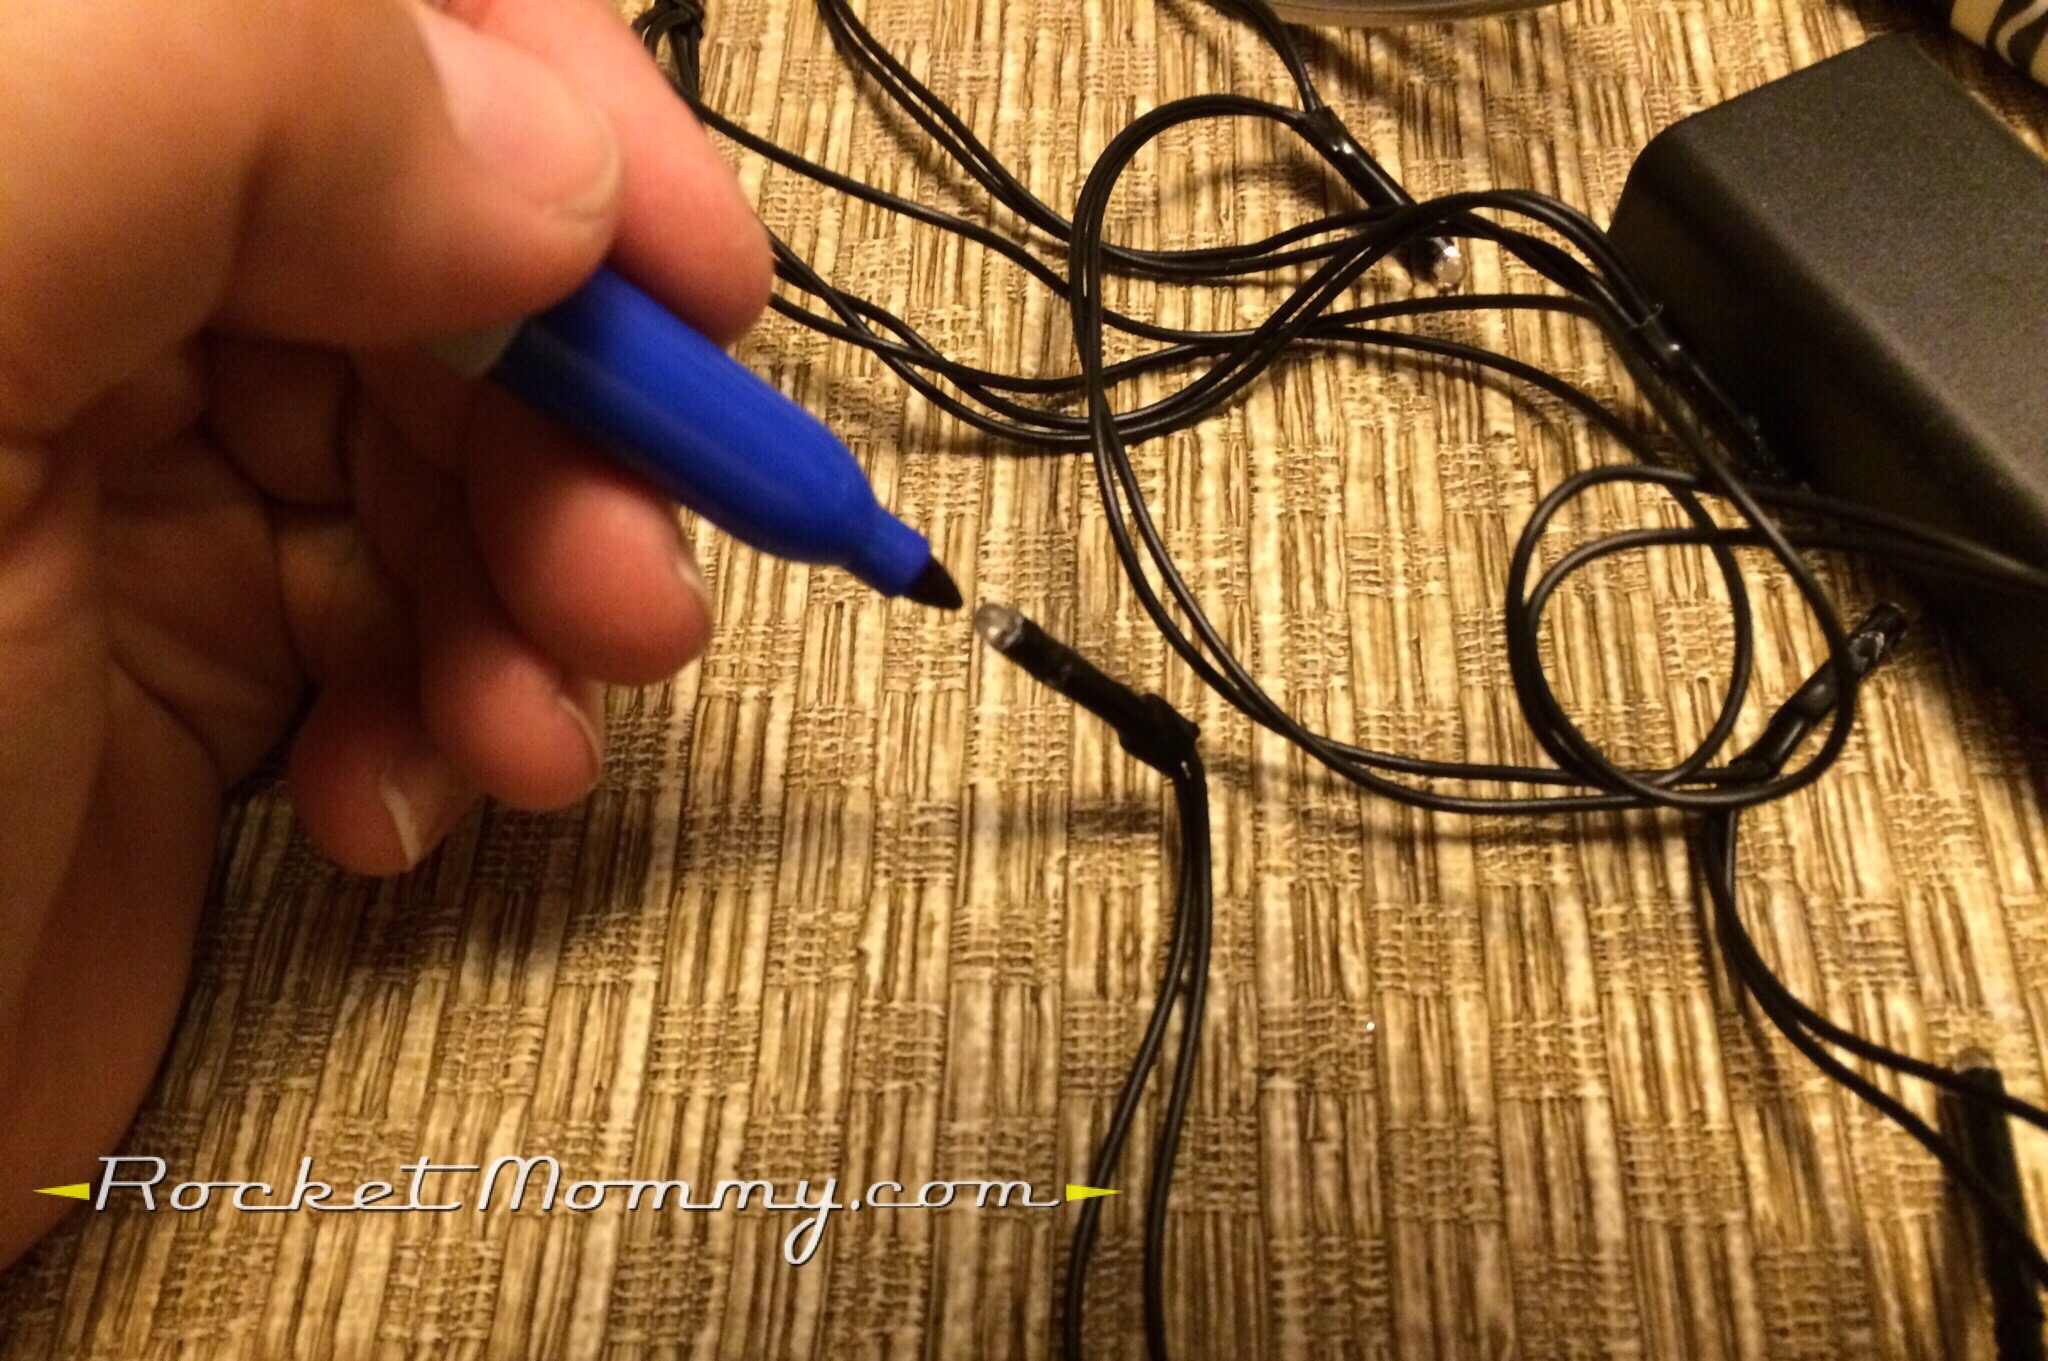
It works great!
Now, go back to your flashing rainbow light-up stick thing. You’re going to want to take the cellophane wrapper off of it and then yank the existing LEDs out of it and either discard them or stash them away in your “there will totally be a use for this someday” craft hoarding pile.
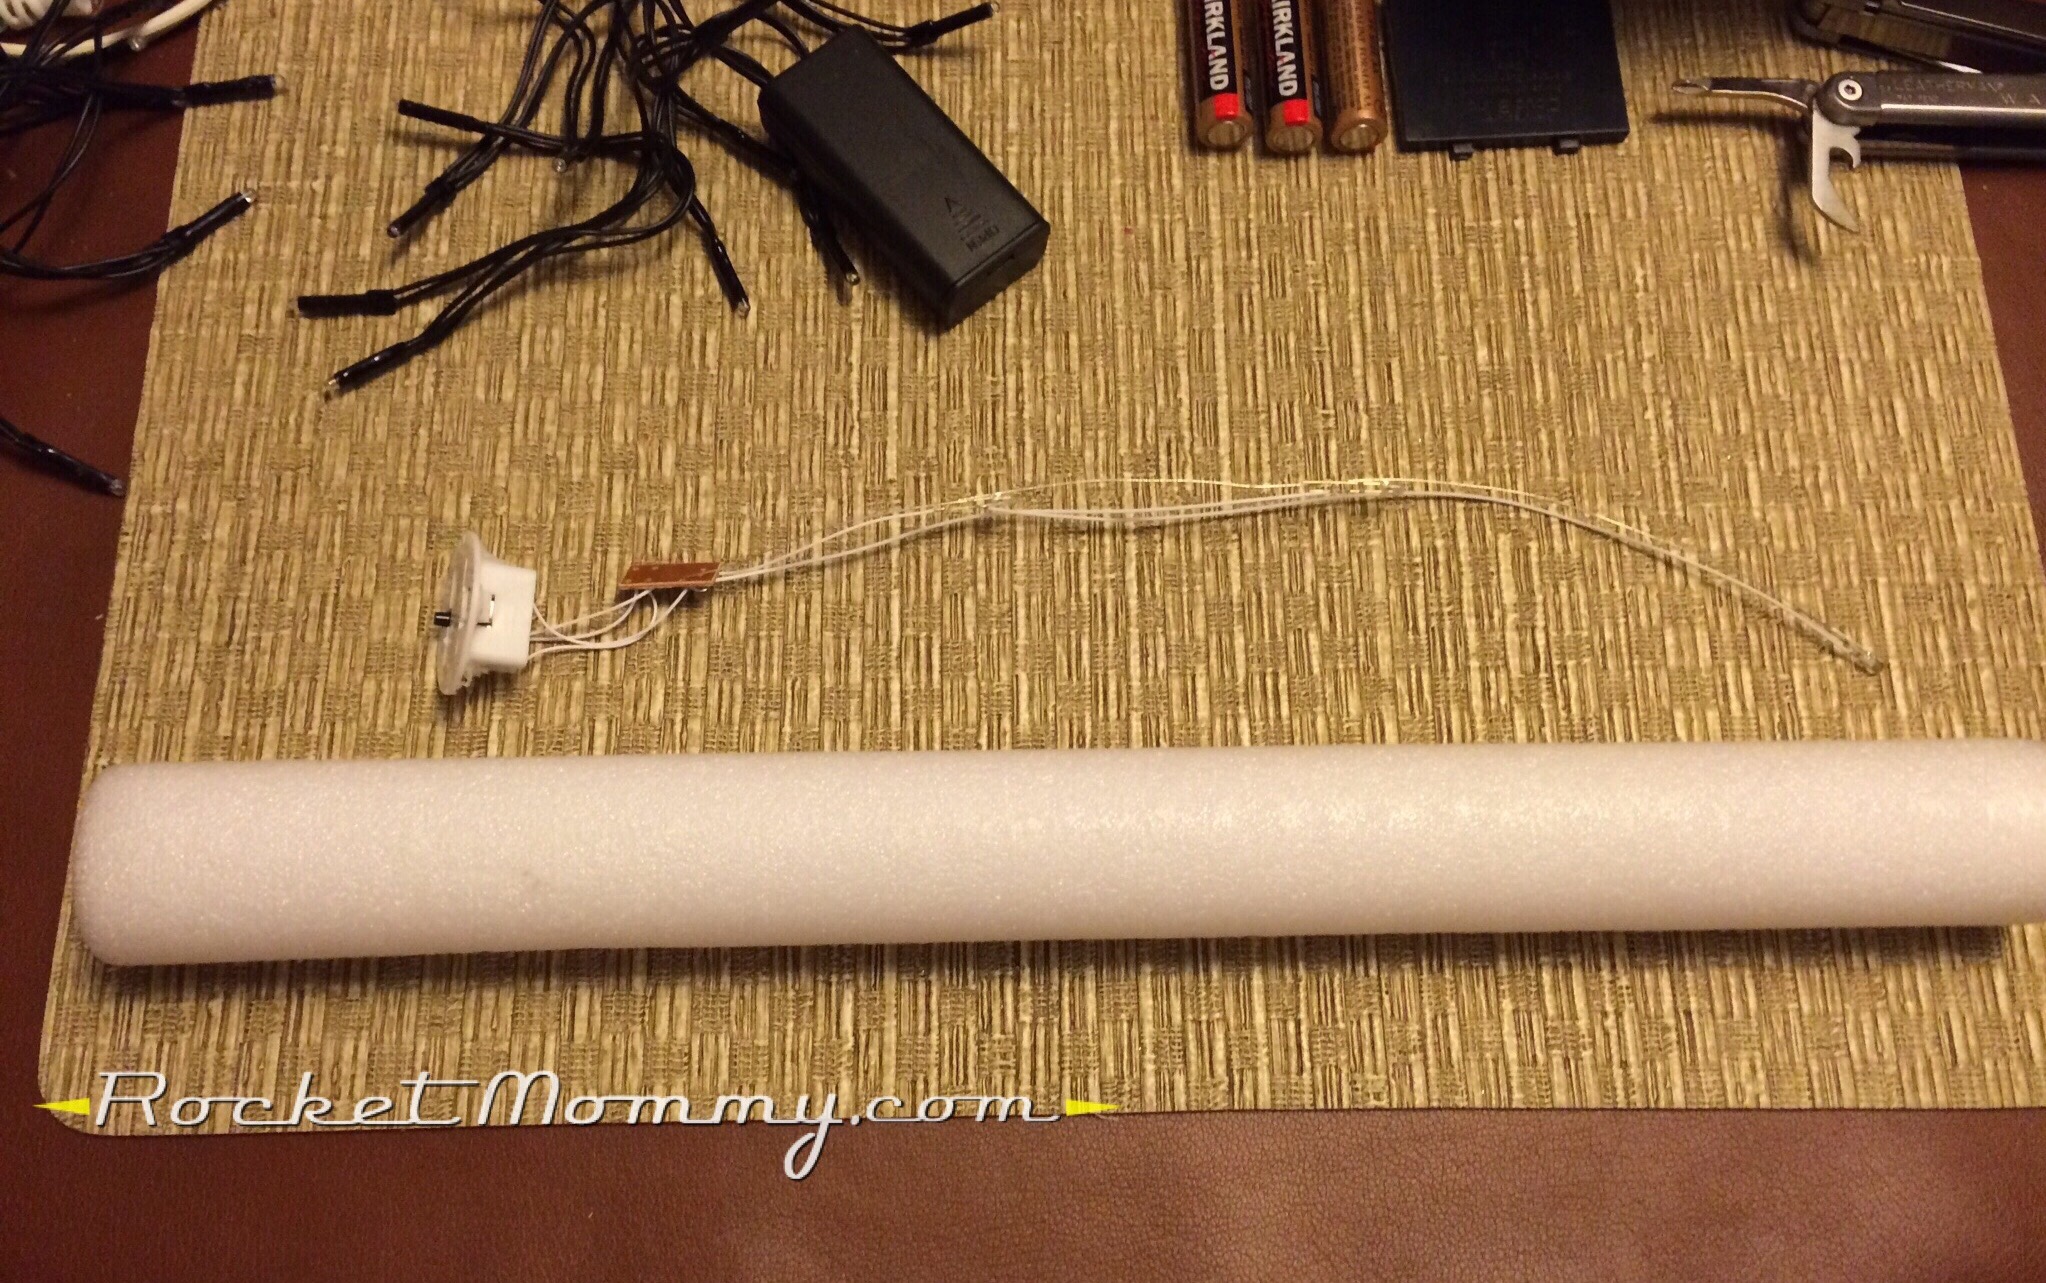
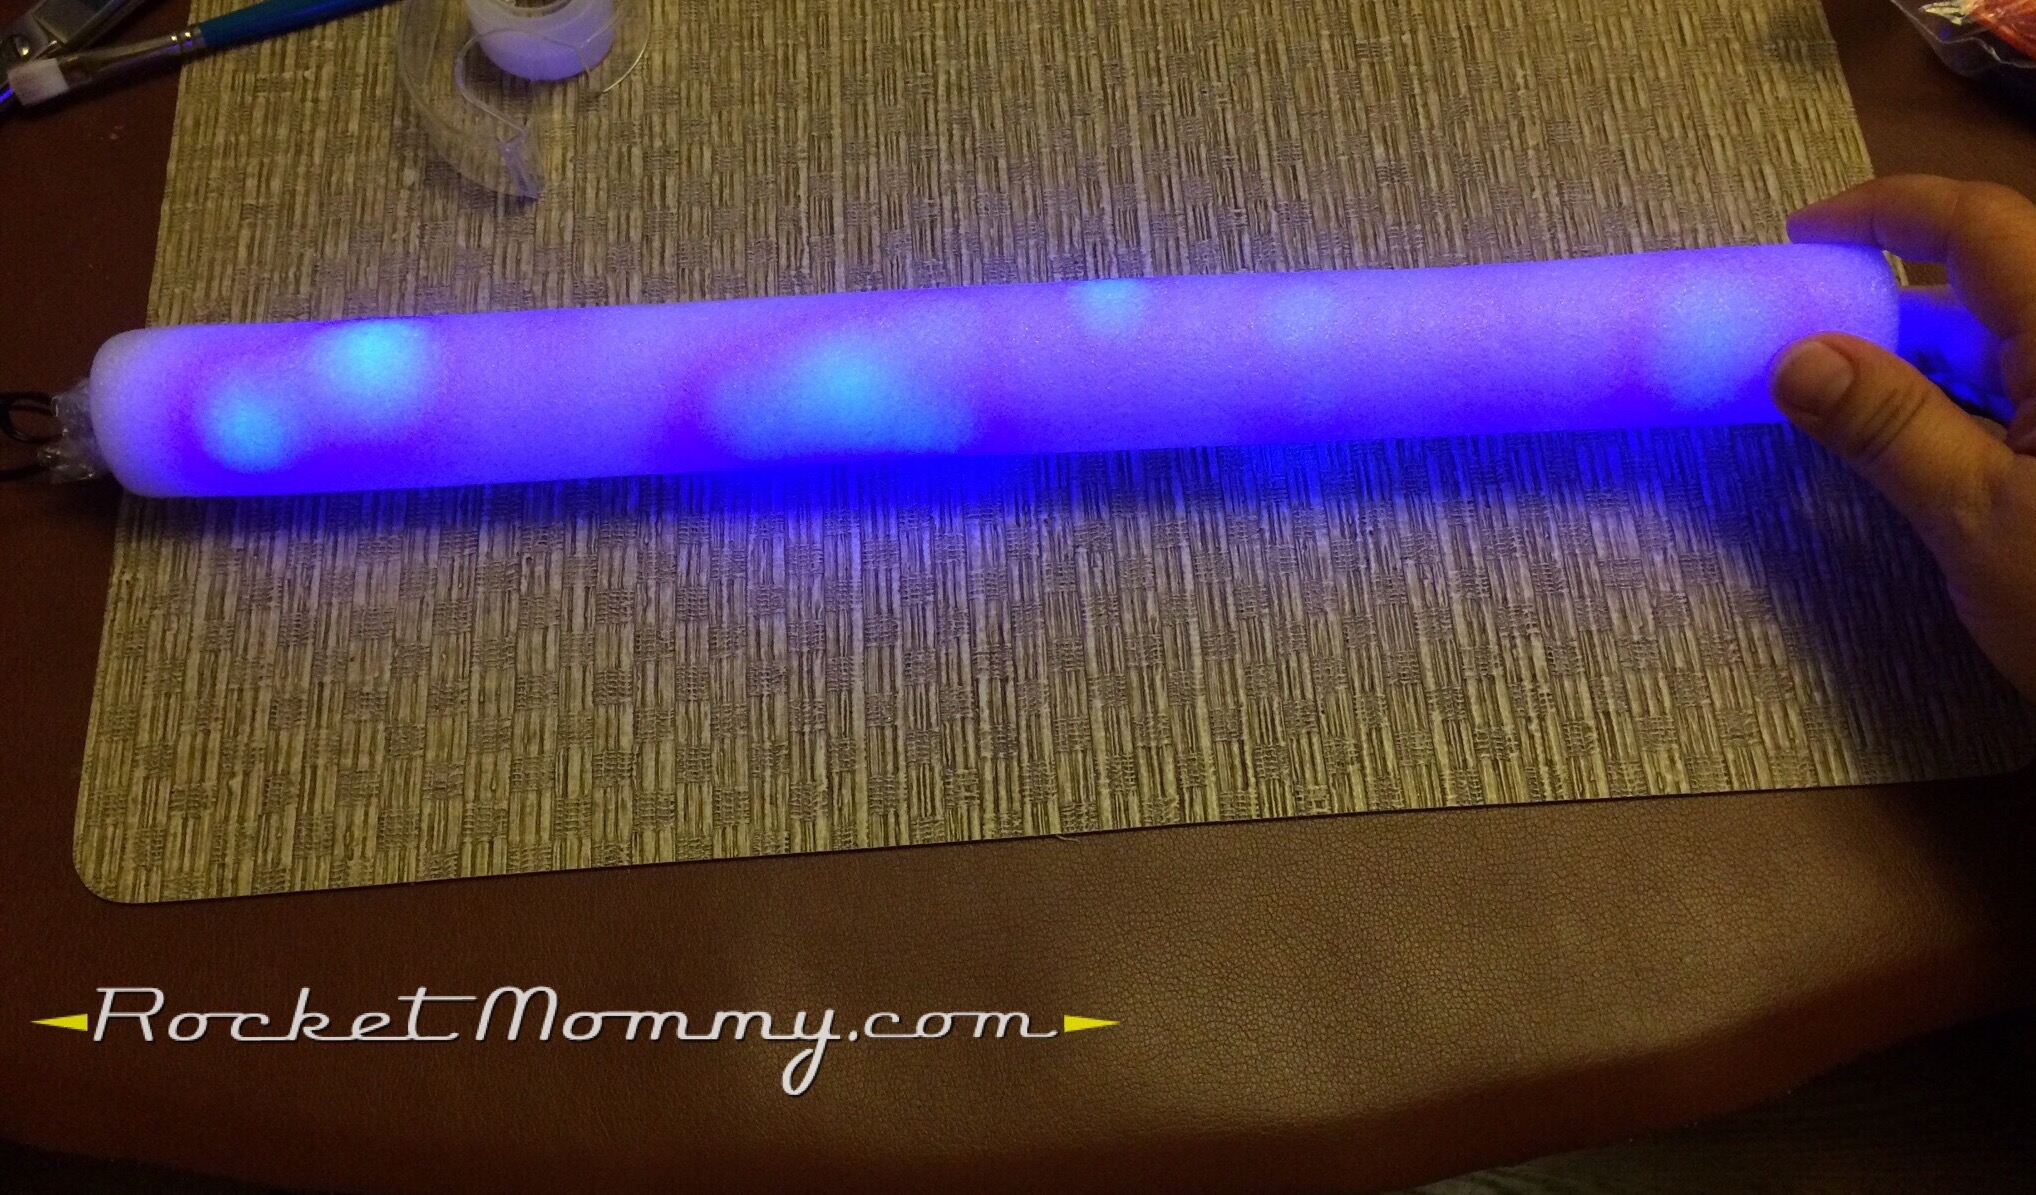
You’re left with an empty flexible foam tube, and you’re going to arrange your blue LED string so that you can stuff them down inside it. There’s a lot of excess cord, so bunch it up between each light and wrap a but of tape around each bundle to hold it.
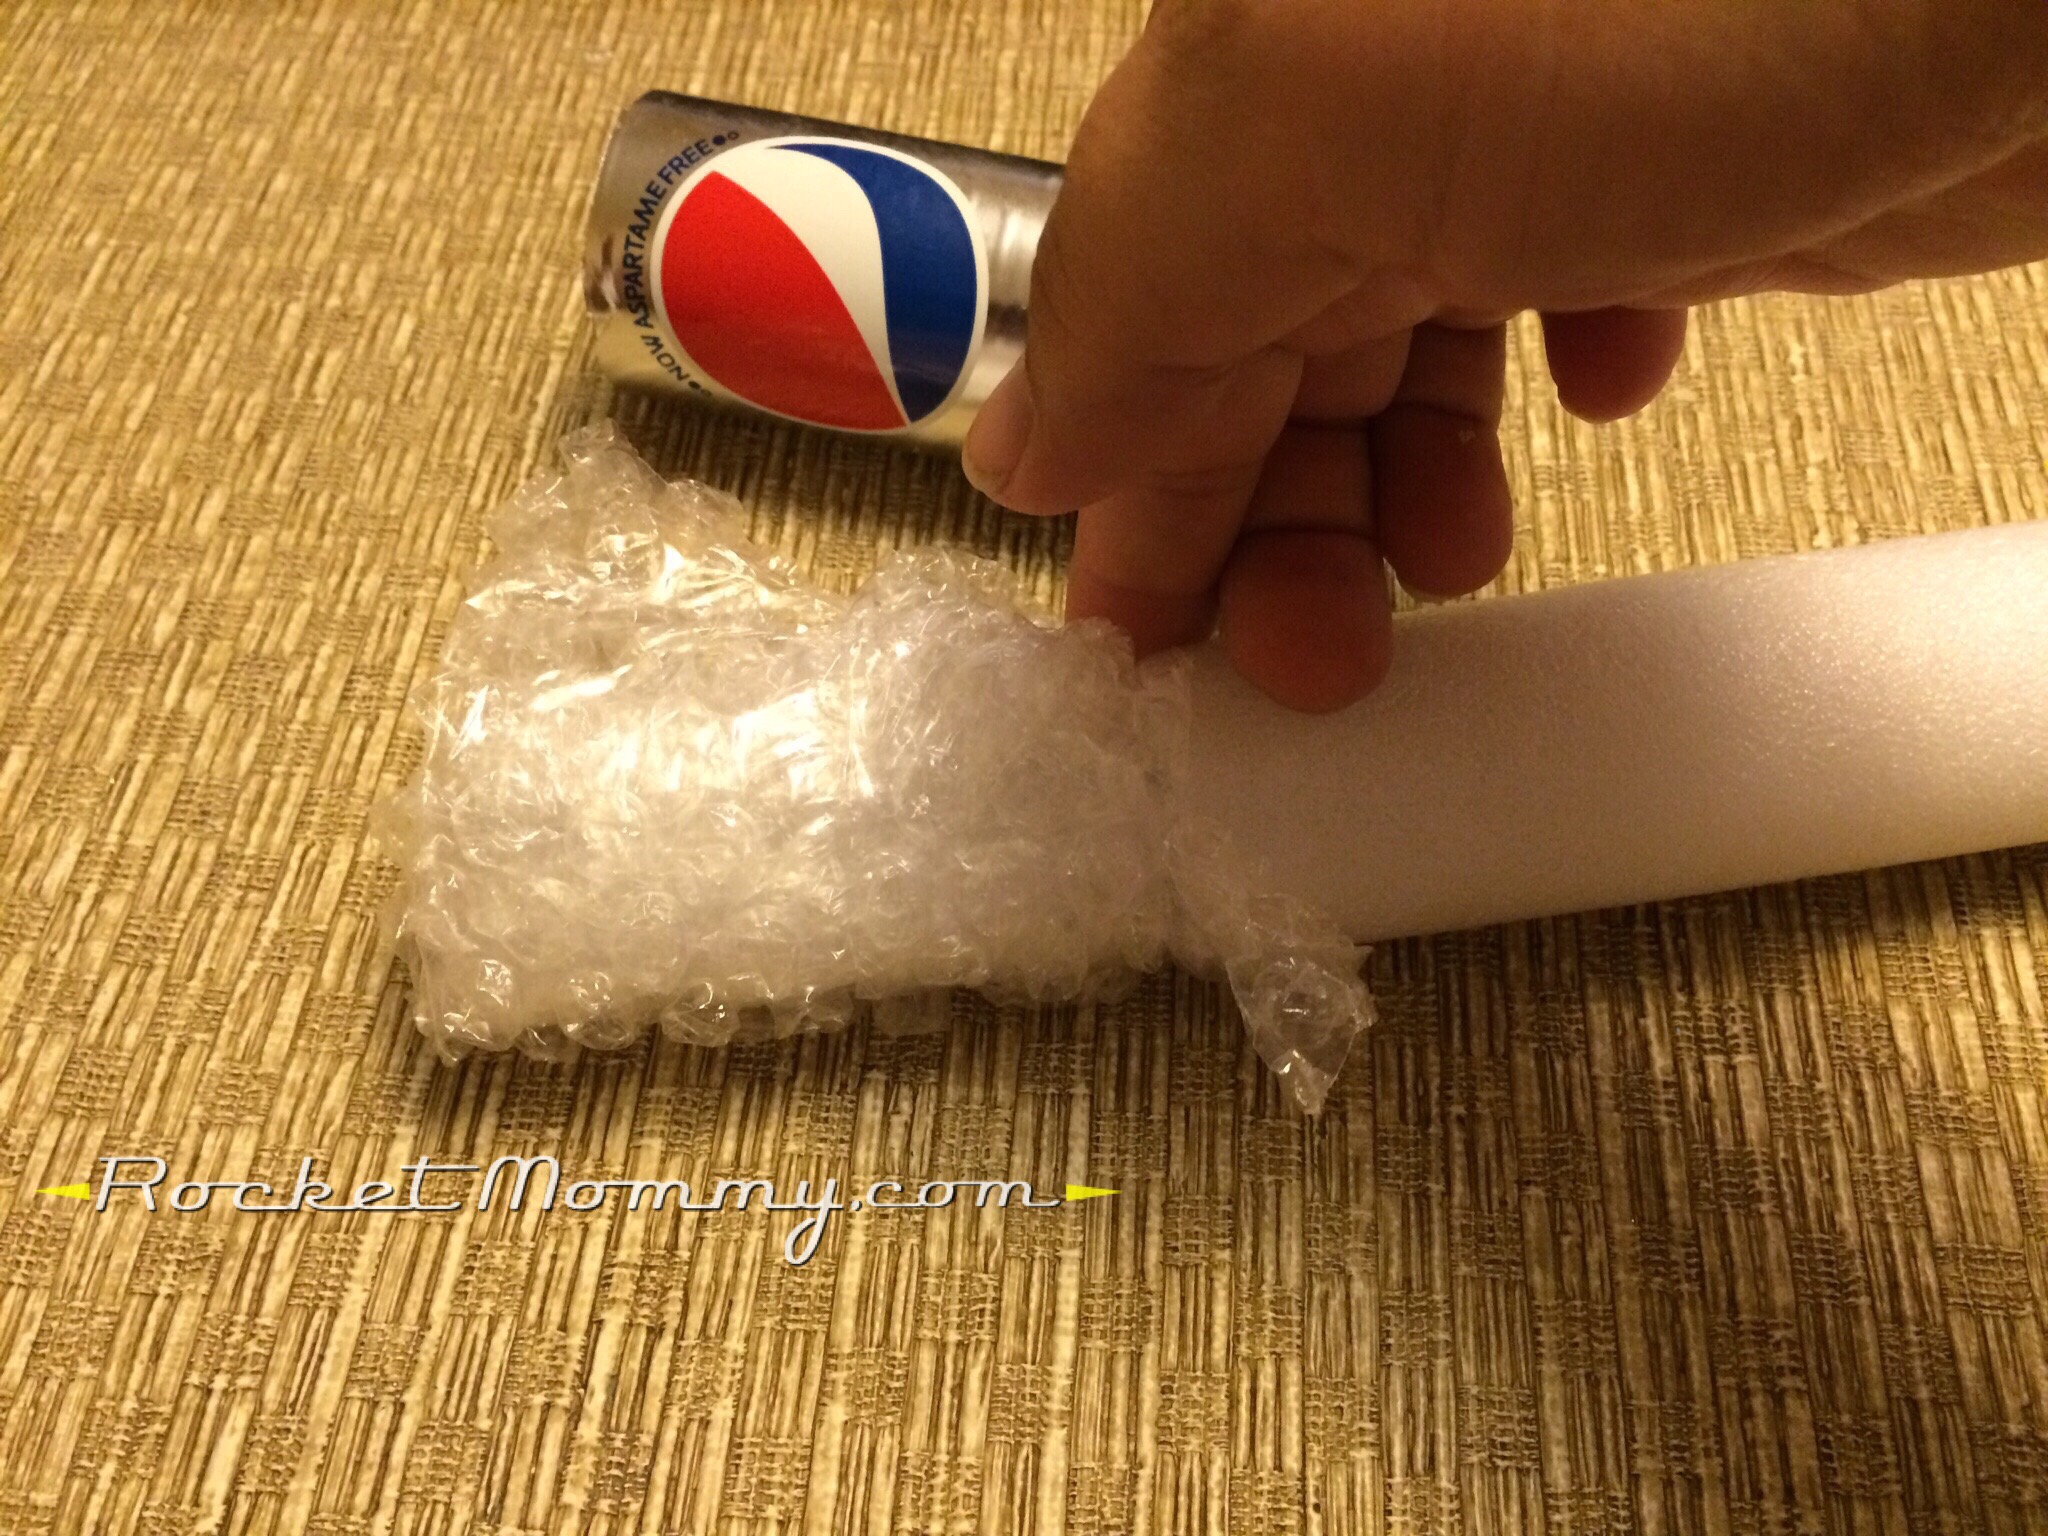
Lay your bundled string of LEDs on a piece of bubble wrap and roll them up inside it tightly. This will help diffuse the lights a little inside the tube.
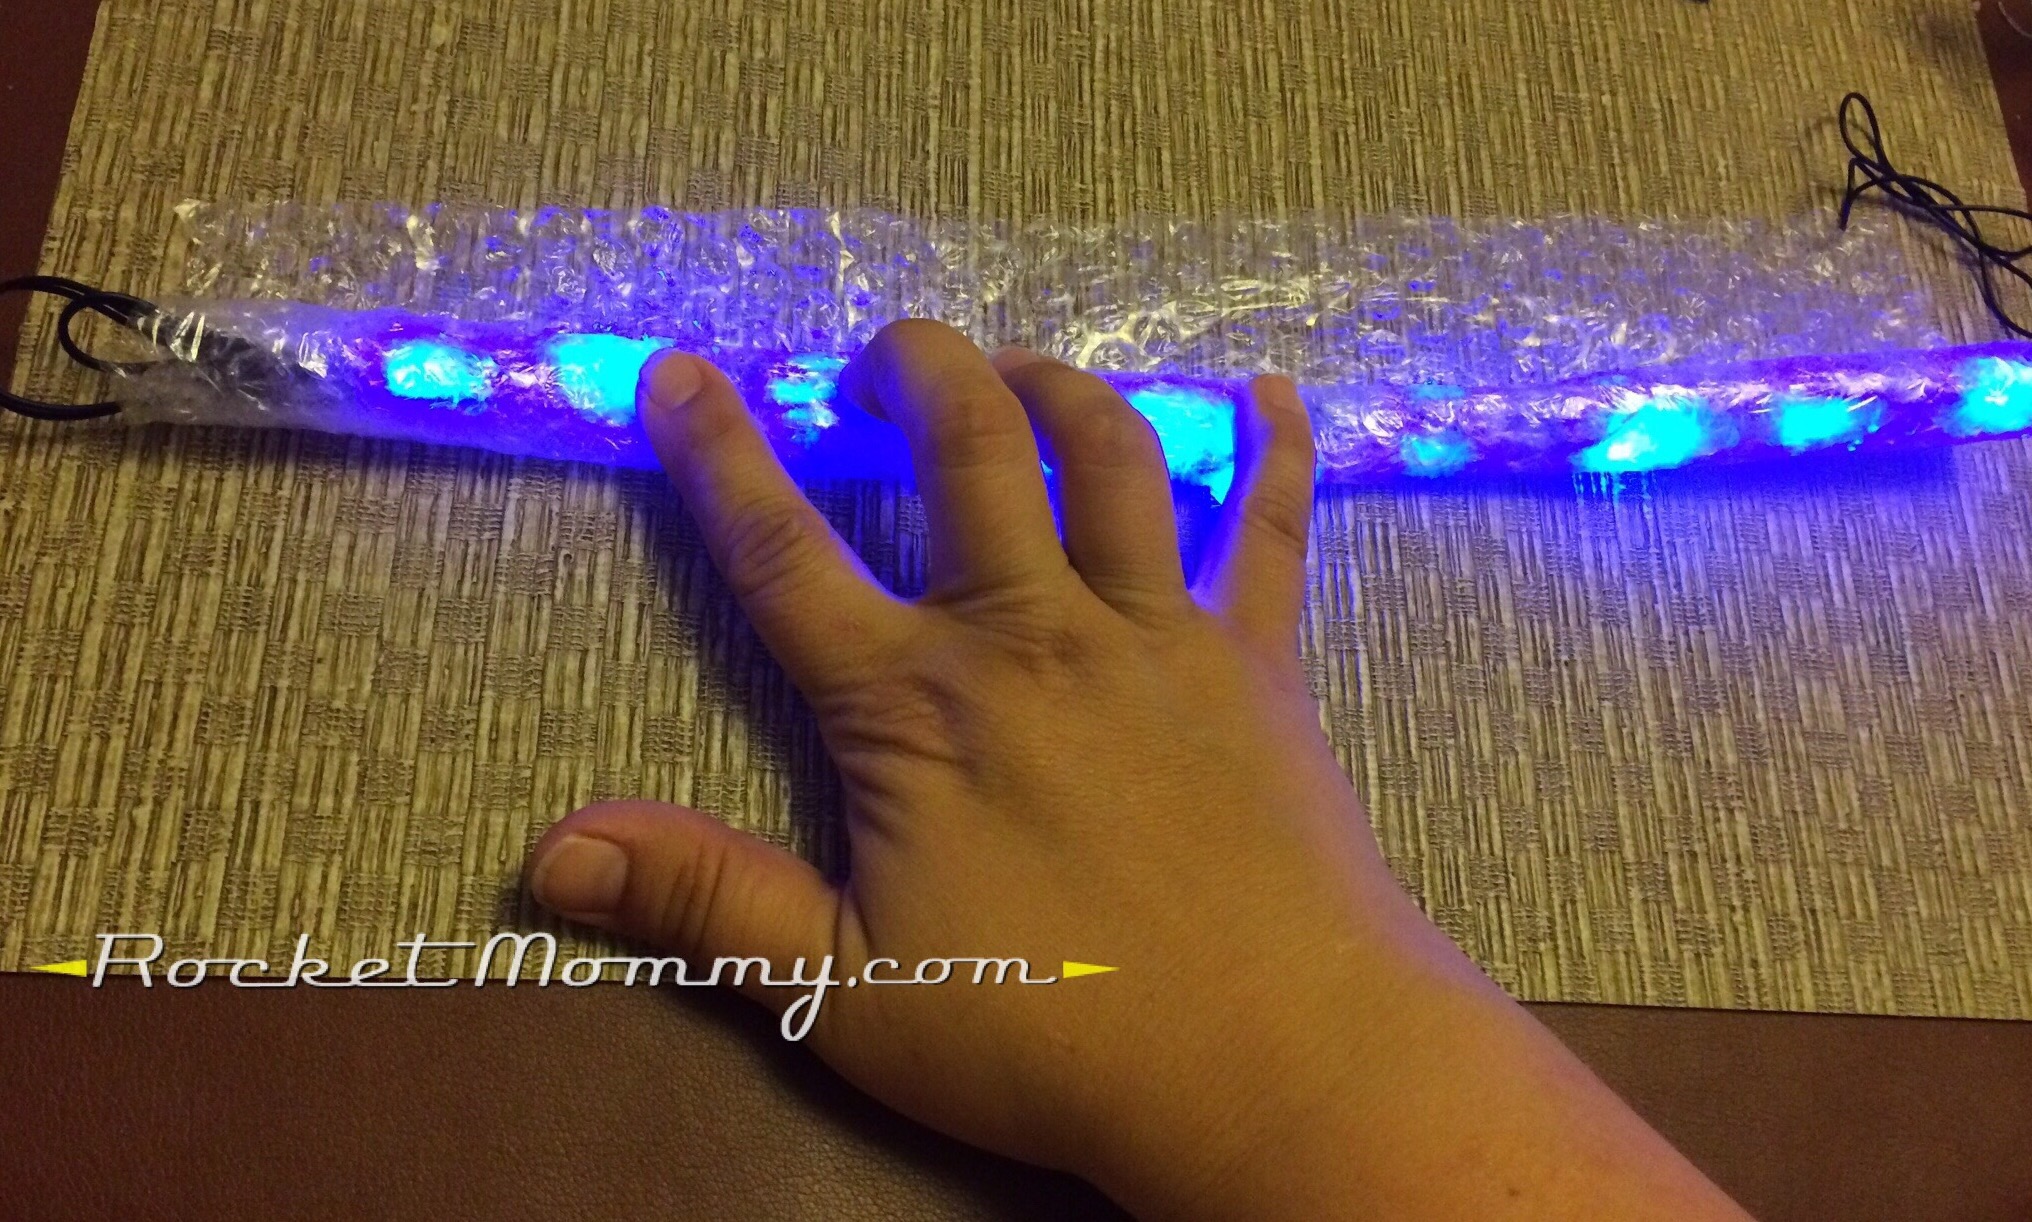
Tape that bundle of bubble wrap tightly so it will fit in the foam tube, then shove it in there.
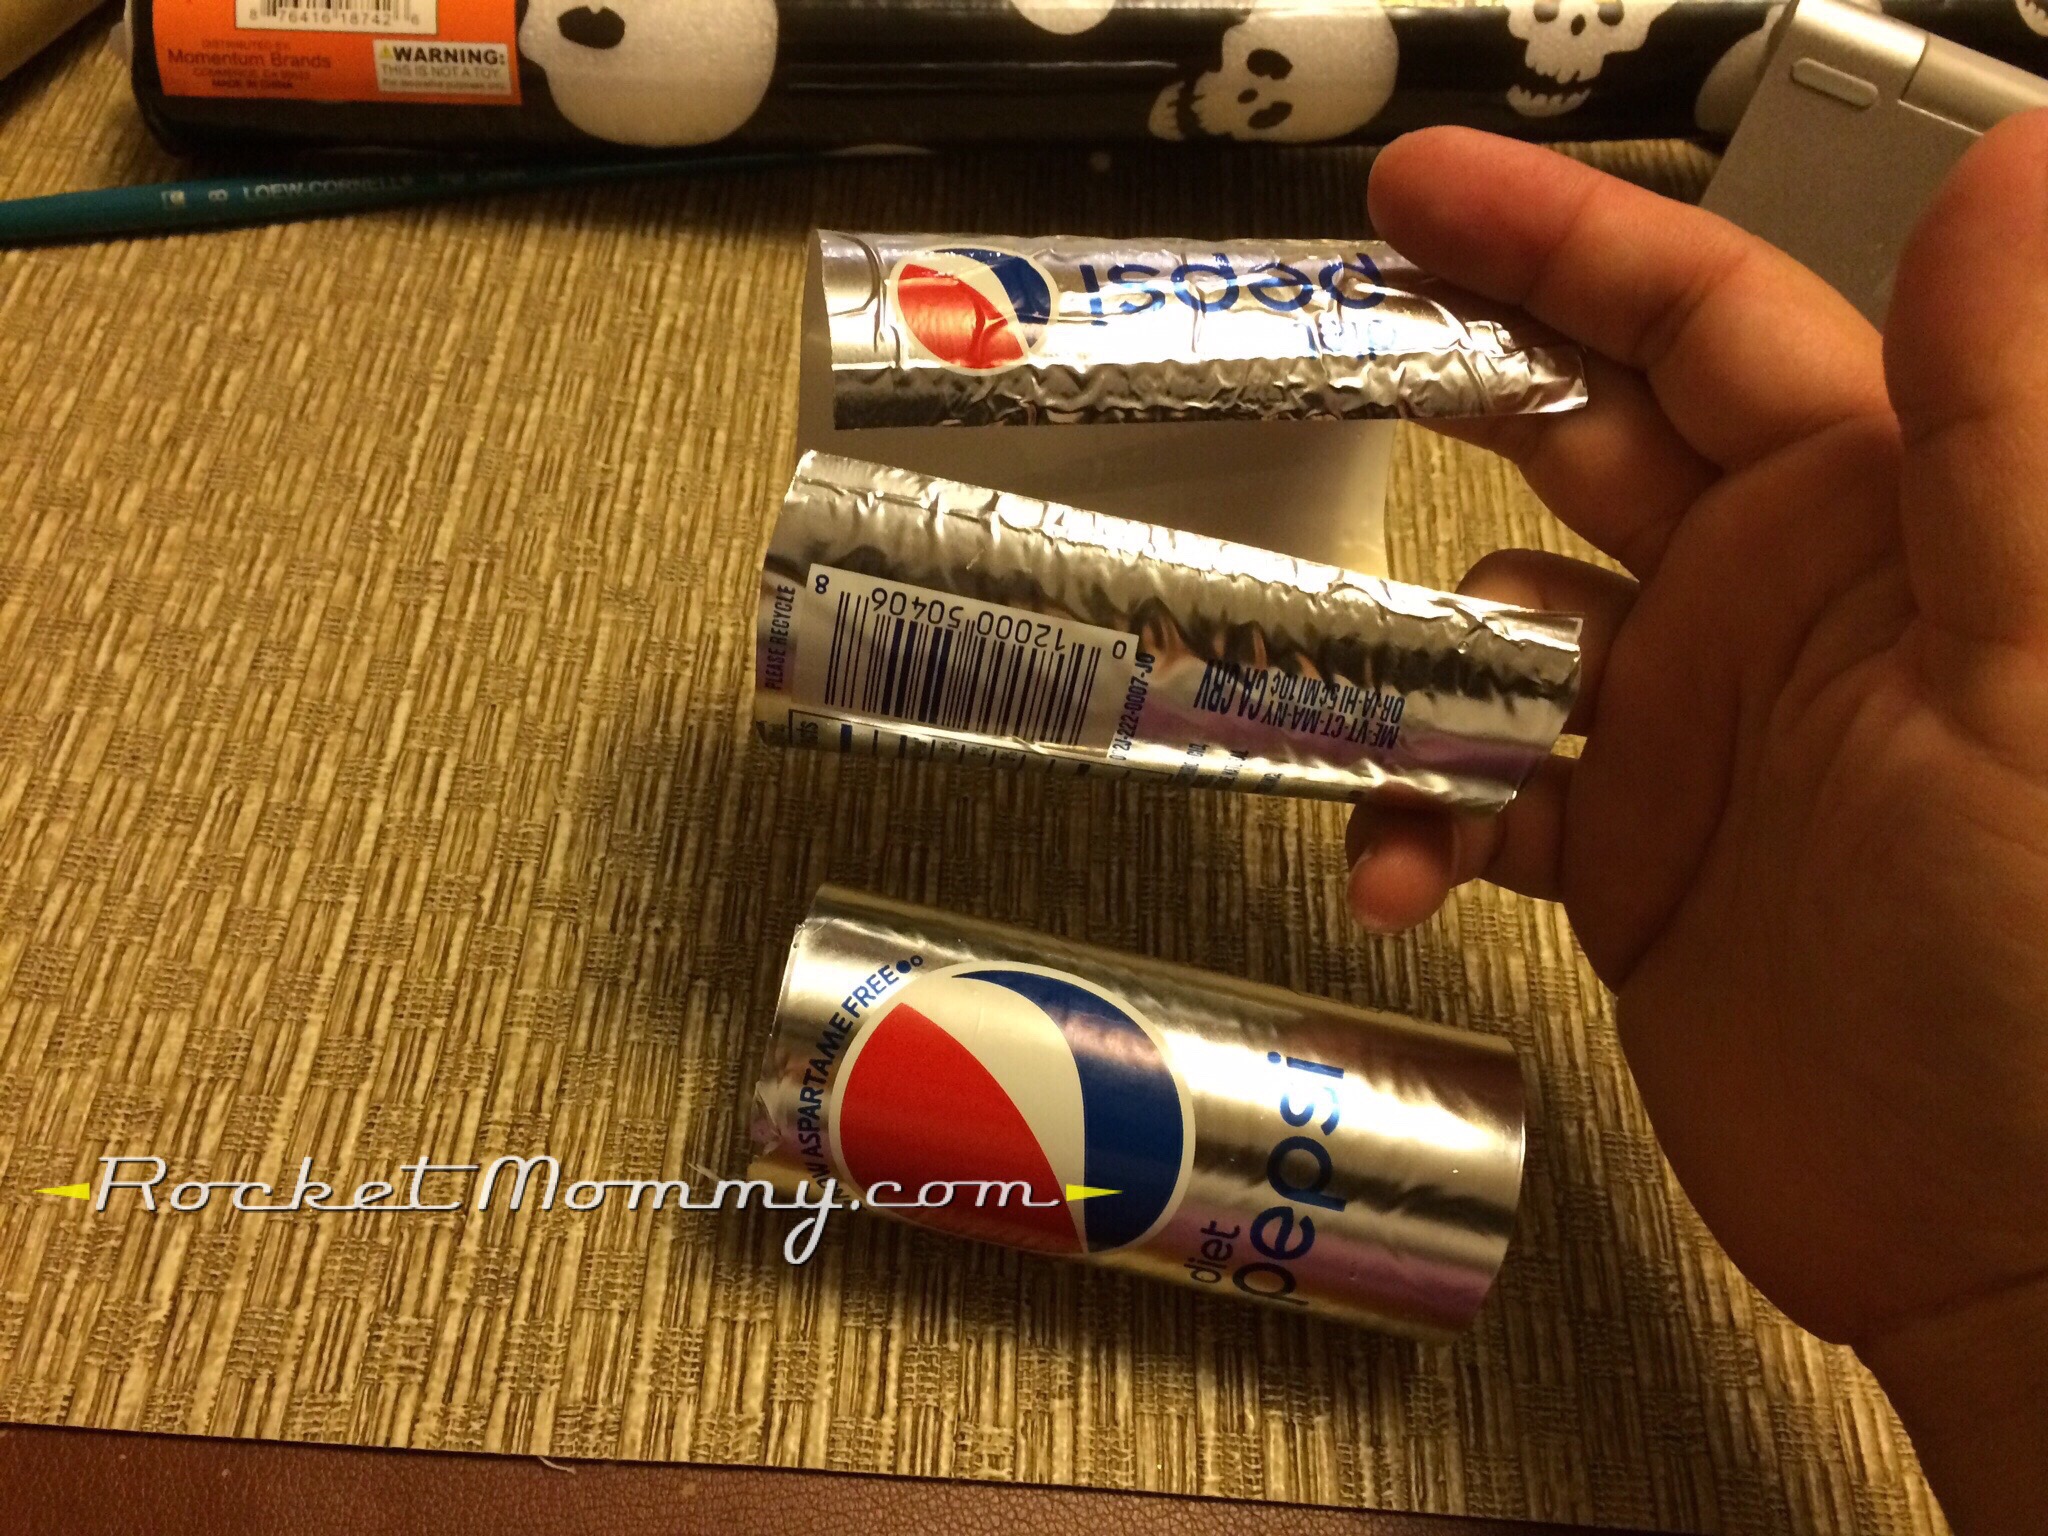
You’ve got a AA battery pack to deal with, so we’re going to build some handles for the ends, and one of them will house those batteries. Look around your house and get creative – you’re going to want two things that will curve neatly around the ends of that foam stick. I grabbed two toilet paper tubes first, then reconsidered and raided the recycling bin and found two plastic Pepsi bottles to cut up instead.
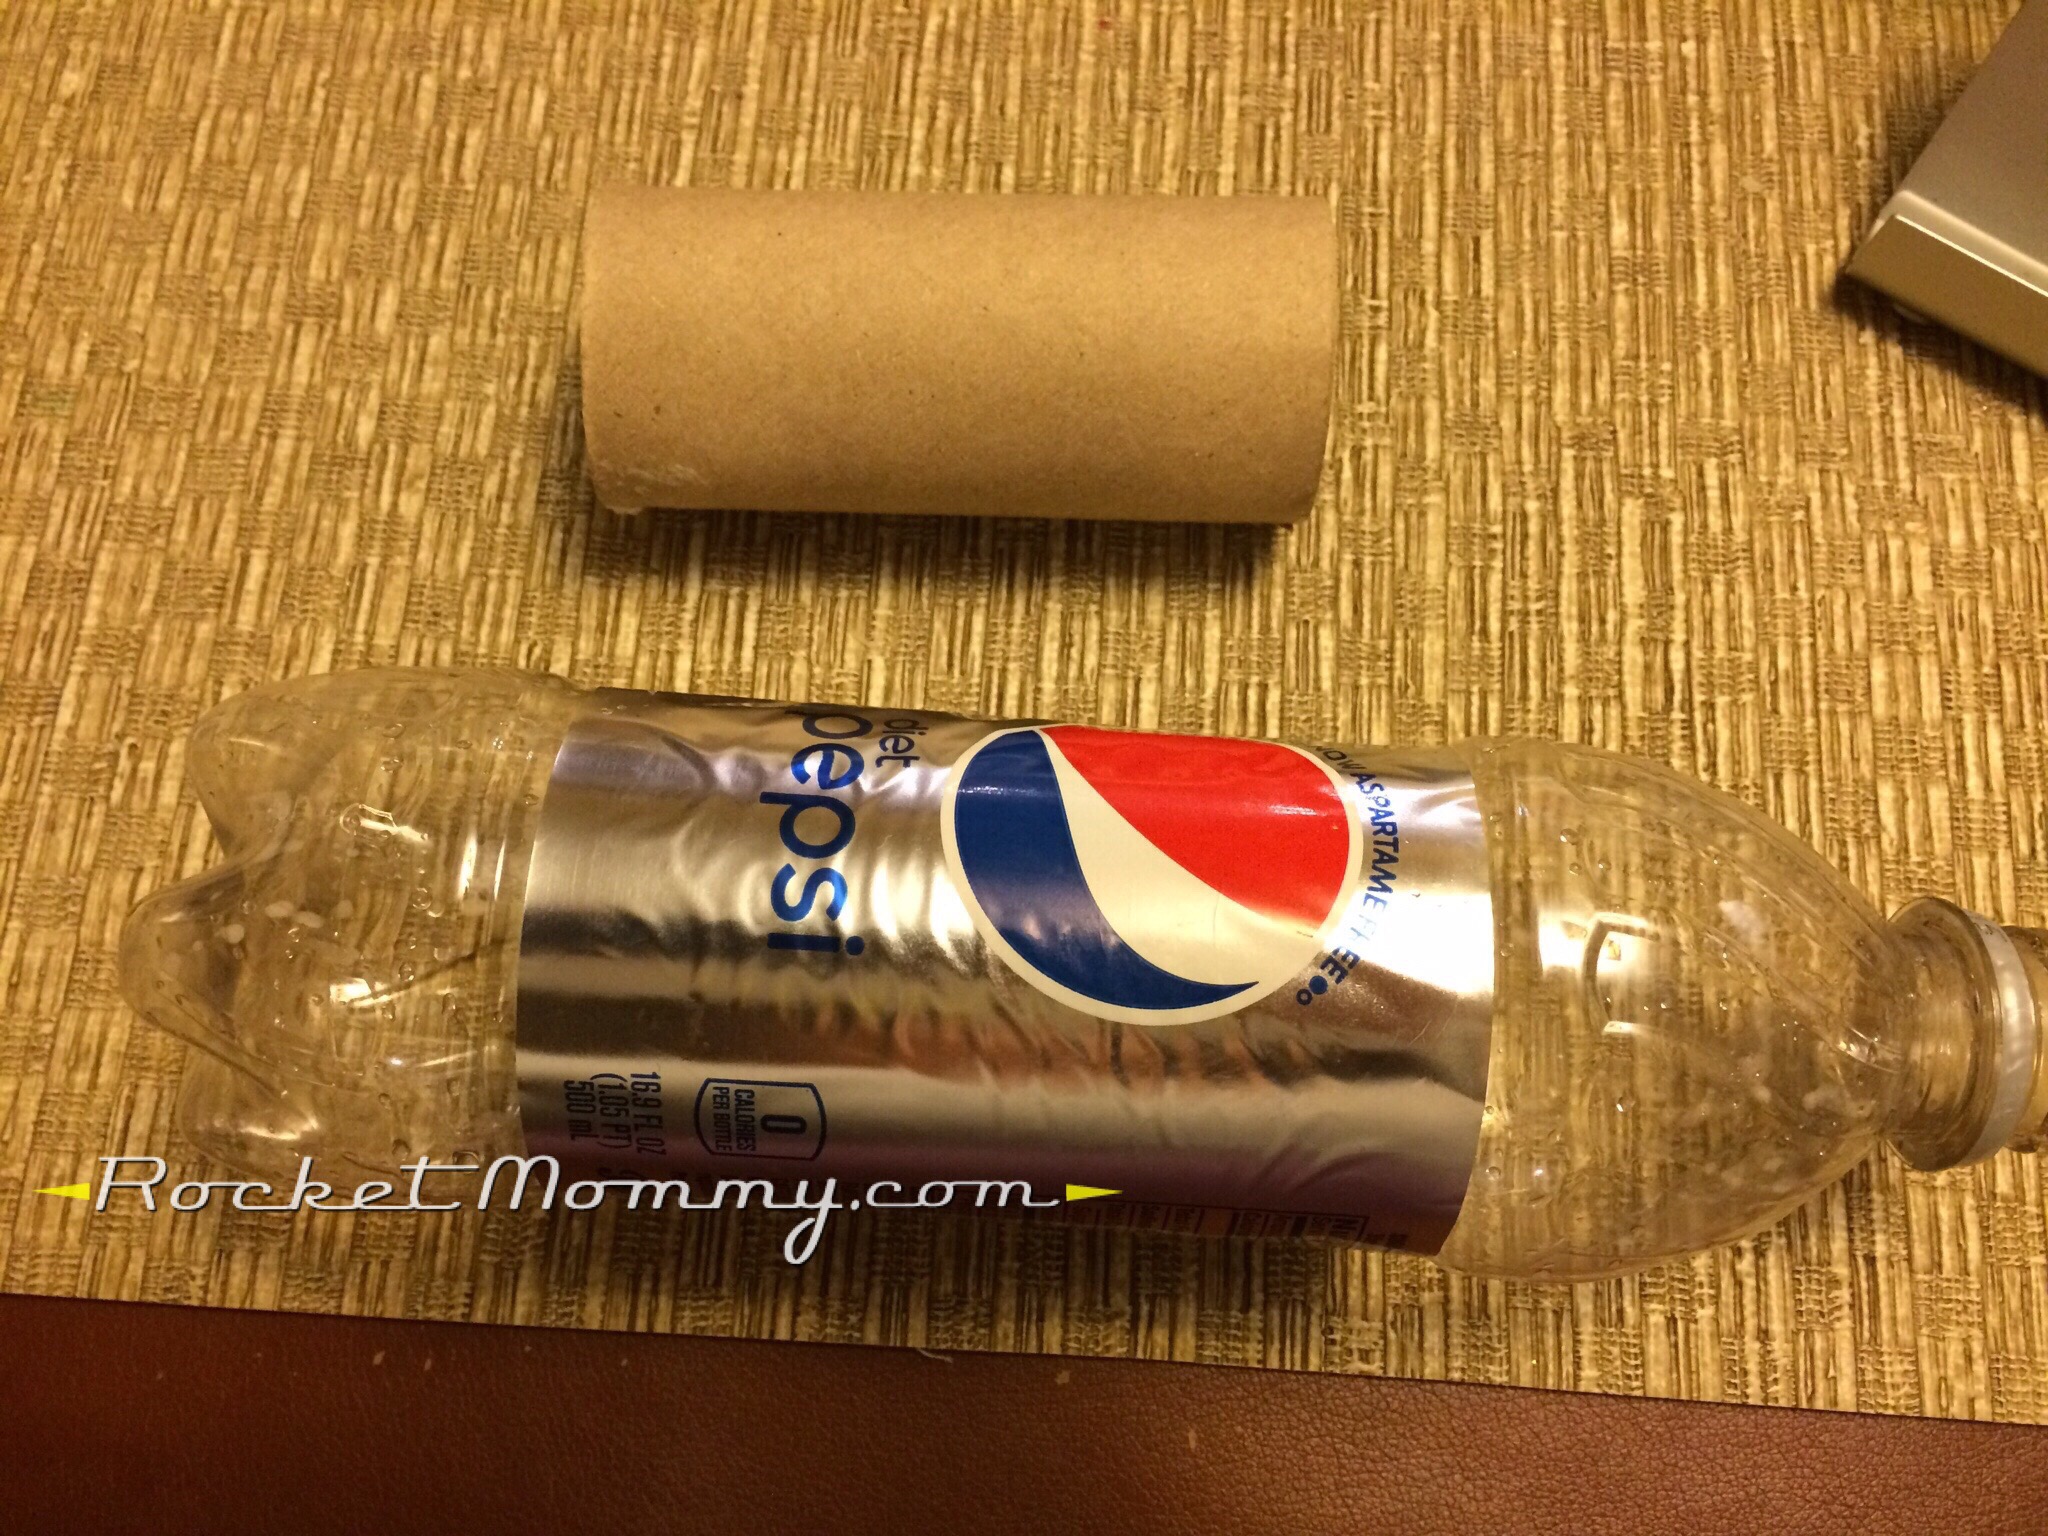
I cut the smooth middle part out of the bottles and then cut a slit up the center of that. The plastic immediately tried to curl itself up tightly.
You can remove the labels, or not, I didn’t really worry about it until one of them got in the way. Let’s work on the battery pack side first. Unroll the Pepsi plastic, lay the battery pack inside it, line everything up the way you want it to fit (with some of the plastic overlapping the foam), and mark where the switch is going to be.
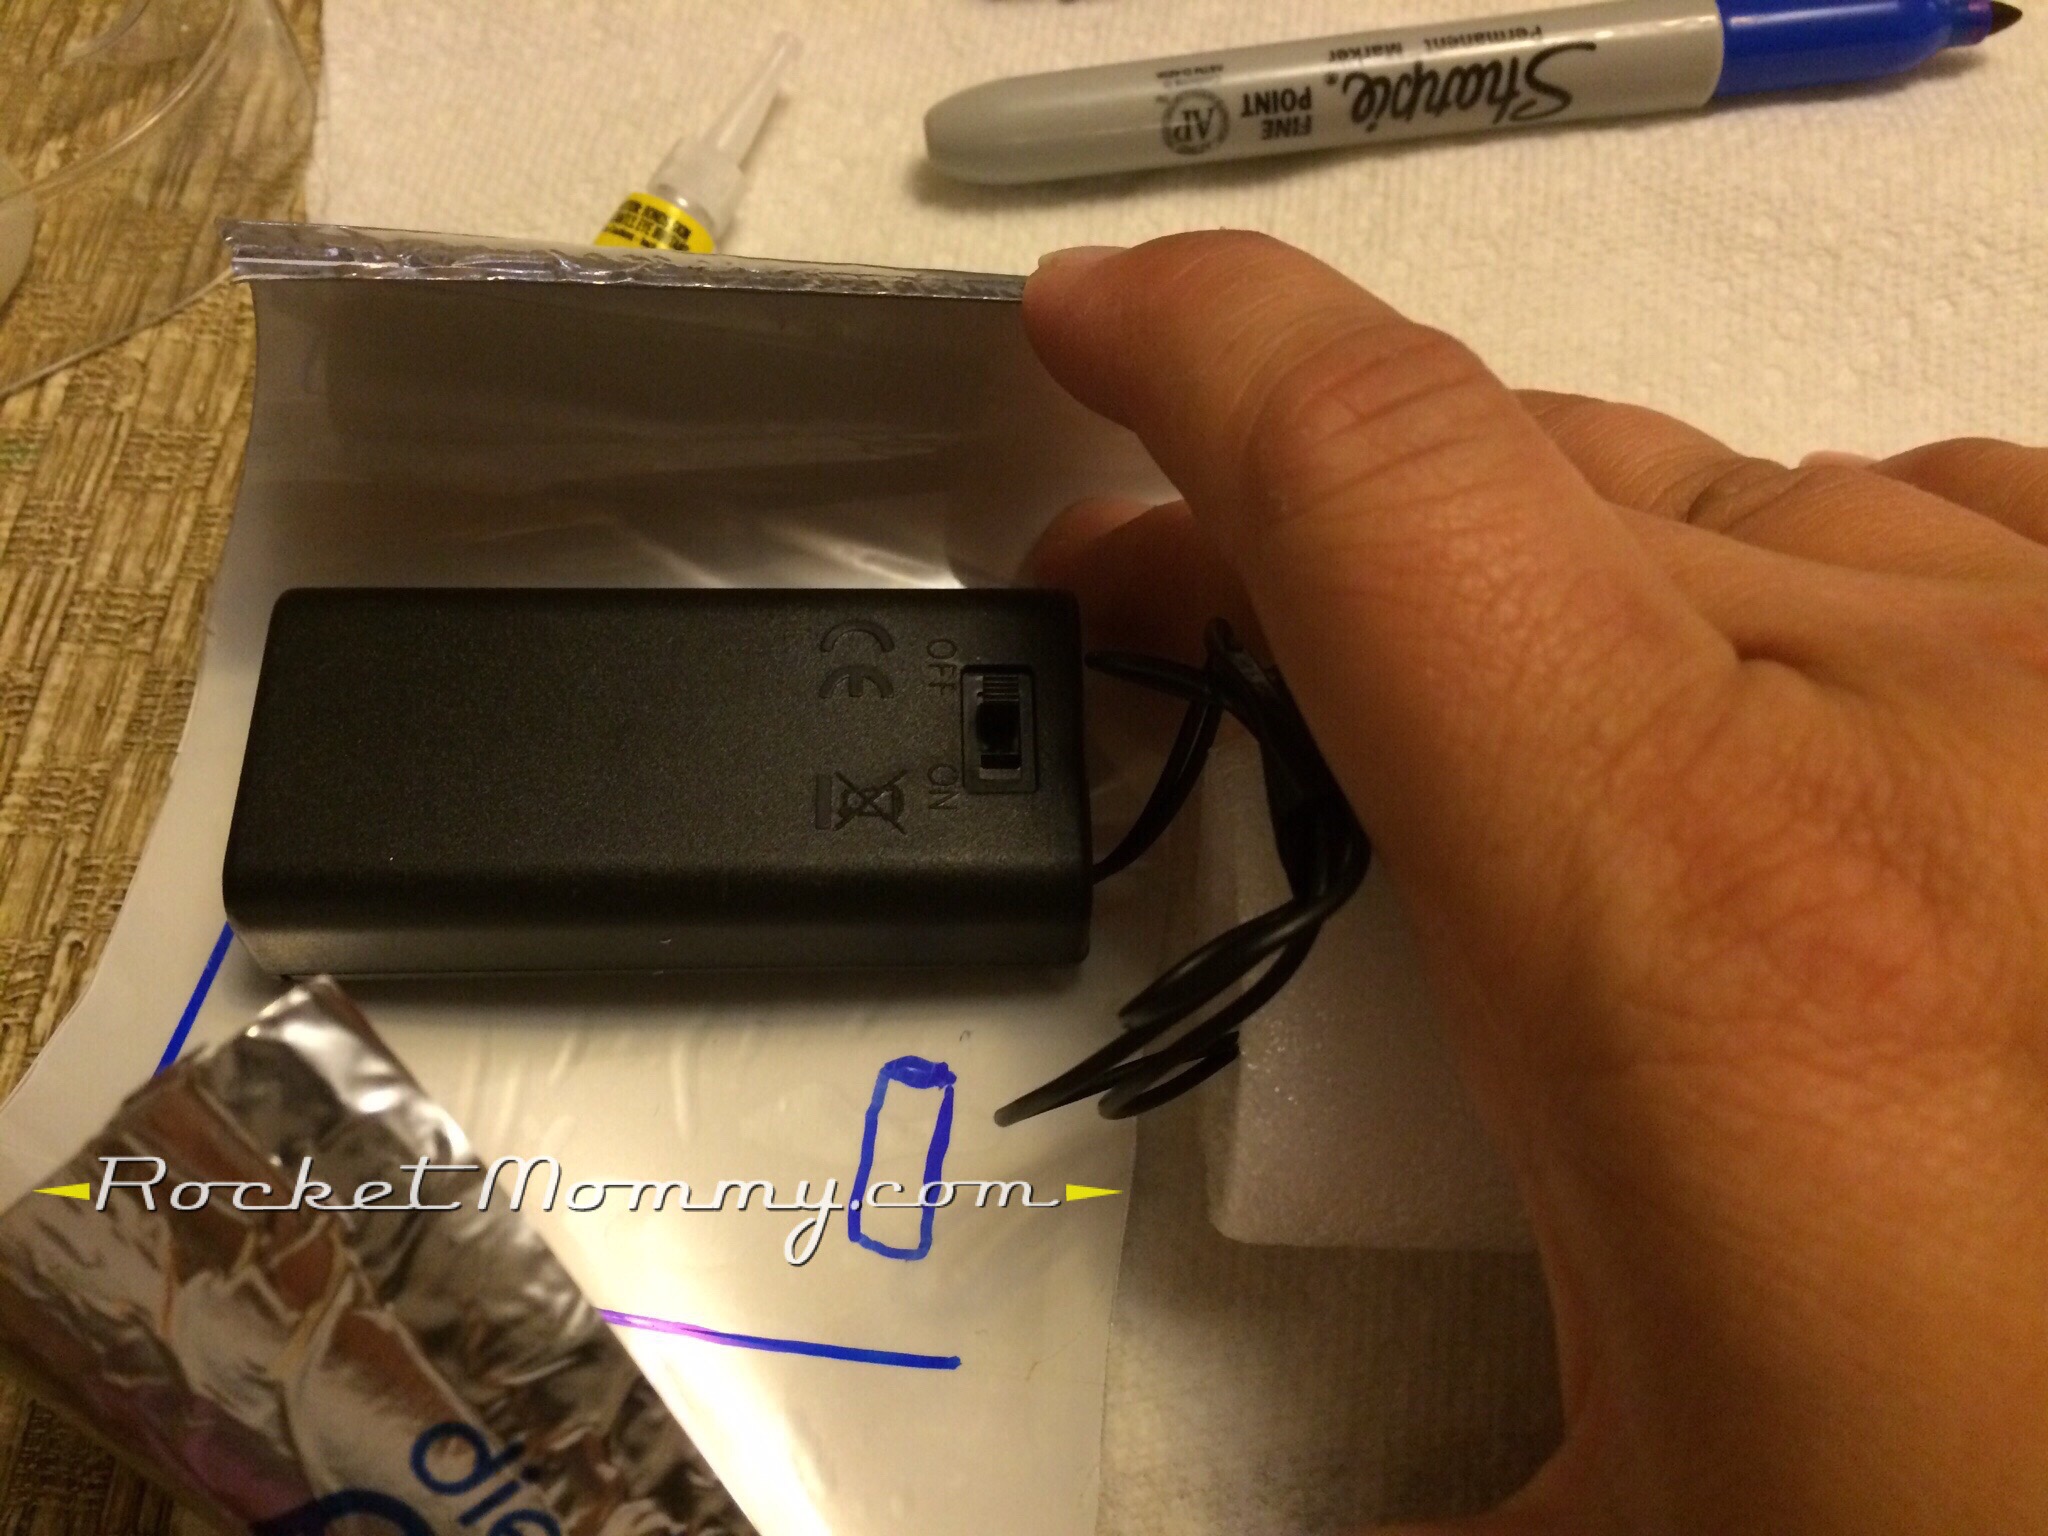
You’re going to need to cut out that little piece so you can access the switch through the handle.
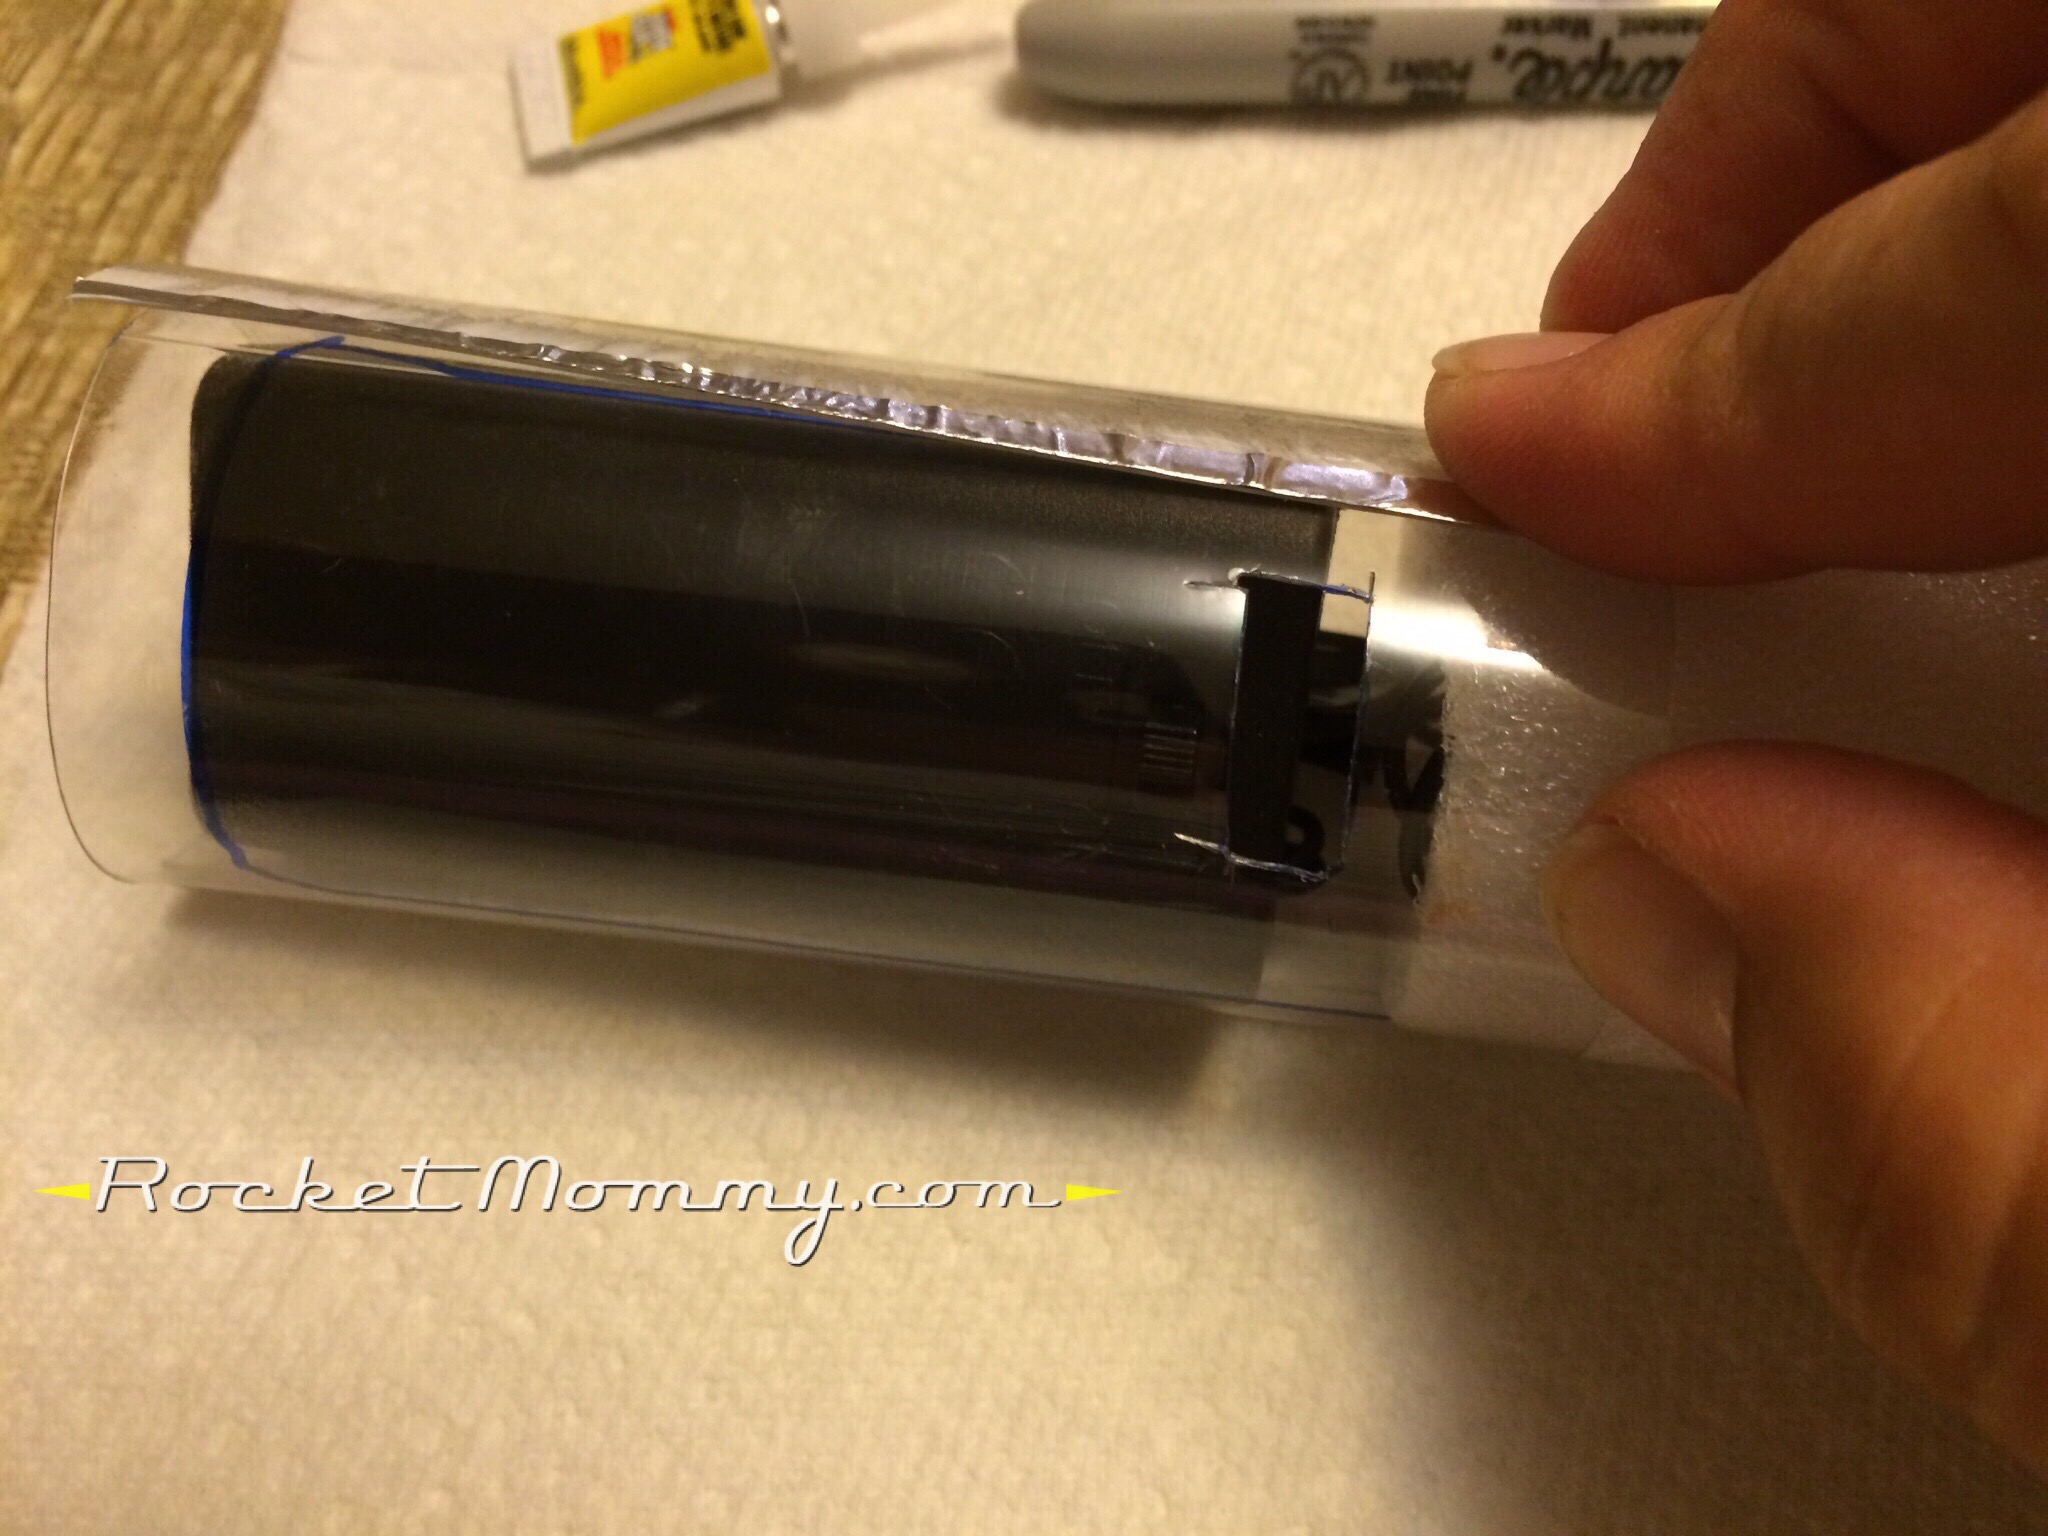
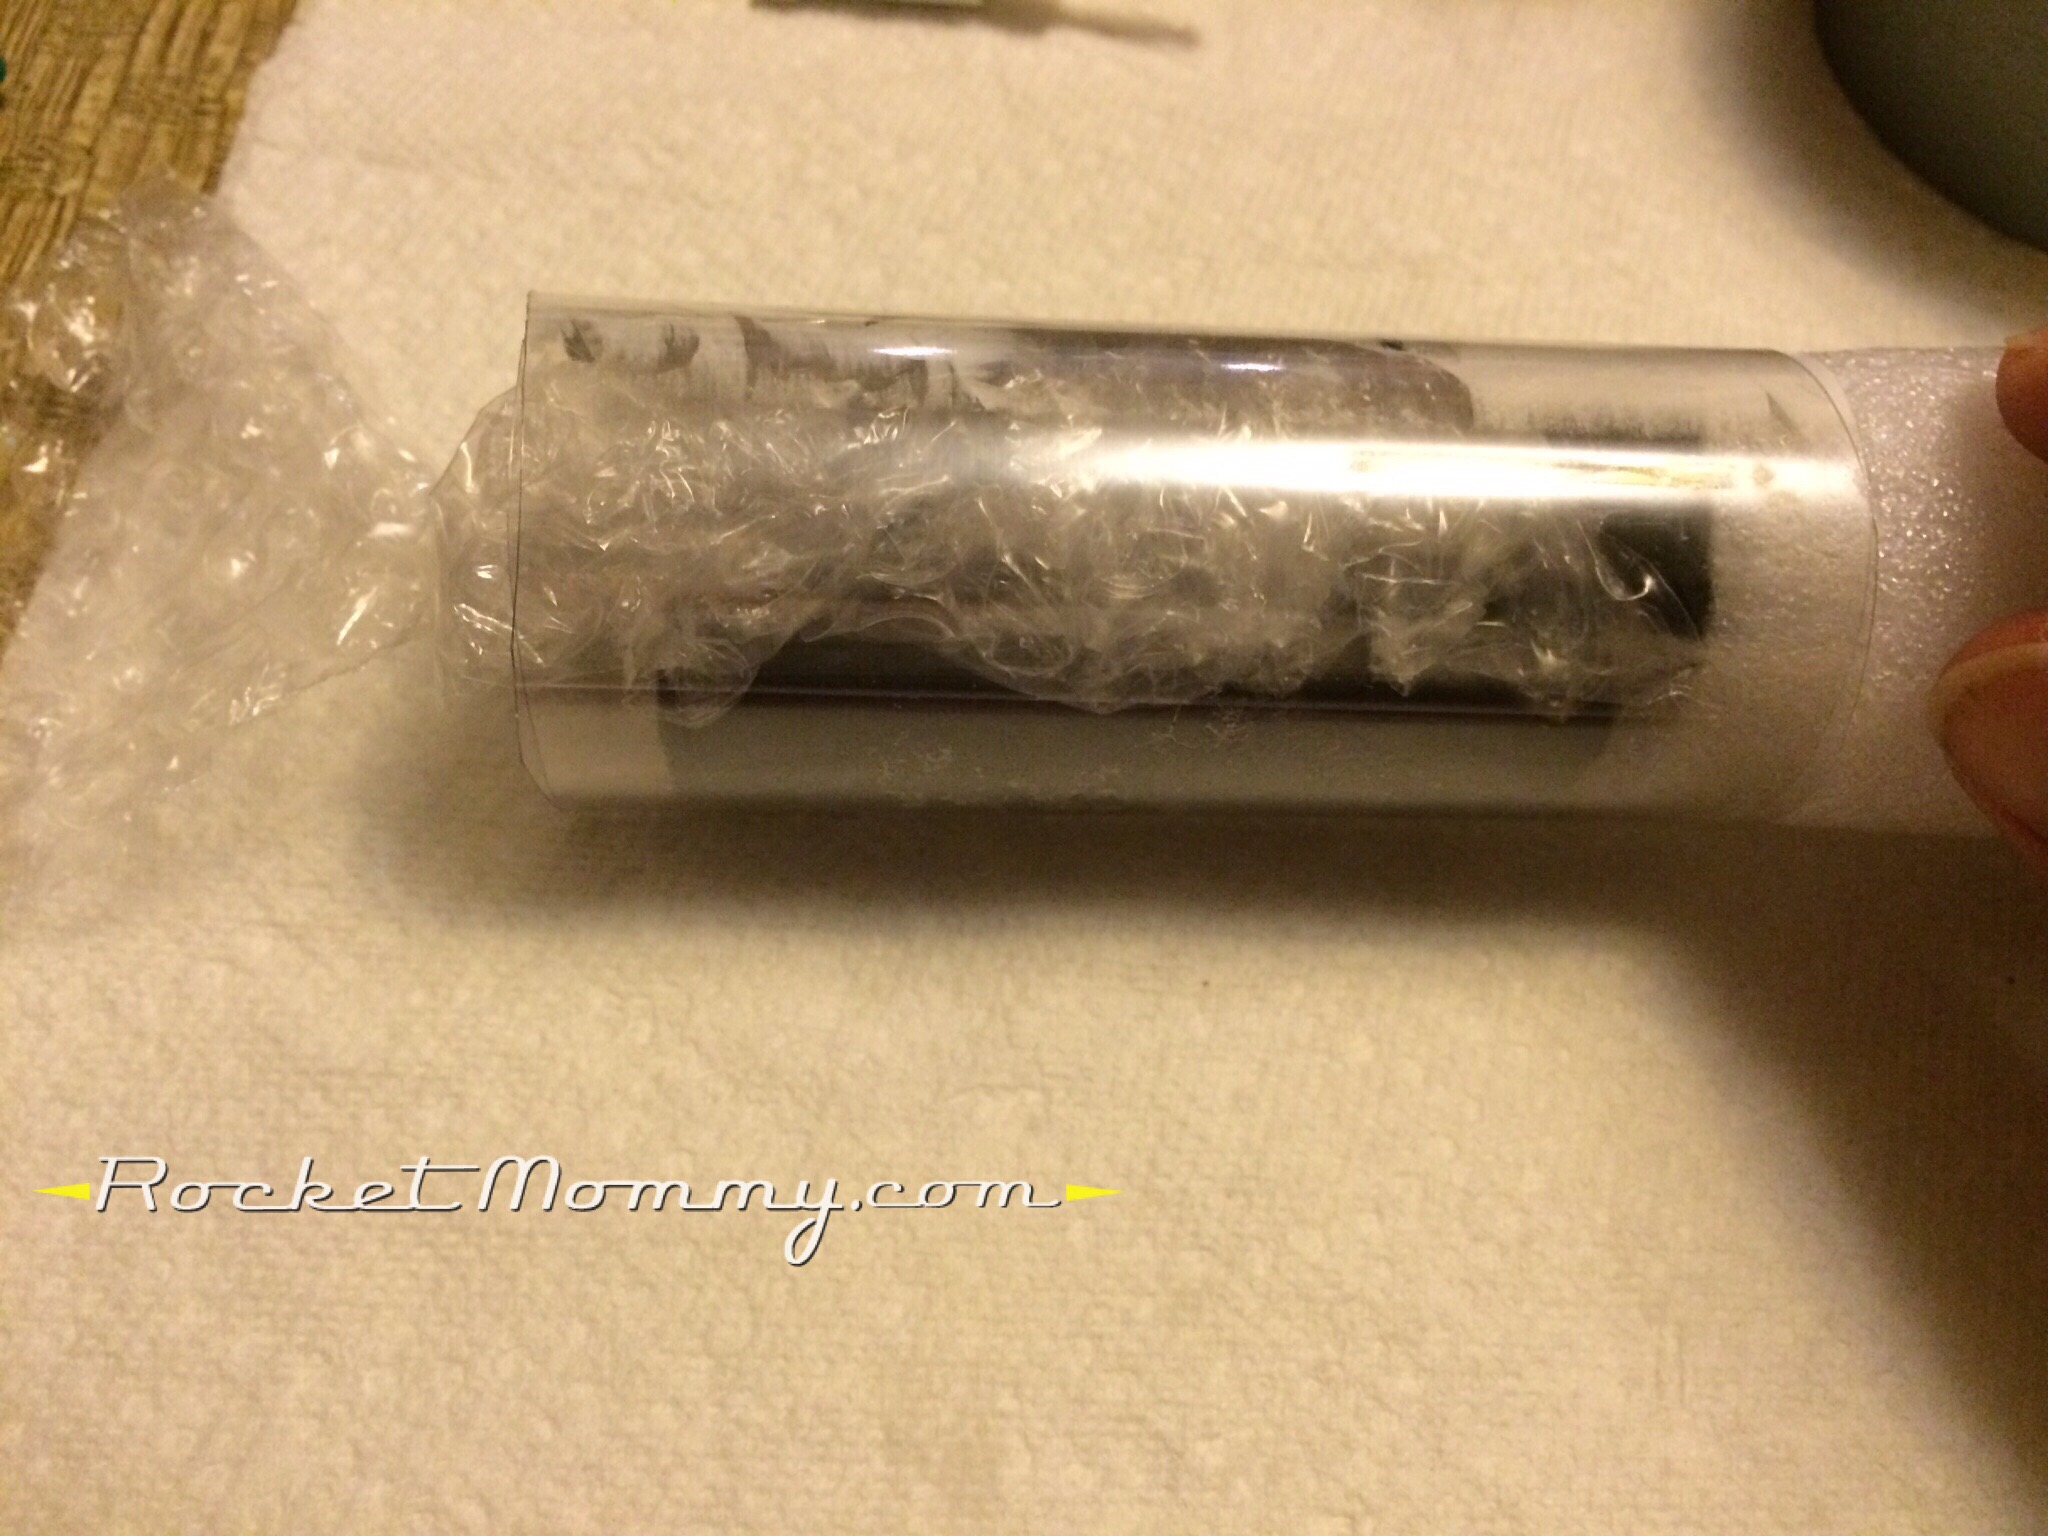
Use Super Glue to tack down the edge of the Pepsi plastic so it can’t unroll, then take a scrap of bubble wrap and stuff it in behind the battery pack so the switch is easier to access from the outside. The bubble wrap will help keep the battery pack in place and protect it from some impact.
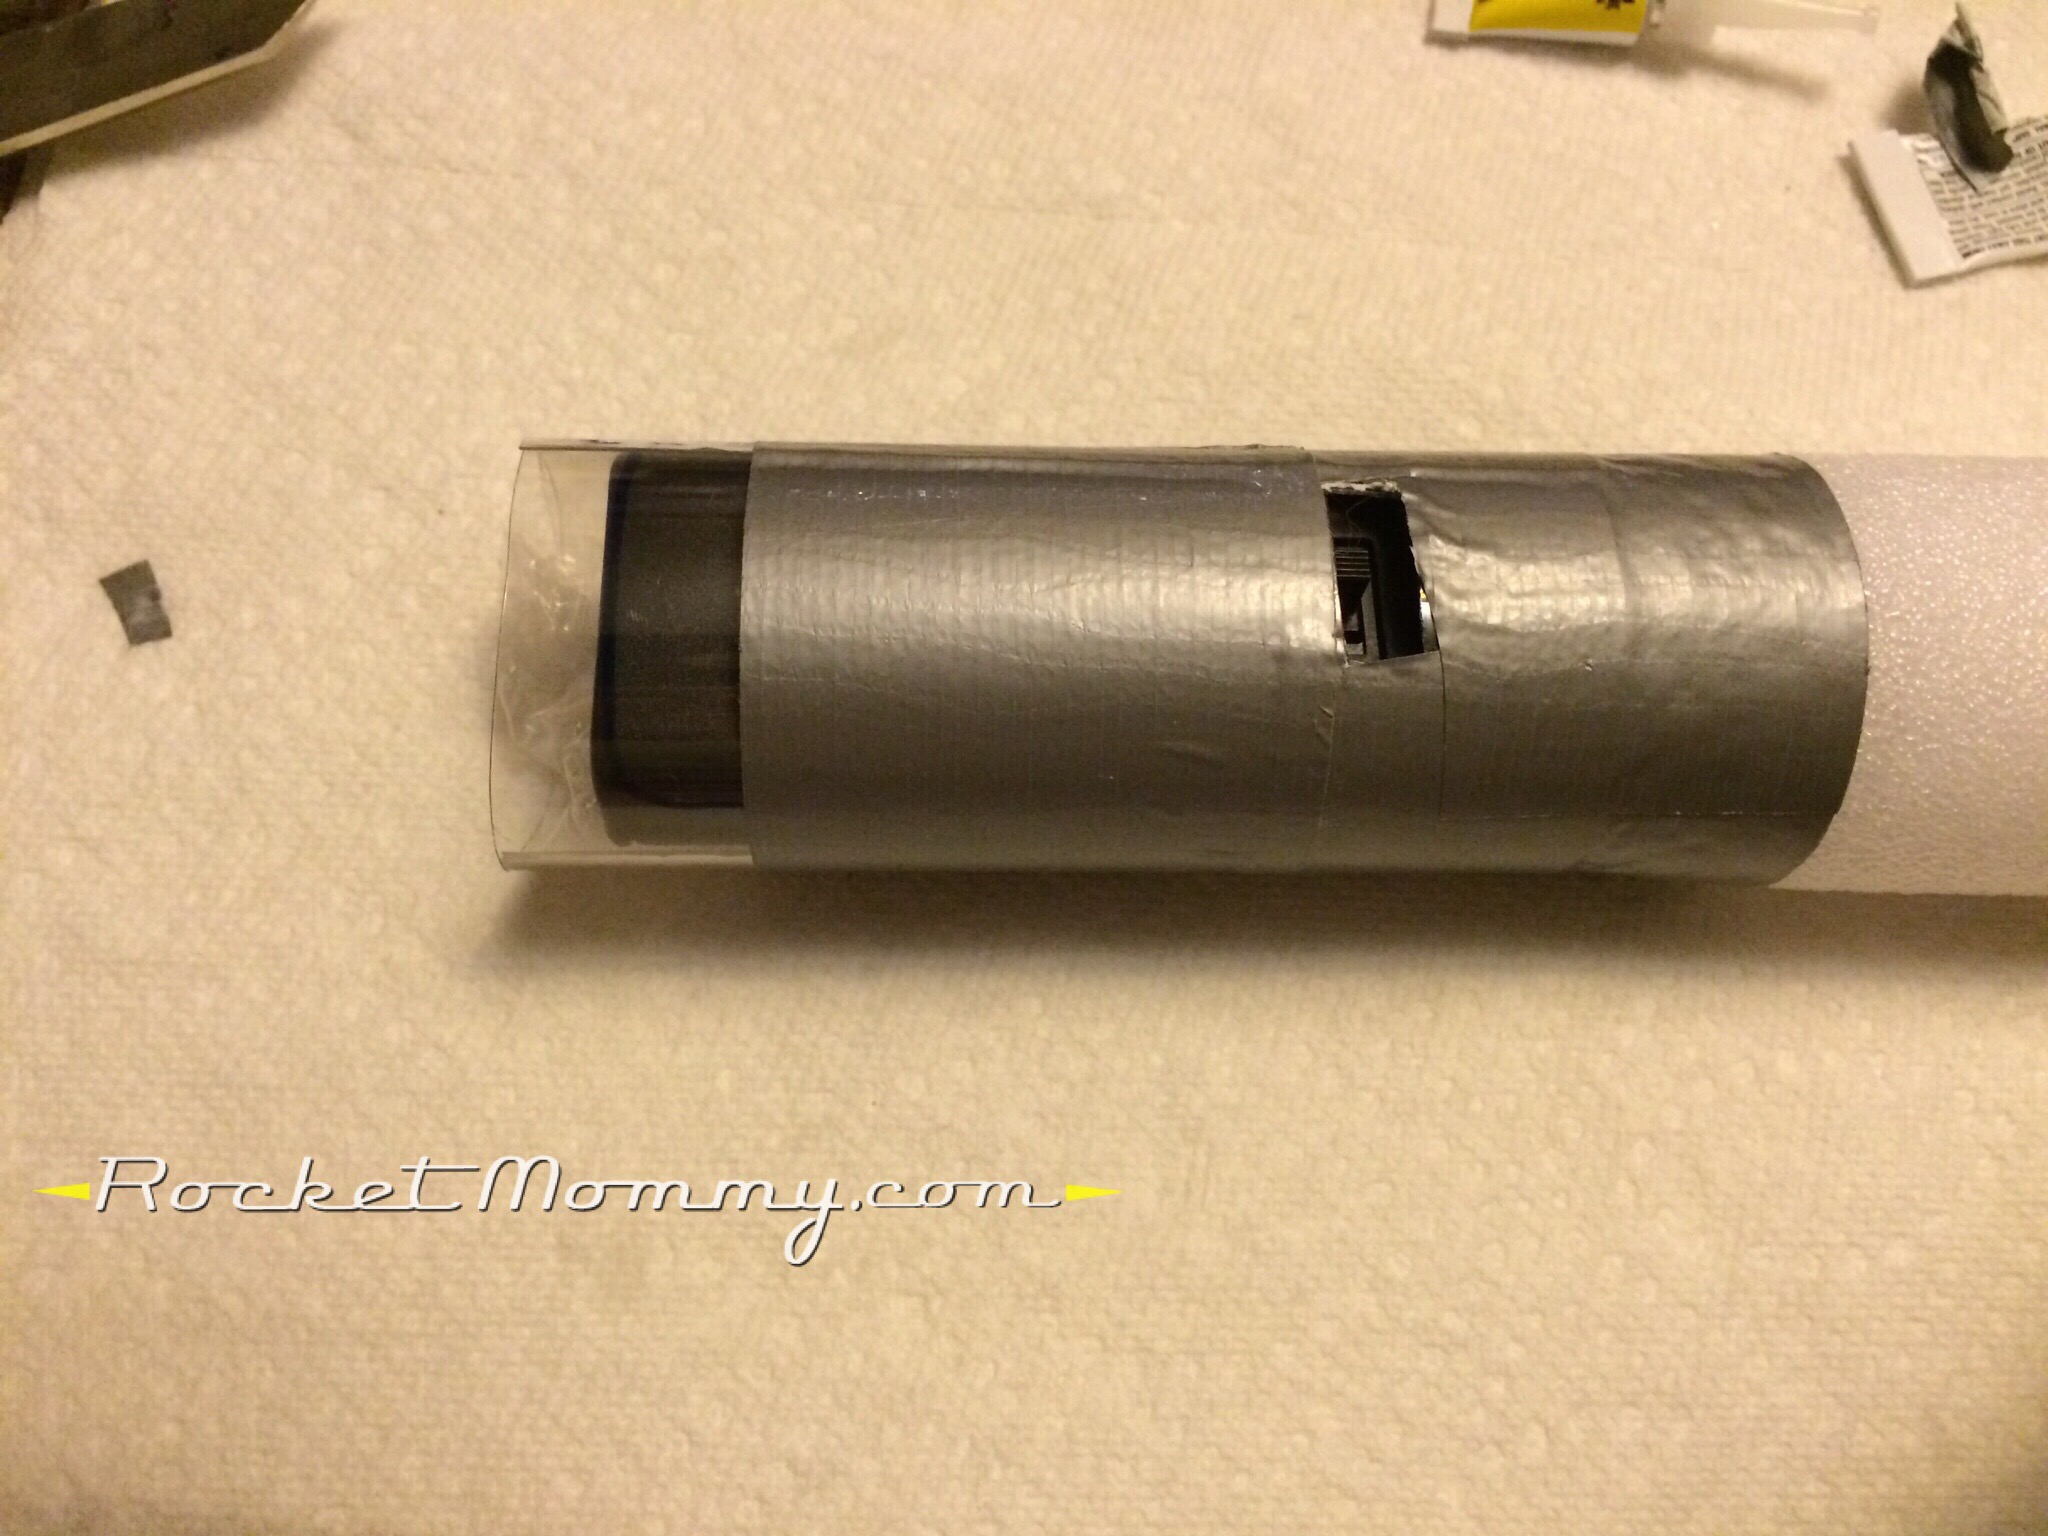
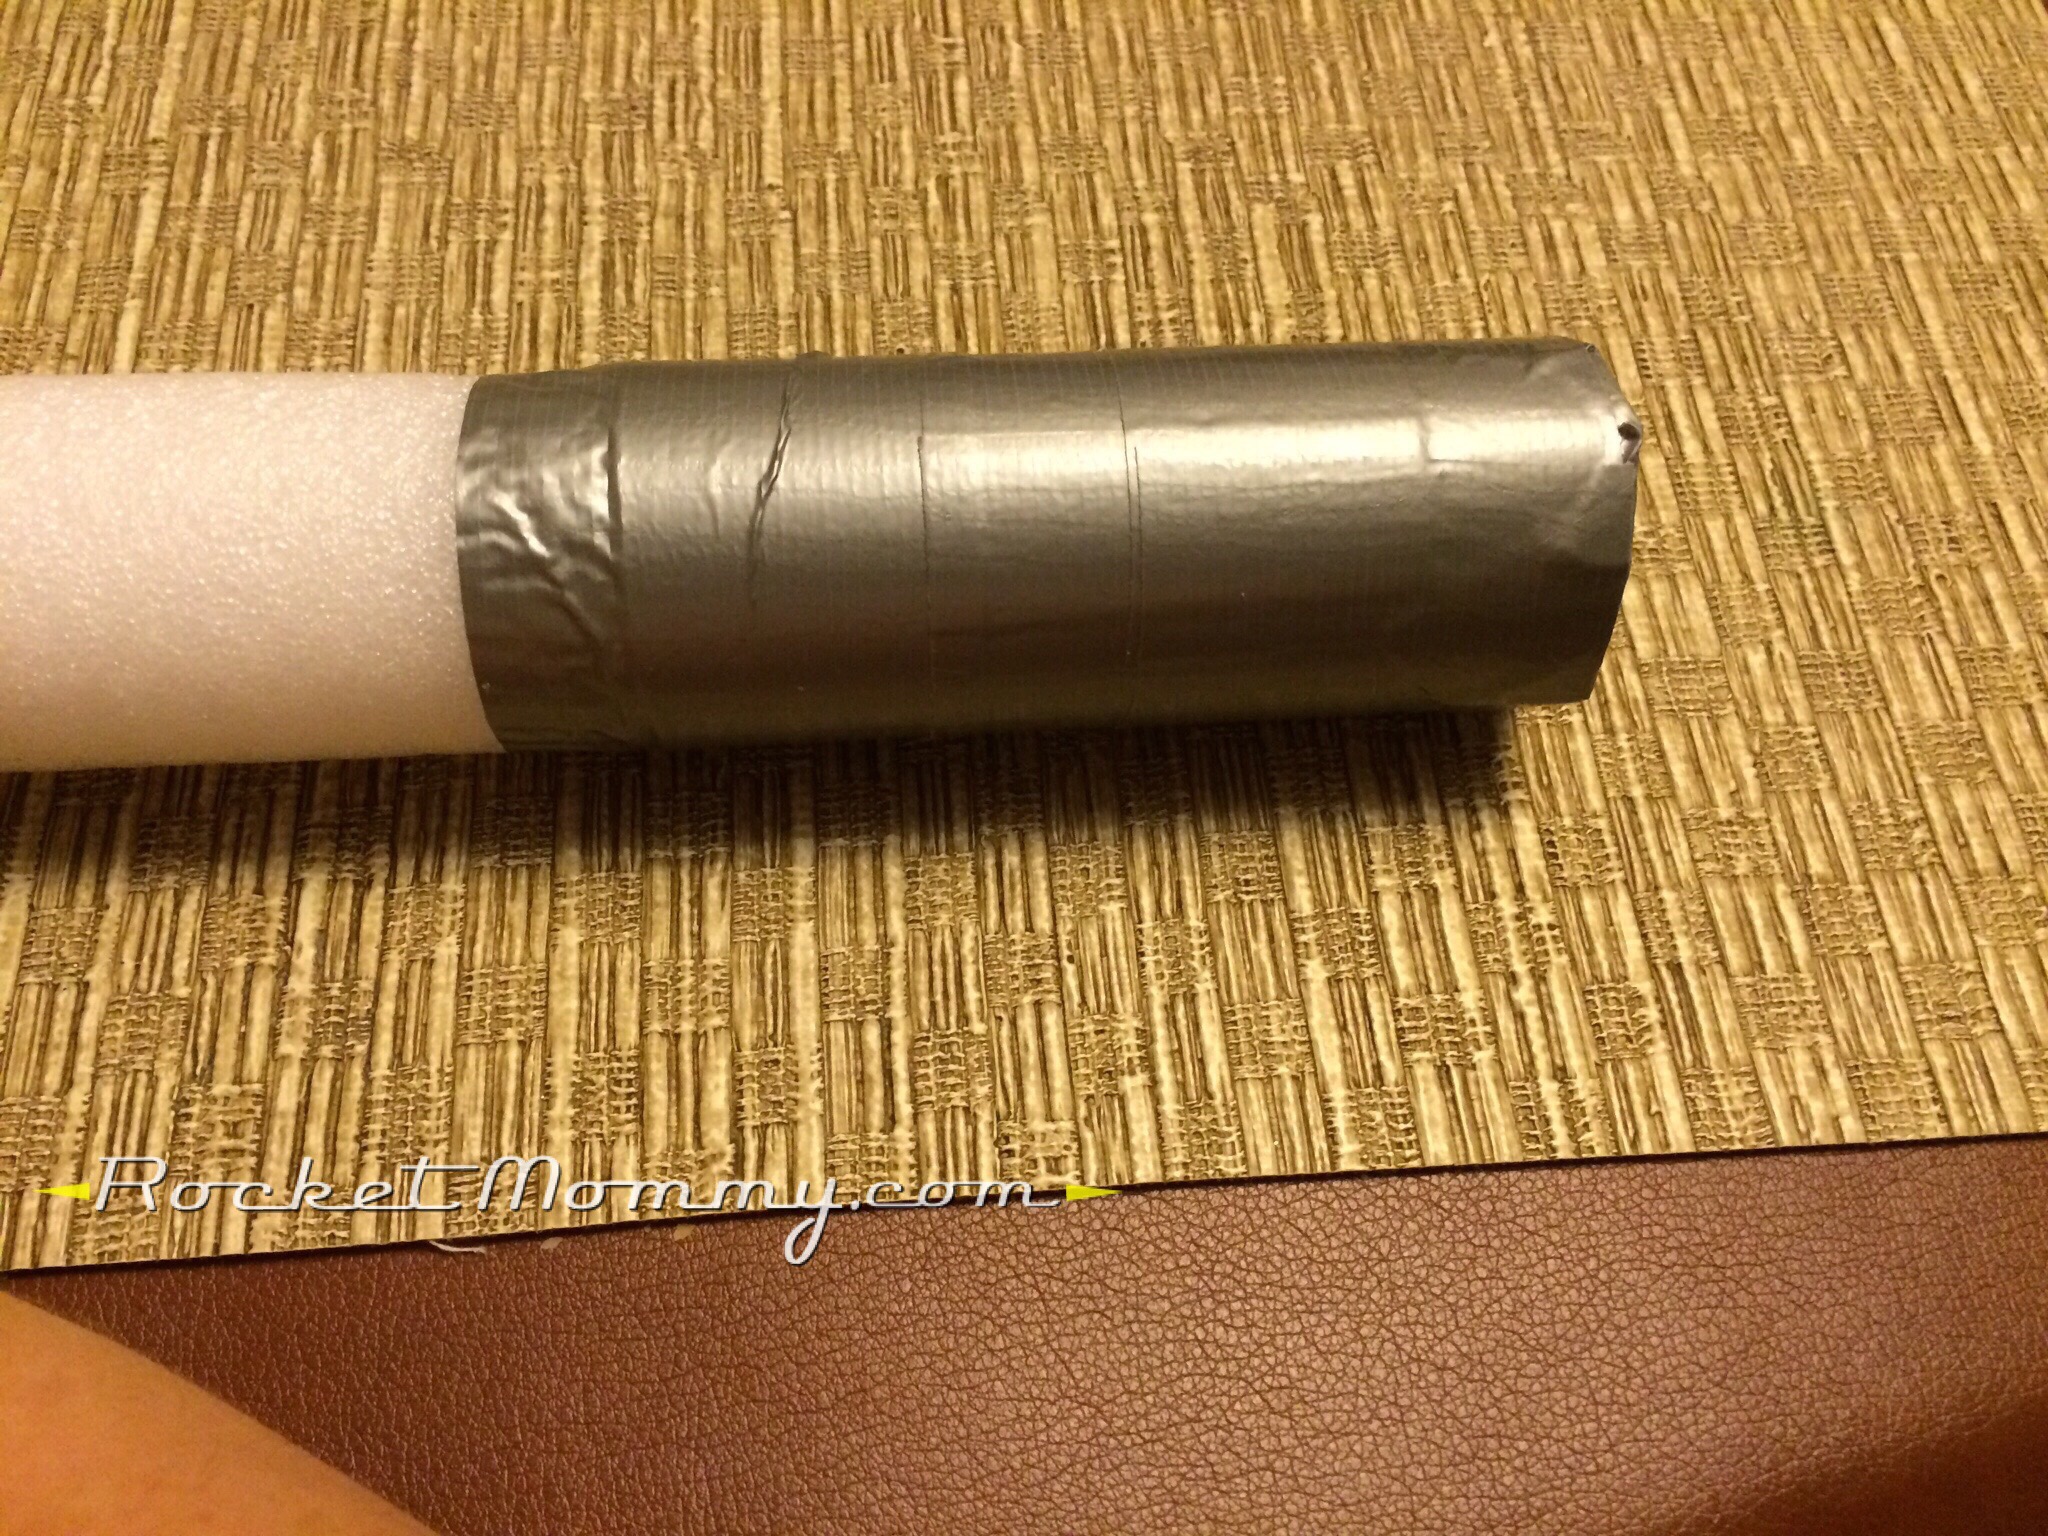
Now we’re going to start wrapping this handle with a layer of silver duct tape. Start at the inside edge and overlap the tape onto the foam about 1/4″-1/2″, then continue down the rest of the handle.

Make sure you cut out a little window for the switch after you tape over that hole you cut earlier.
Before you put the last ring of tape on the handle, take a piece of tape and put it over the end of the handle, wrapping the edges up and smoothing them against the handle.
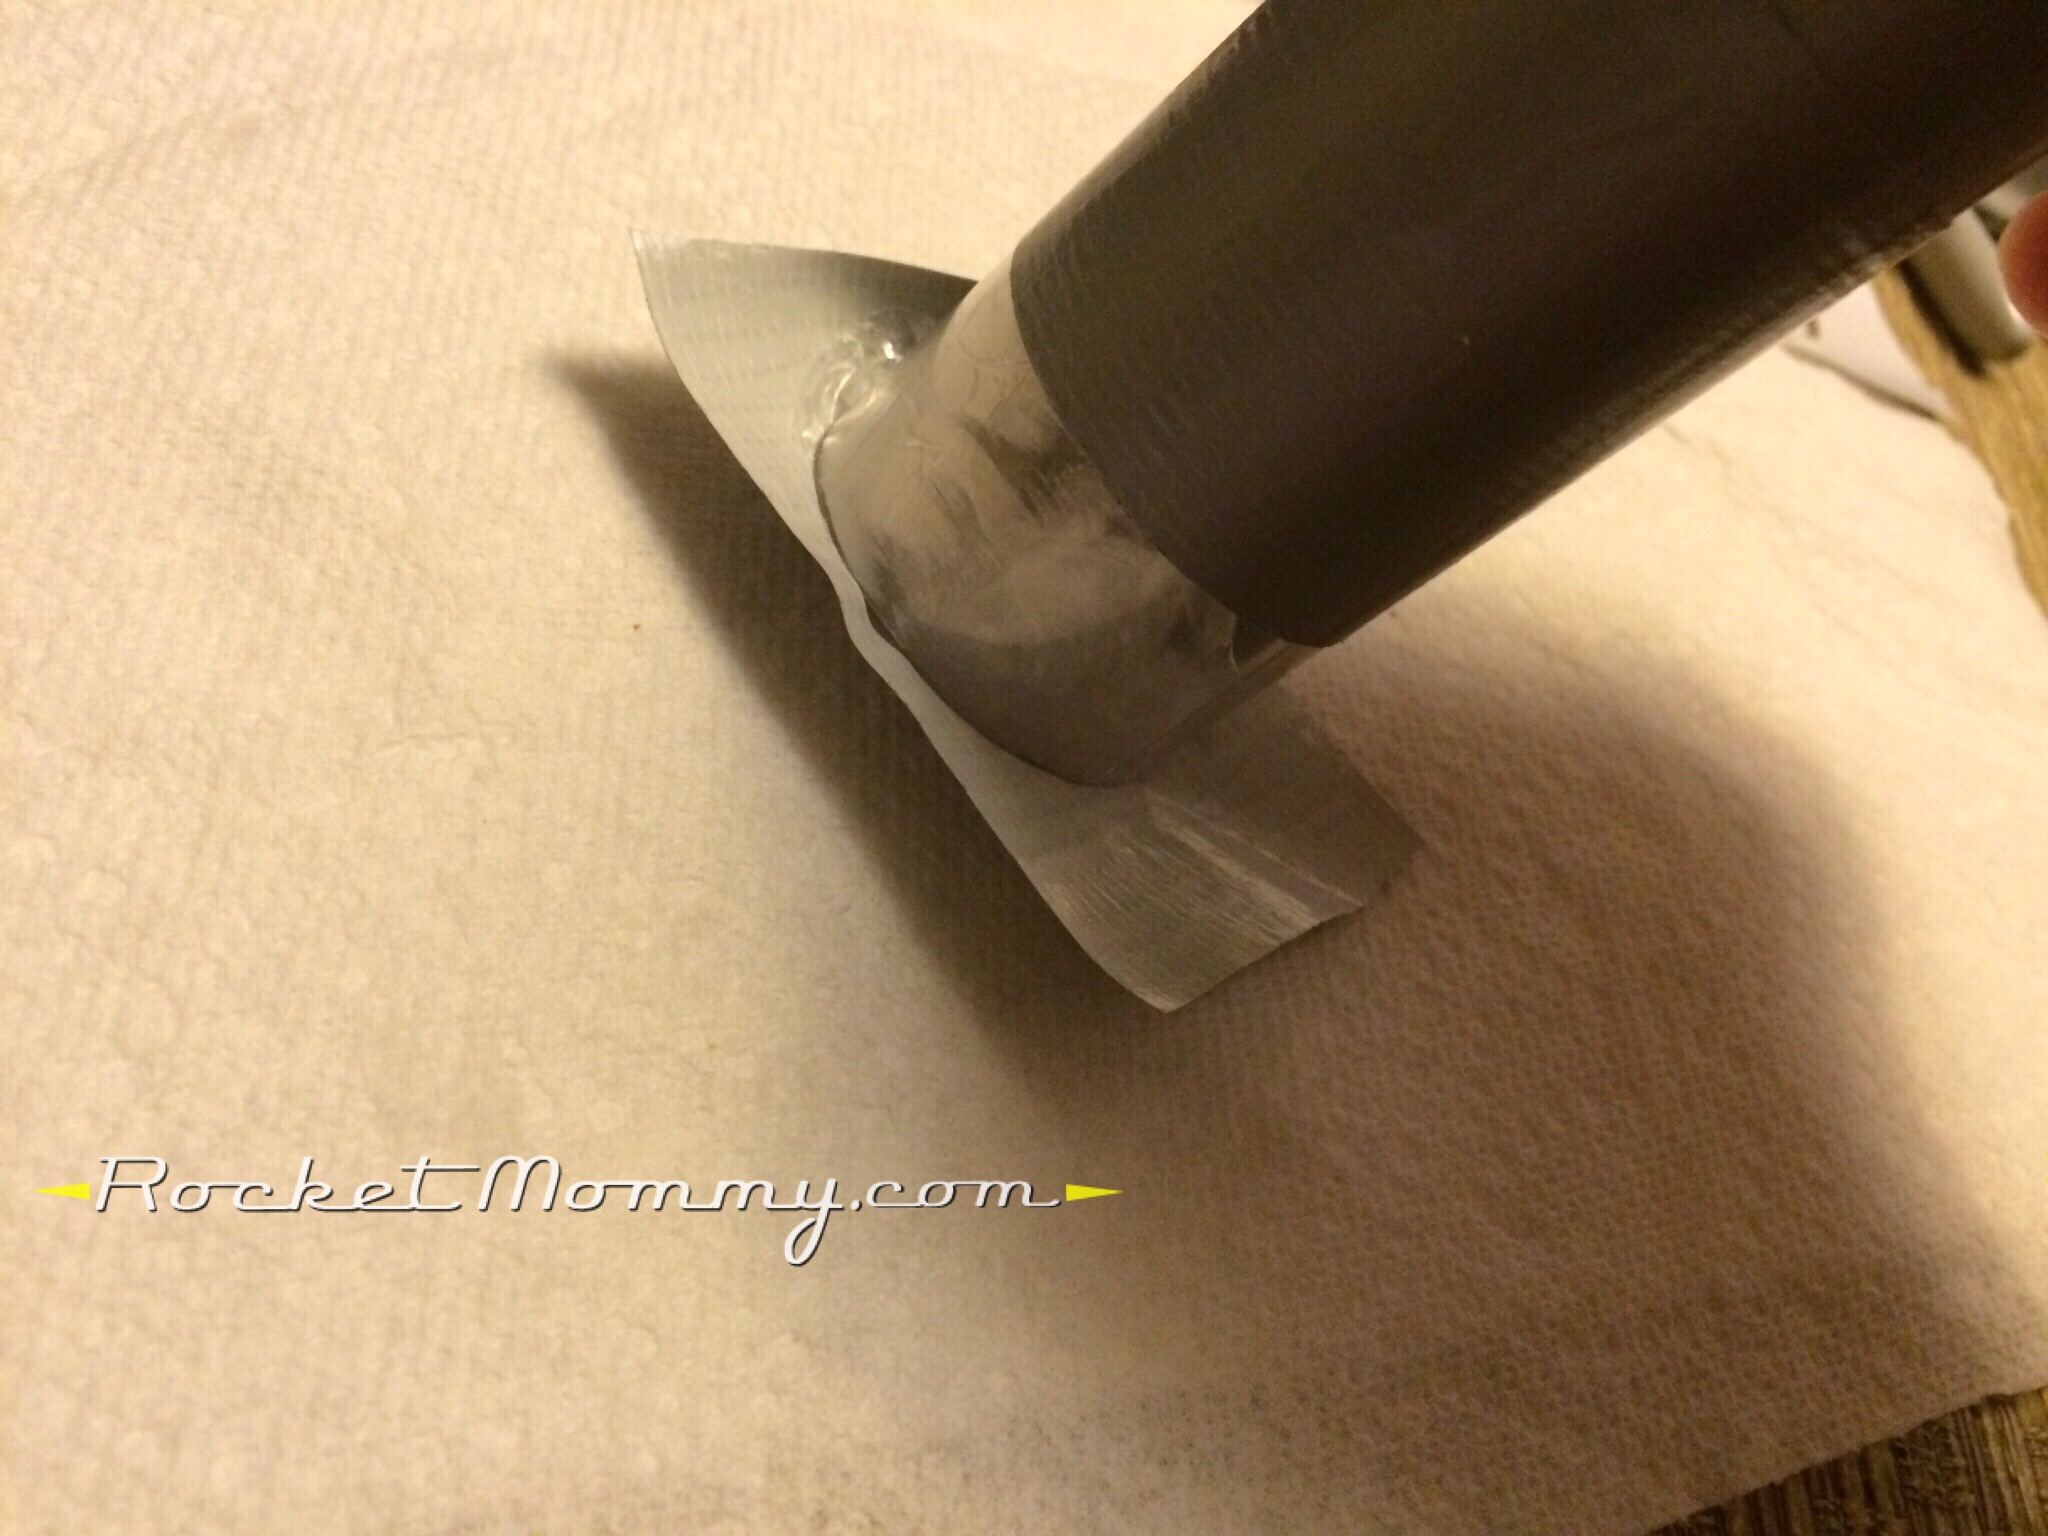
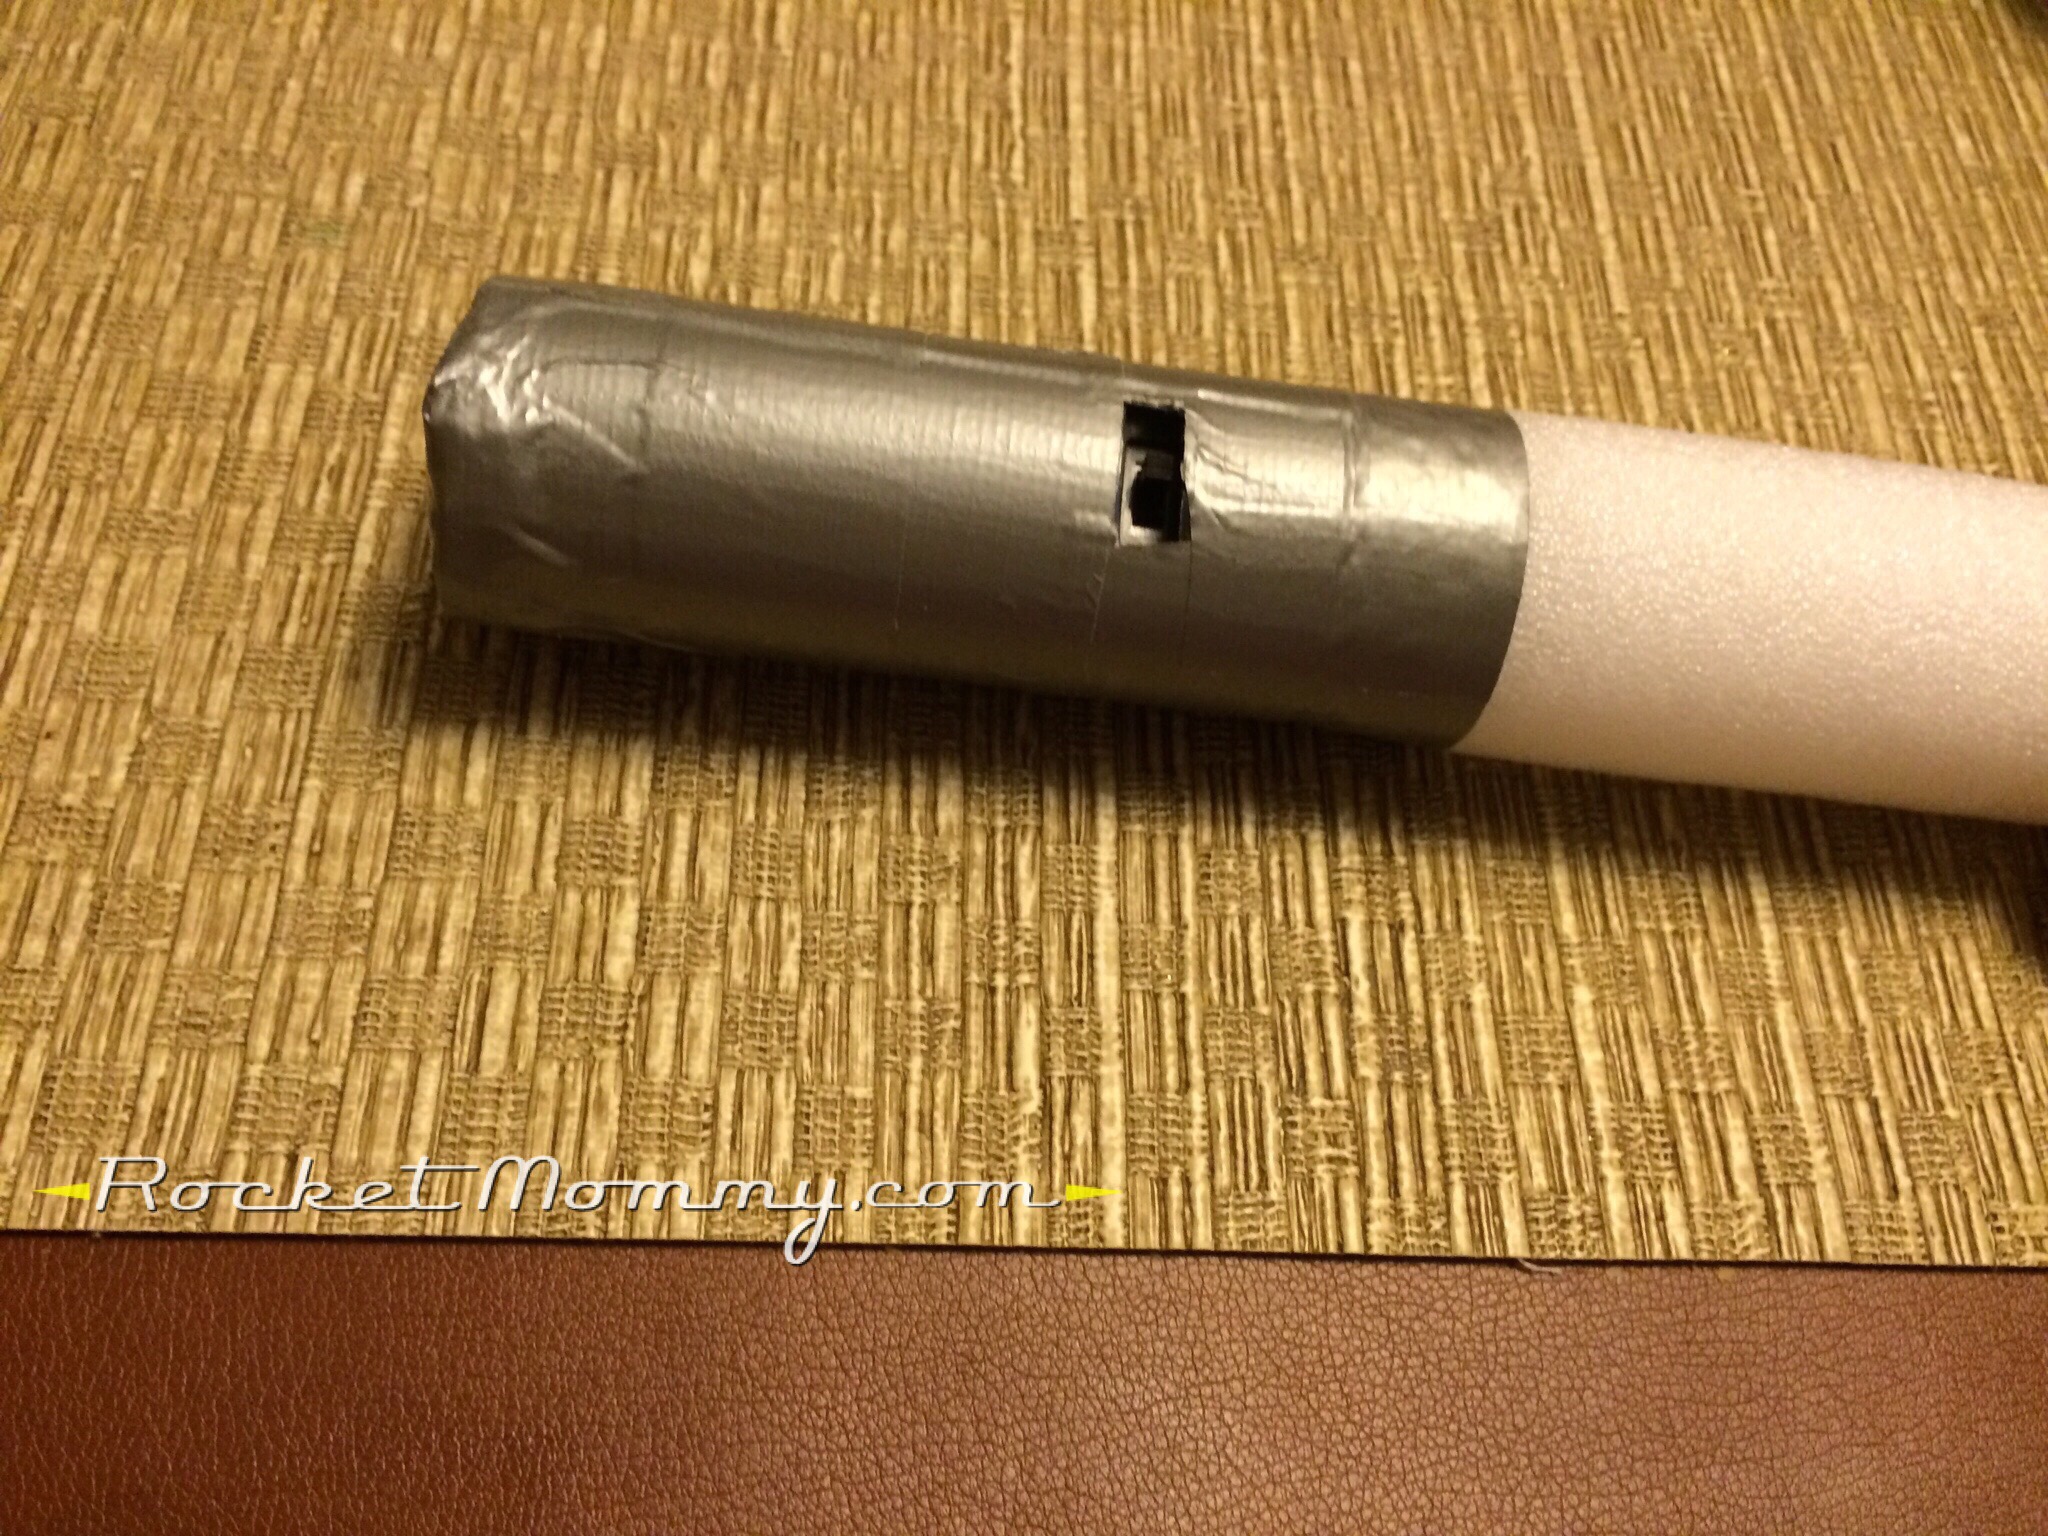
Then wrap that last strip around the bottom edge, and you’re done with the construction on this side!
Now, let’s move to the other handle. You’re going to deal with the Pepsi plastic in essentially the same way, but this time, you’re just going to roll up a piece of bubble wrap tightly to fill up the empty space in the handle, since there’s no battery pack on this side.
Wrap that up the same way you did on the first side, and you should have a sturdy handle on this end too.
Yay, now it’s time to decorate!
I like to use Electrical Tape to add details to crafts. It’s amazing stuff – they sell a six-pack of assorted colors in small rolls at the dollar store, and it stretches and will follow curves and can be cut down into smaller shapes and stripes.
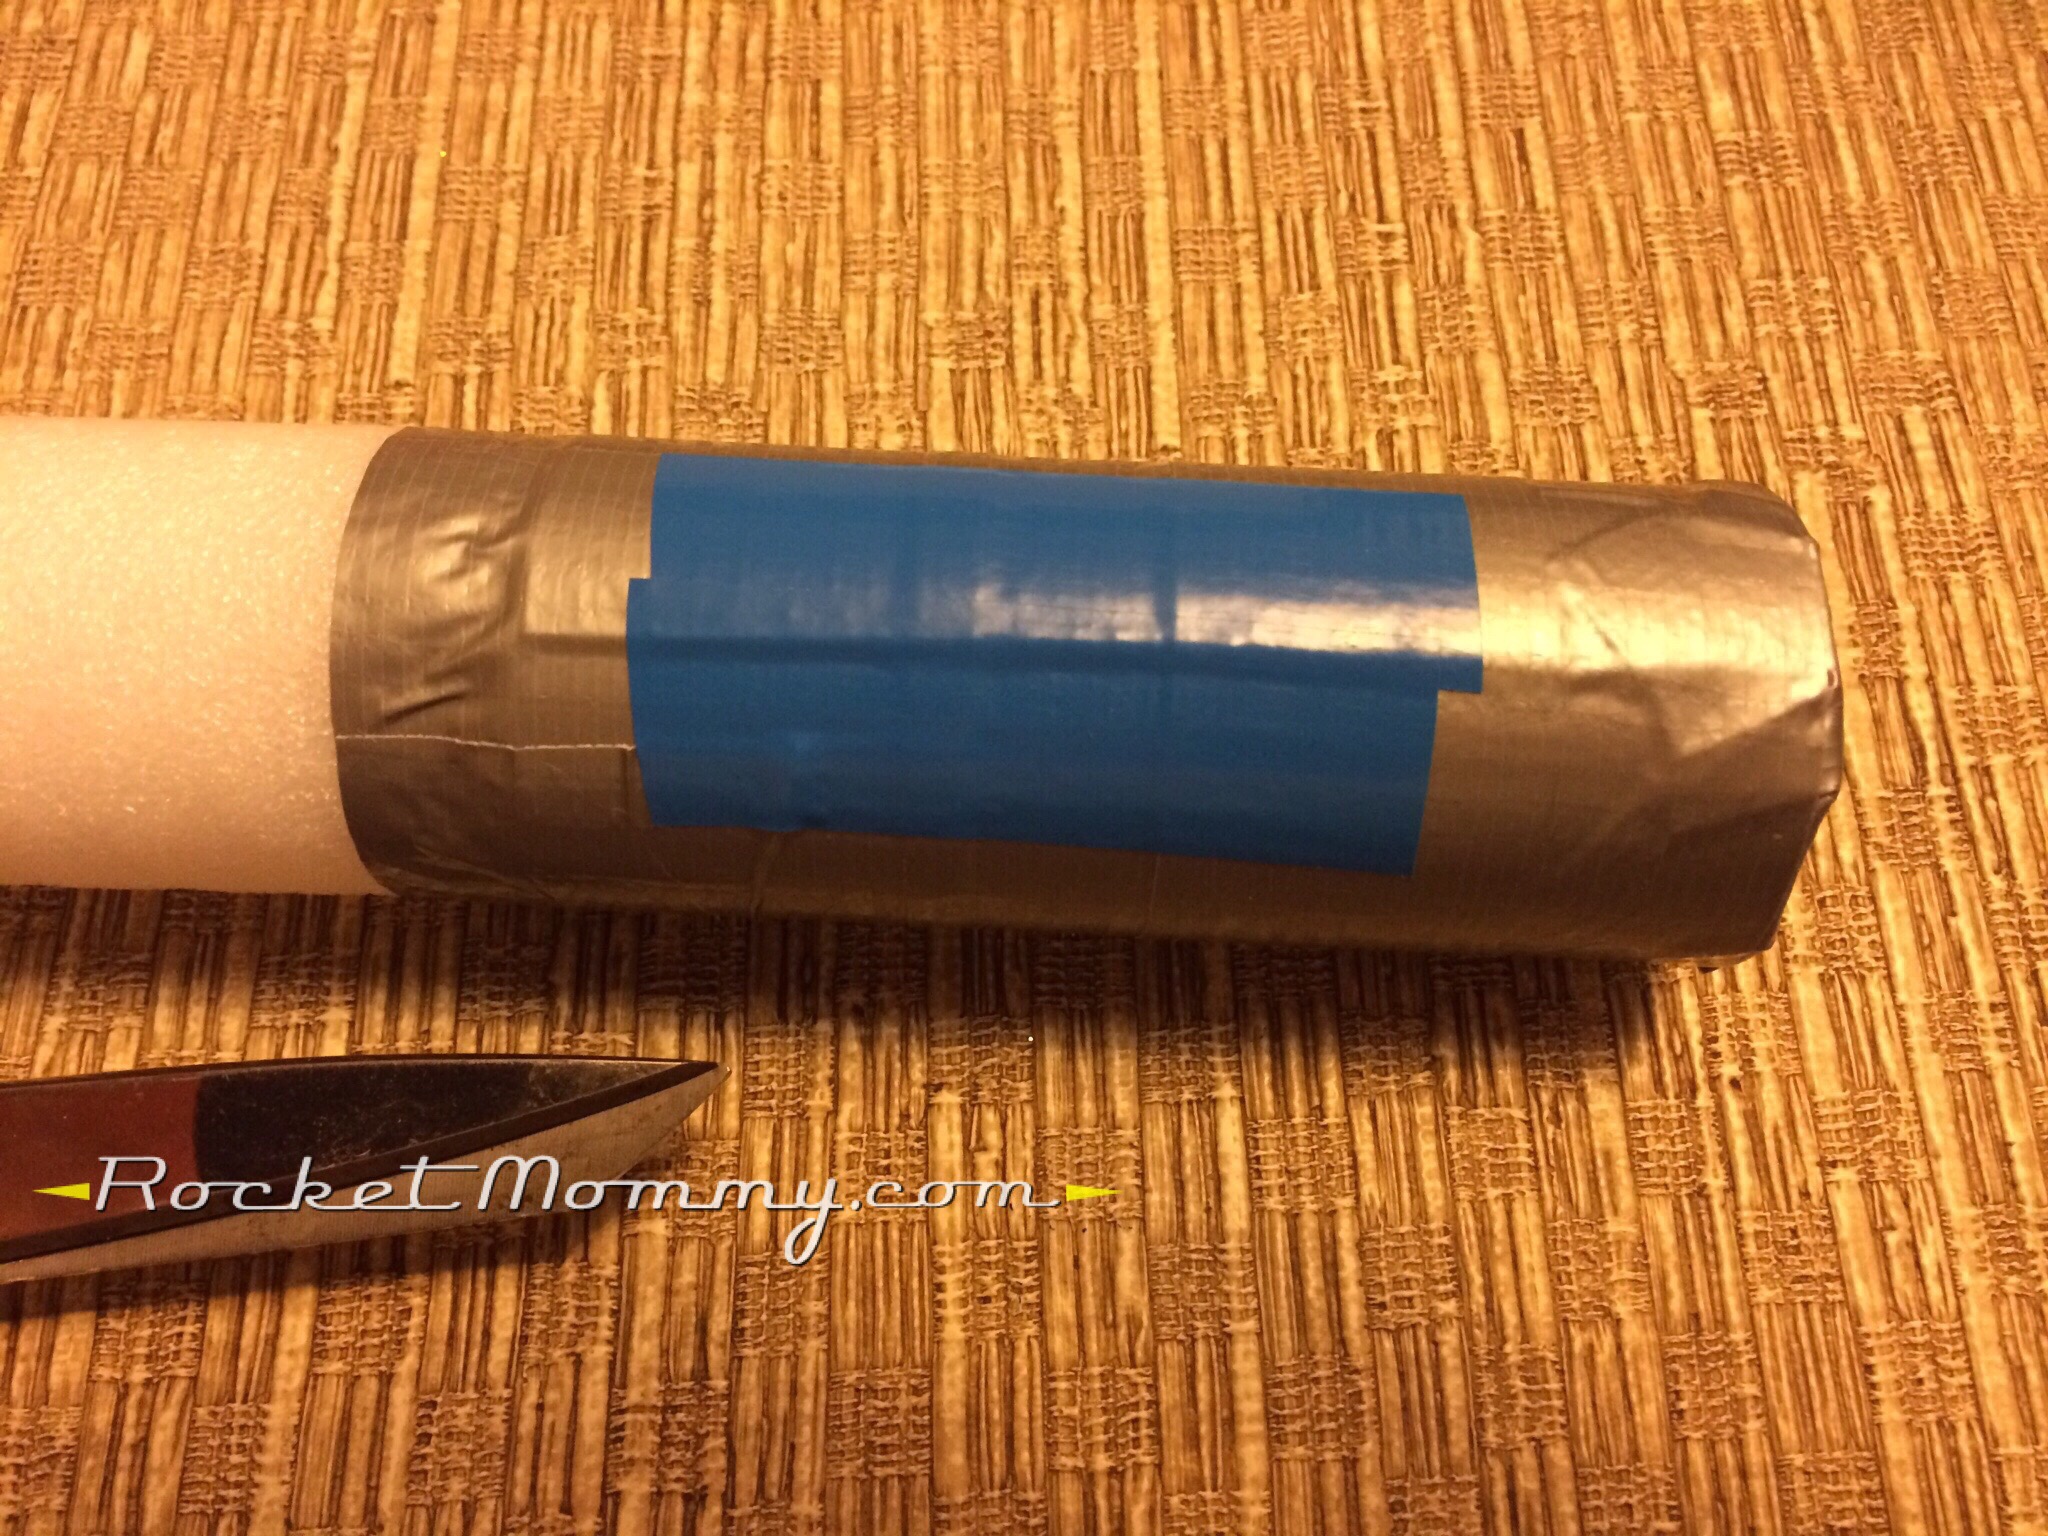
Start with a few pieces of blue tape.
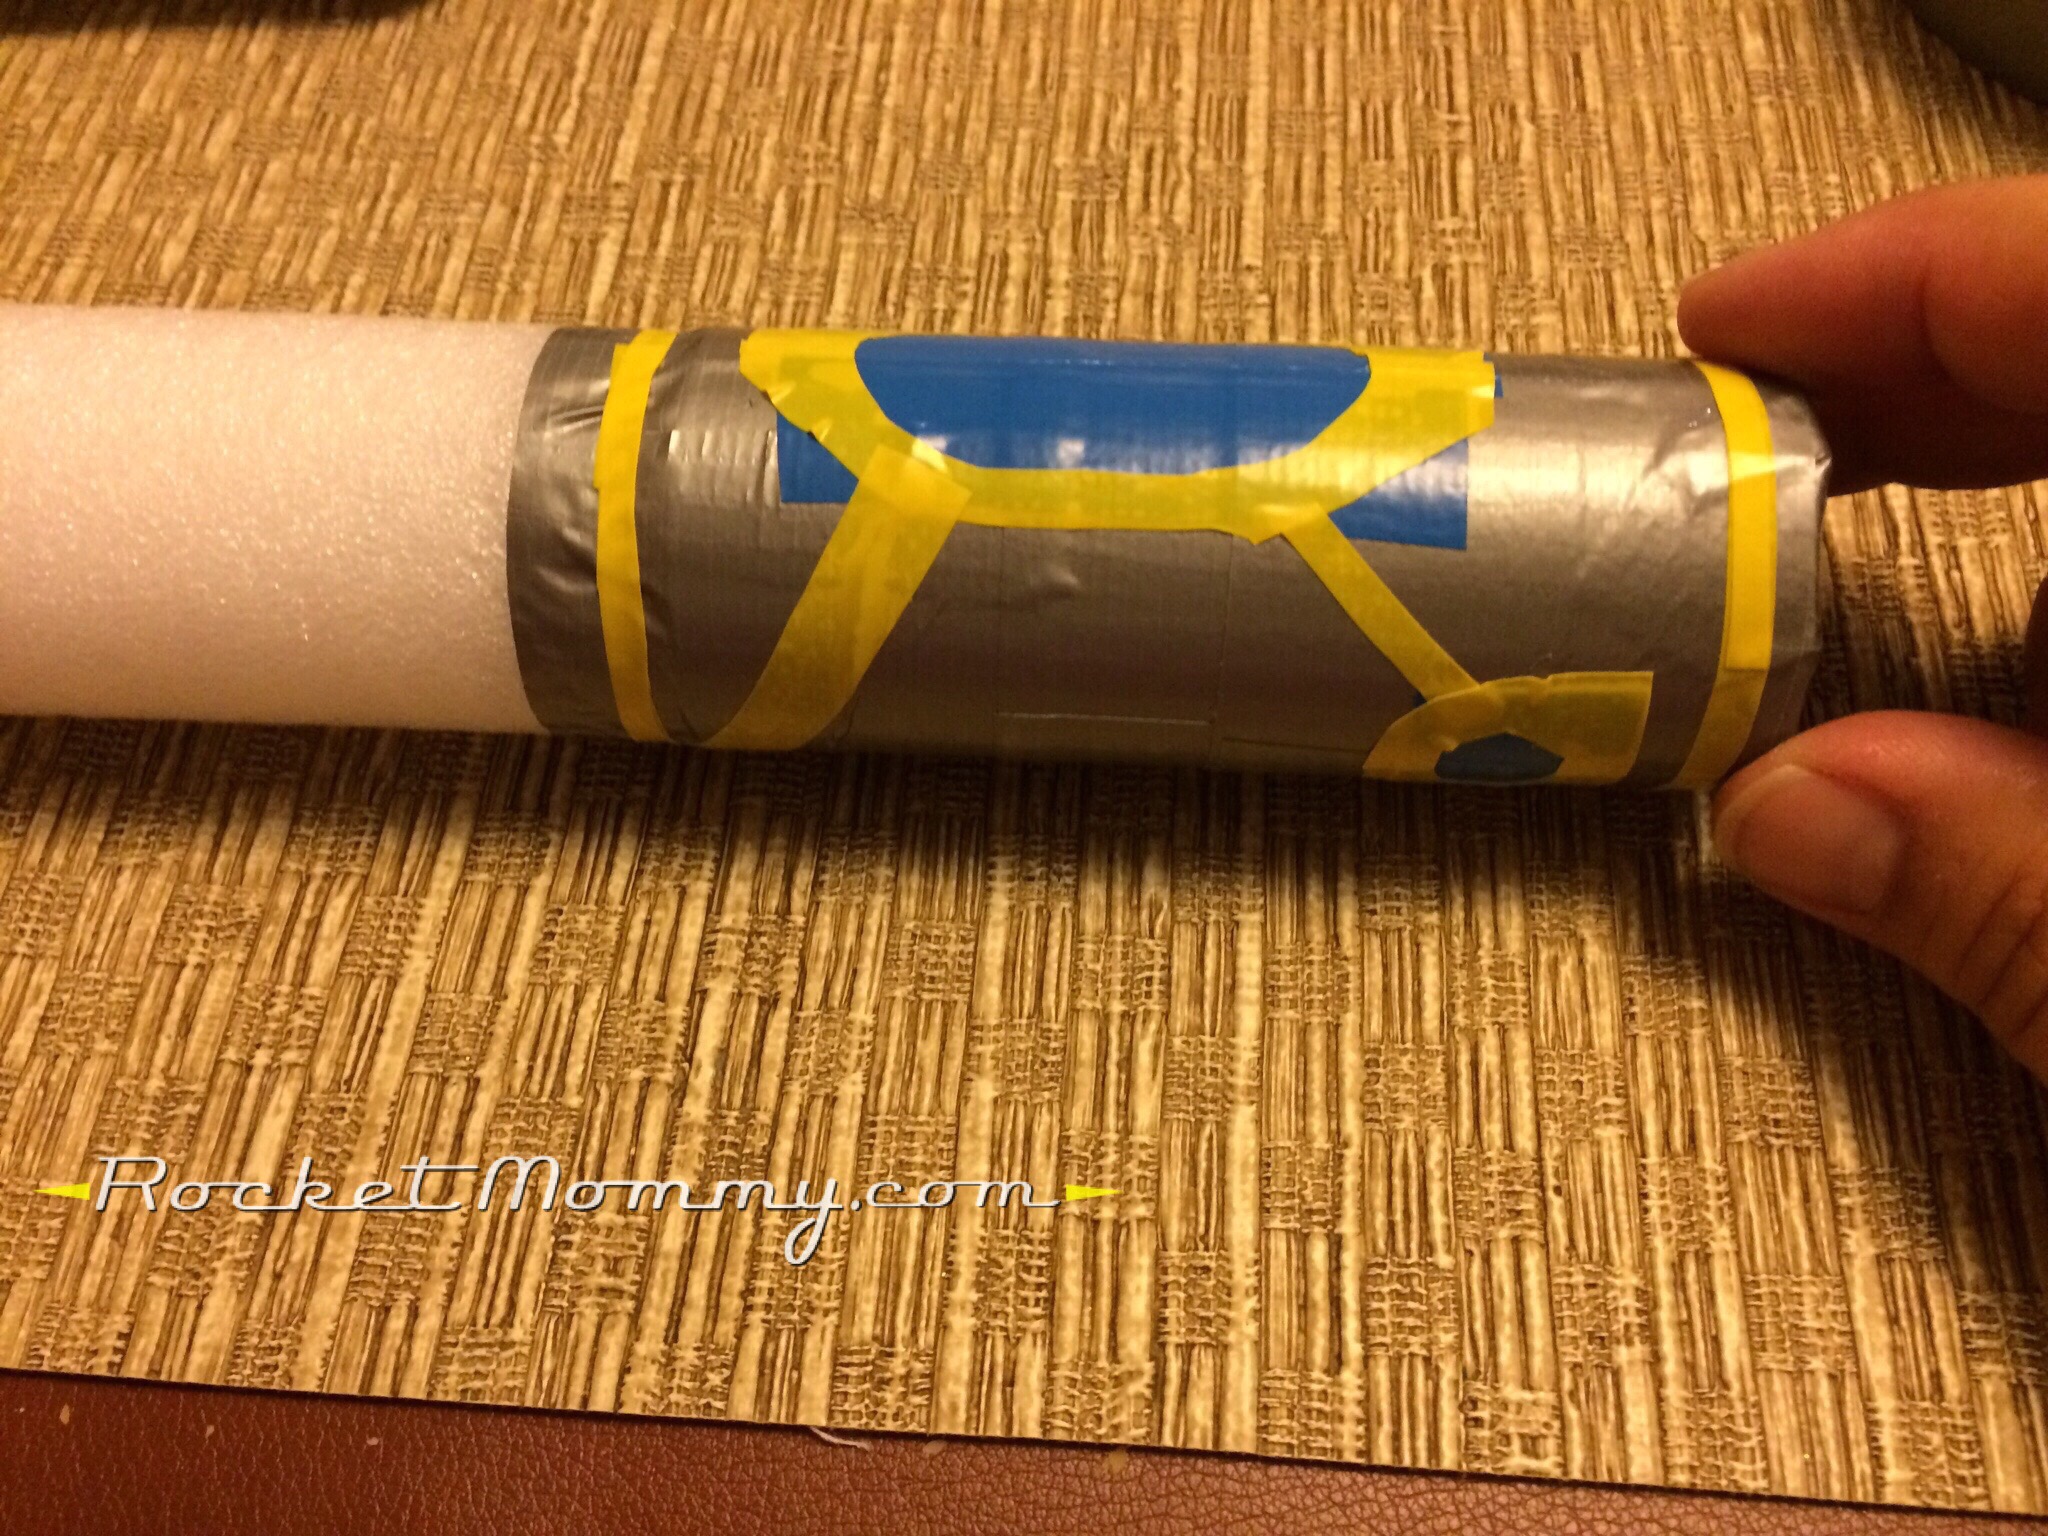
Then start working with the yellow tape. The laserang has some gold details on the handles, and the yellow tape is standing in for that. If you have a gold metallic tape option, use it here!
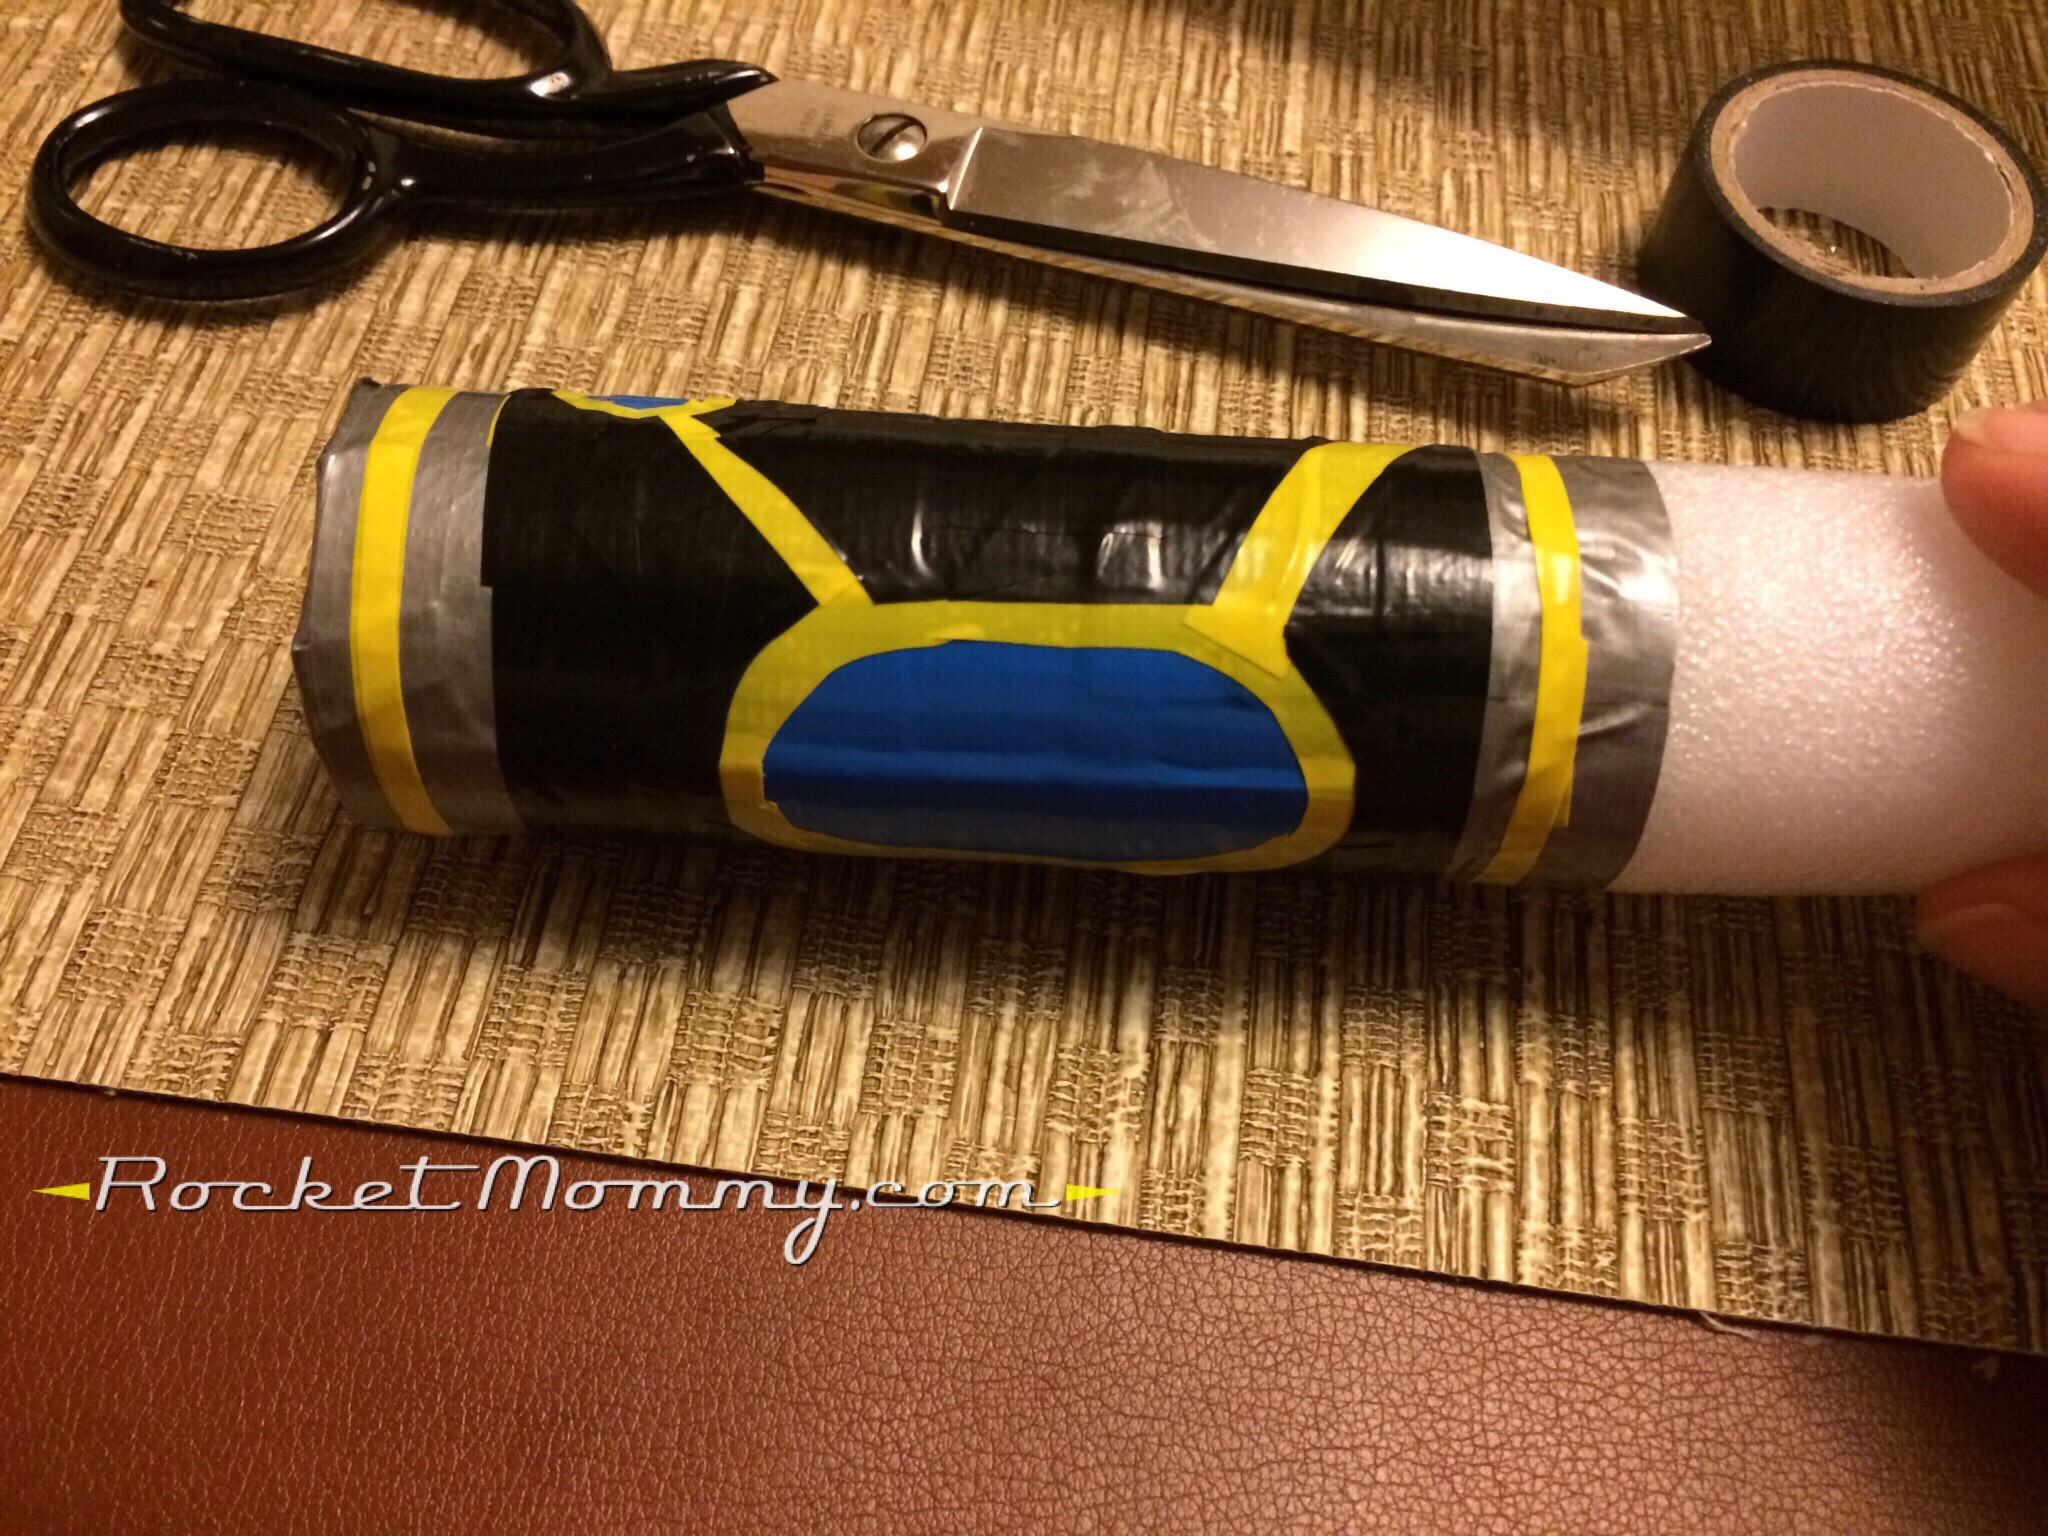
Then when you have all of your designs roughed in with the different colors, get out your black electrical tape and use that to cover all the empty space and clean up the other tape lines.
Try and keep your designs symmetrical on the two handles, and repeat your whole process over on the other side, and then you’re done!
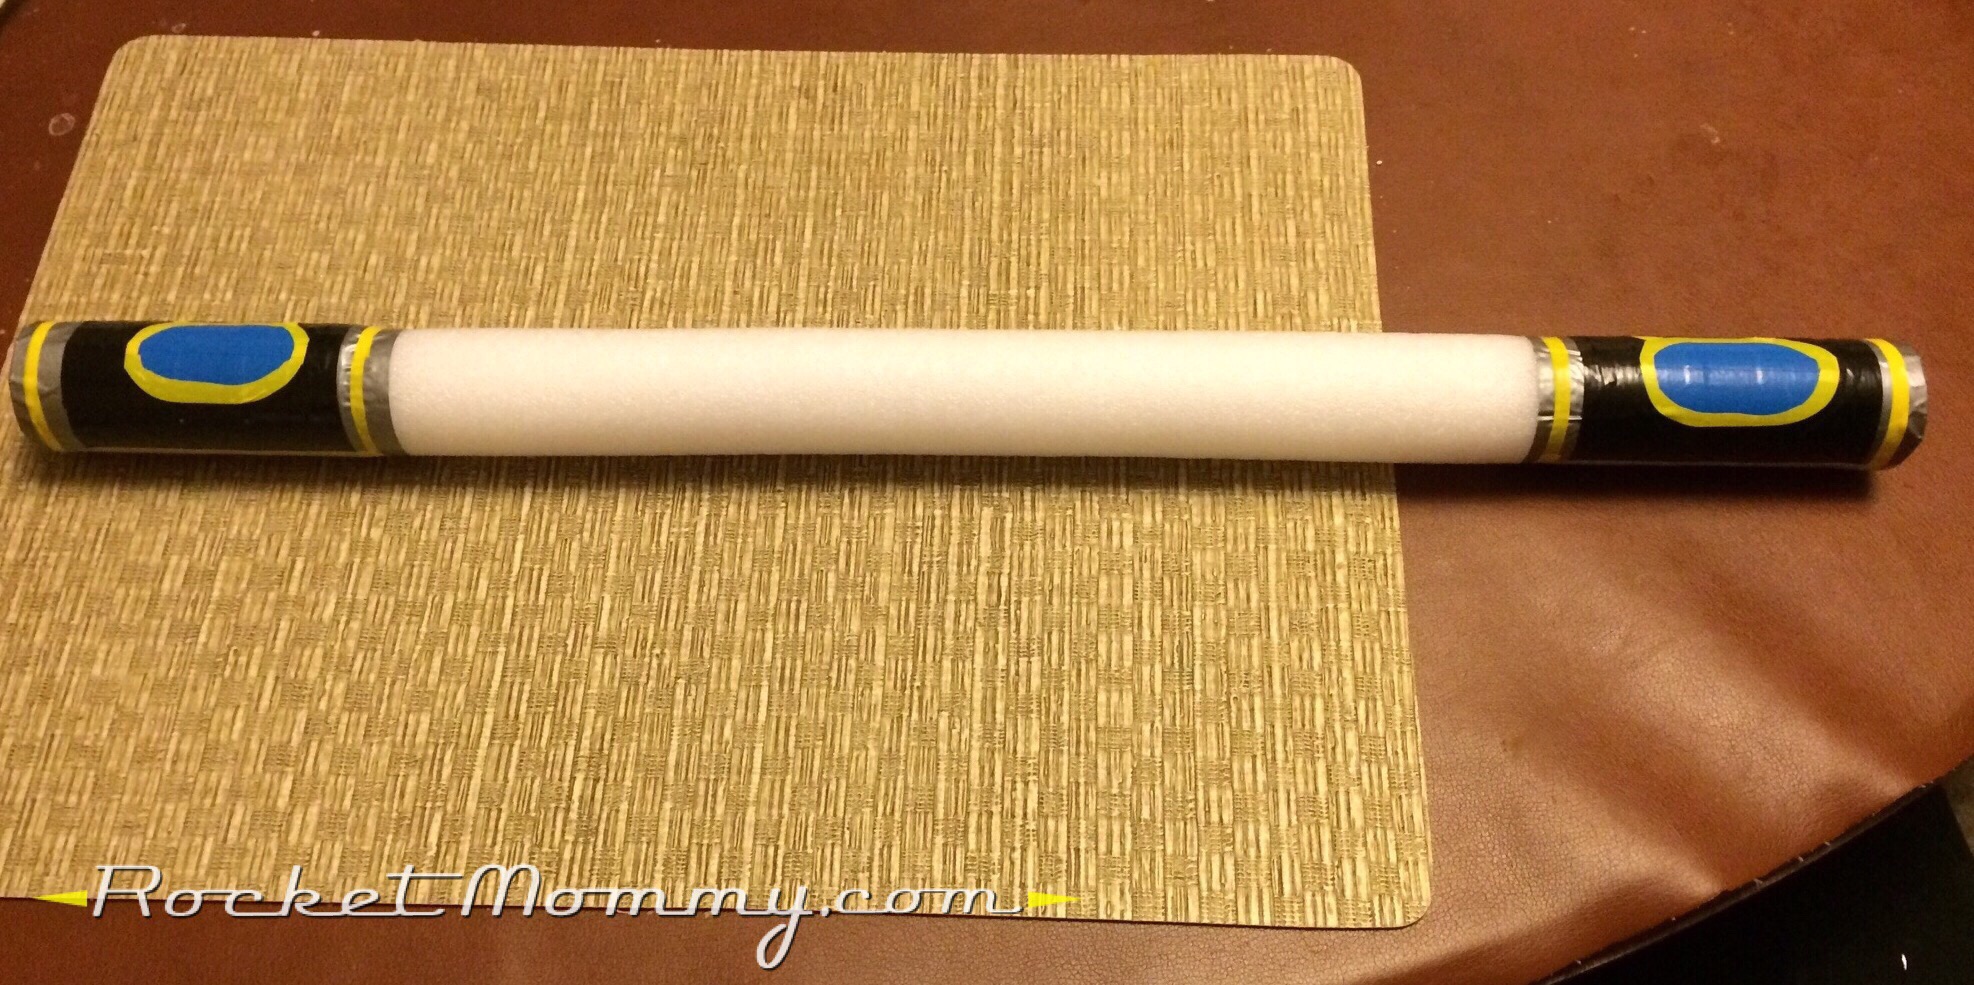
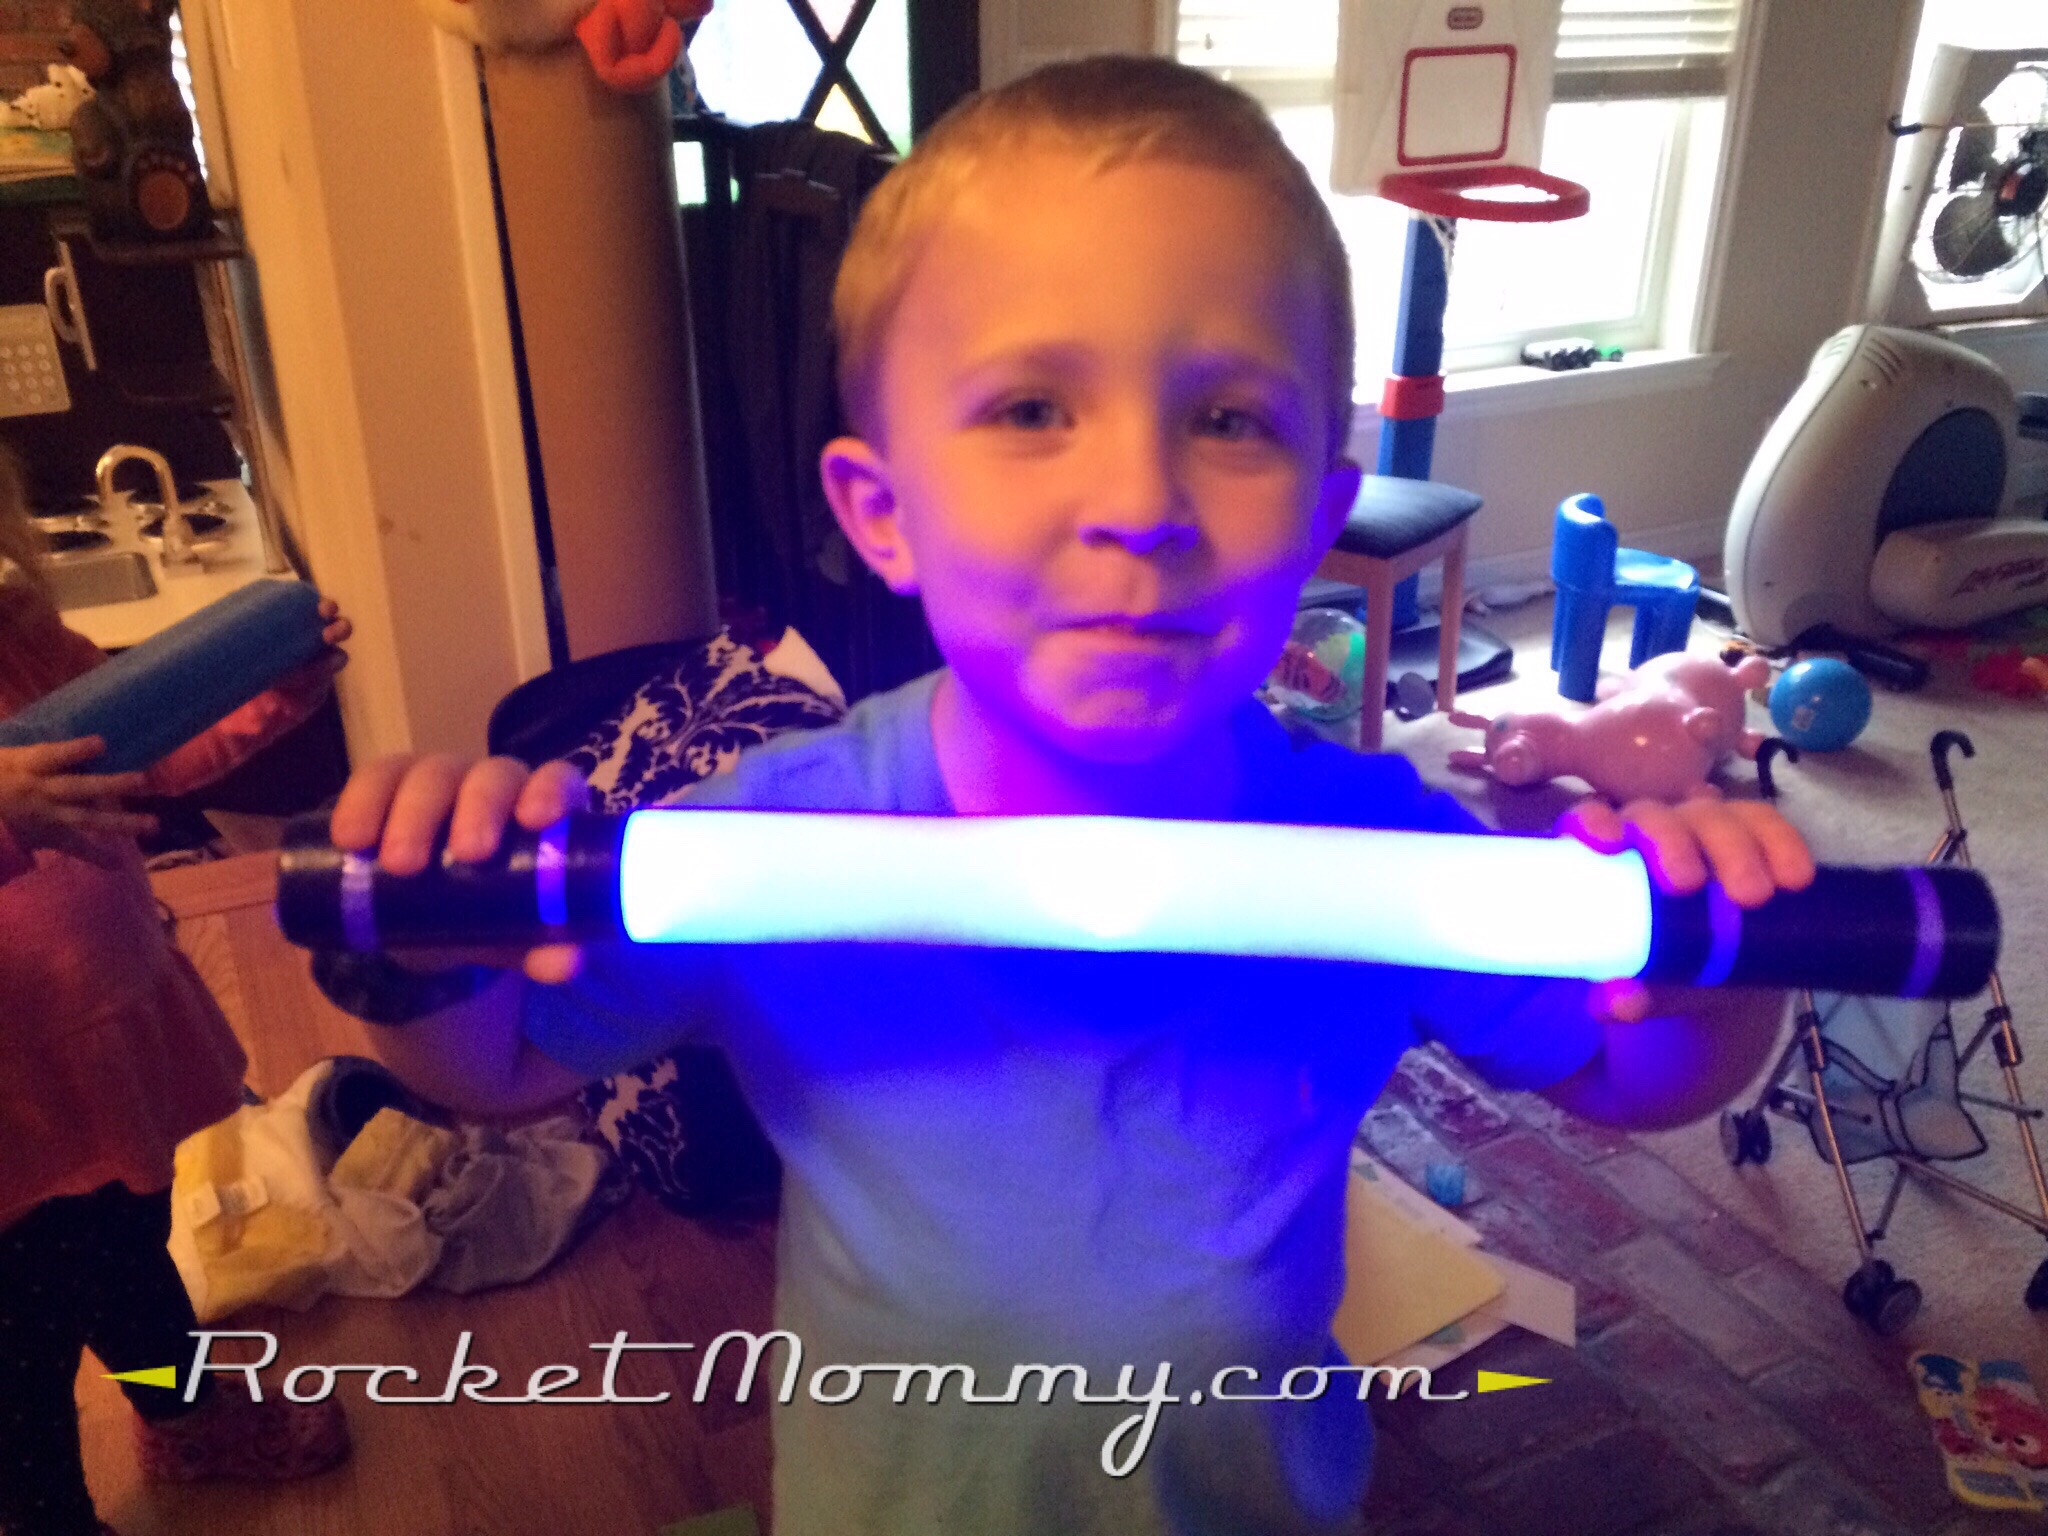
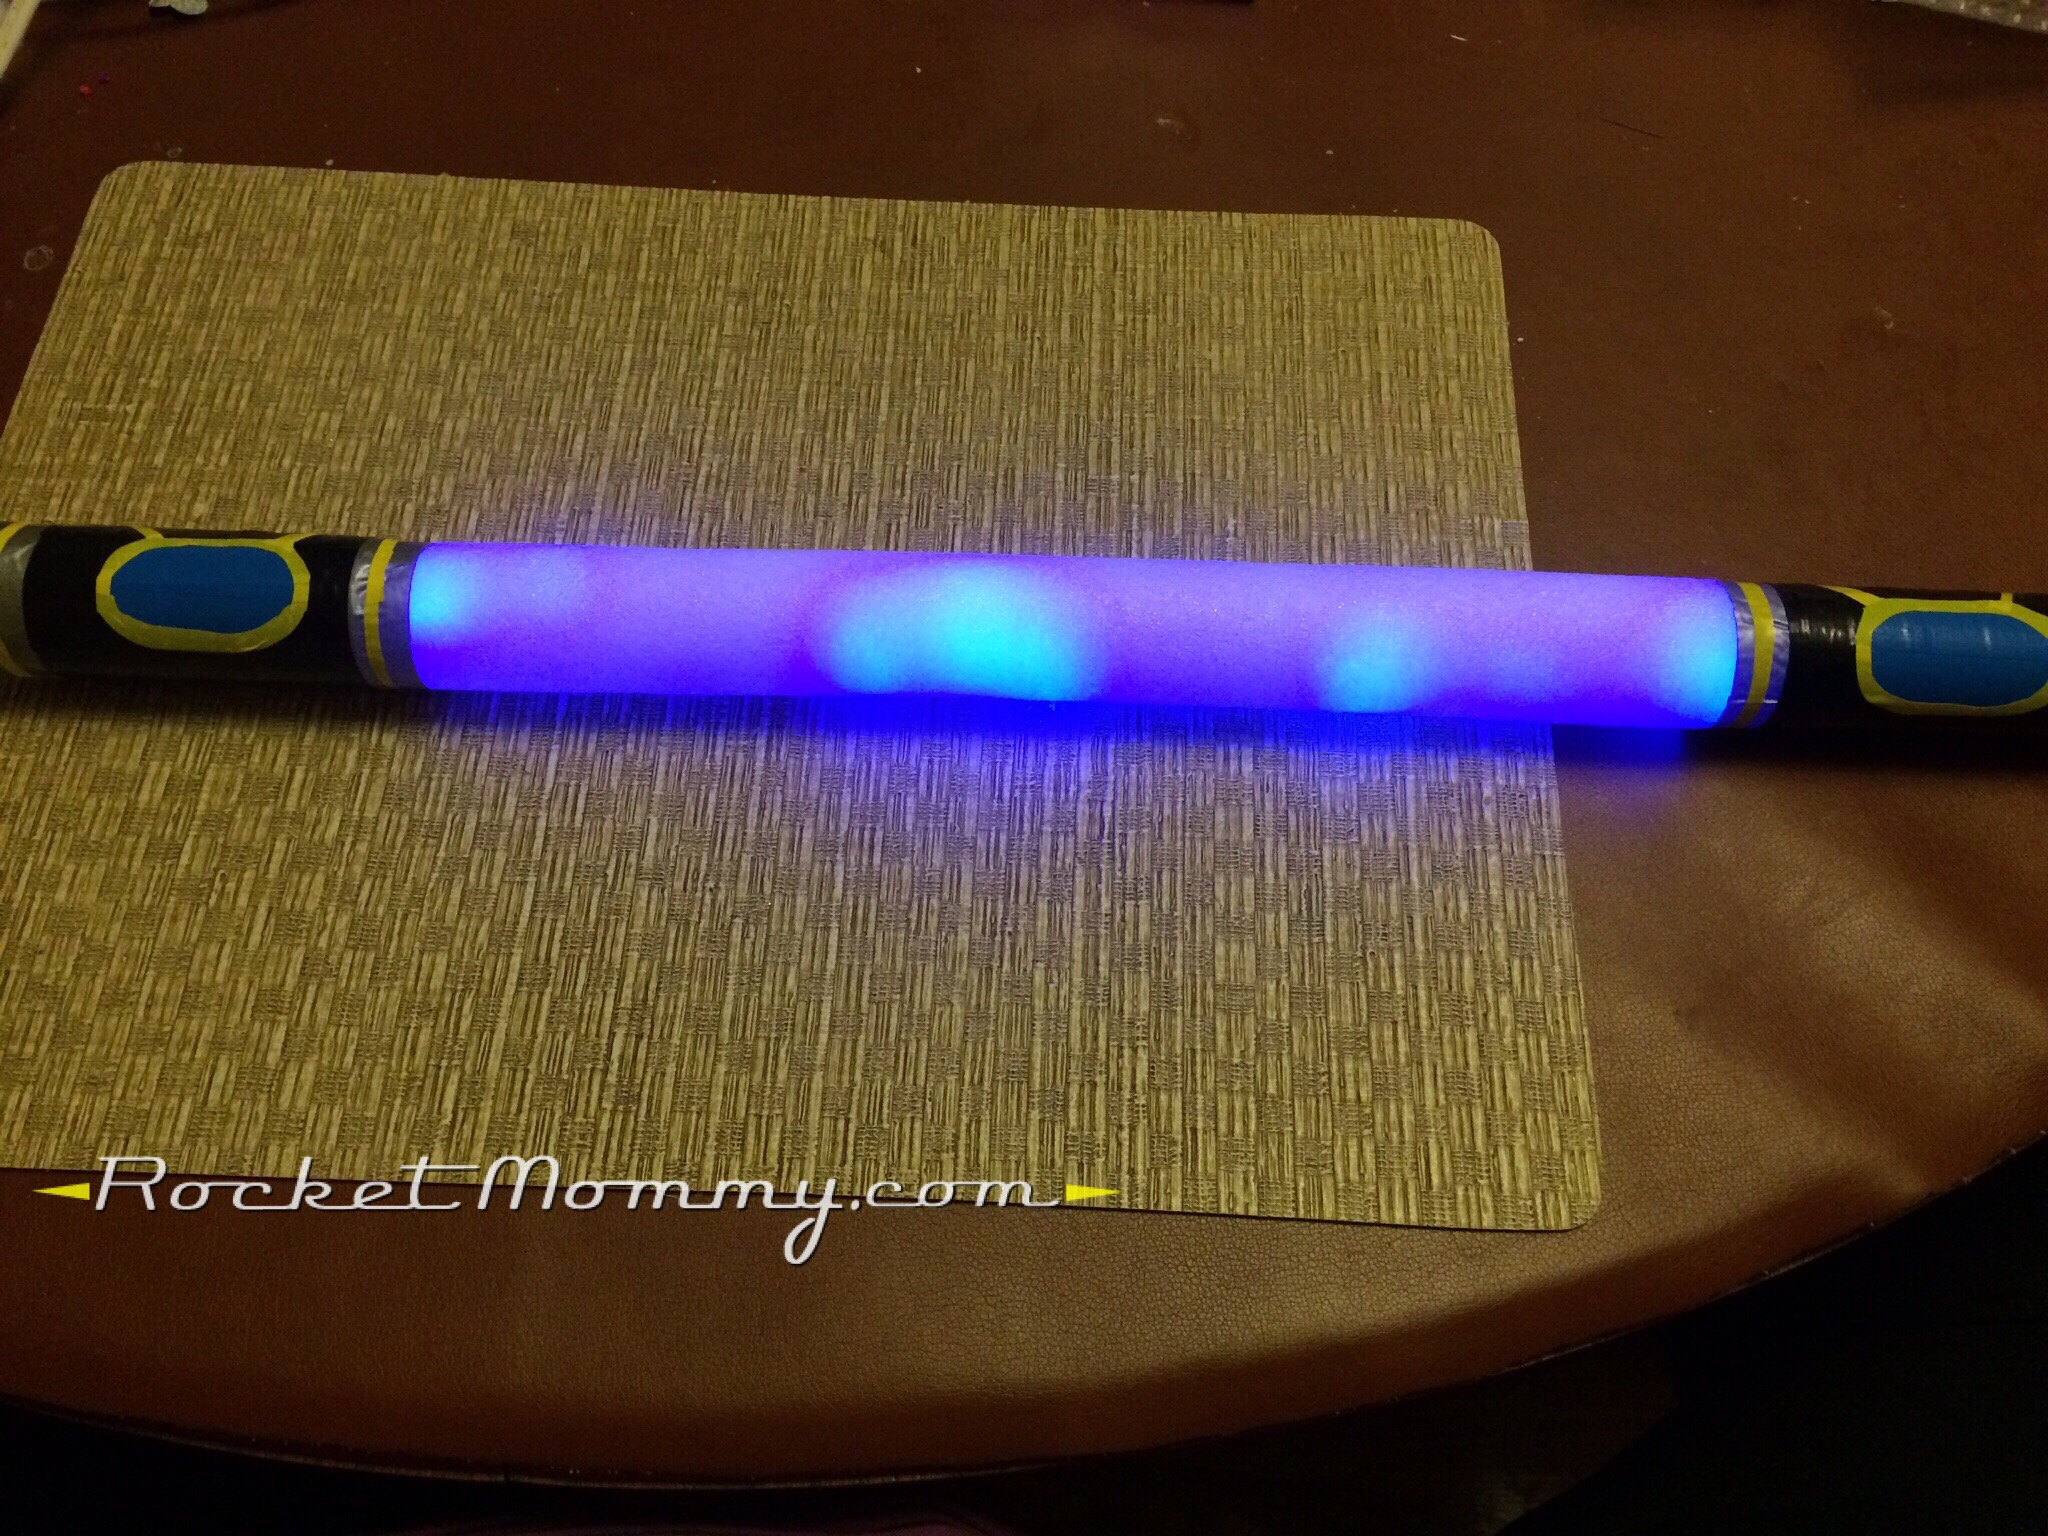
It doesn’t photograph very well when it’s lit up (the LED spots are much more obvious in photos and less so in real life) but it’s a pretty darn cool light-up toy for a couple bucks and about 20 minutes of craft work!
We may eventually replace this one with a “real” Laserang like this one, but when you’re working with materials this inexpensive, it’s much easier to have one for everyone and to make replacements when they wear them out!
does the laserang come back to you if it does make me one i will buy it if you tell me how much it is
Hi! No, sorry, the Laserang is just a light-up toy – I don’t have the engineering know-how to make it work like it does on the show (but that would be really cool!).