I love April Fool’s Day. I mean, I’m a goofball at heart, and pranks are generally pretty harmless fun, so why not enjoy the day that’s set aside specifically for jokes and tomfoolery?!
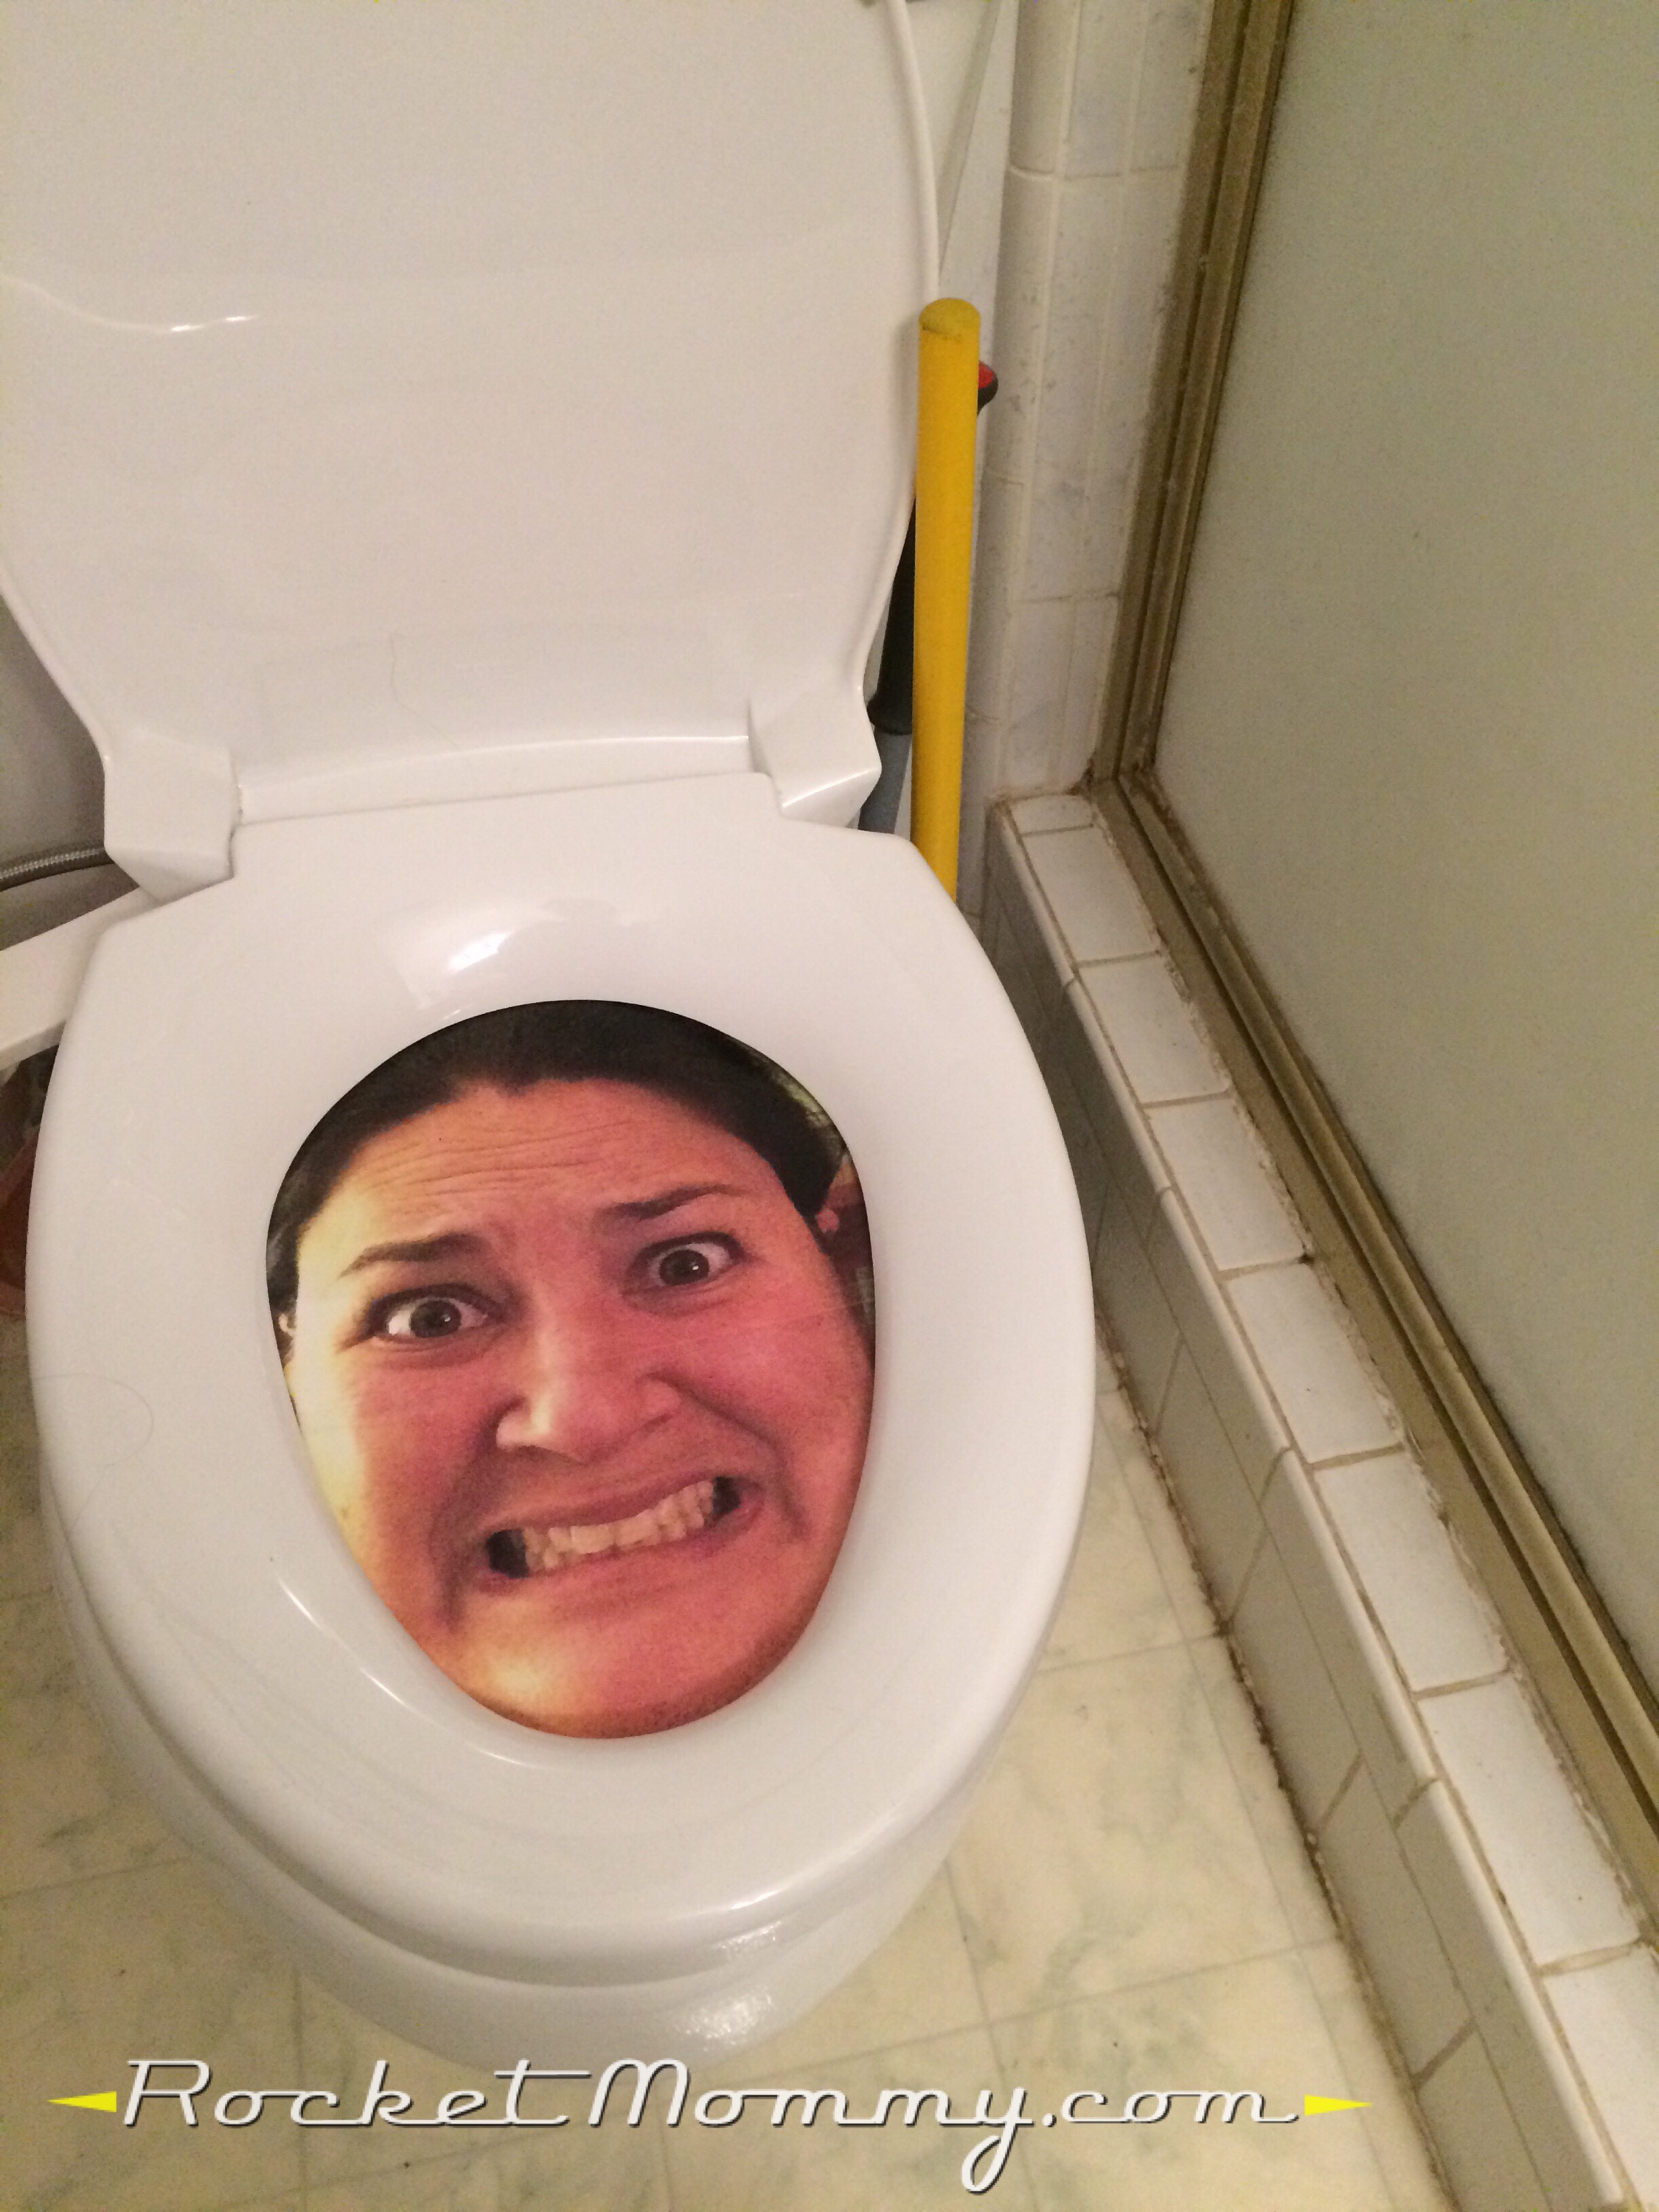
I pulled a couple of silly little pranks this year that I thought were pretty fun. I freaked Rocket Daddy out with this display in our bathroom first thing in the morning:
And if you follow me on Instagram, you know that I crafted a whole bunch of bumper sticker magnets and snuck up to my overwhelmingly conservative parents’ house in the middle of the night and stuck them all over their cars:

My mom’s car was, tragically, made of far more plastic than I had anticipated, so I had to stick hers on the side:

Dad’s car, however, took the Hillary magnets beautifully, AND he didn’t notice them until he had already driven around a bit in the morning! Score!

But I wasn’t satisfied with just that. I knew Rocket Daddy would think things were over after finding my face in the toilet first thing in the morning, and he wouldn’t expect a second prank later in the day. Soooo….I decided to try and make some fake cat vomit.
We have two cats in our home that we rescued years ago, and they are vomit machines. They throw up on EVERYTHING, and for their targets, they usually try to choose items that are expensive, irreplaceable, or difficult to clean. Totally believable as a prank, then, right?
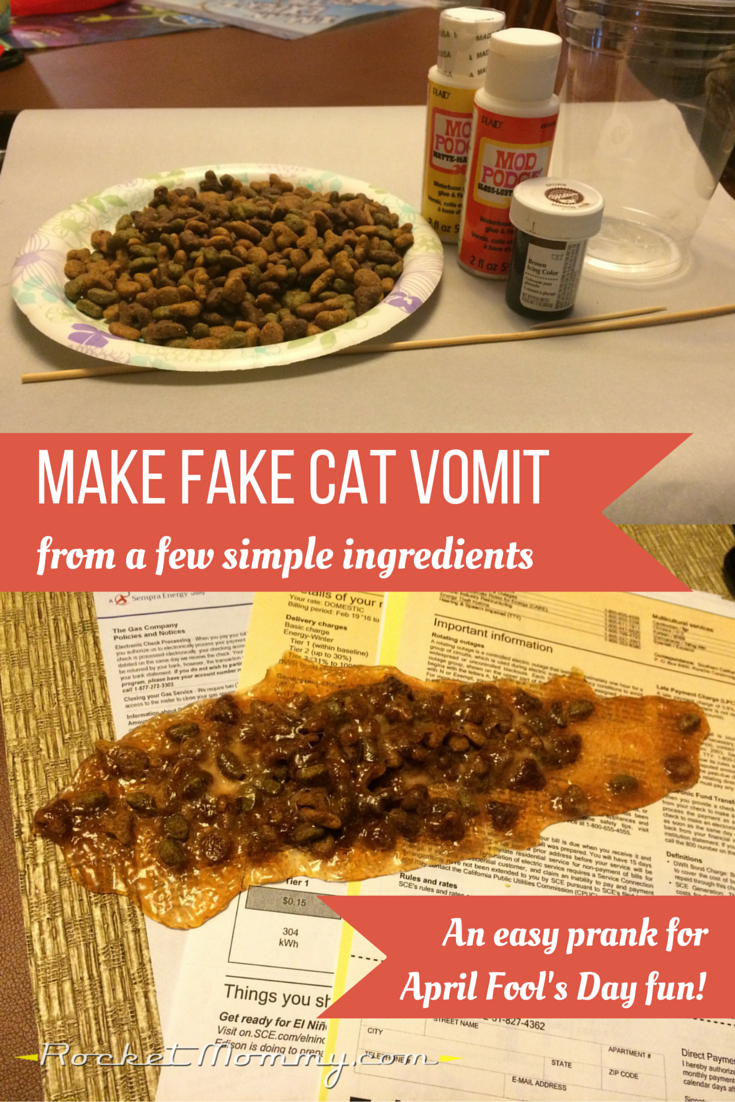
I used the basic process that I found in this post from The Clumsy Crafter. She made an awesome, realistic coffee spill that I figured would work great with some little tweaks. Go over and read her tutorial first, as it’s way more thorough than mine. And without further ado, here’s how you make fake cat vomit that can be placed anywhere in your house.
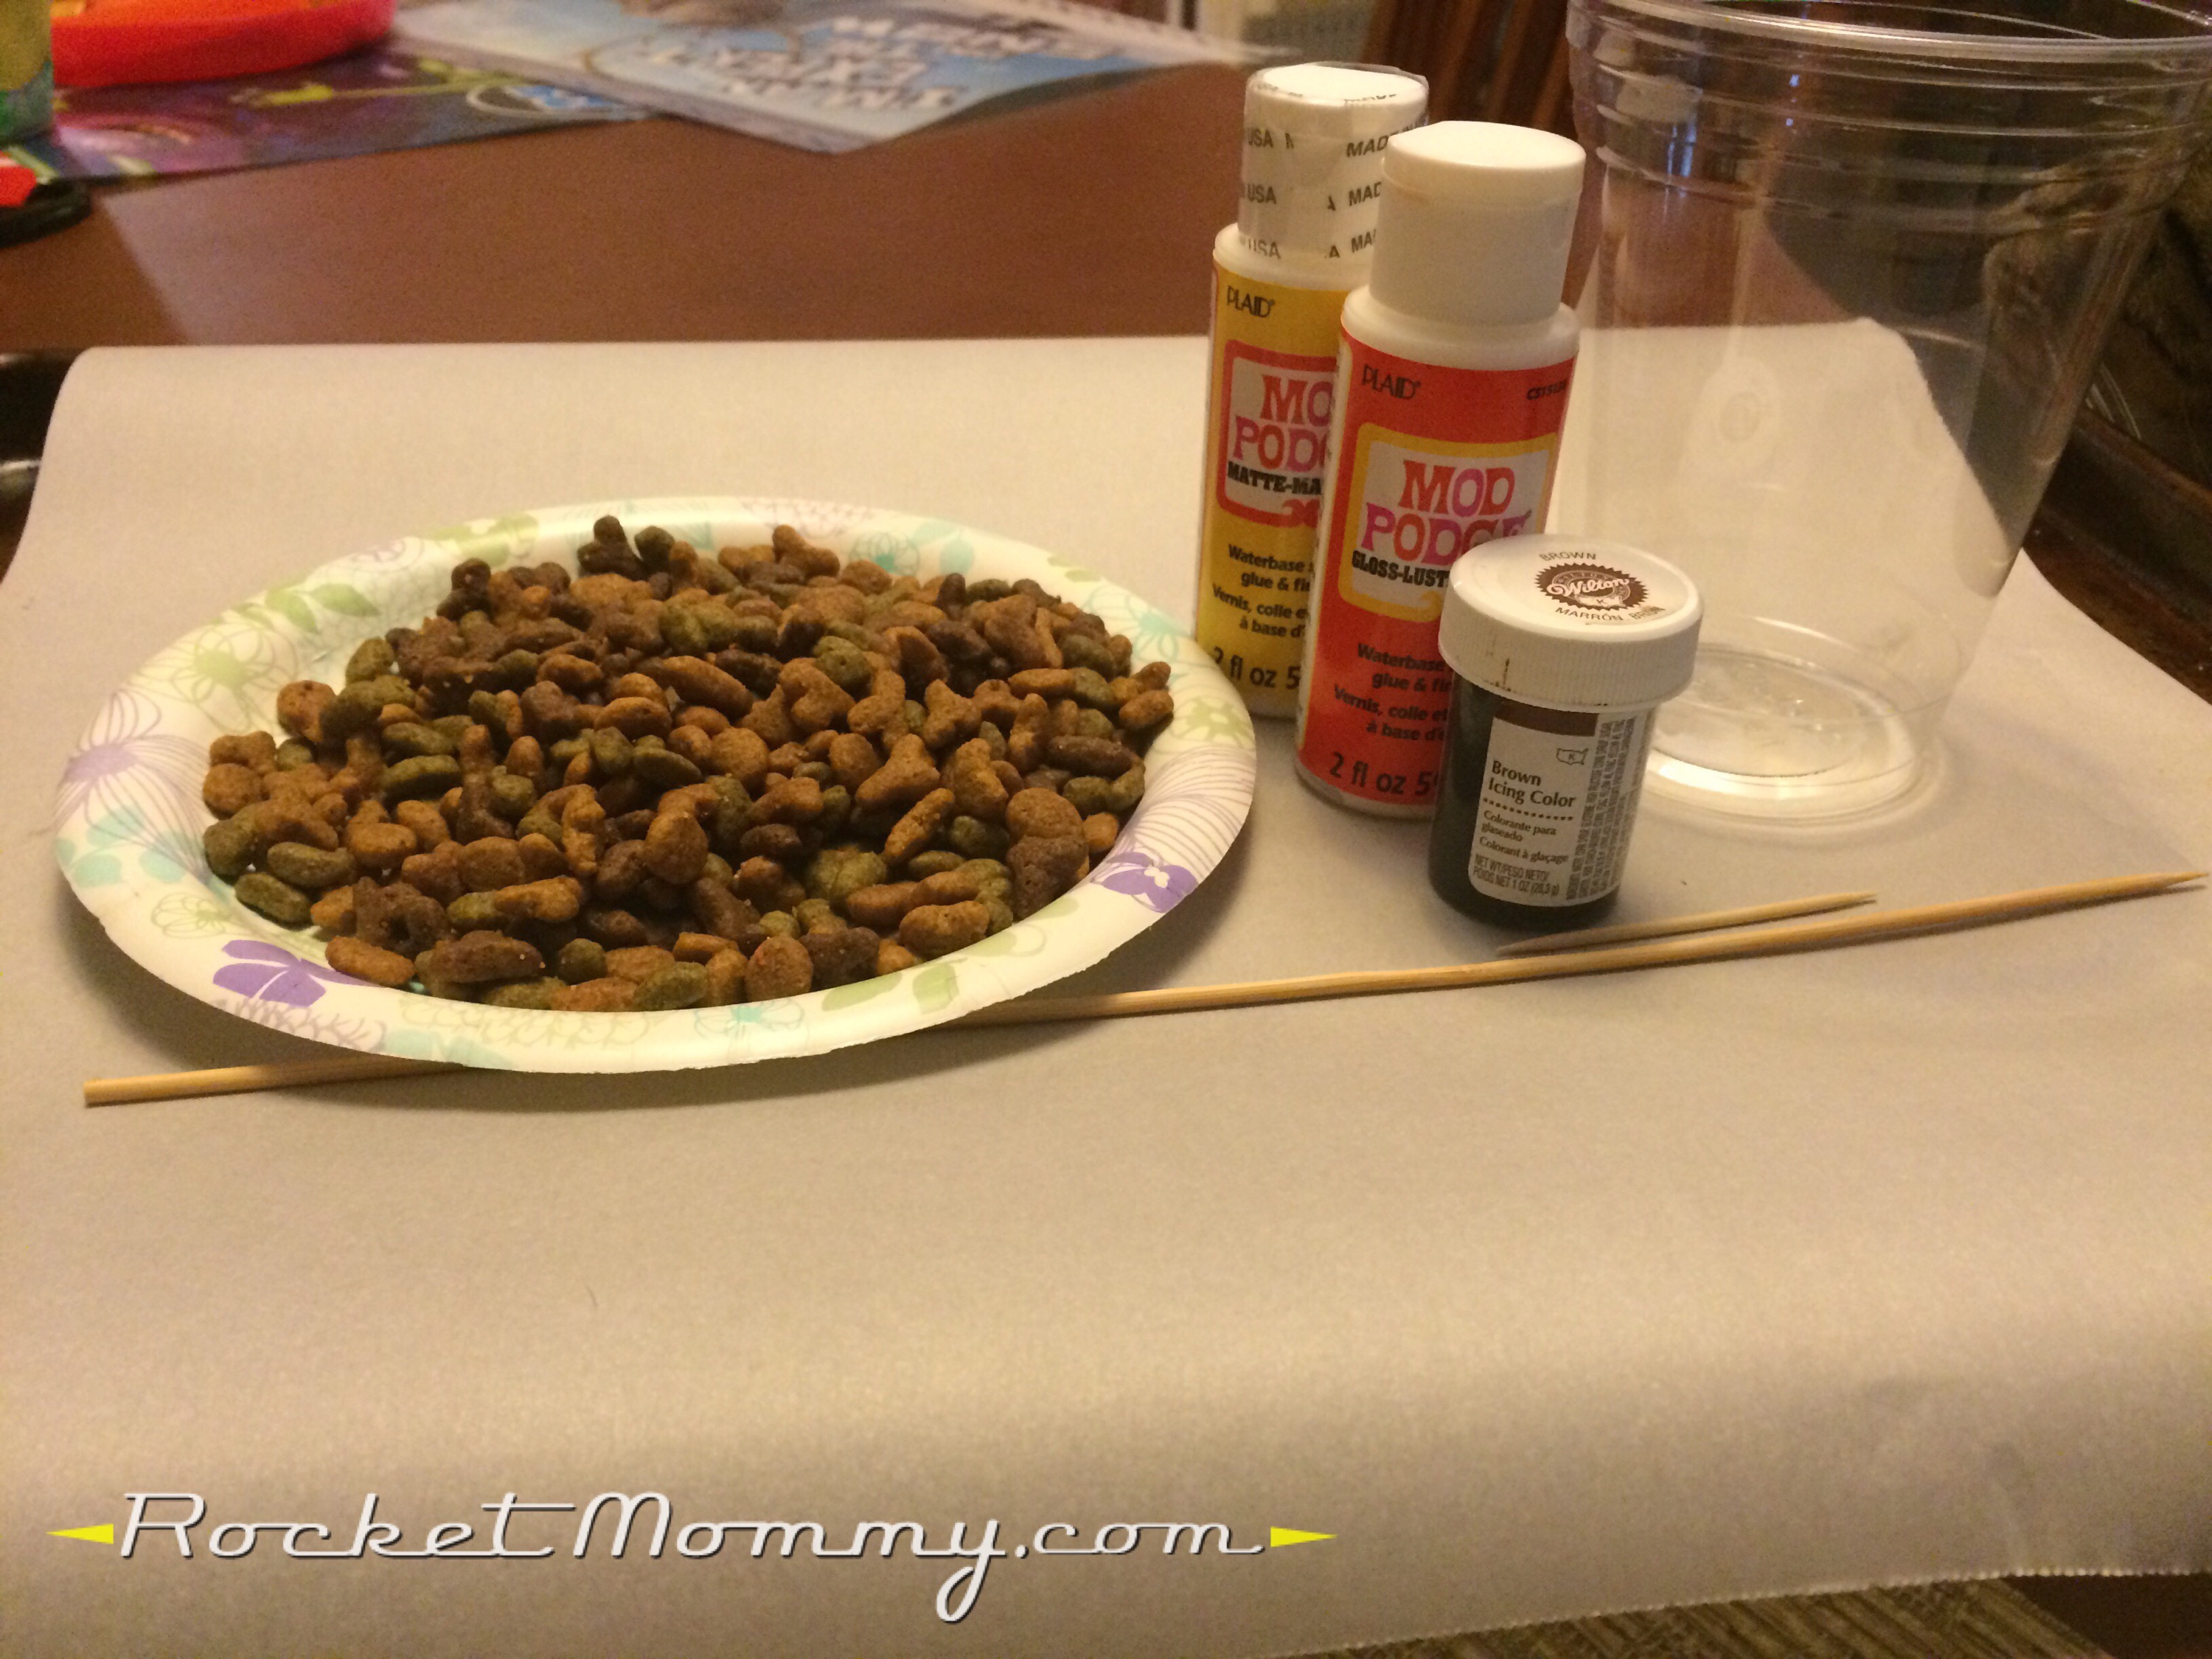
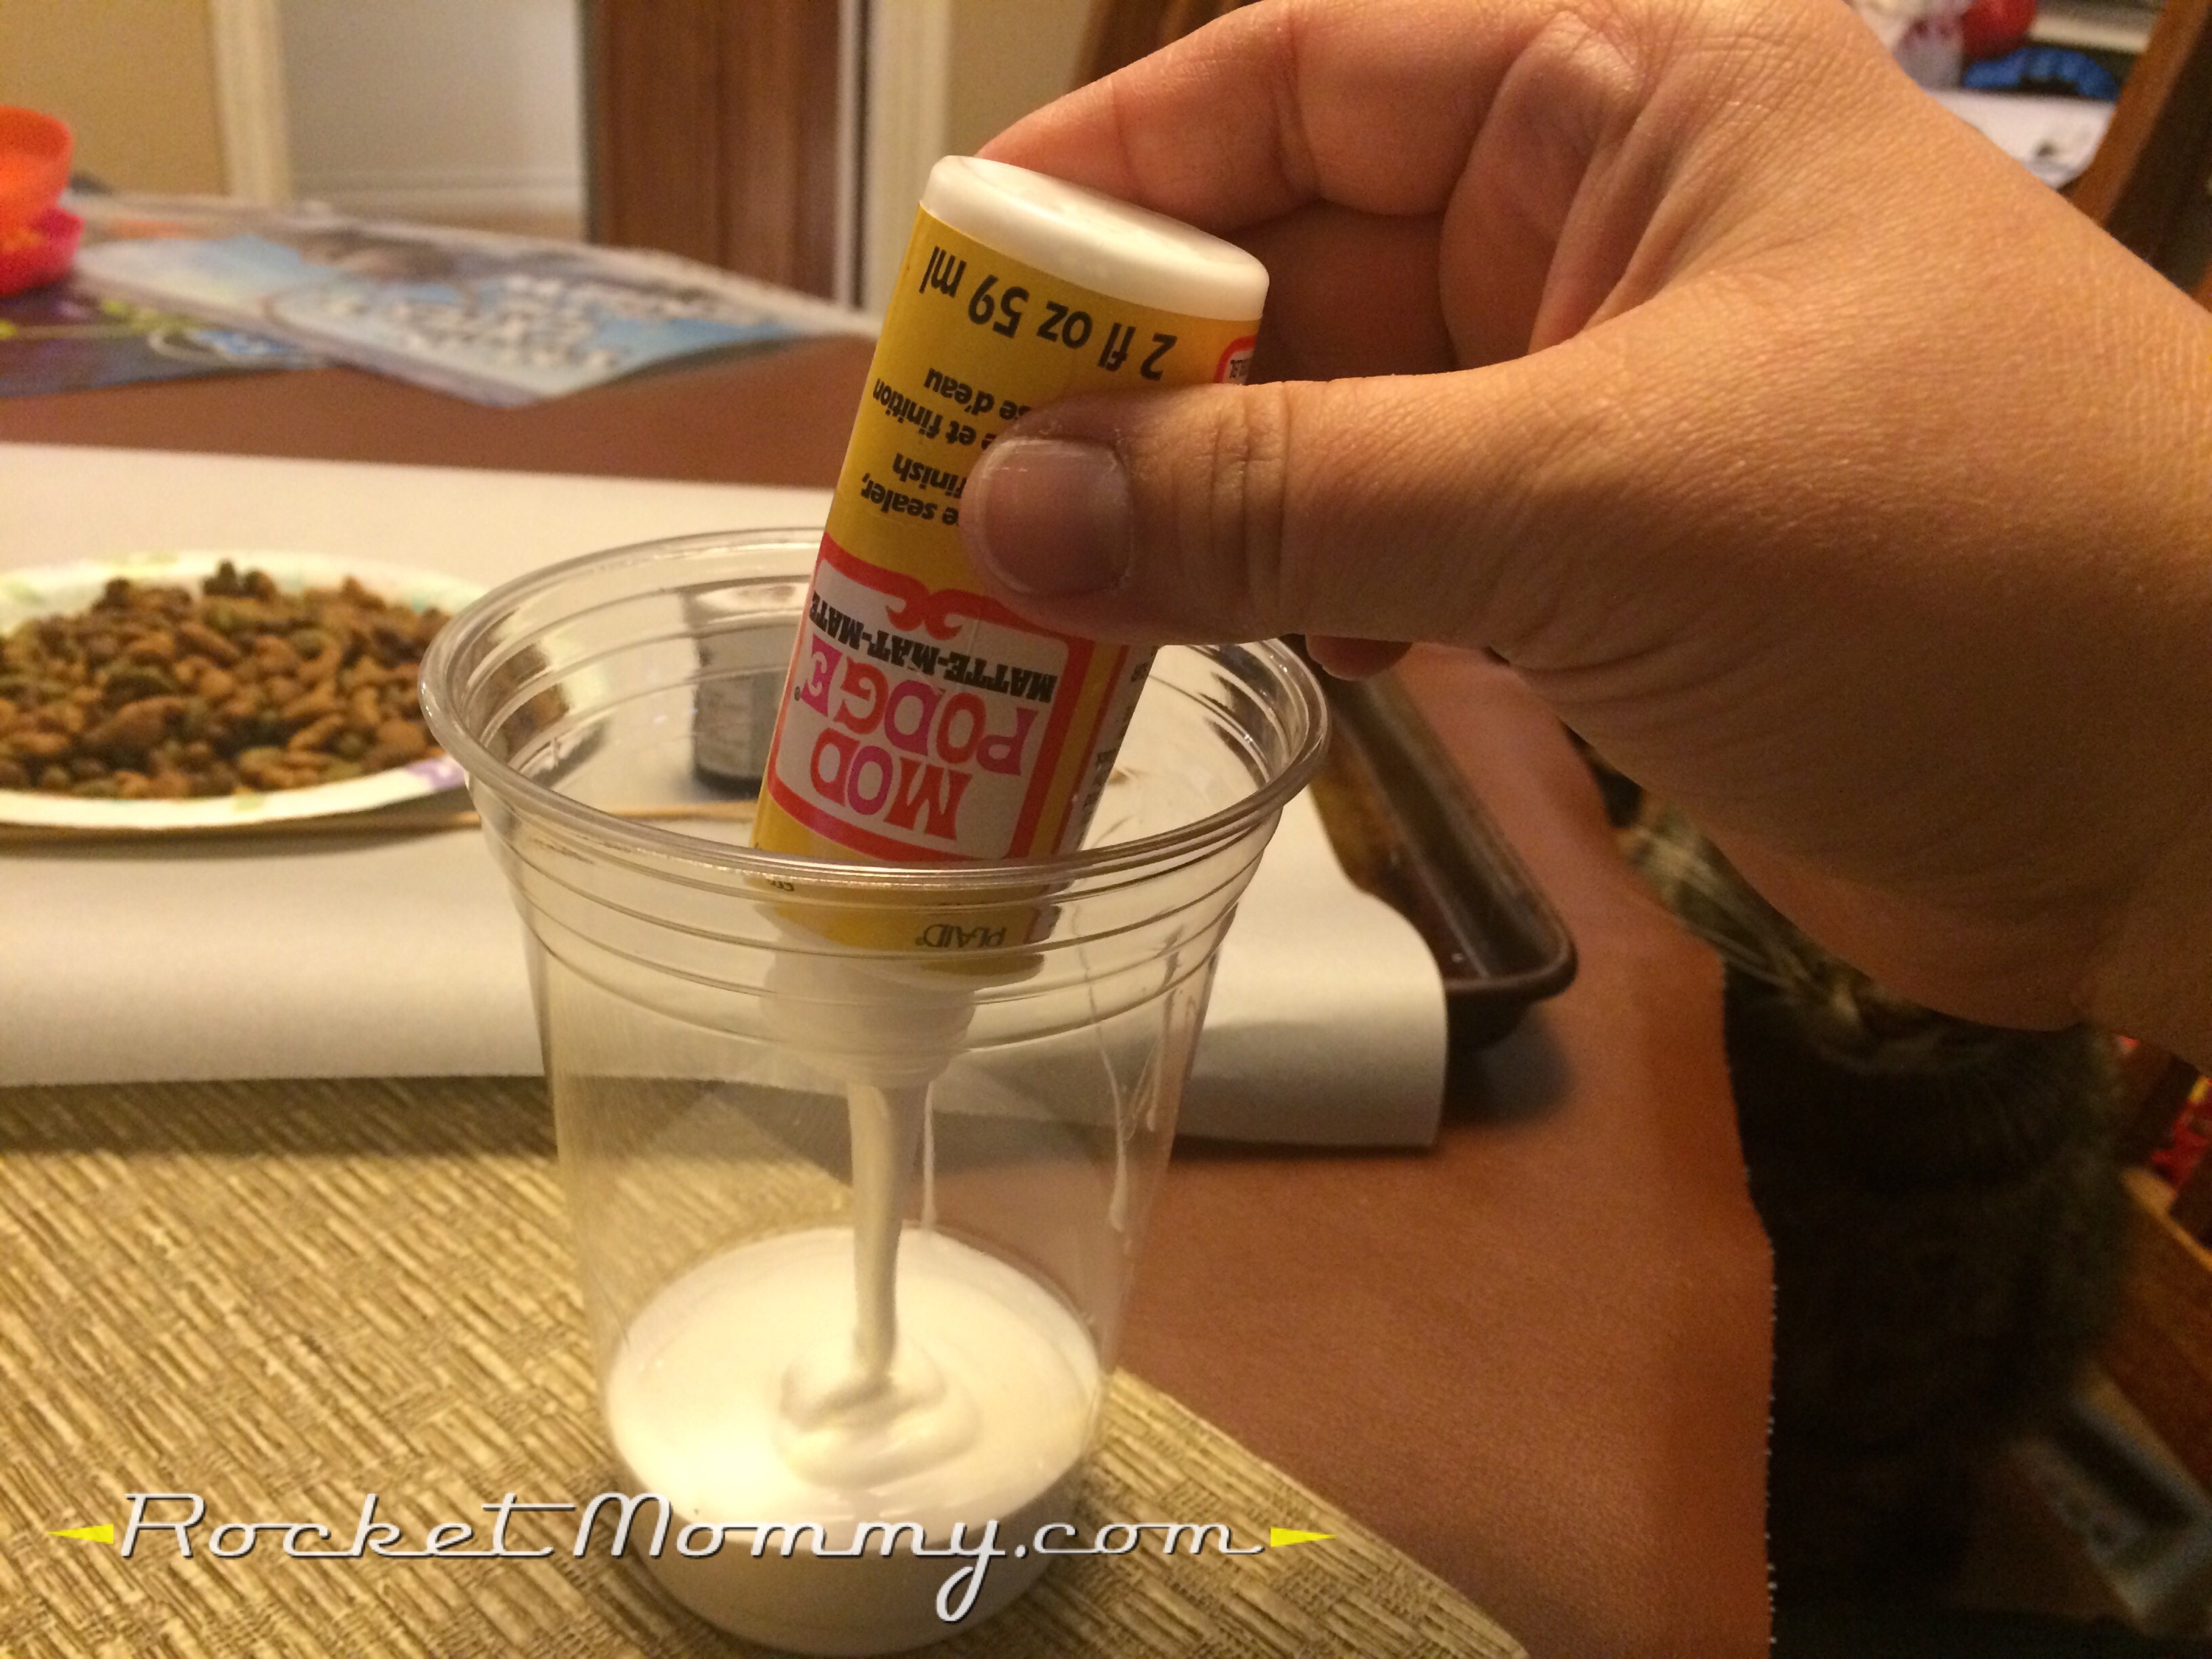
First, gather your supplies. I used these little bottles of Mod Podge that I picked up at Dollar Tree a while back. You can use Elmer’s Glue, but I wasn’t sure it would dry clear enough. You also need brown food coloring (just a teeny tiny bit!), parchment paper, something to stir with, something to mix it in, and dry cat food.
Squeeze out the Mod Podge or glue into your mixing cup.
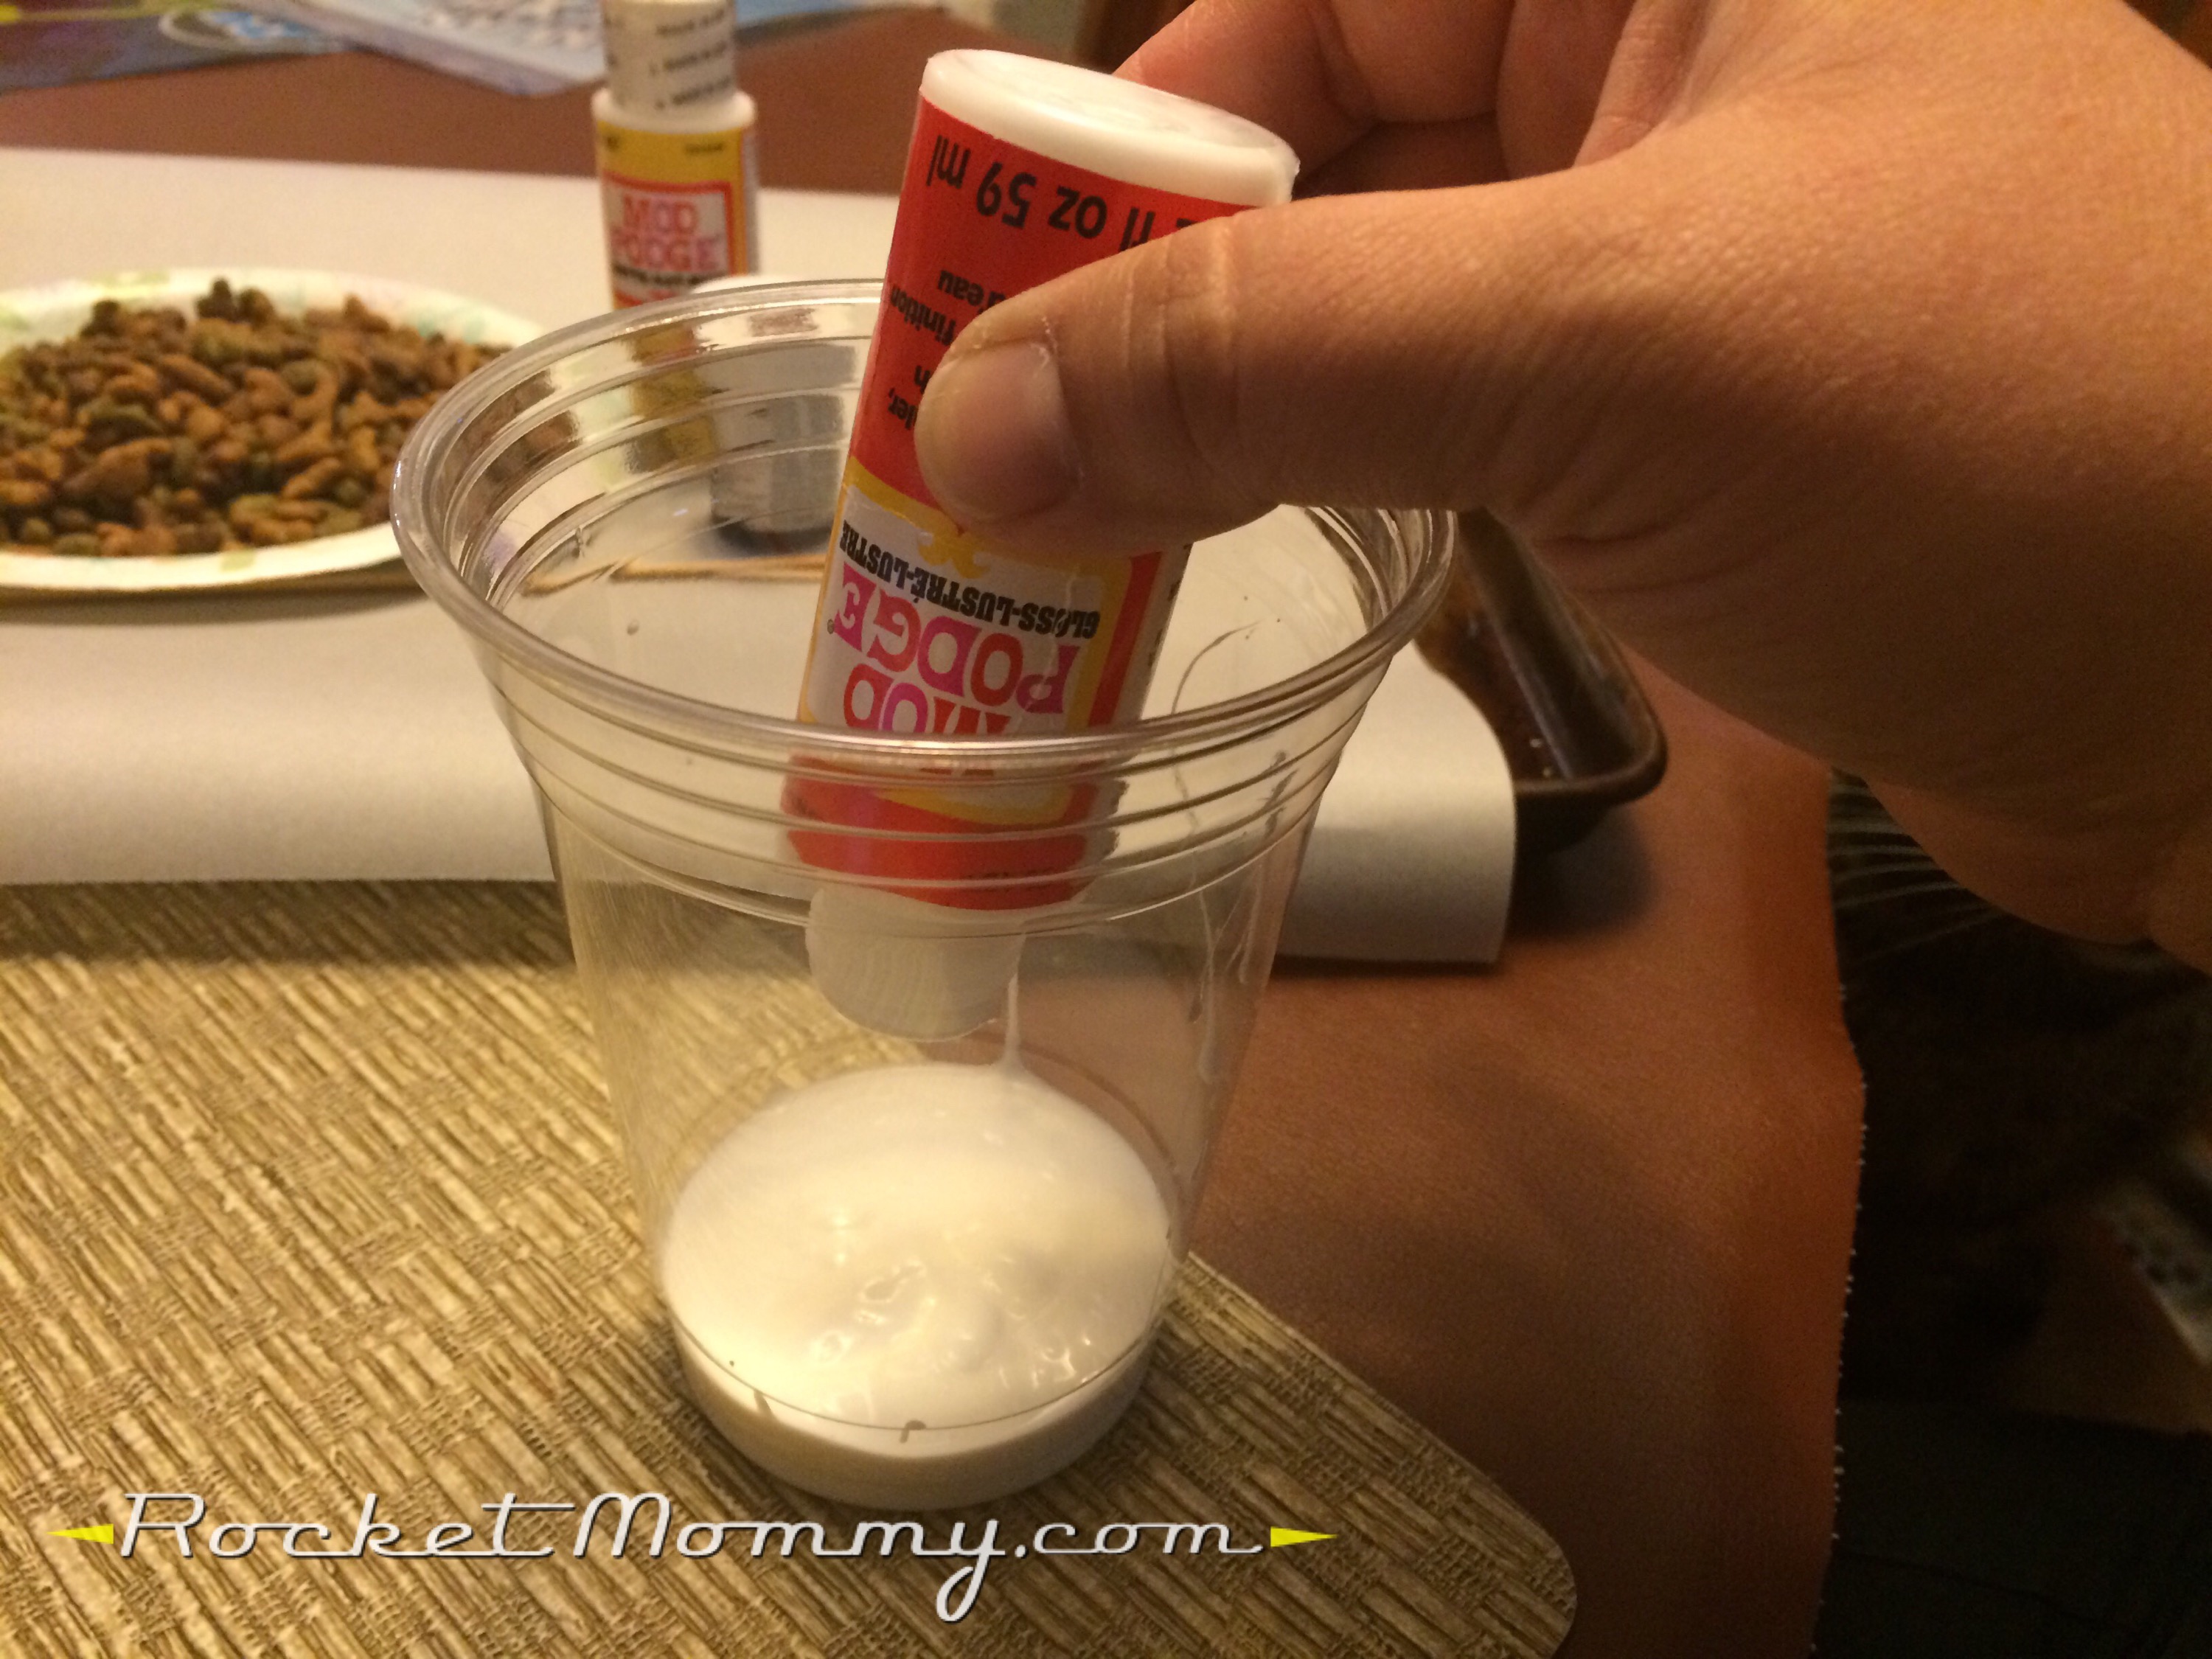
I didn’t have enough in the first bottle, so I ended up using the entire second one too.
Then take just the teeniest, tiniest little smidge of food coloring and add it to the cup. See that toothpick? That’s all I used for the whole thing.
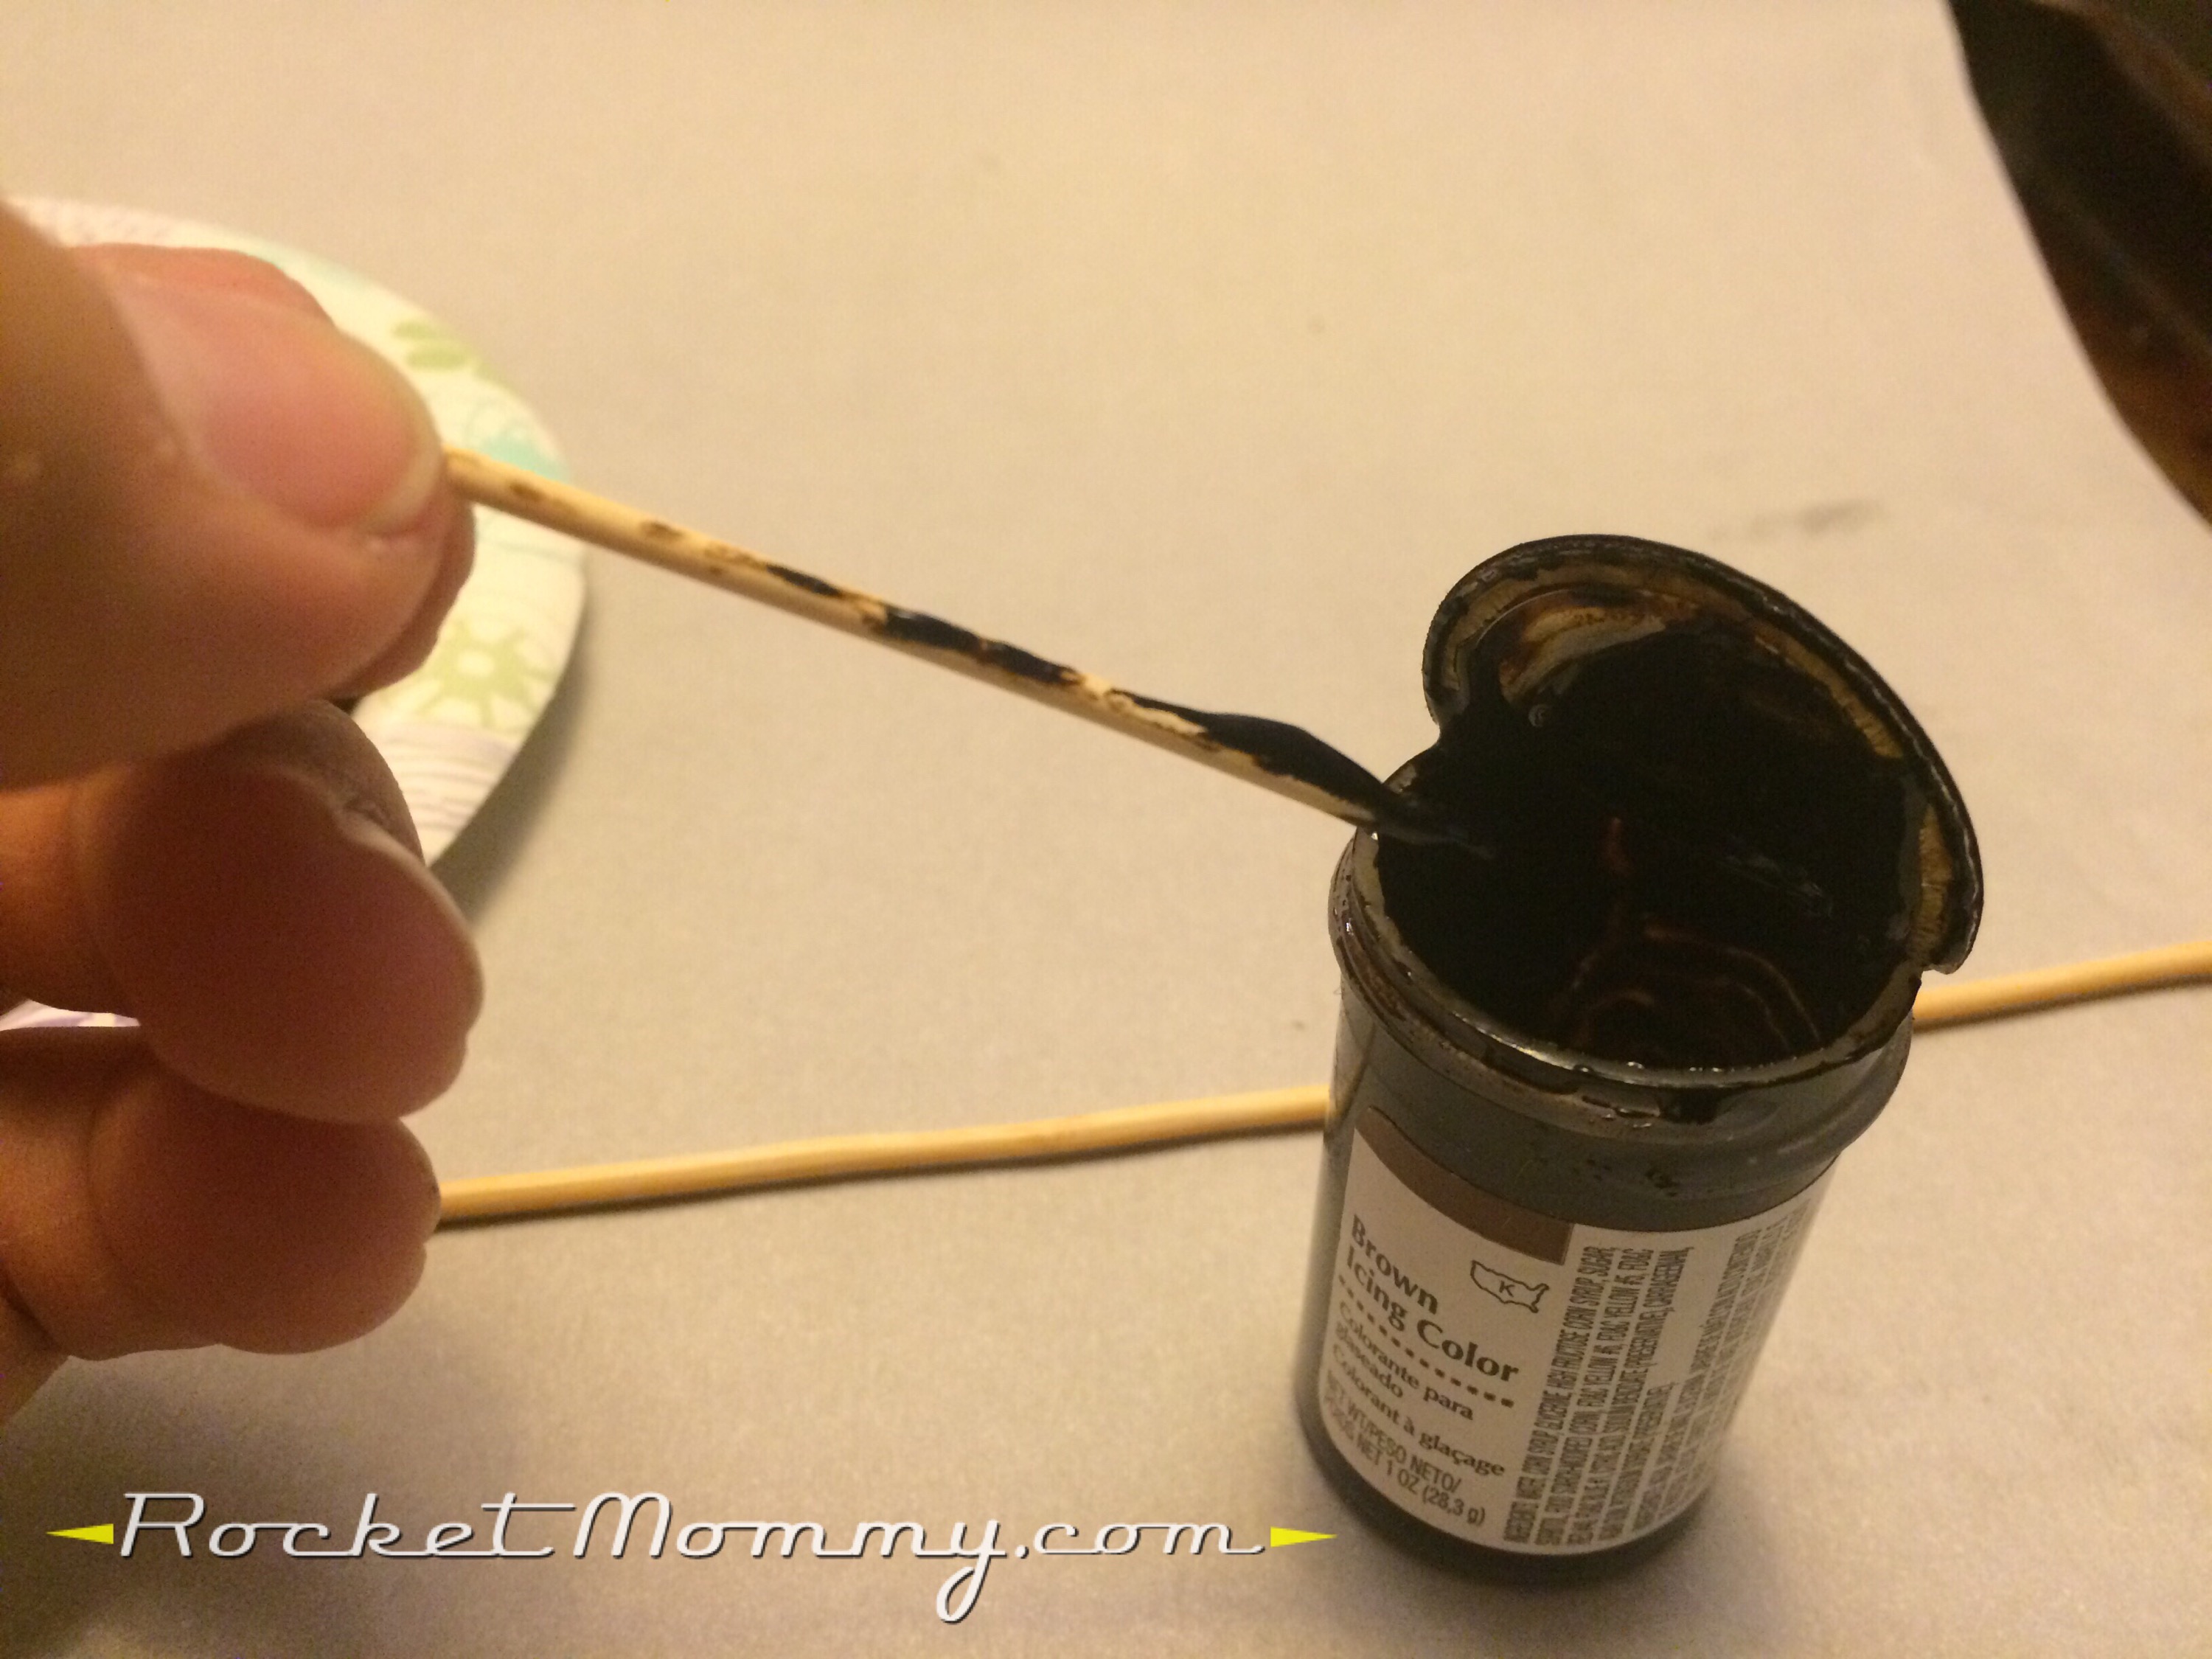
I smeared mine on the side of the cup in case I needed to go back in with that toothpick and get more, but it turned out to be plenty.
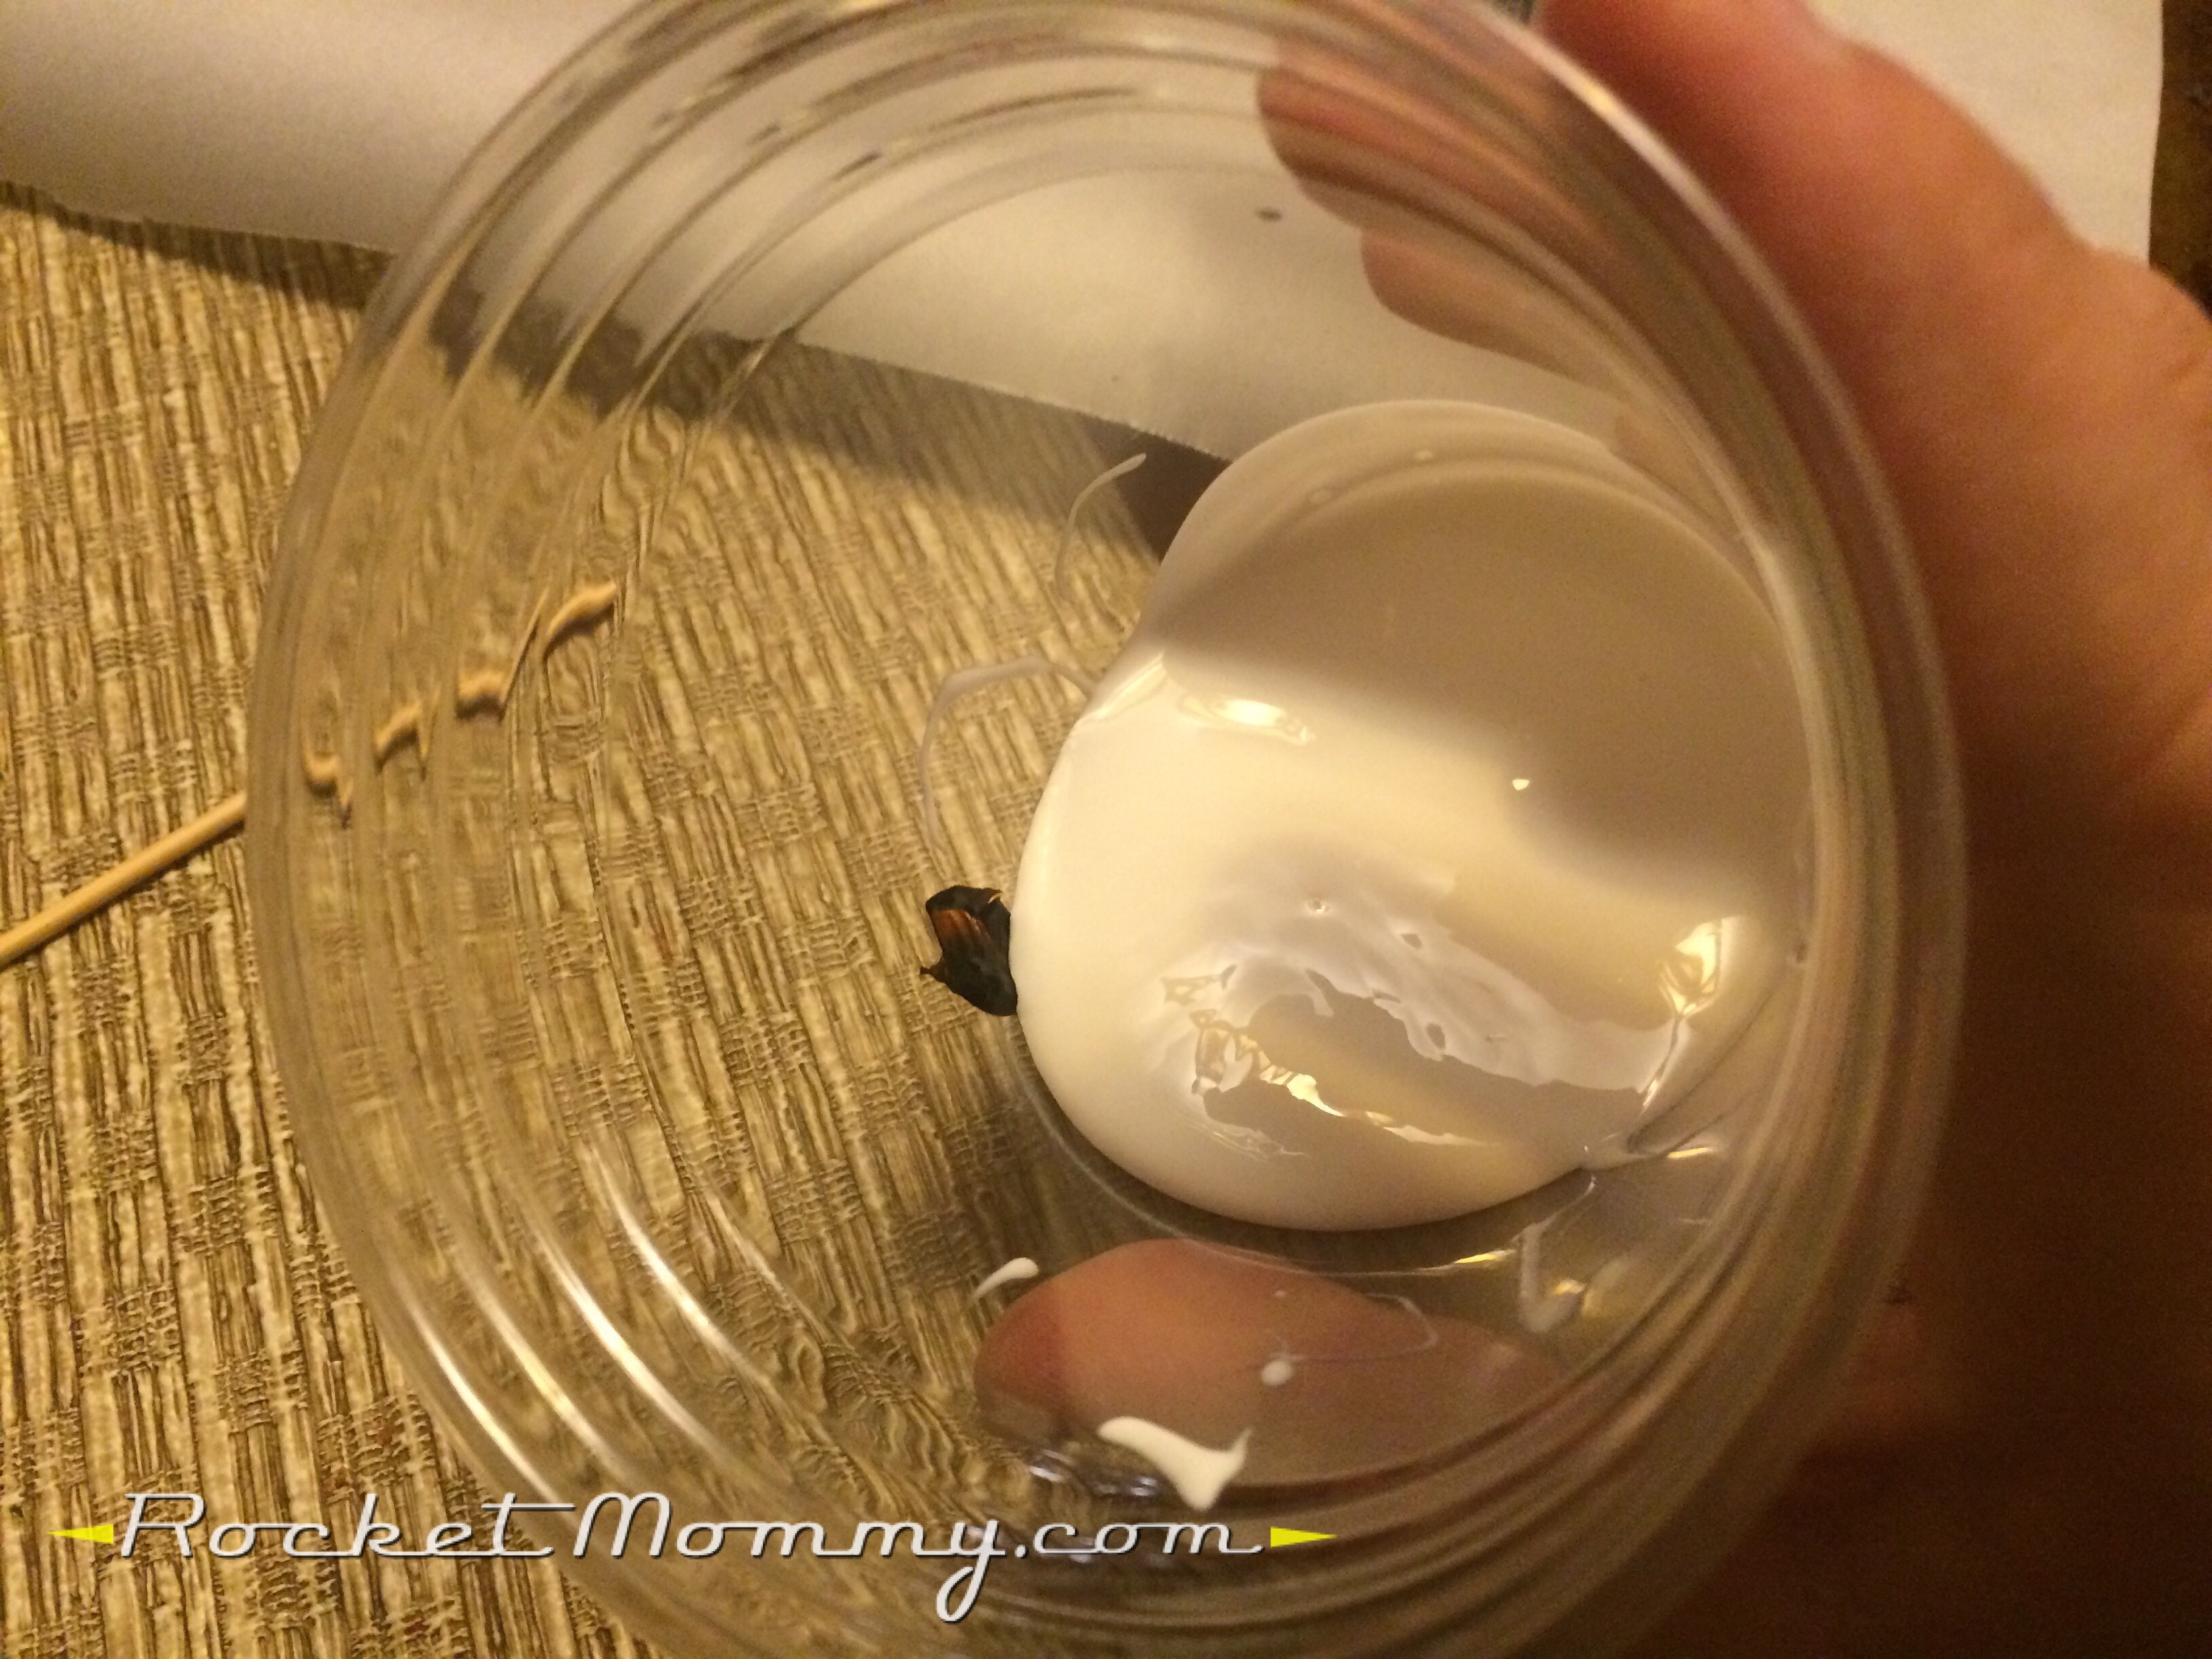
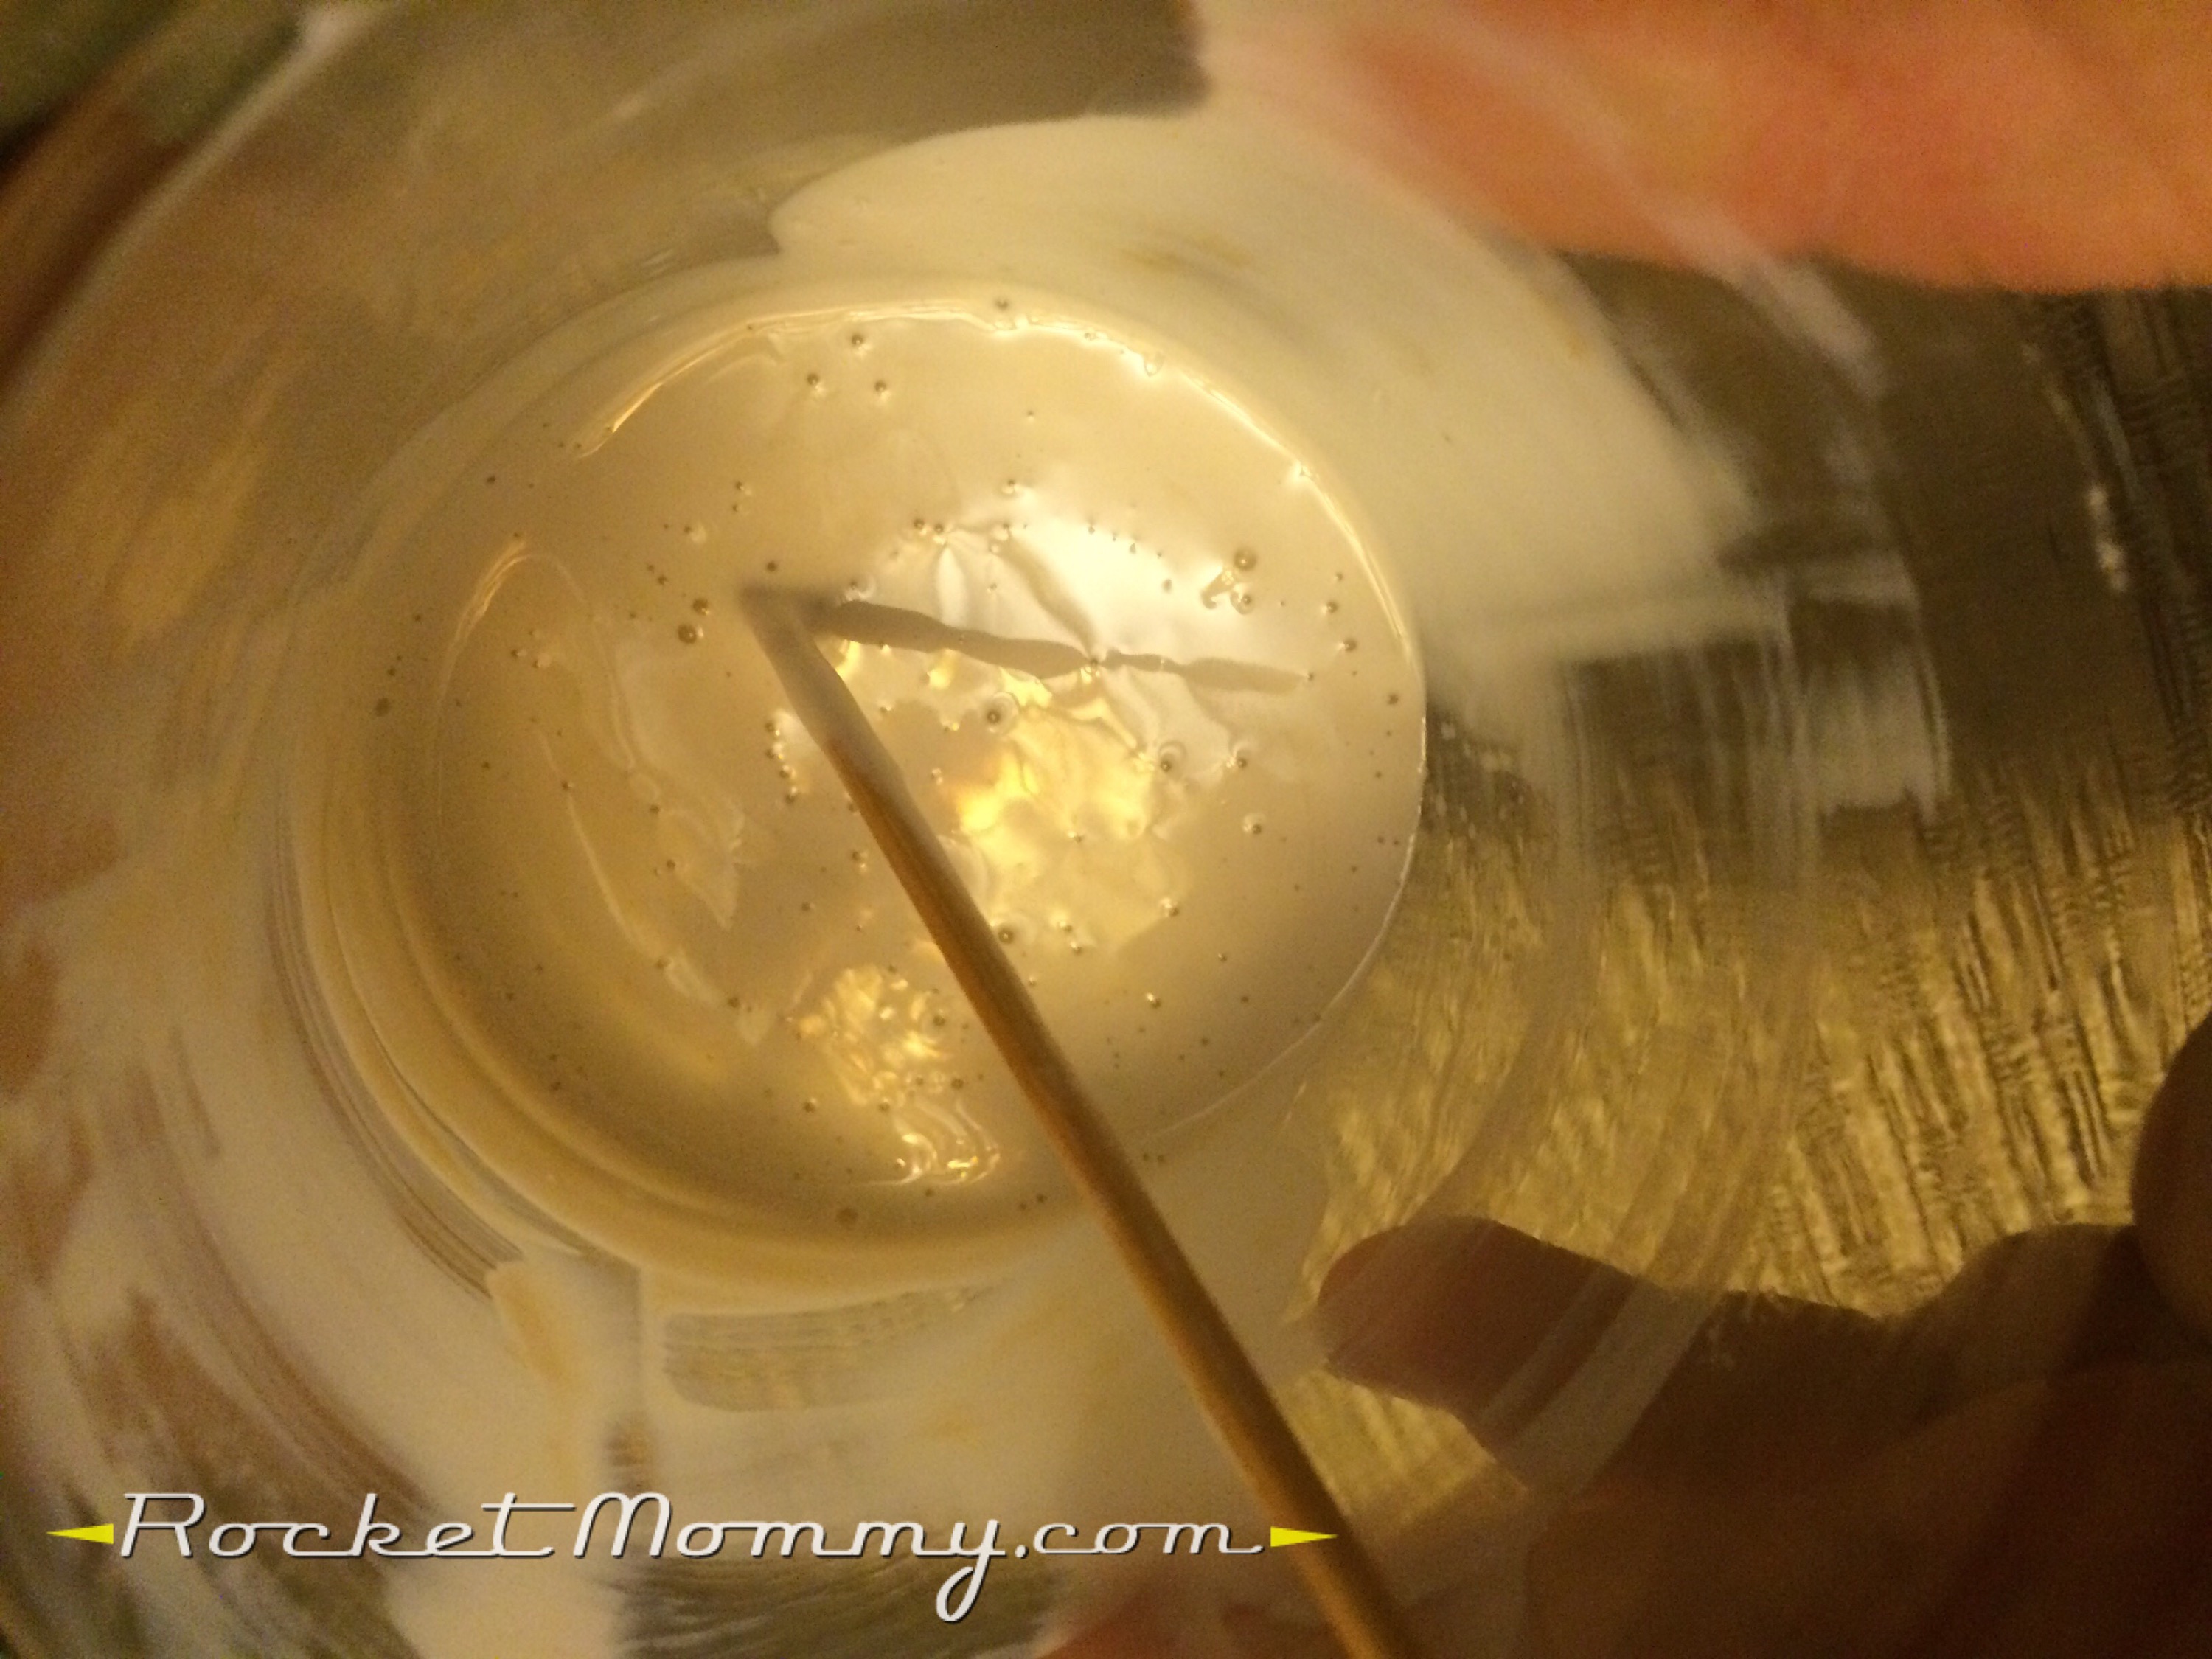
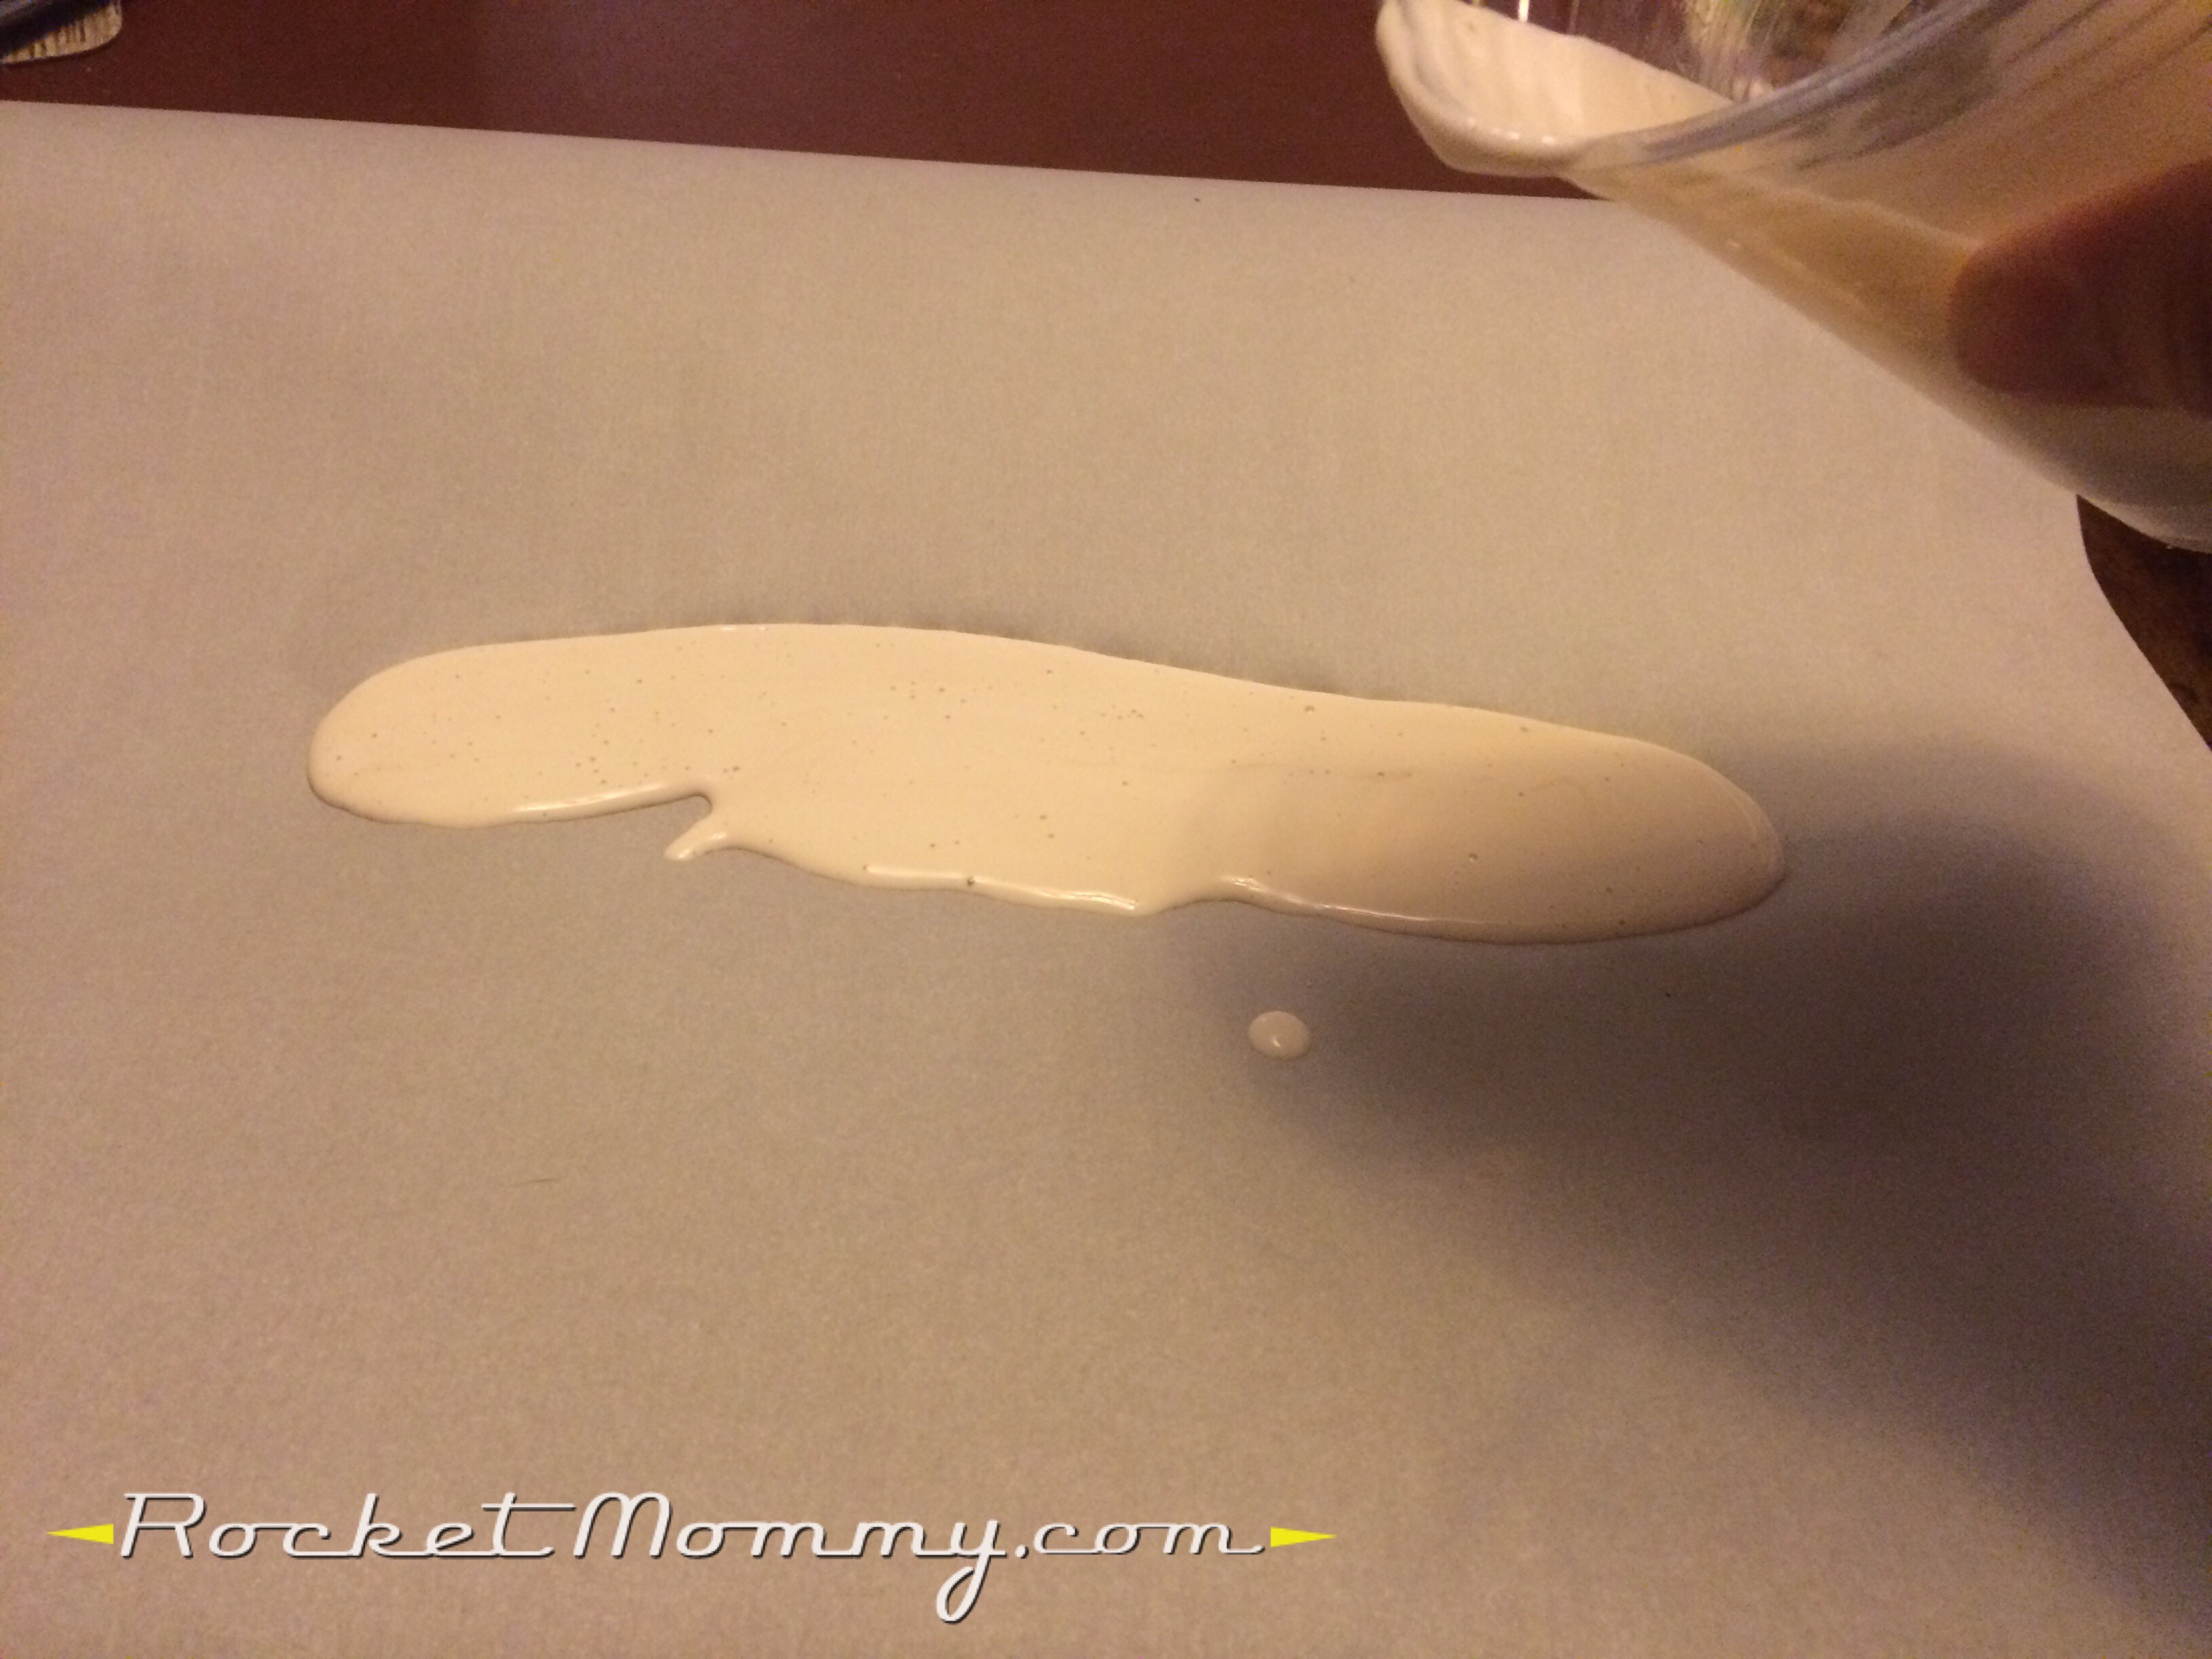
Next, mix it up thoroughly. It will look like you’ve barely changed the color at all – mine went from white to just the tiniest little hint of beige. It will darken a TON when it dries. The initial tutorial warns about this, and she isn’t kidding.
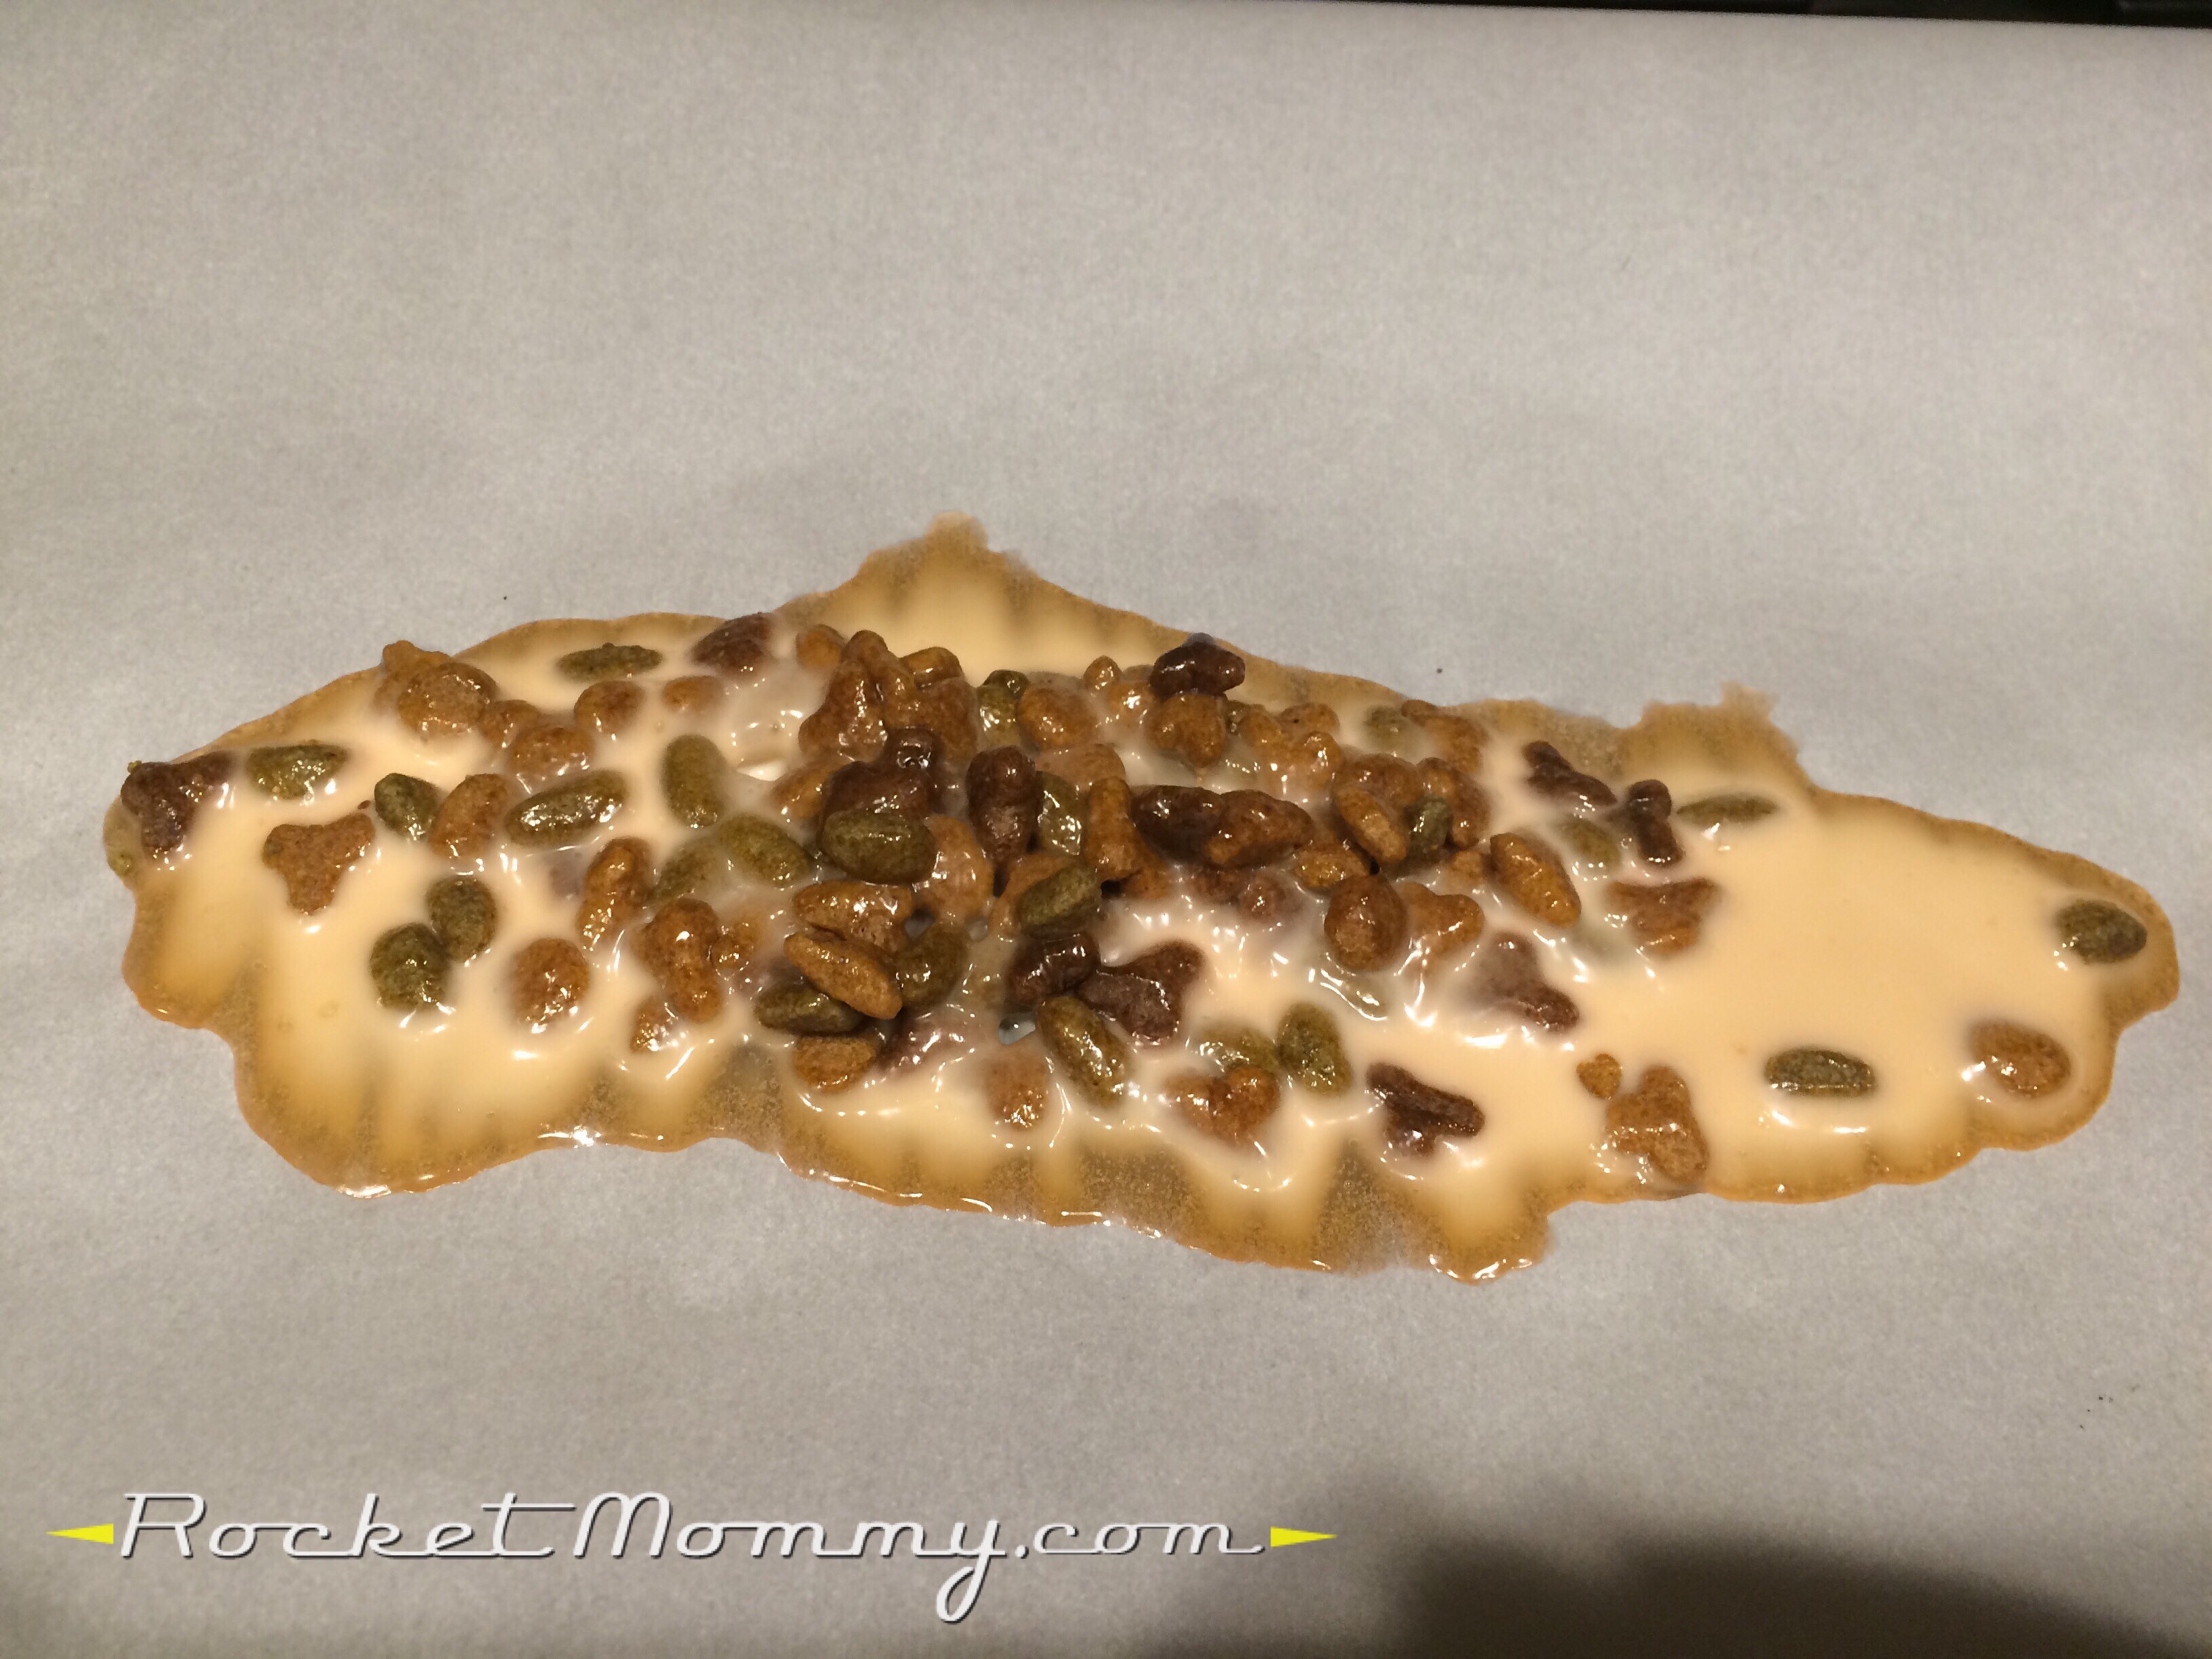
Next, put a piece of parchment paper (or waxed paper or plastic wrap; I’m assuming any of those would work fine) on a cookie sheet and pour some of your colored glue mix out into a vaguely vomit-like shape.
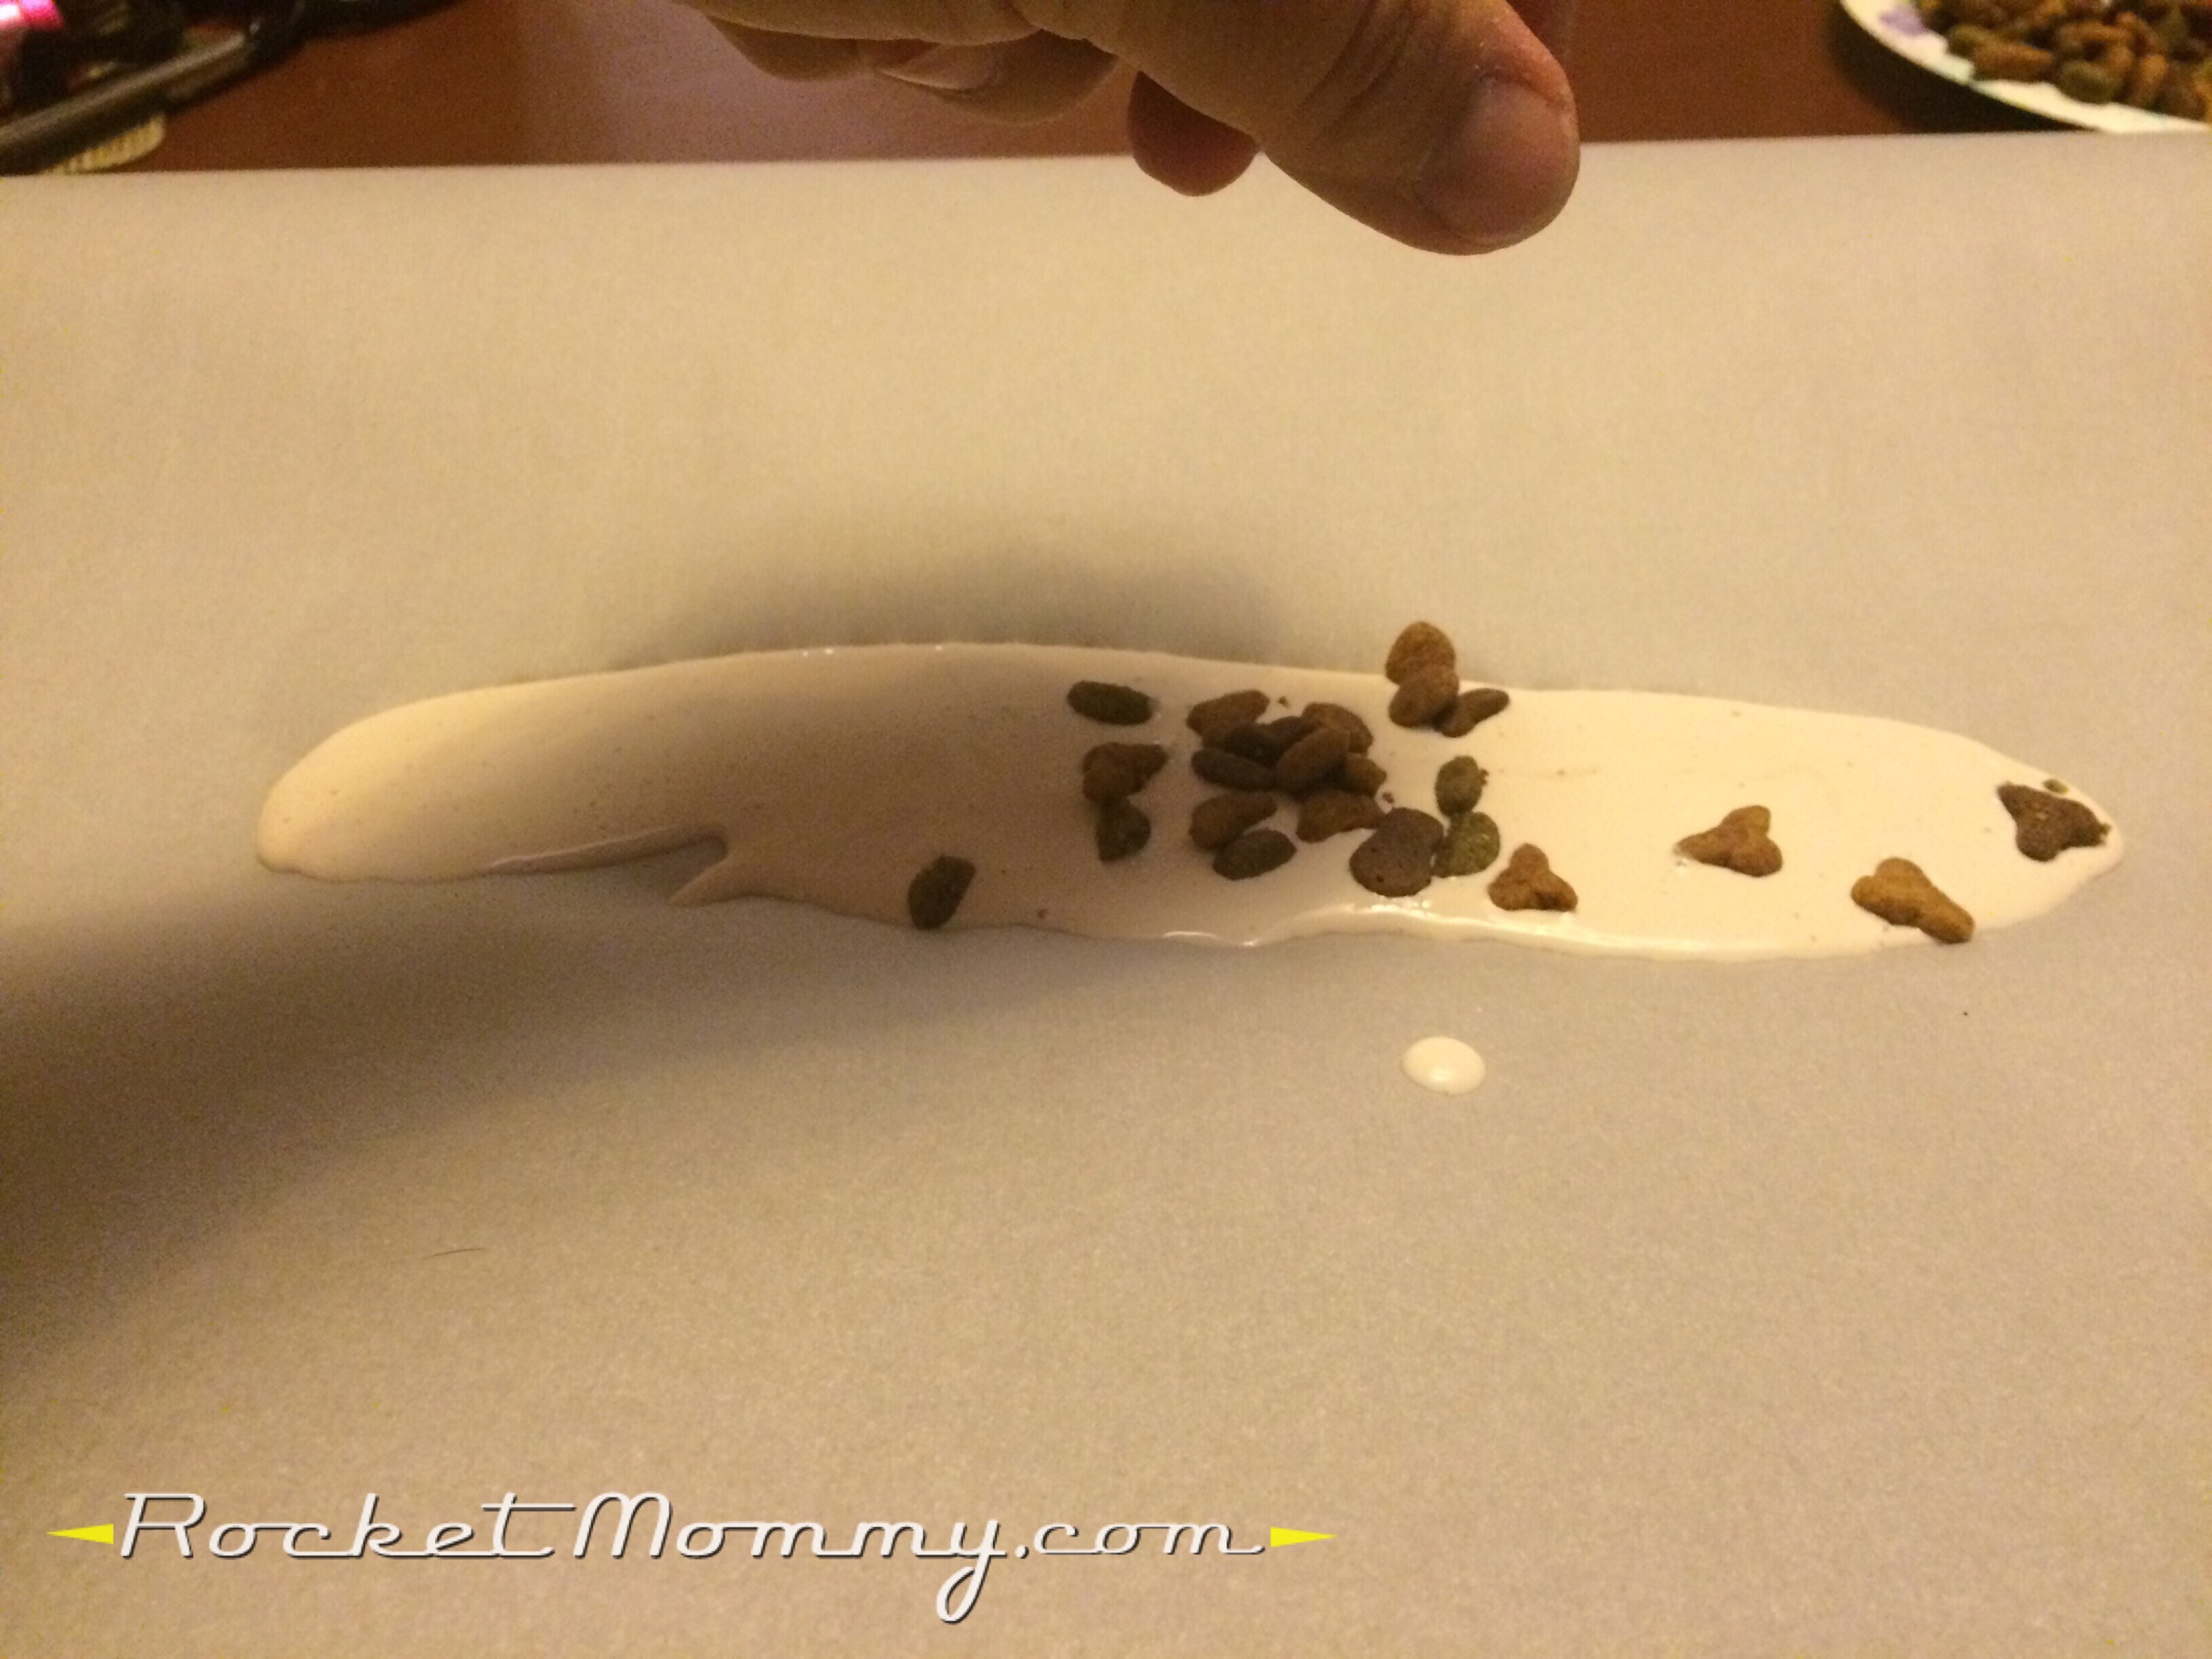
Then we’re going to sprinkle some dry cat food in here. I tried to concentrate most of it in one spot and then scatter some stray pieces out to the edges from there (because when you’ve cleaned up as much cat puke as I have, you have a pretty good idea of how it looks, haha).
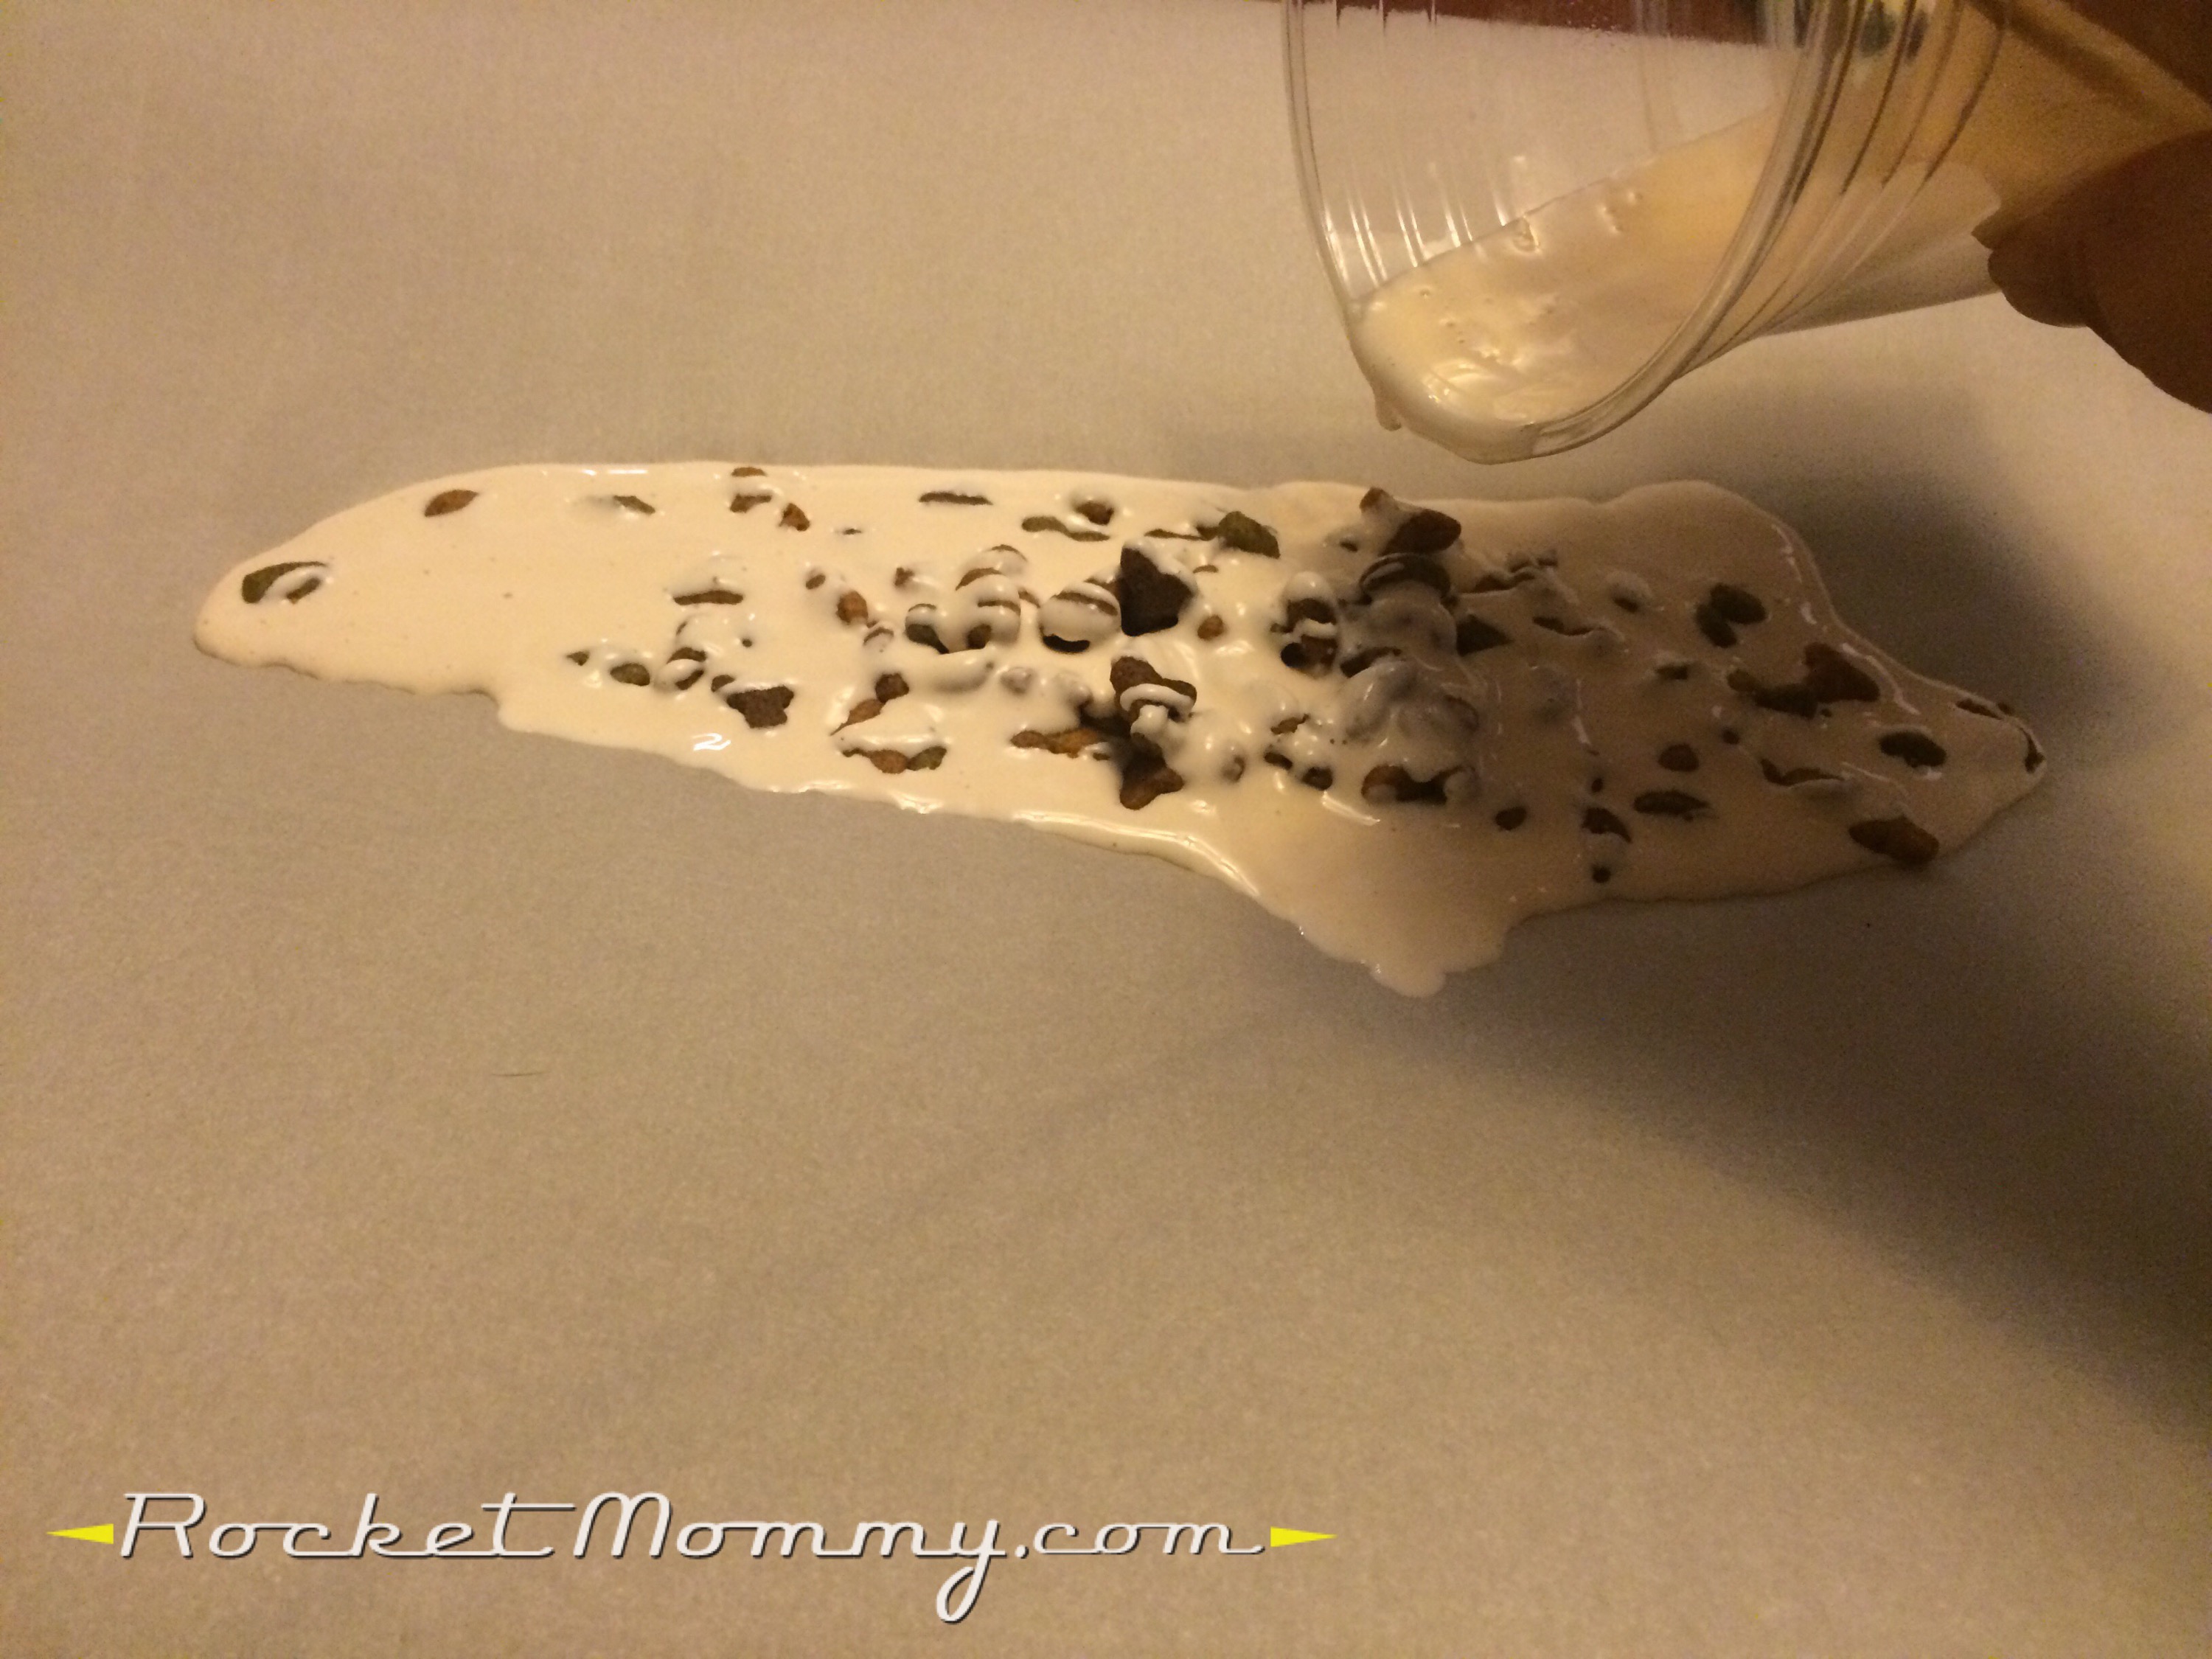
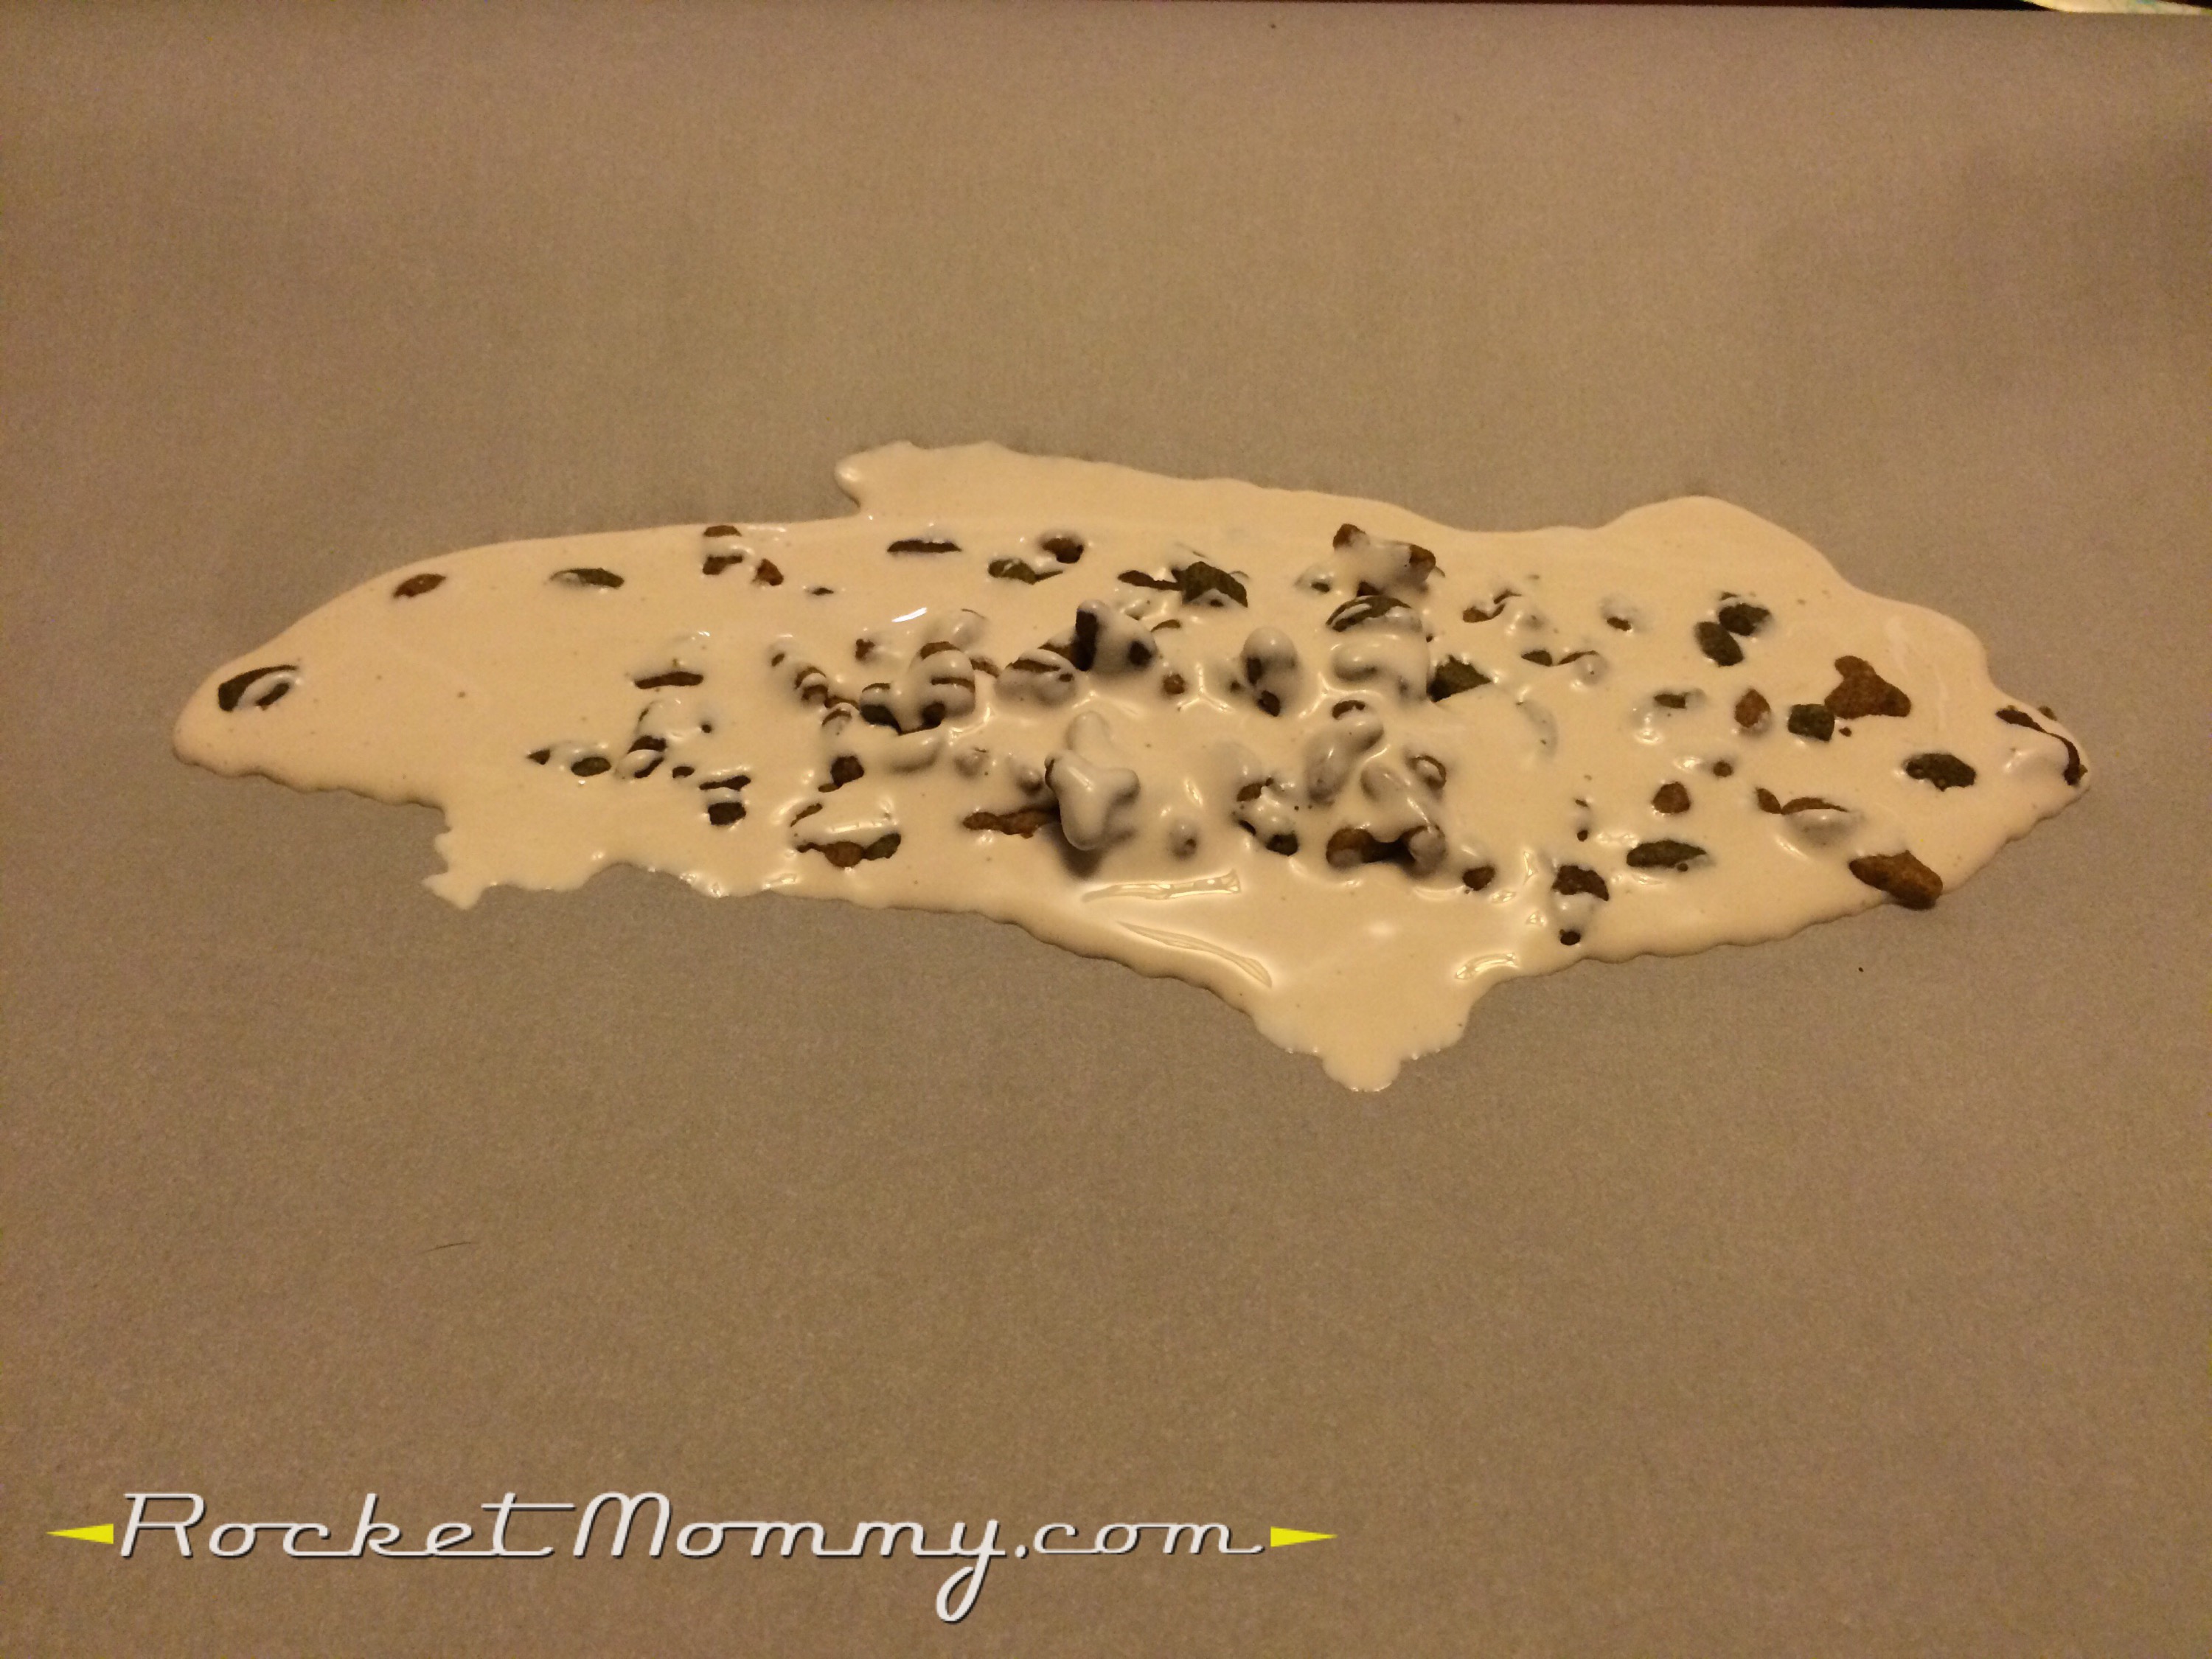
When you have as much dry food in there as you think you need, pour the rest of the glue over the top. Make sure you cover the food pile to trap it all in there and make it all function as one movable piece!
Ok! At this point, you’re done, and you just sit back and wait for it to dry.
This was a long wait. A loooooooong wait. Really, way too long of a wait. This was what it looked like when I brought it in from the garage this morning, a full 48 hours after I started the project:
This was when I decided to do something a little more drastic. I heated the oven to 275 and stuck it in there for about 10 minutes, and when I pulled it out? Success! I probably should have just done that from the get-go, as it would have allowed me to actually publish this post BEFORE the holiday instead of ON it. Oh well. Also, OPEN A WINDOW if you stick this in the oven. The house stunk pretty badly of glue and cat food while it was in there. Bleh.
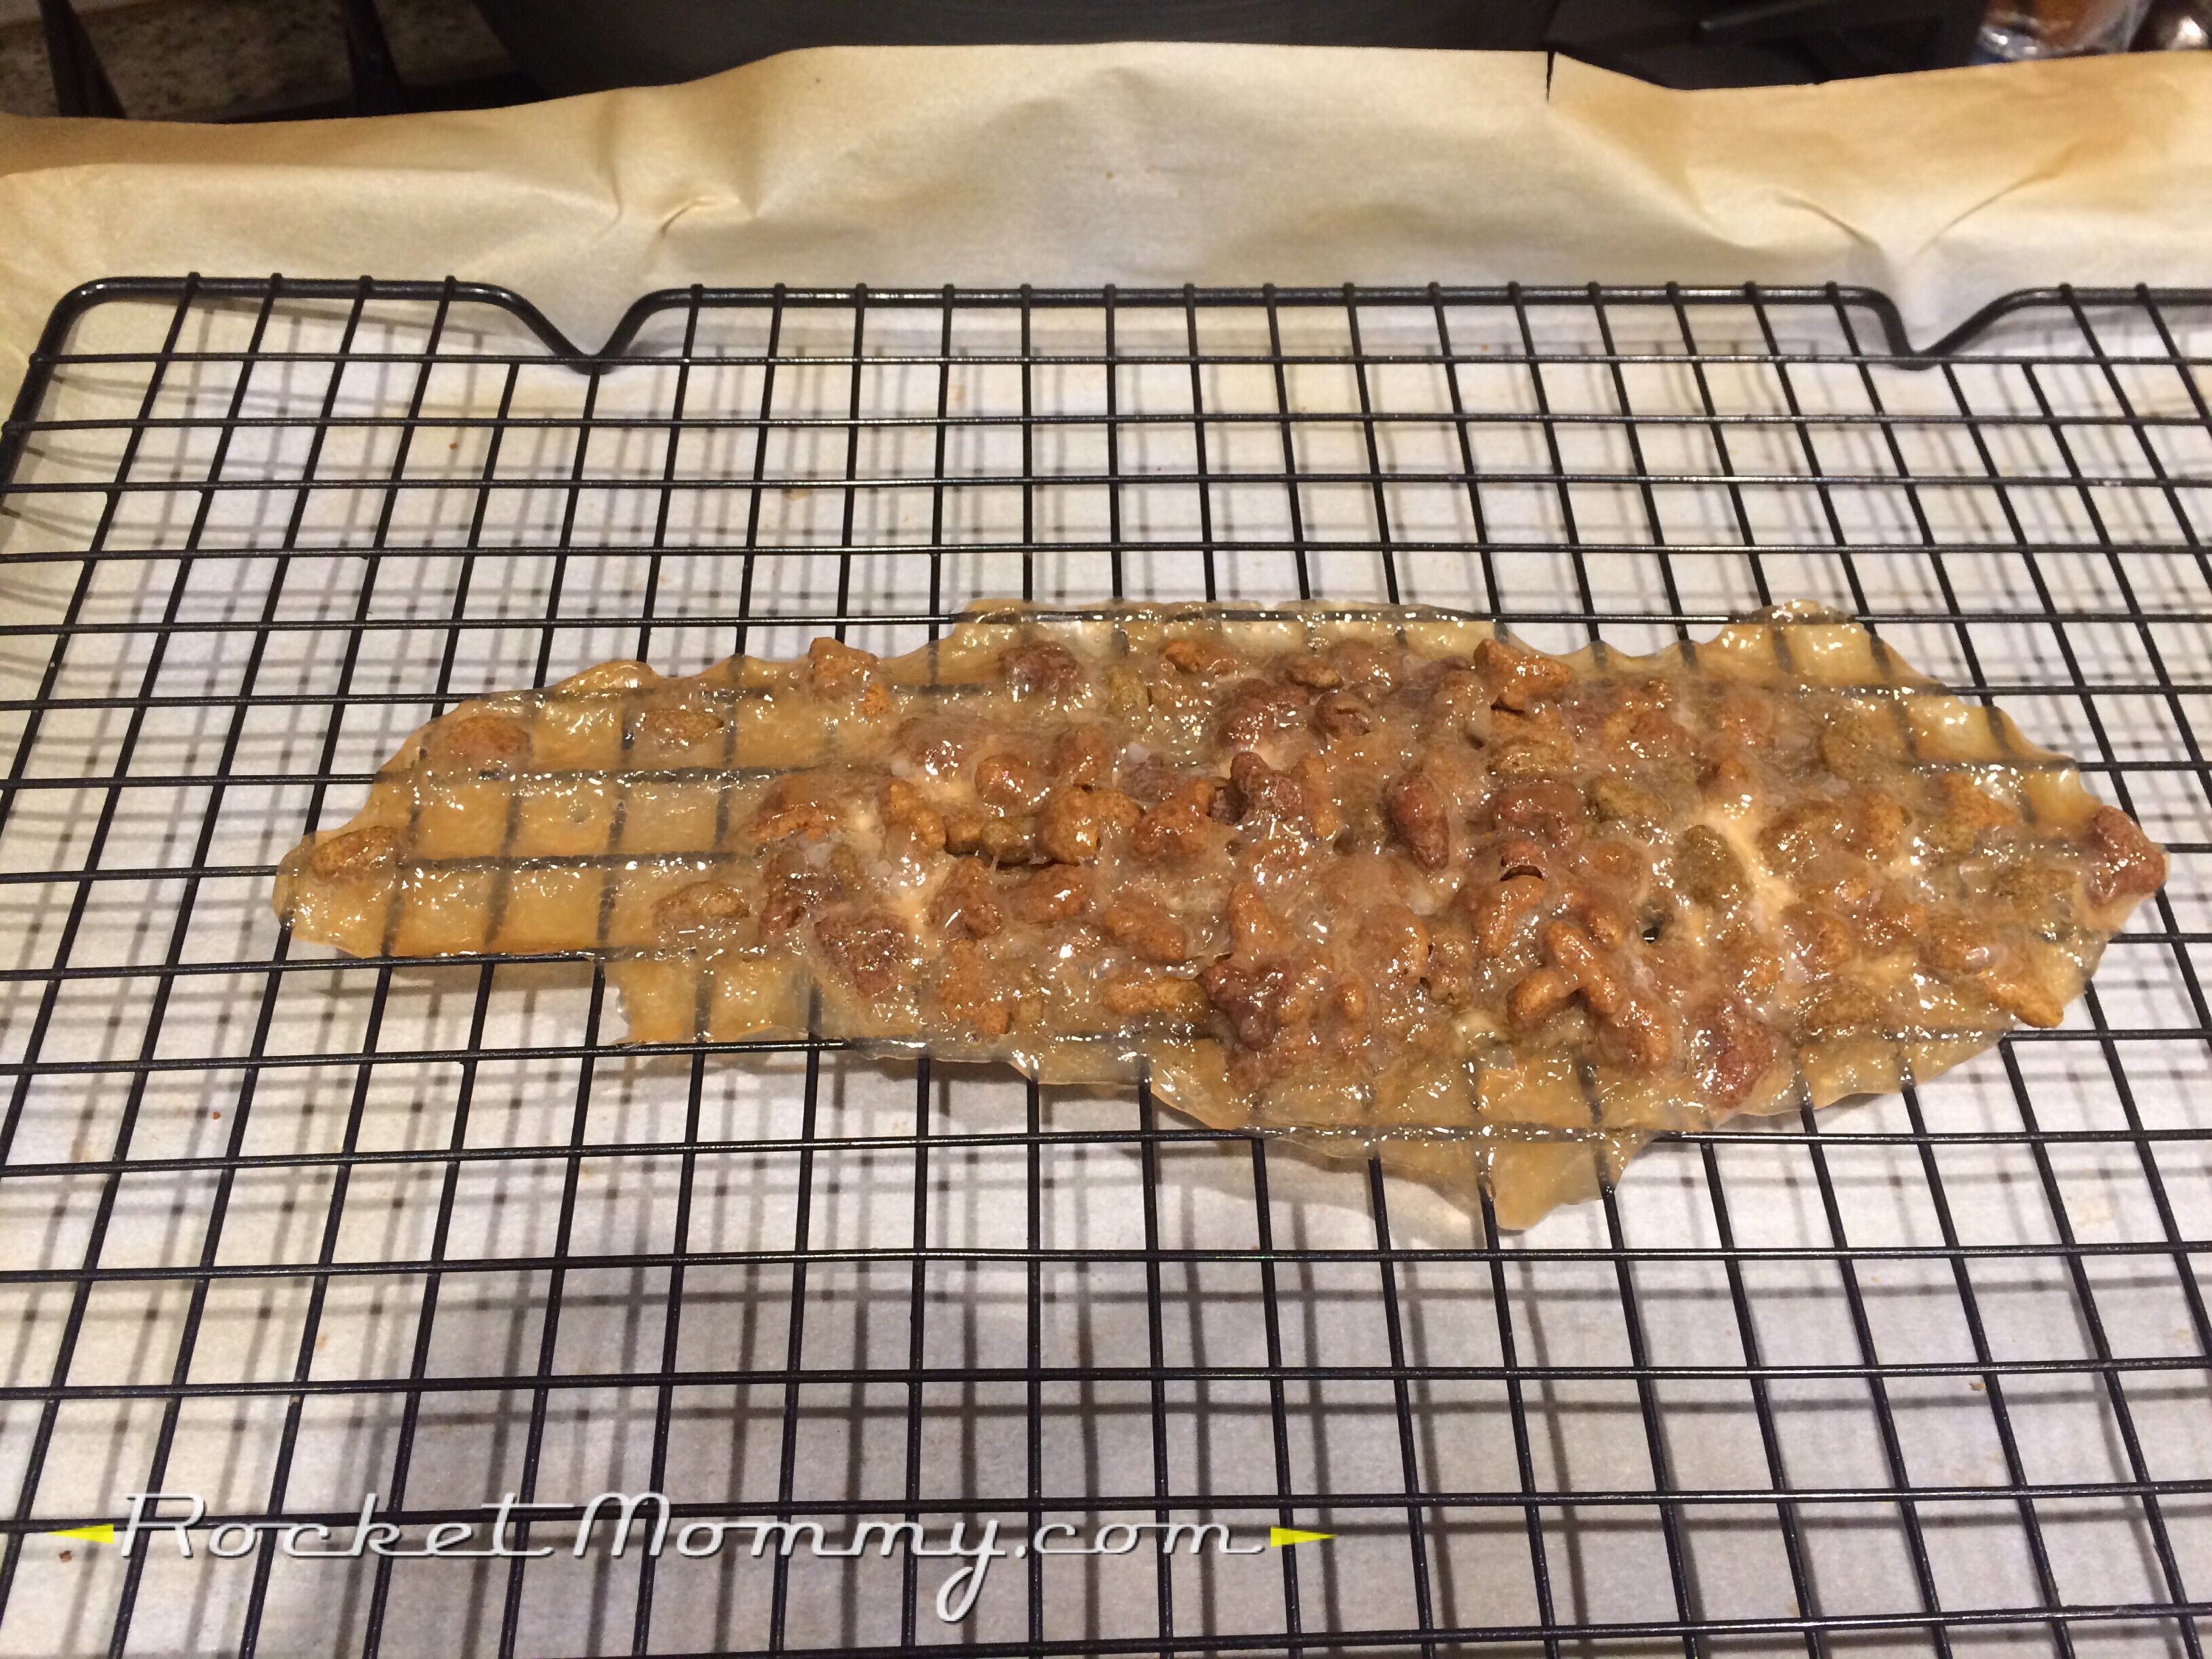
I have it on a rack in that last picture because I thought it might need the air to circulate underneath while it baked. After trying it that way, I actually think you would probably be fine to just leave it flat on the cookie sheet – it tried to stick to the rack and I had a minor freakout thinking I’d ruined everything, but then I pried it off and put it flat in the oven again for a few minutes, and all was well.

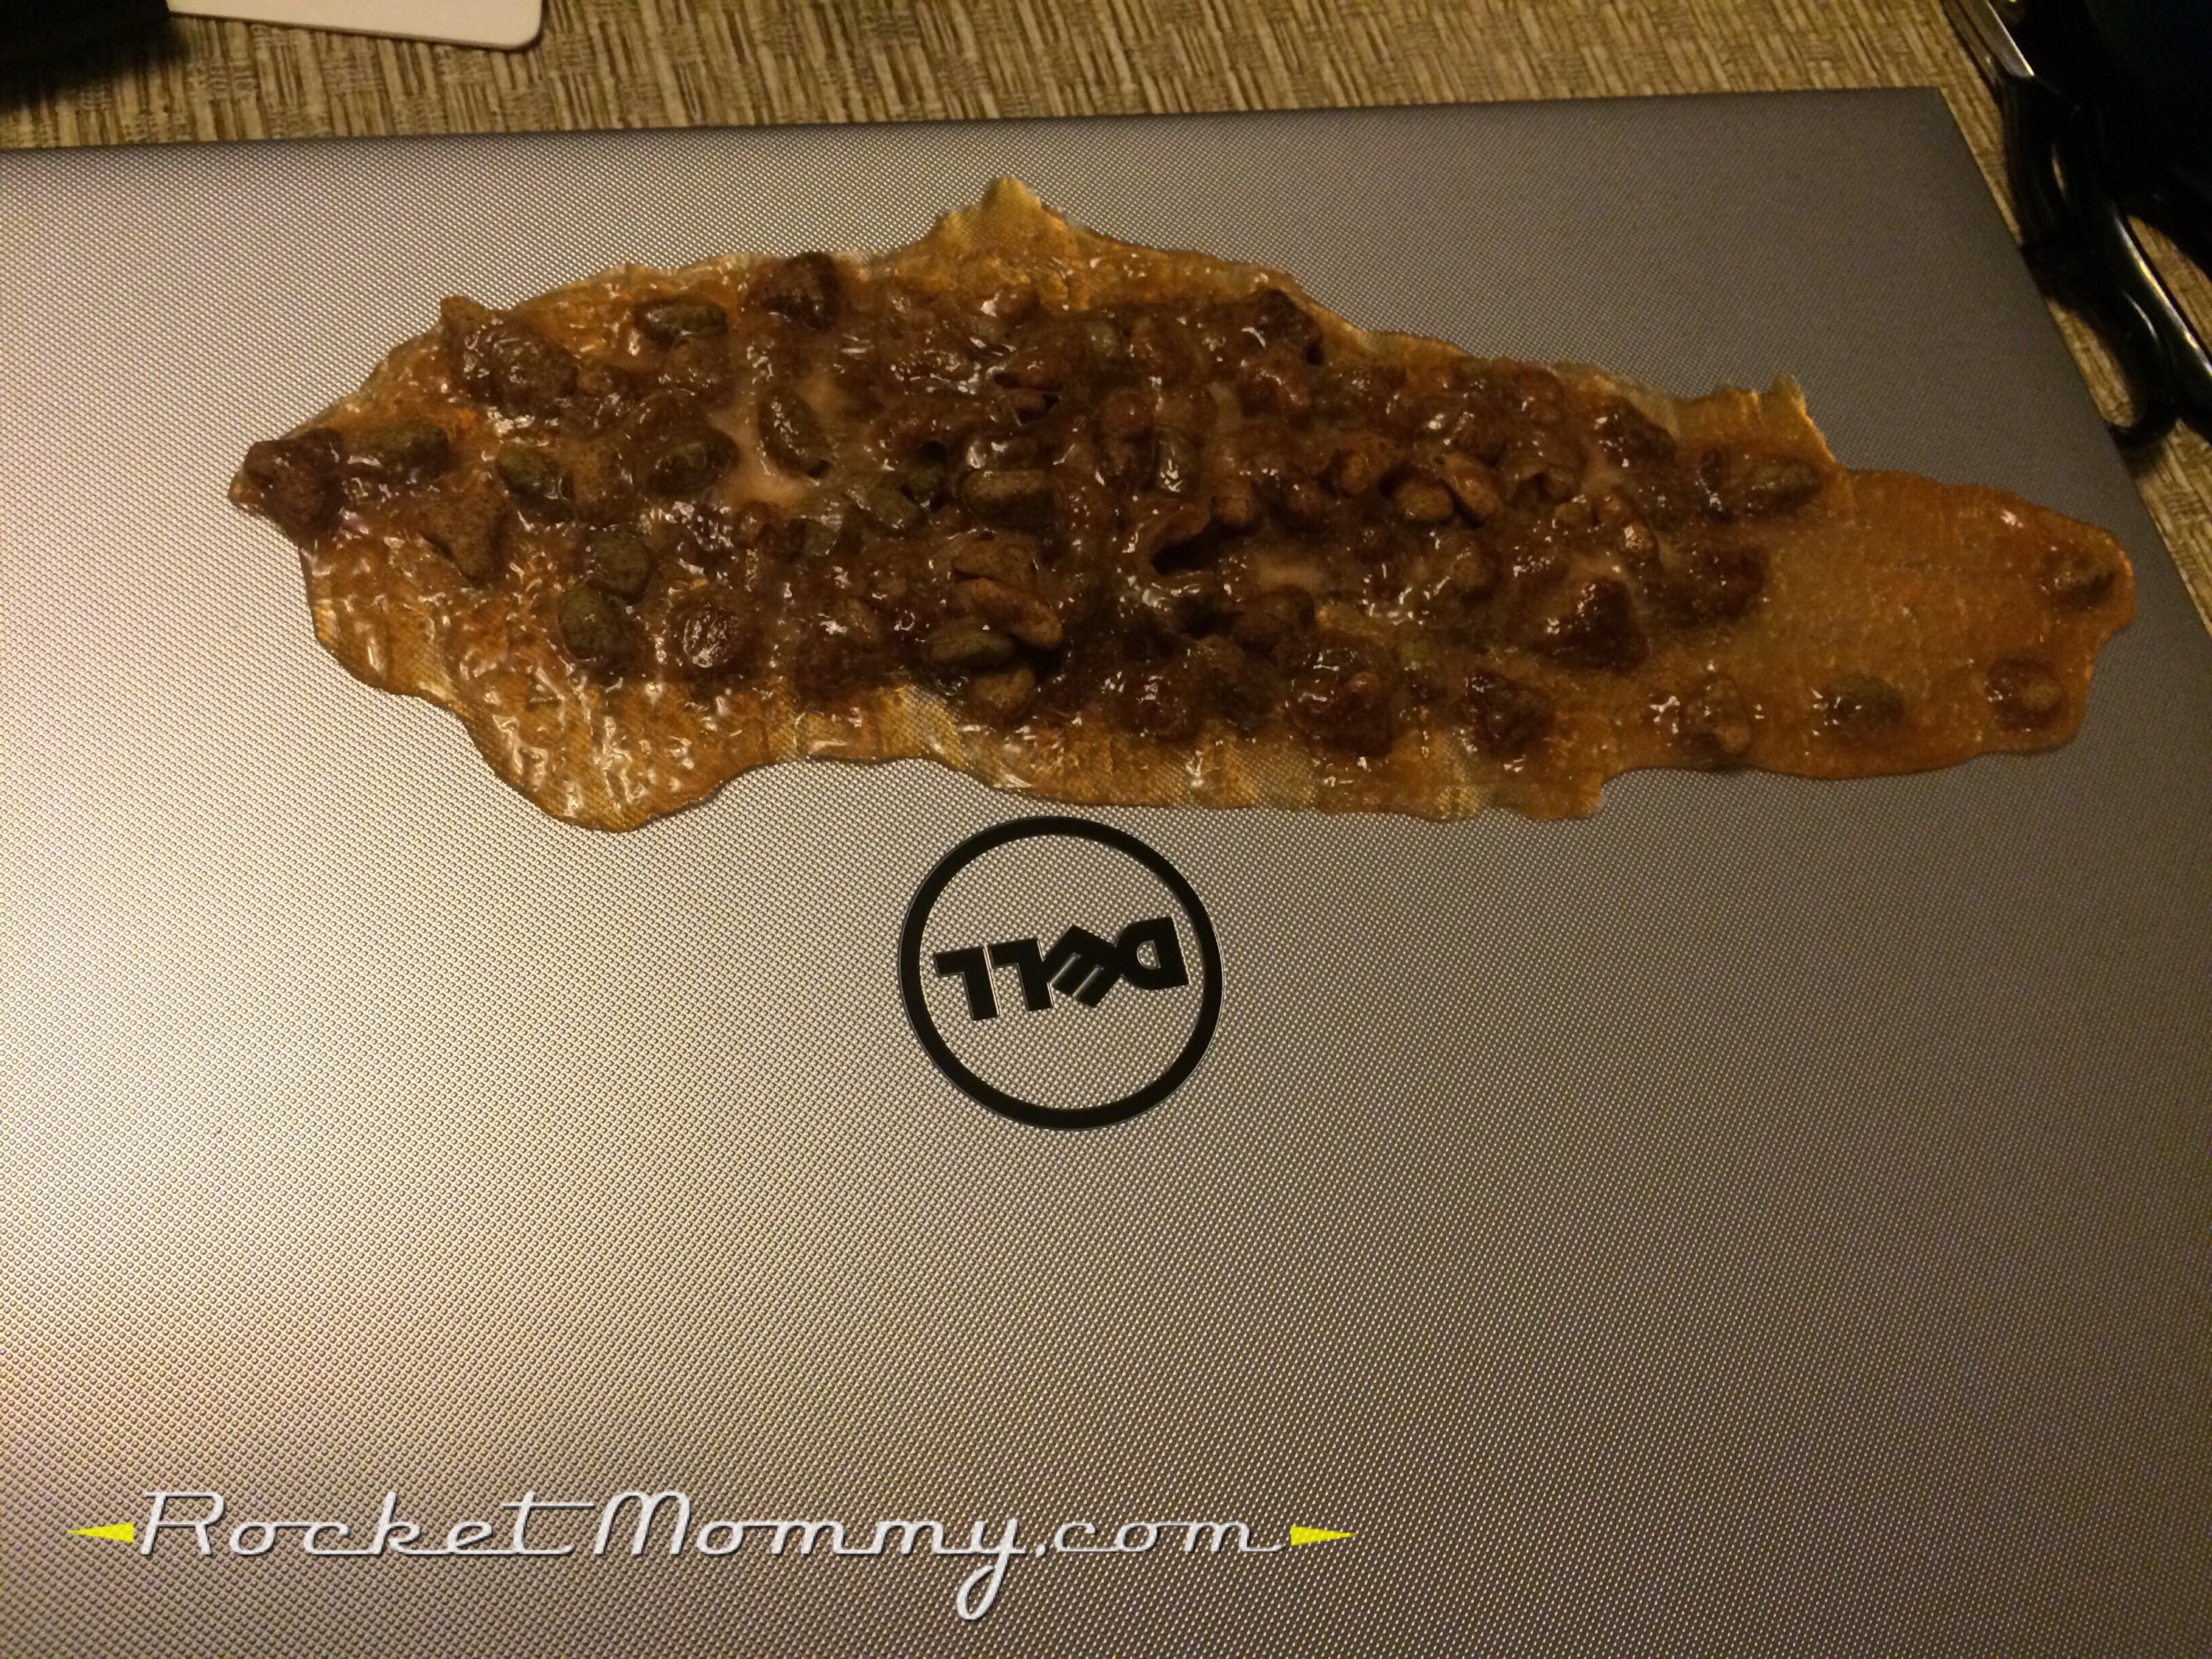
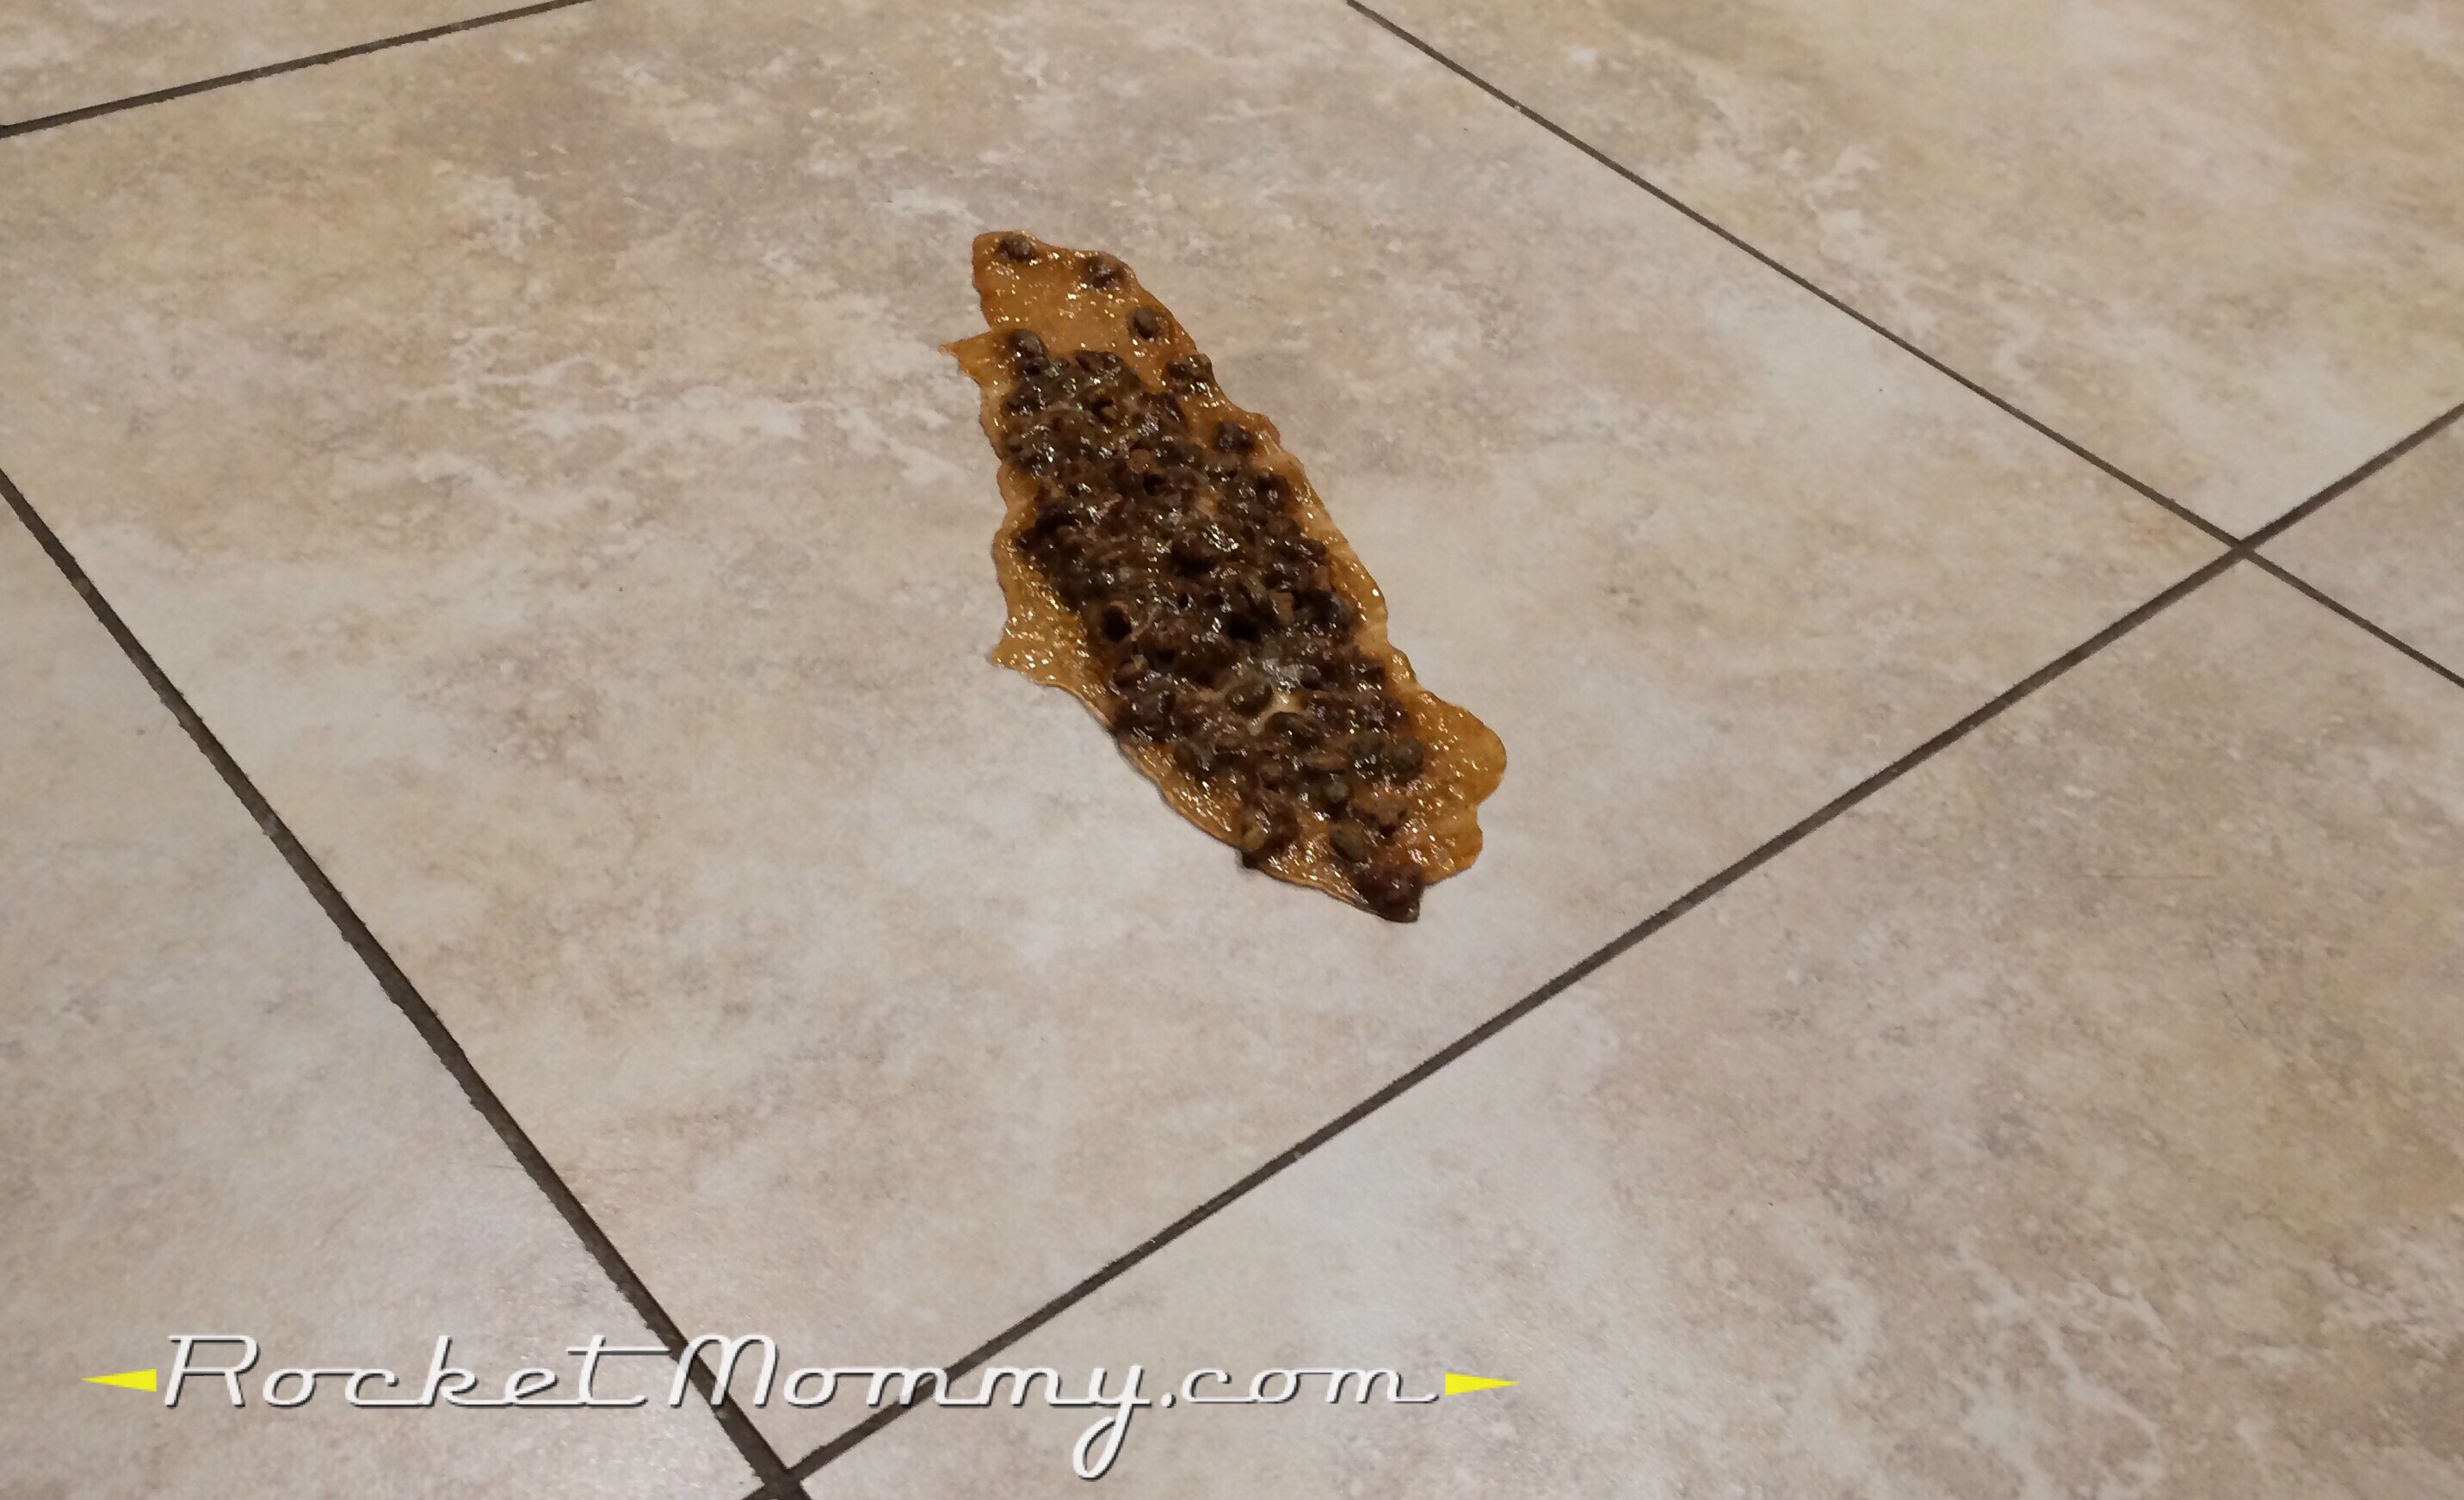
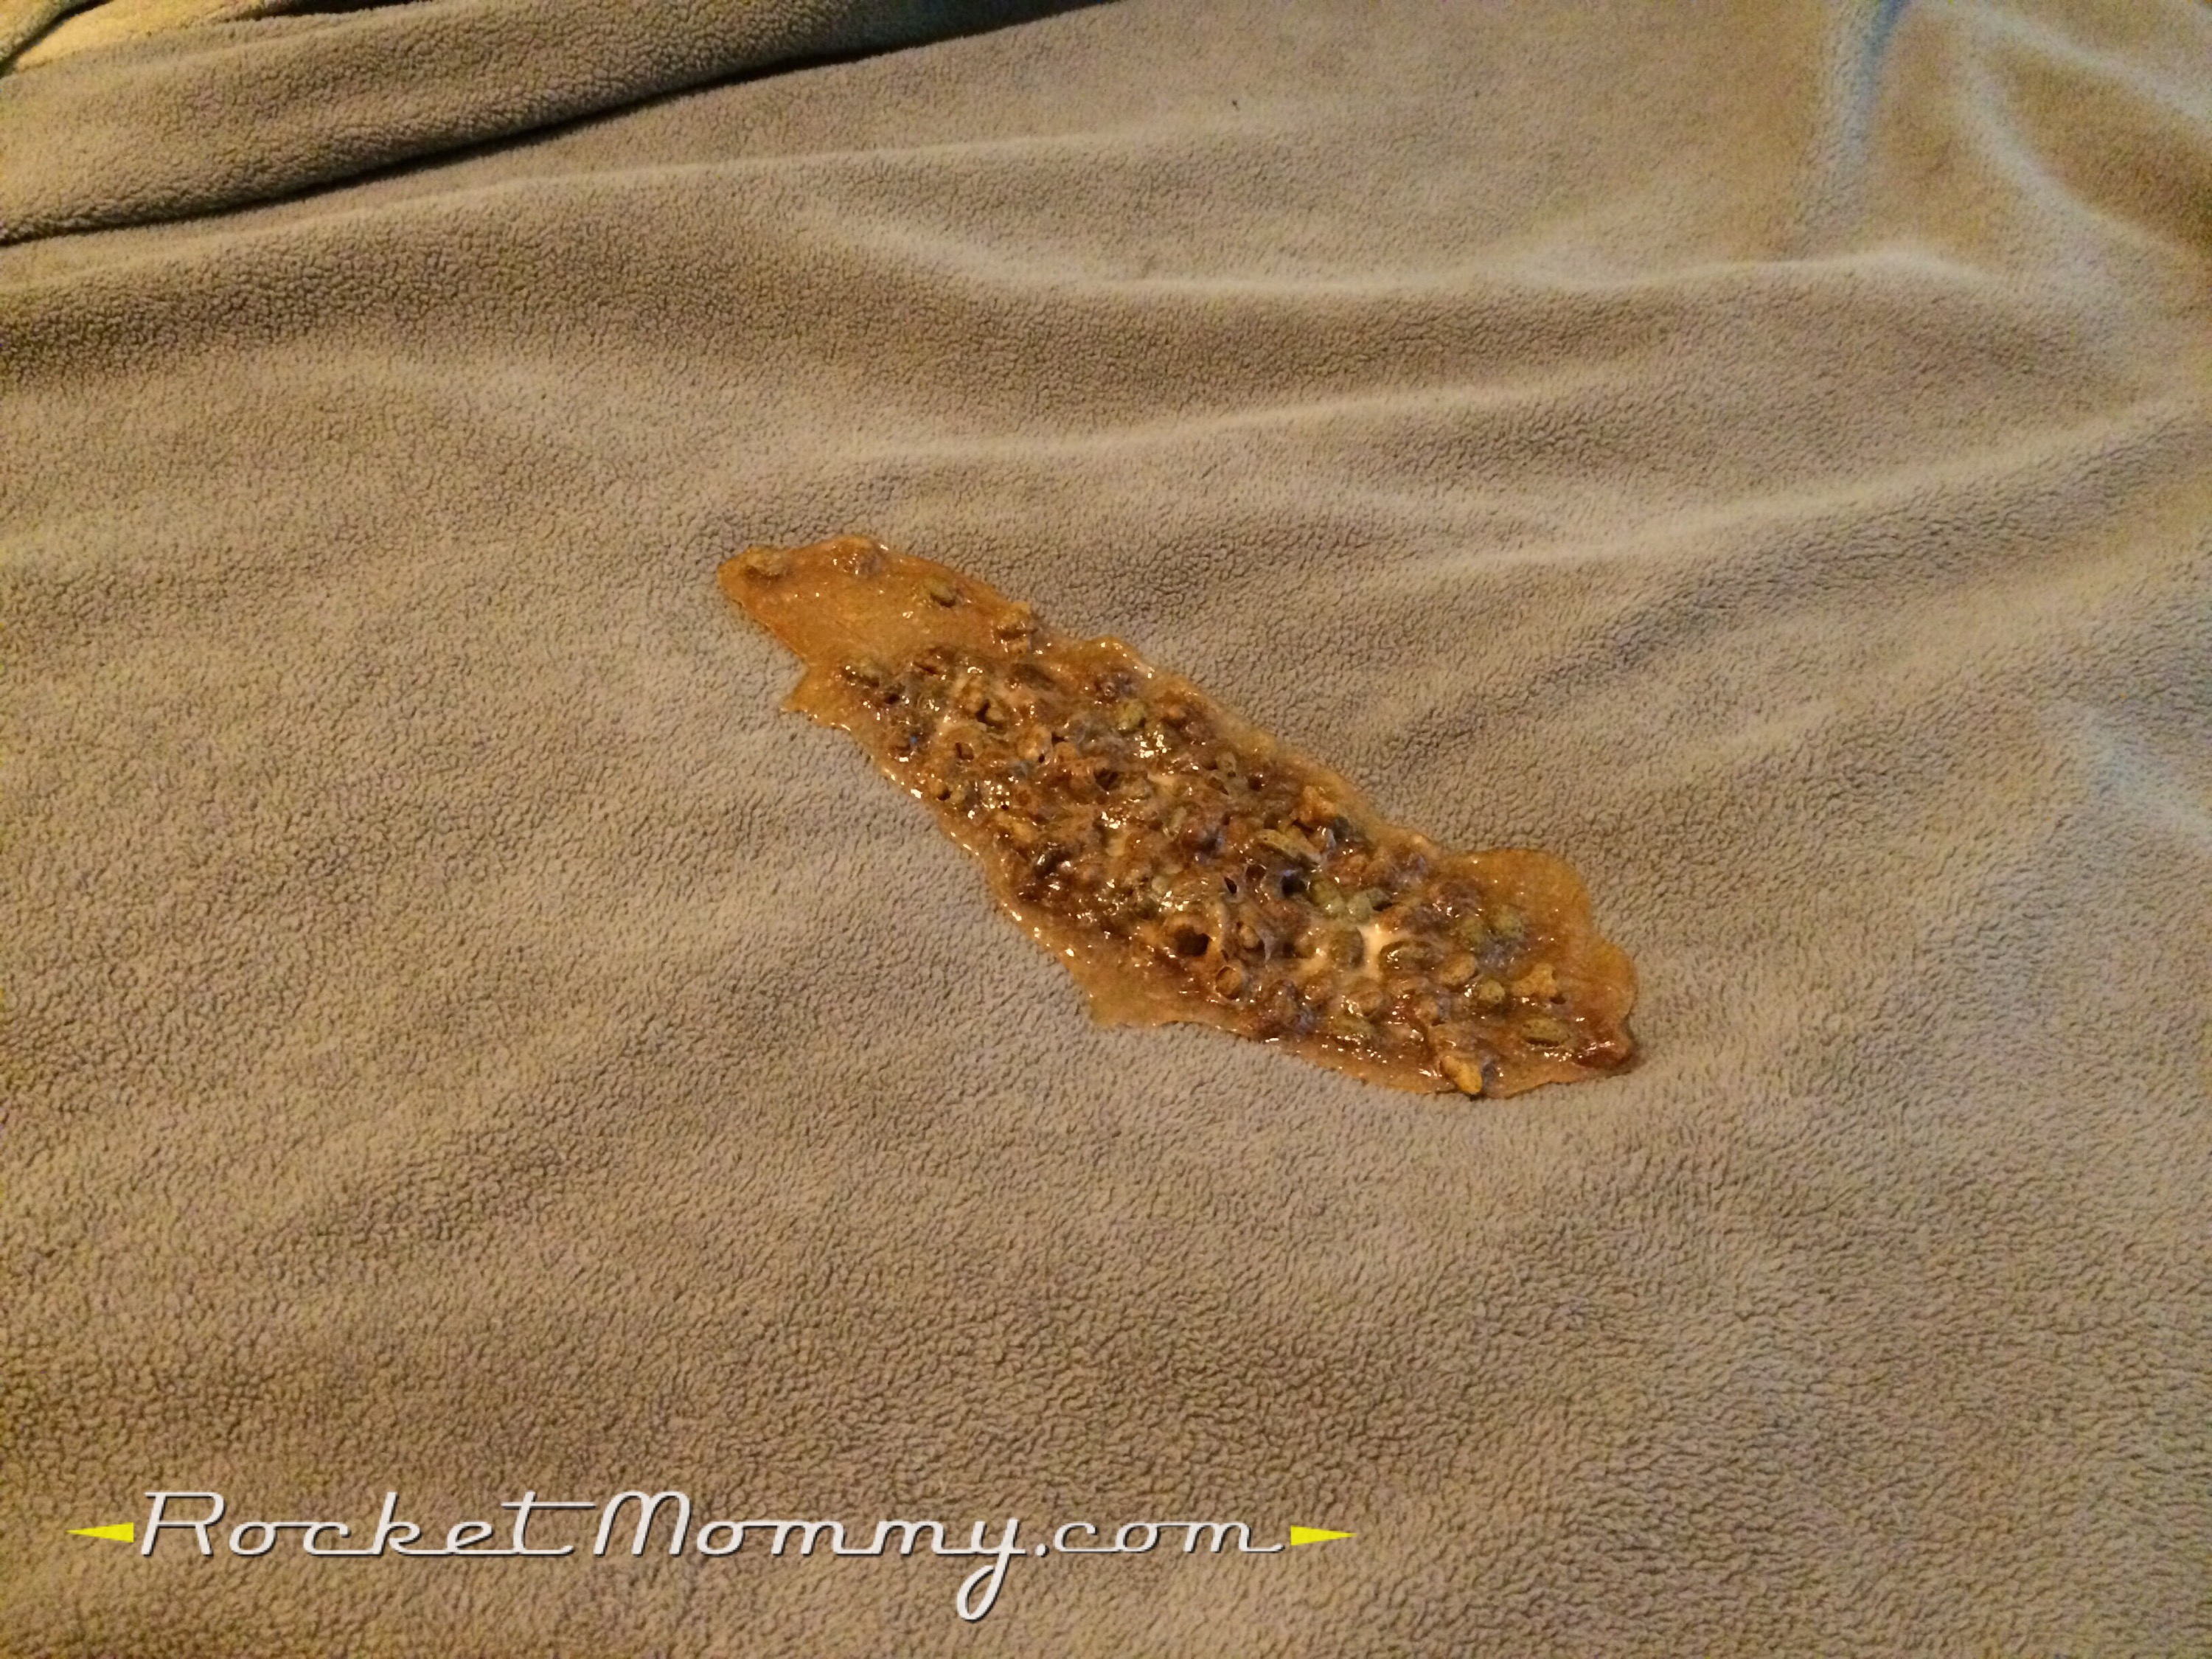
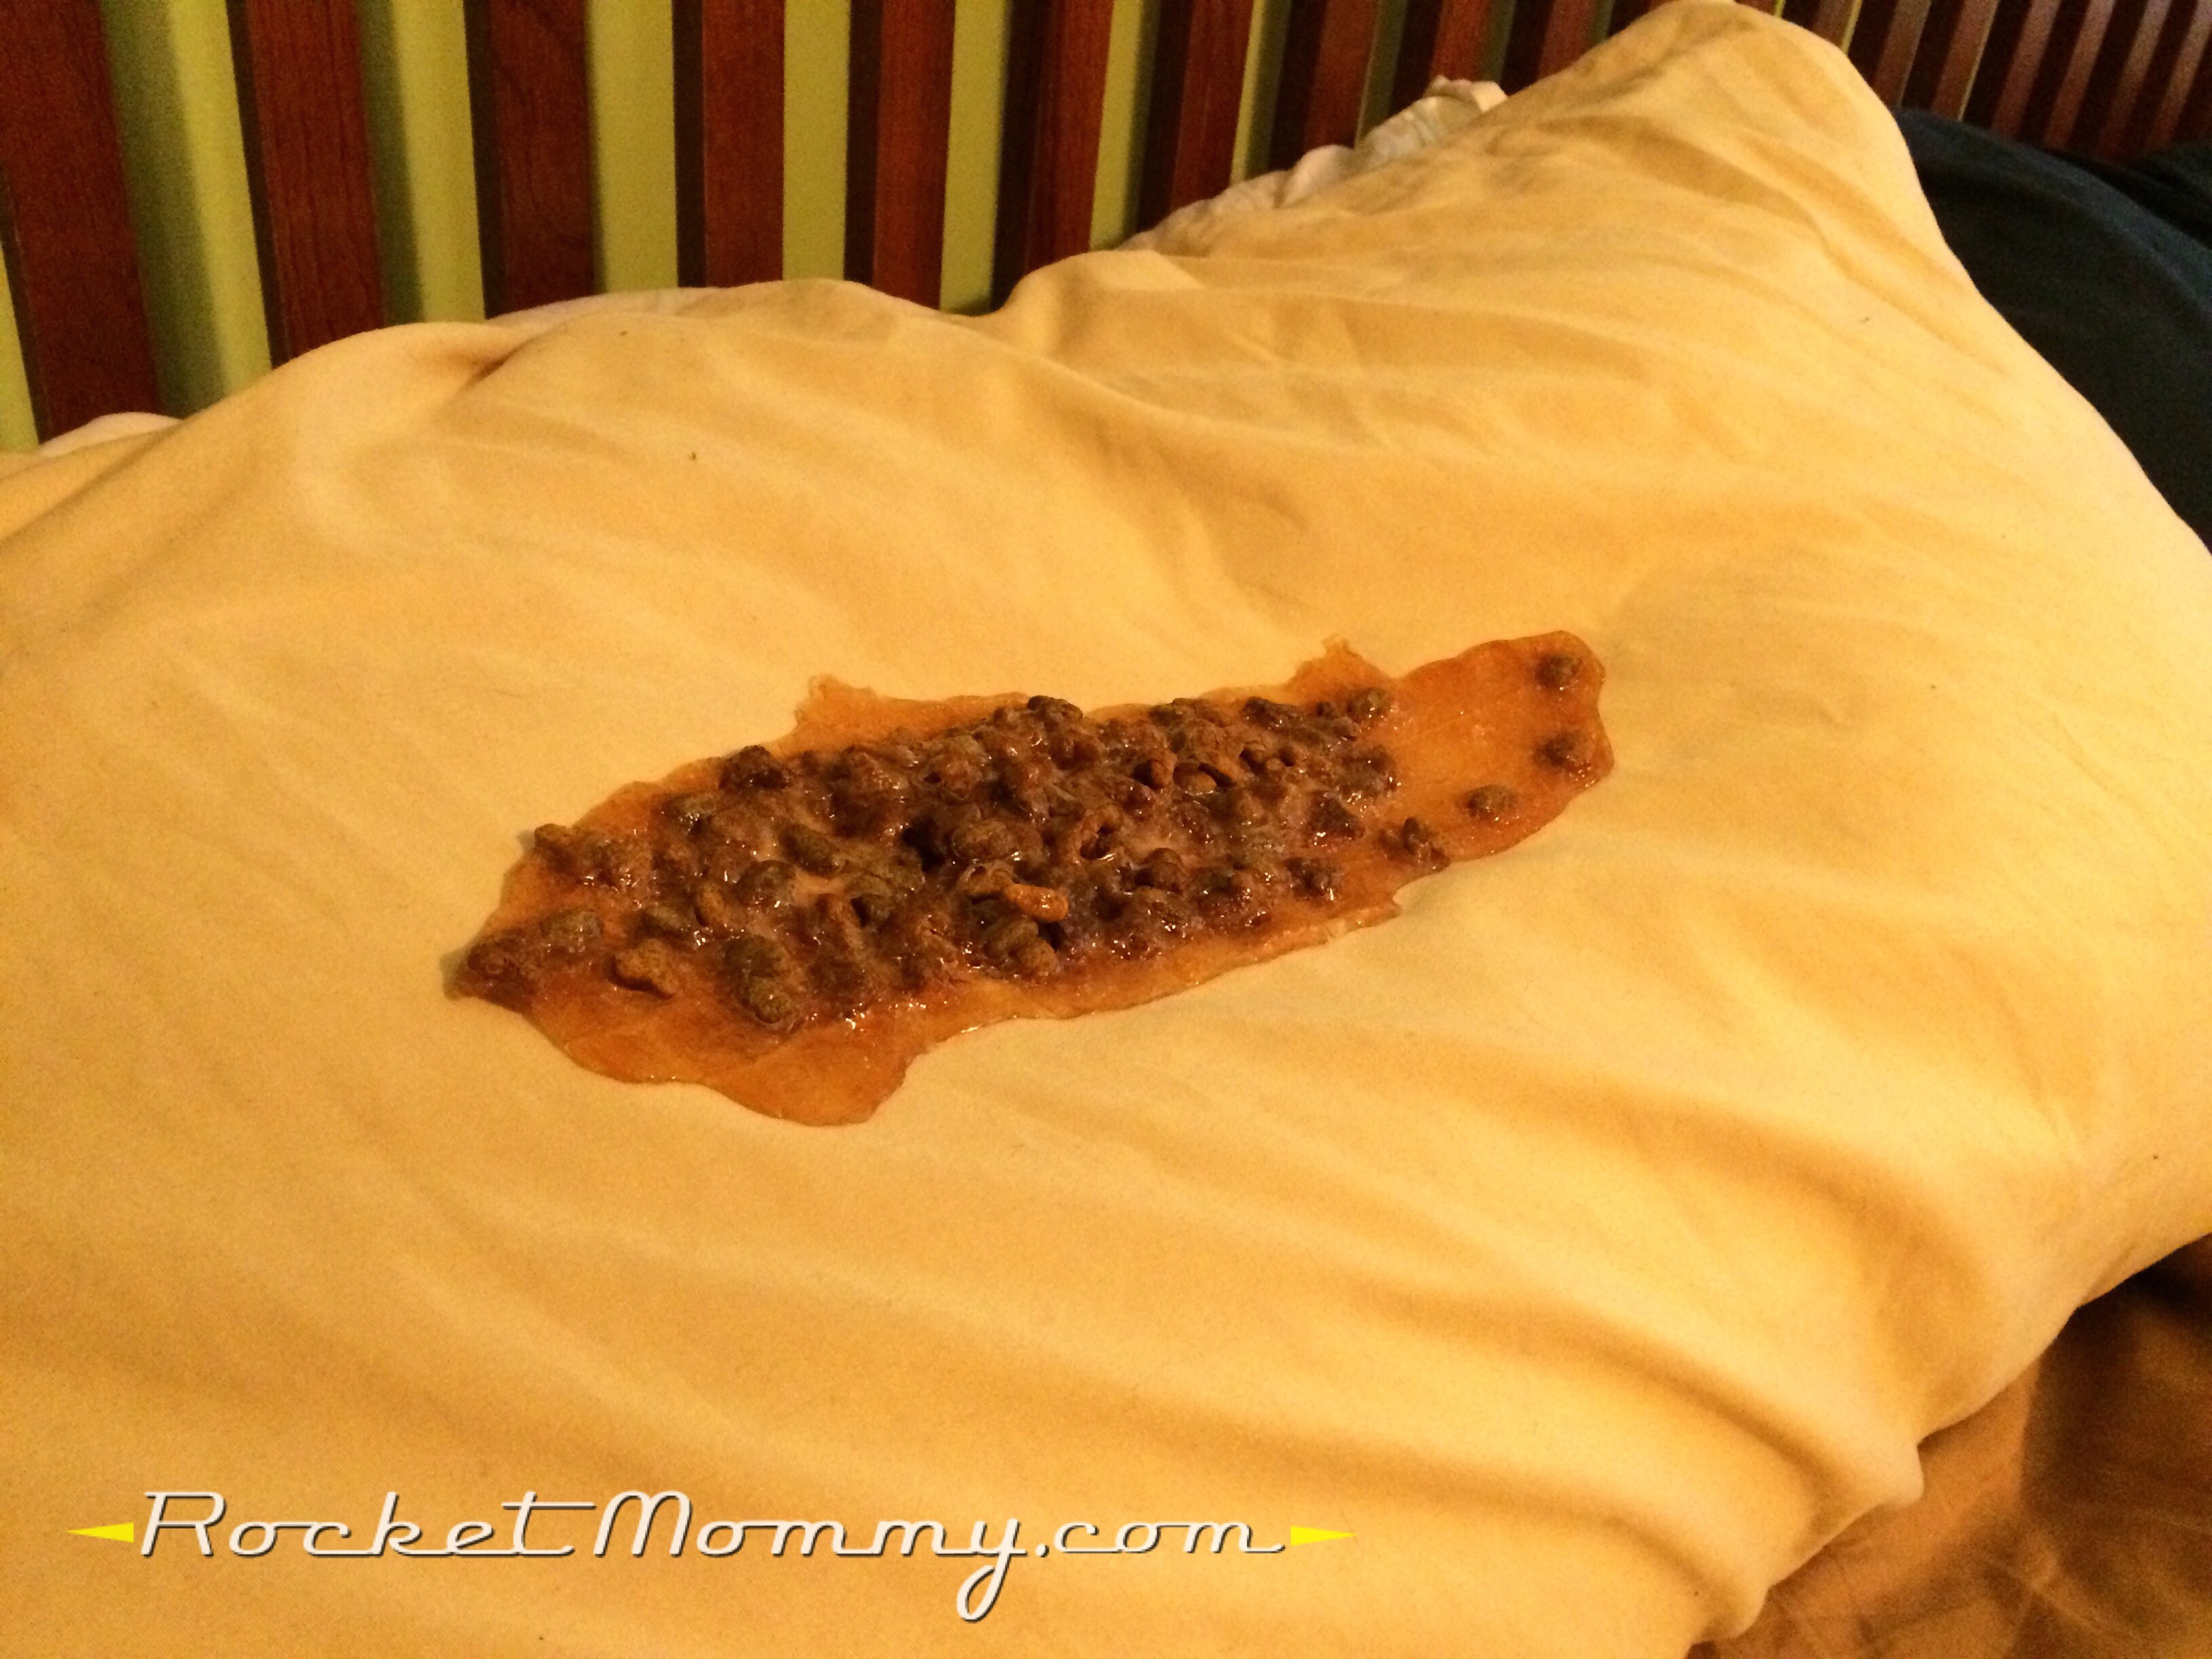
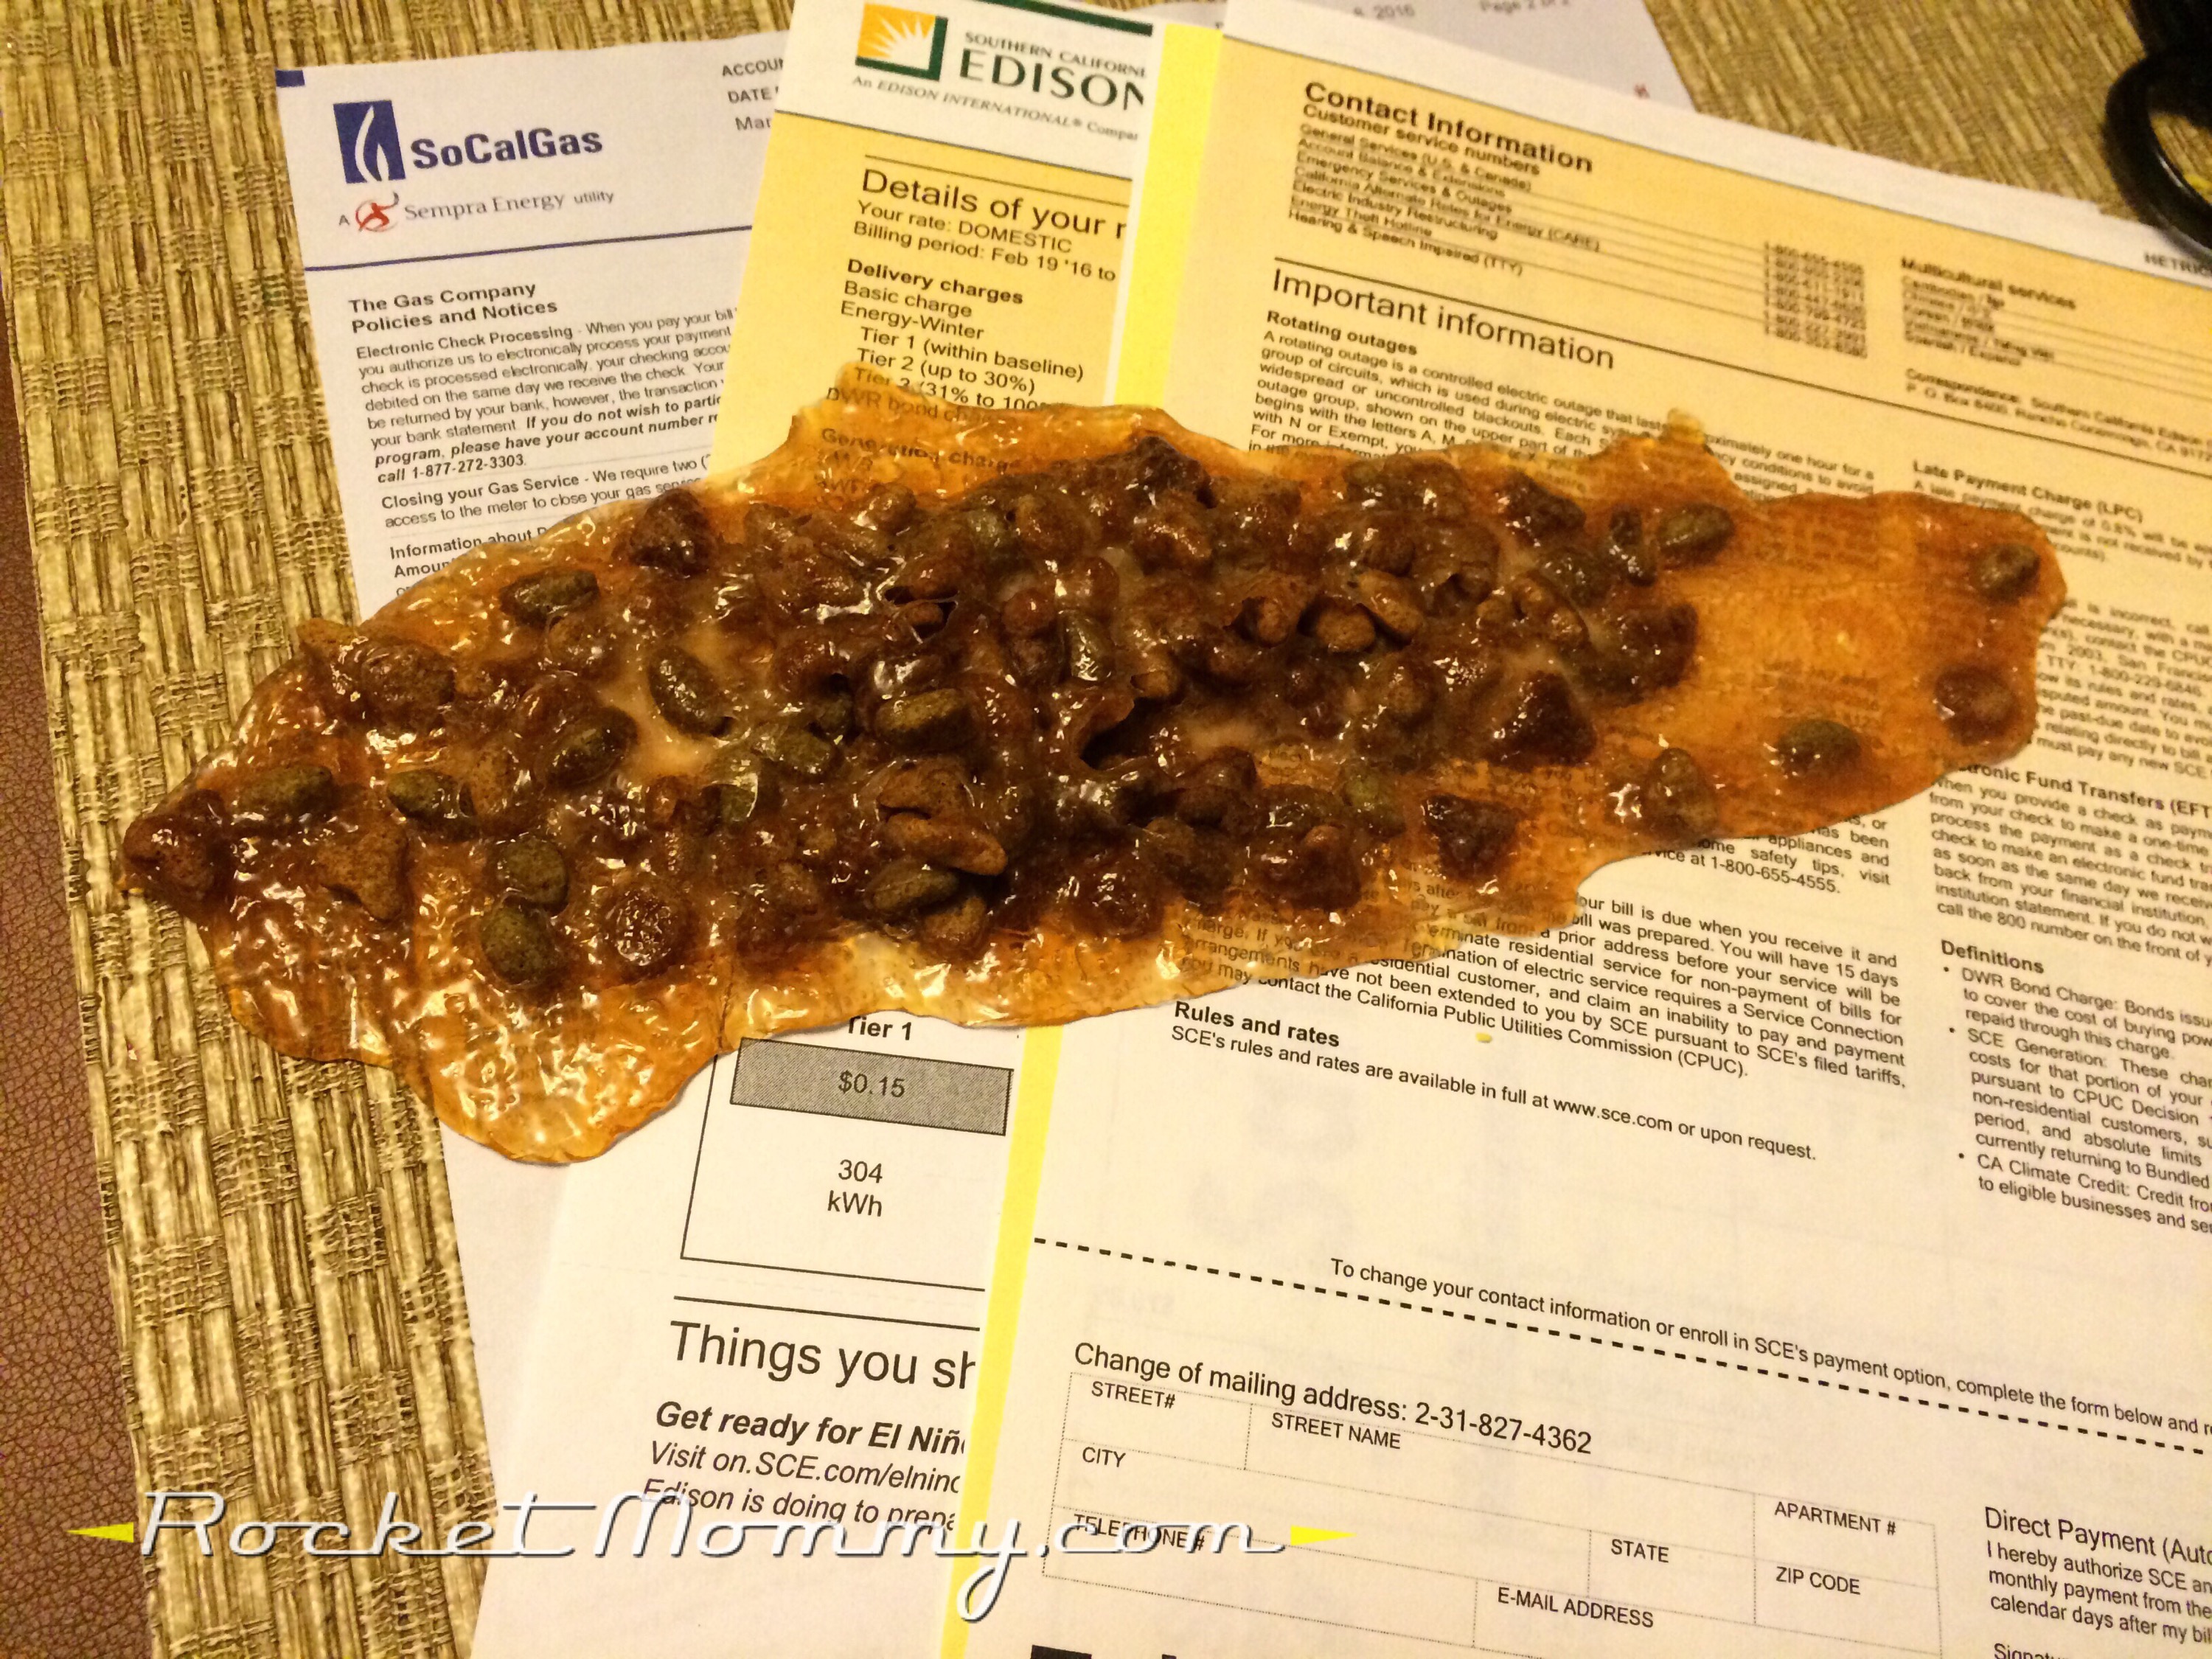
Guys, it looks SO GROSS. I think it’s pretty darn convincing, especially if you find a good, flat surface to stick it on.
Like… a laptop.
Or the kitchen floor…
Or maybe the bed…
How about their pillow?
Or all over the stack of important papers they left out on the table!
Wherever the perfect place for it is in your home, I’m sure it will be good for a quick shock, and then hopefully a few laughs afterward. Enjoy, and happy pranking!