
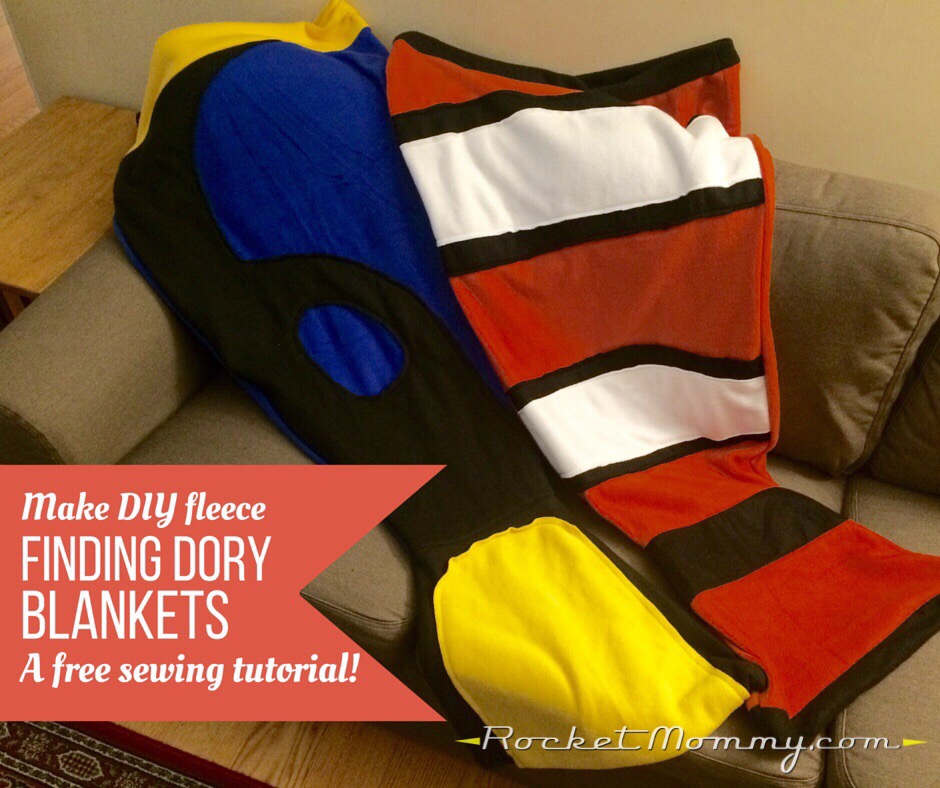
Yesterday I shared my tutorial for a fun little fleece Nemo blanket. Today I’ll show you how to put together a Dory blanket, so you can have an adorable little matching set – just in time for the much-anticipated Finding Dory release! I’m thinking about taking these along with me to the movie theater in case the twins need a little help staying in their seats for their first big-screen experience.
First, if you’re not familiar with my original mermaid blanket tutorial, you should probably go check it out here.
For this blanket, you’ll need the following: 1 1/2-2 yards of medium blue fleece, 1-1 1/2 yards of black or very dark blue fleece, and 1/2-1 yard of yellow fleece. I got all of mine from the remnant bins, of course ;).

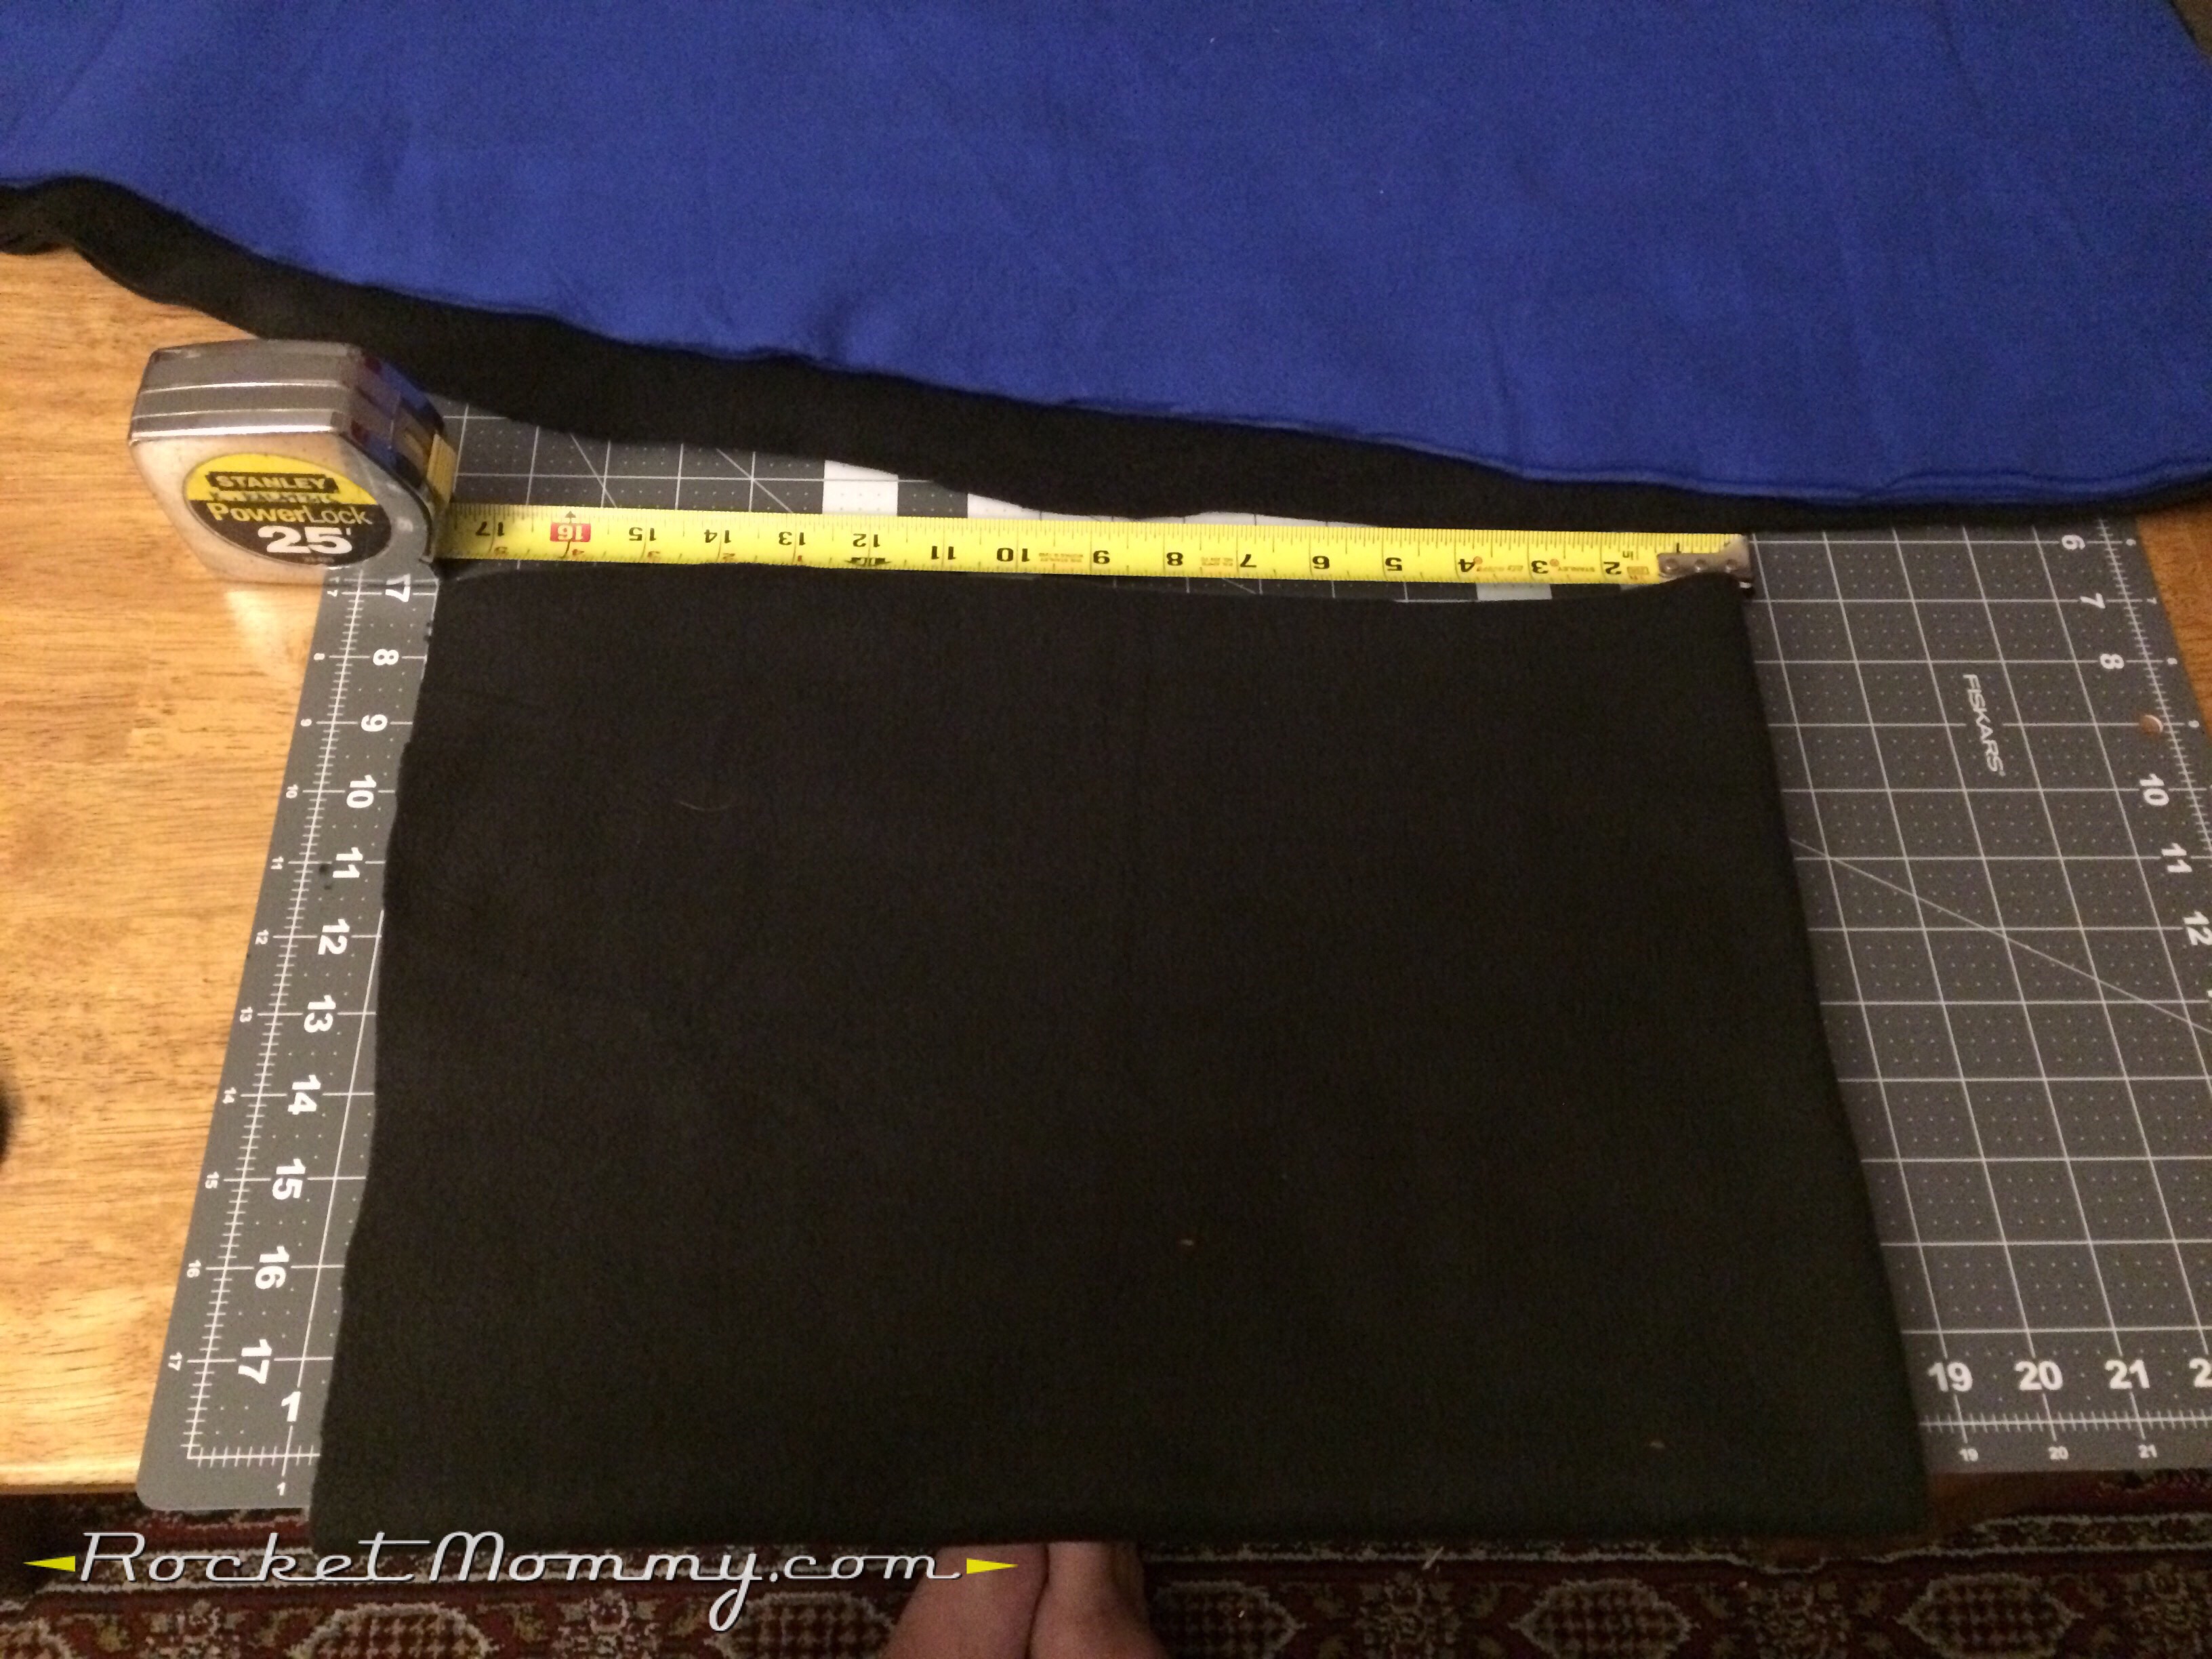
We’re going to start by following the first few steps of that tutorial using the medium blue fleece. Fold and cut your blue fleece following the original tutorial, until you have two pieces that look like this photo and measure about 36″ long and 24″ wide at the top (12″ wide at the top when folded like you see here). The bottom will be 12″ wide, or 6″ when folded. Then cut one more piece of exact same size and shape out of your black (or dark blue) fleece.
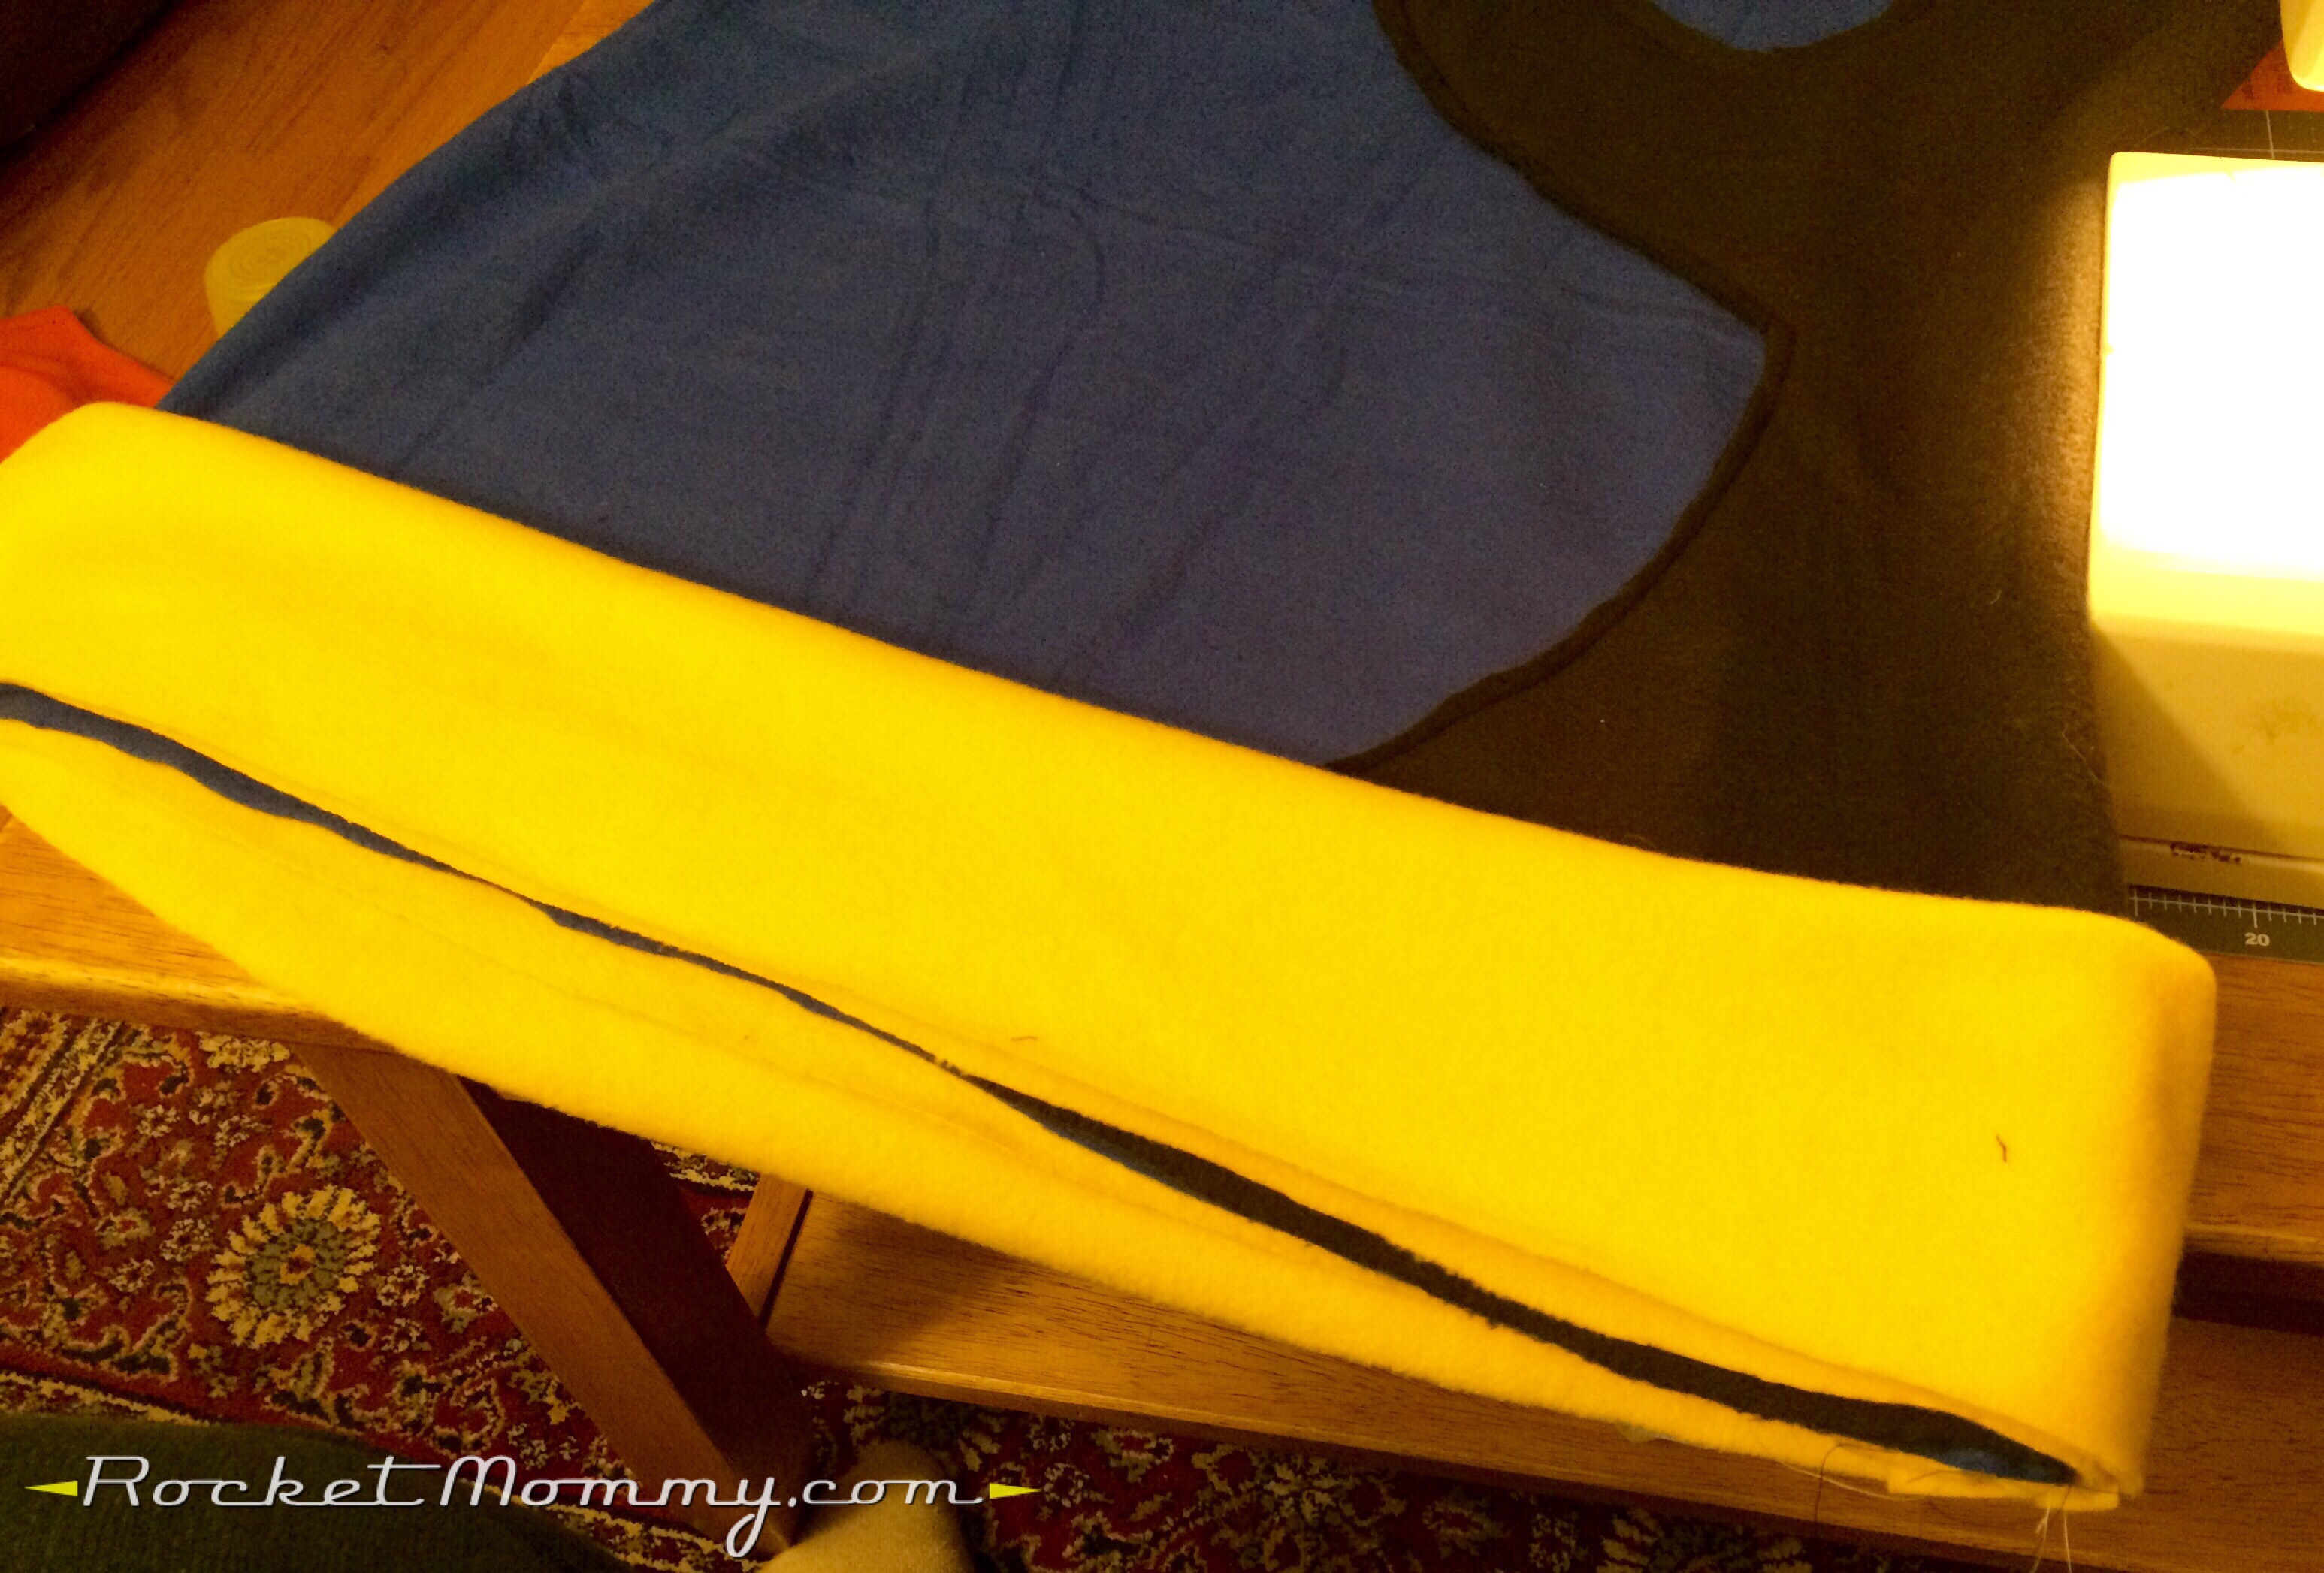
While you’ve got the black fleece out, let’s go ahead and cut the piece for the tail. Fold it twice and cut it to about 12″x18″, keeping the folds intact (in the photo above, the right side and the bottom are folded).
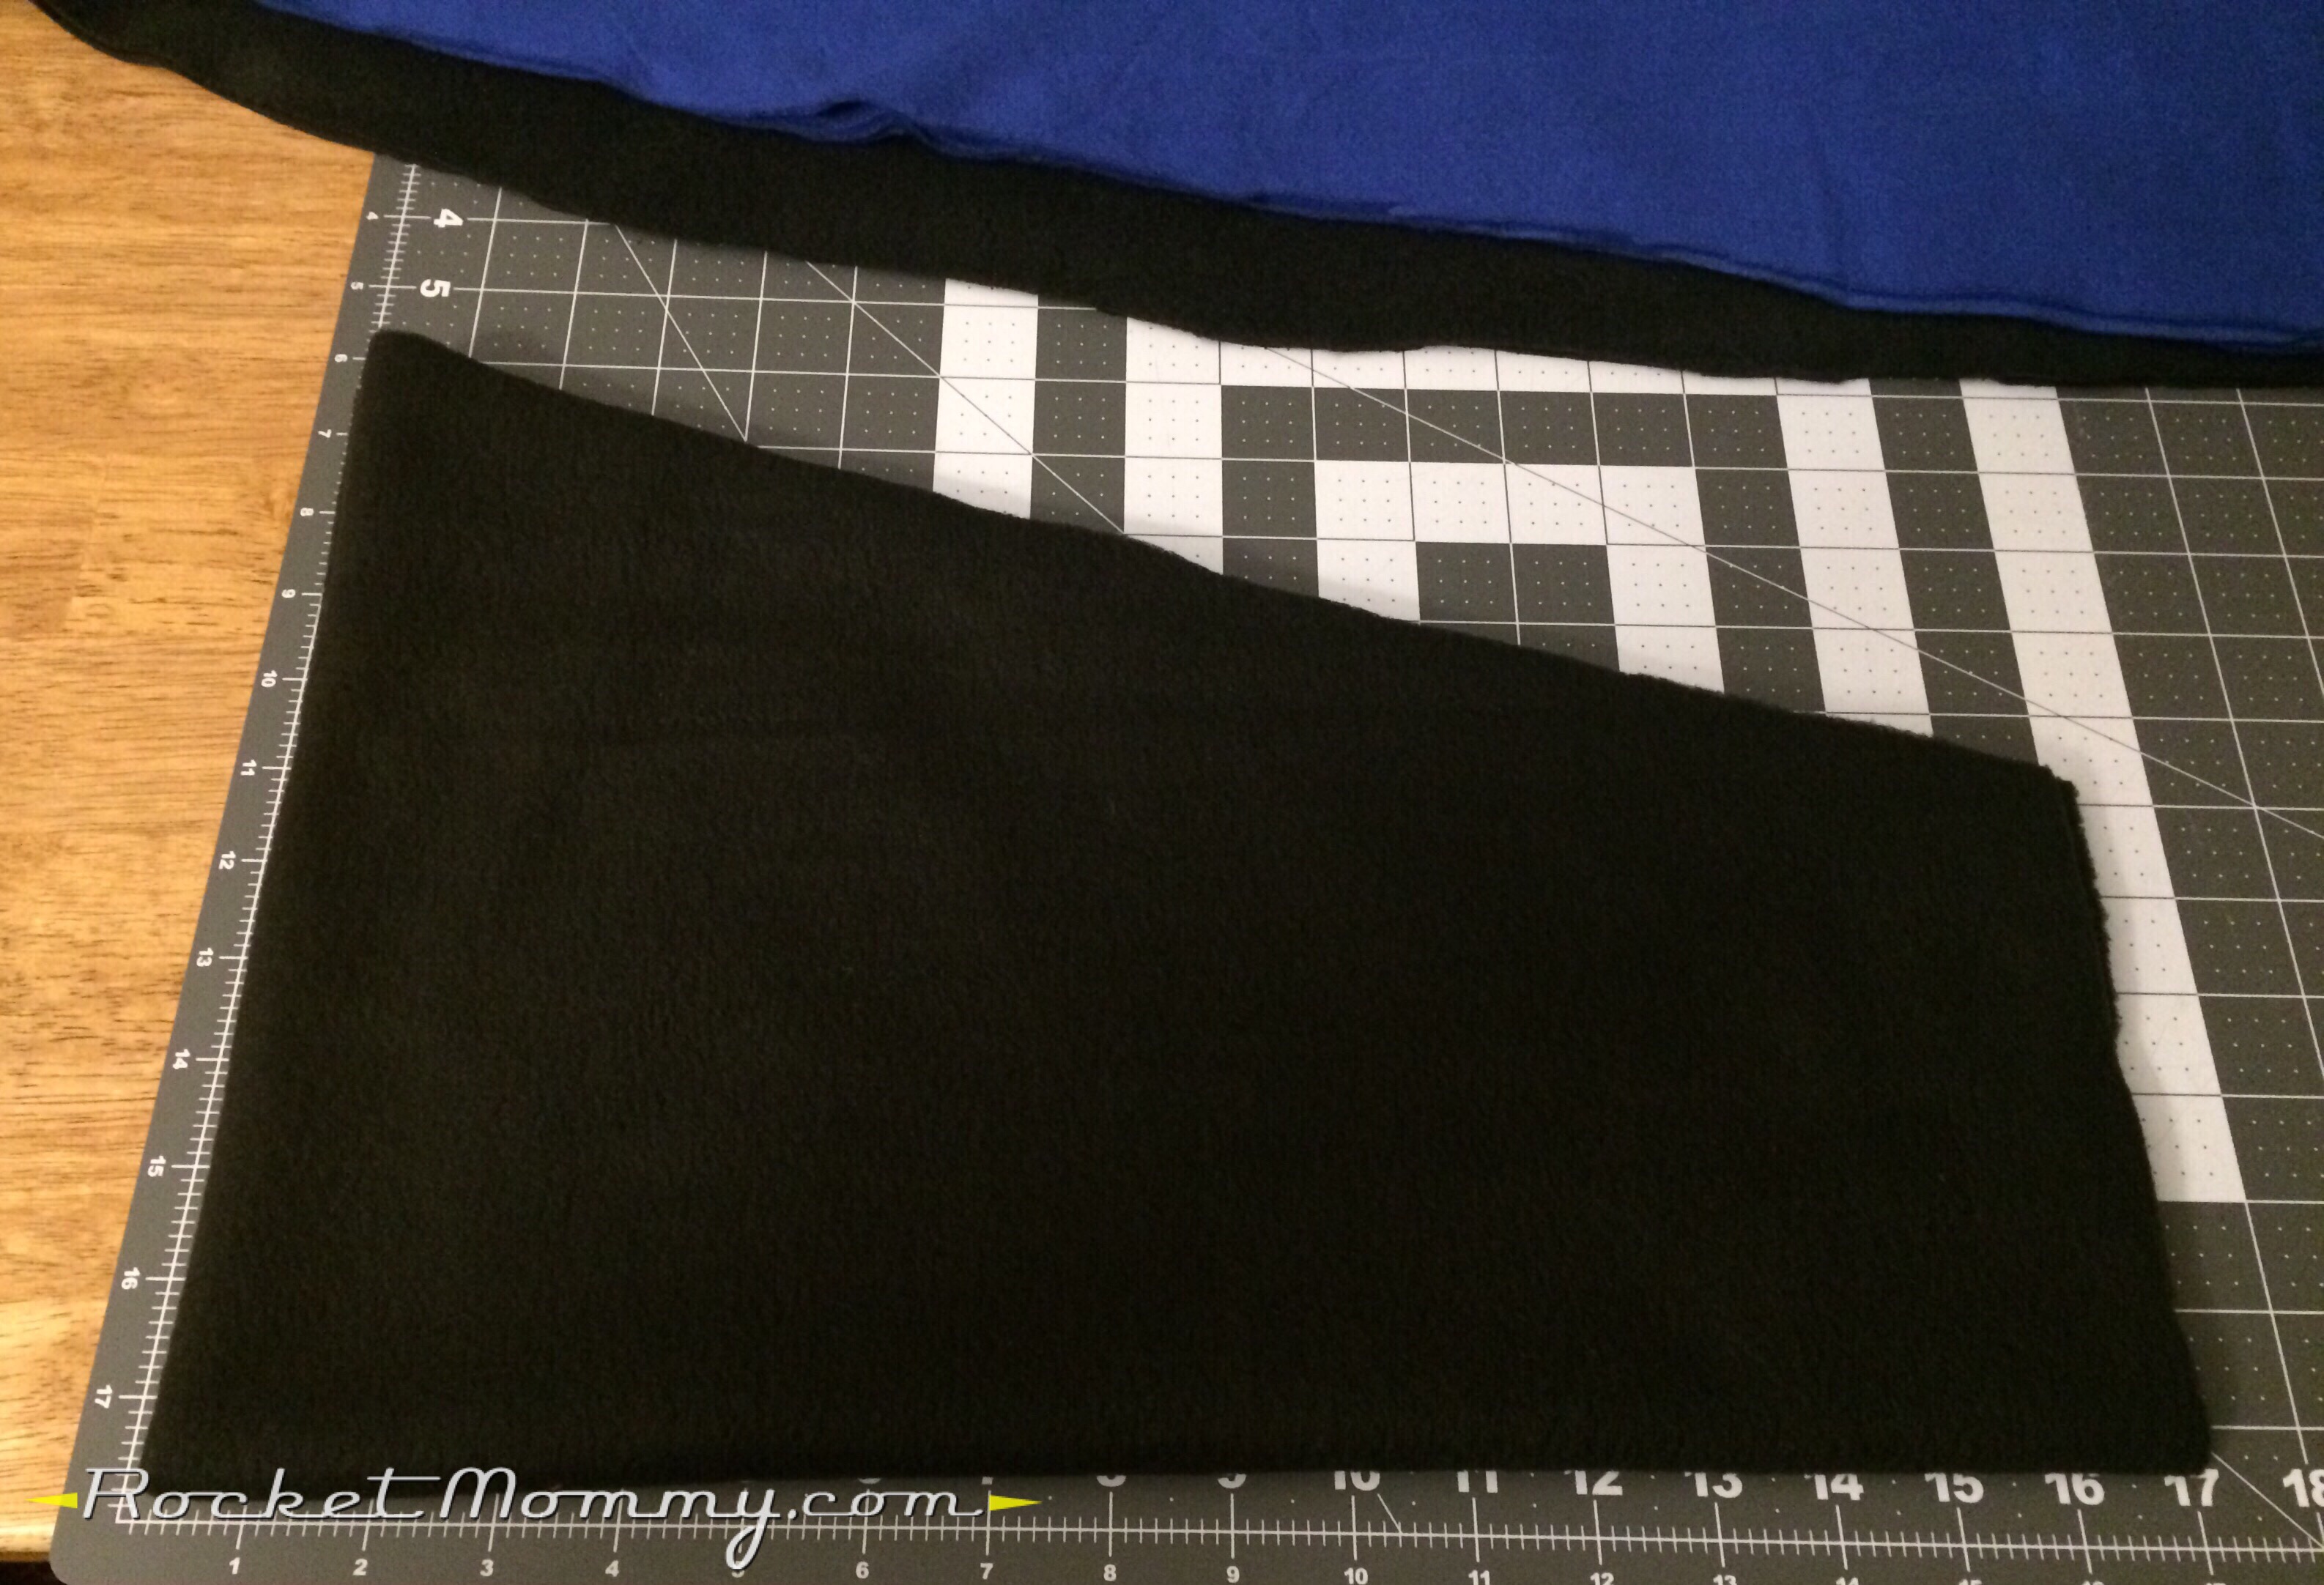
Next, keeping it folded, trim the non-folded side on an angle so that one side is 12″ and the other is 6″. This will give you a flared fish tail when you open it up.
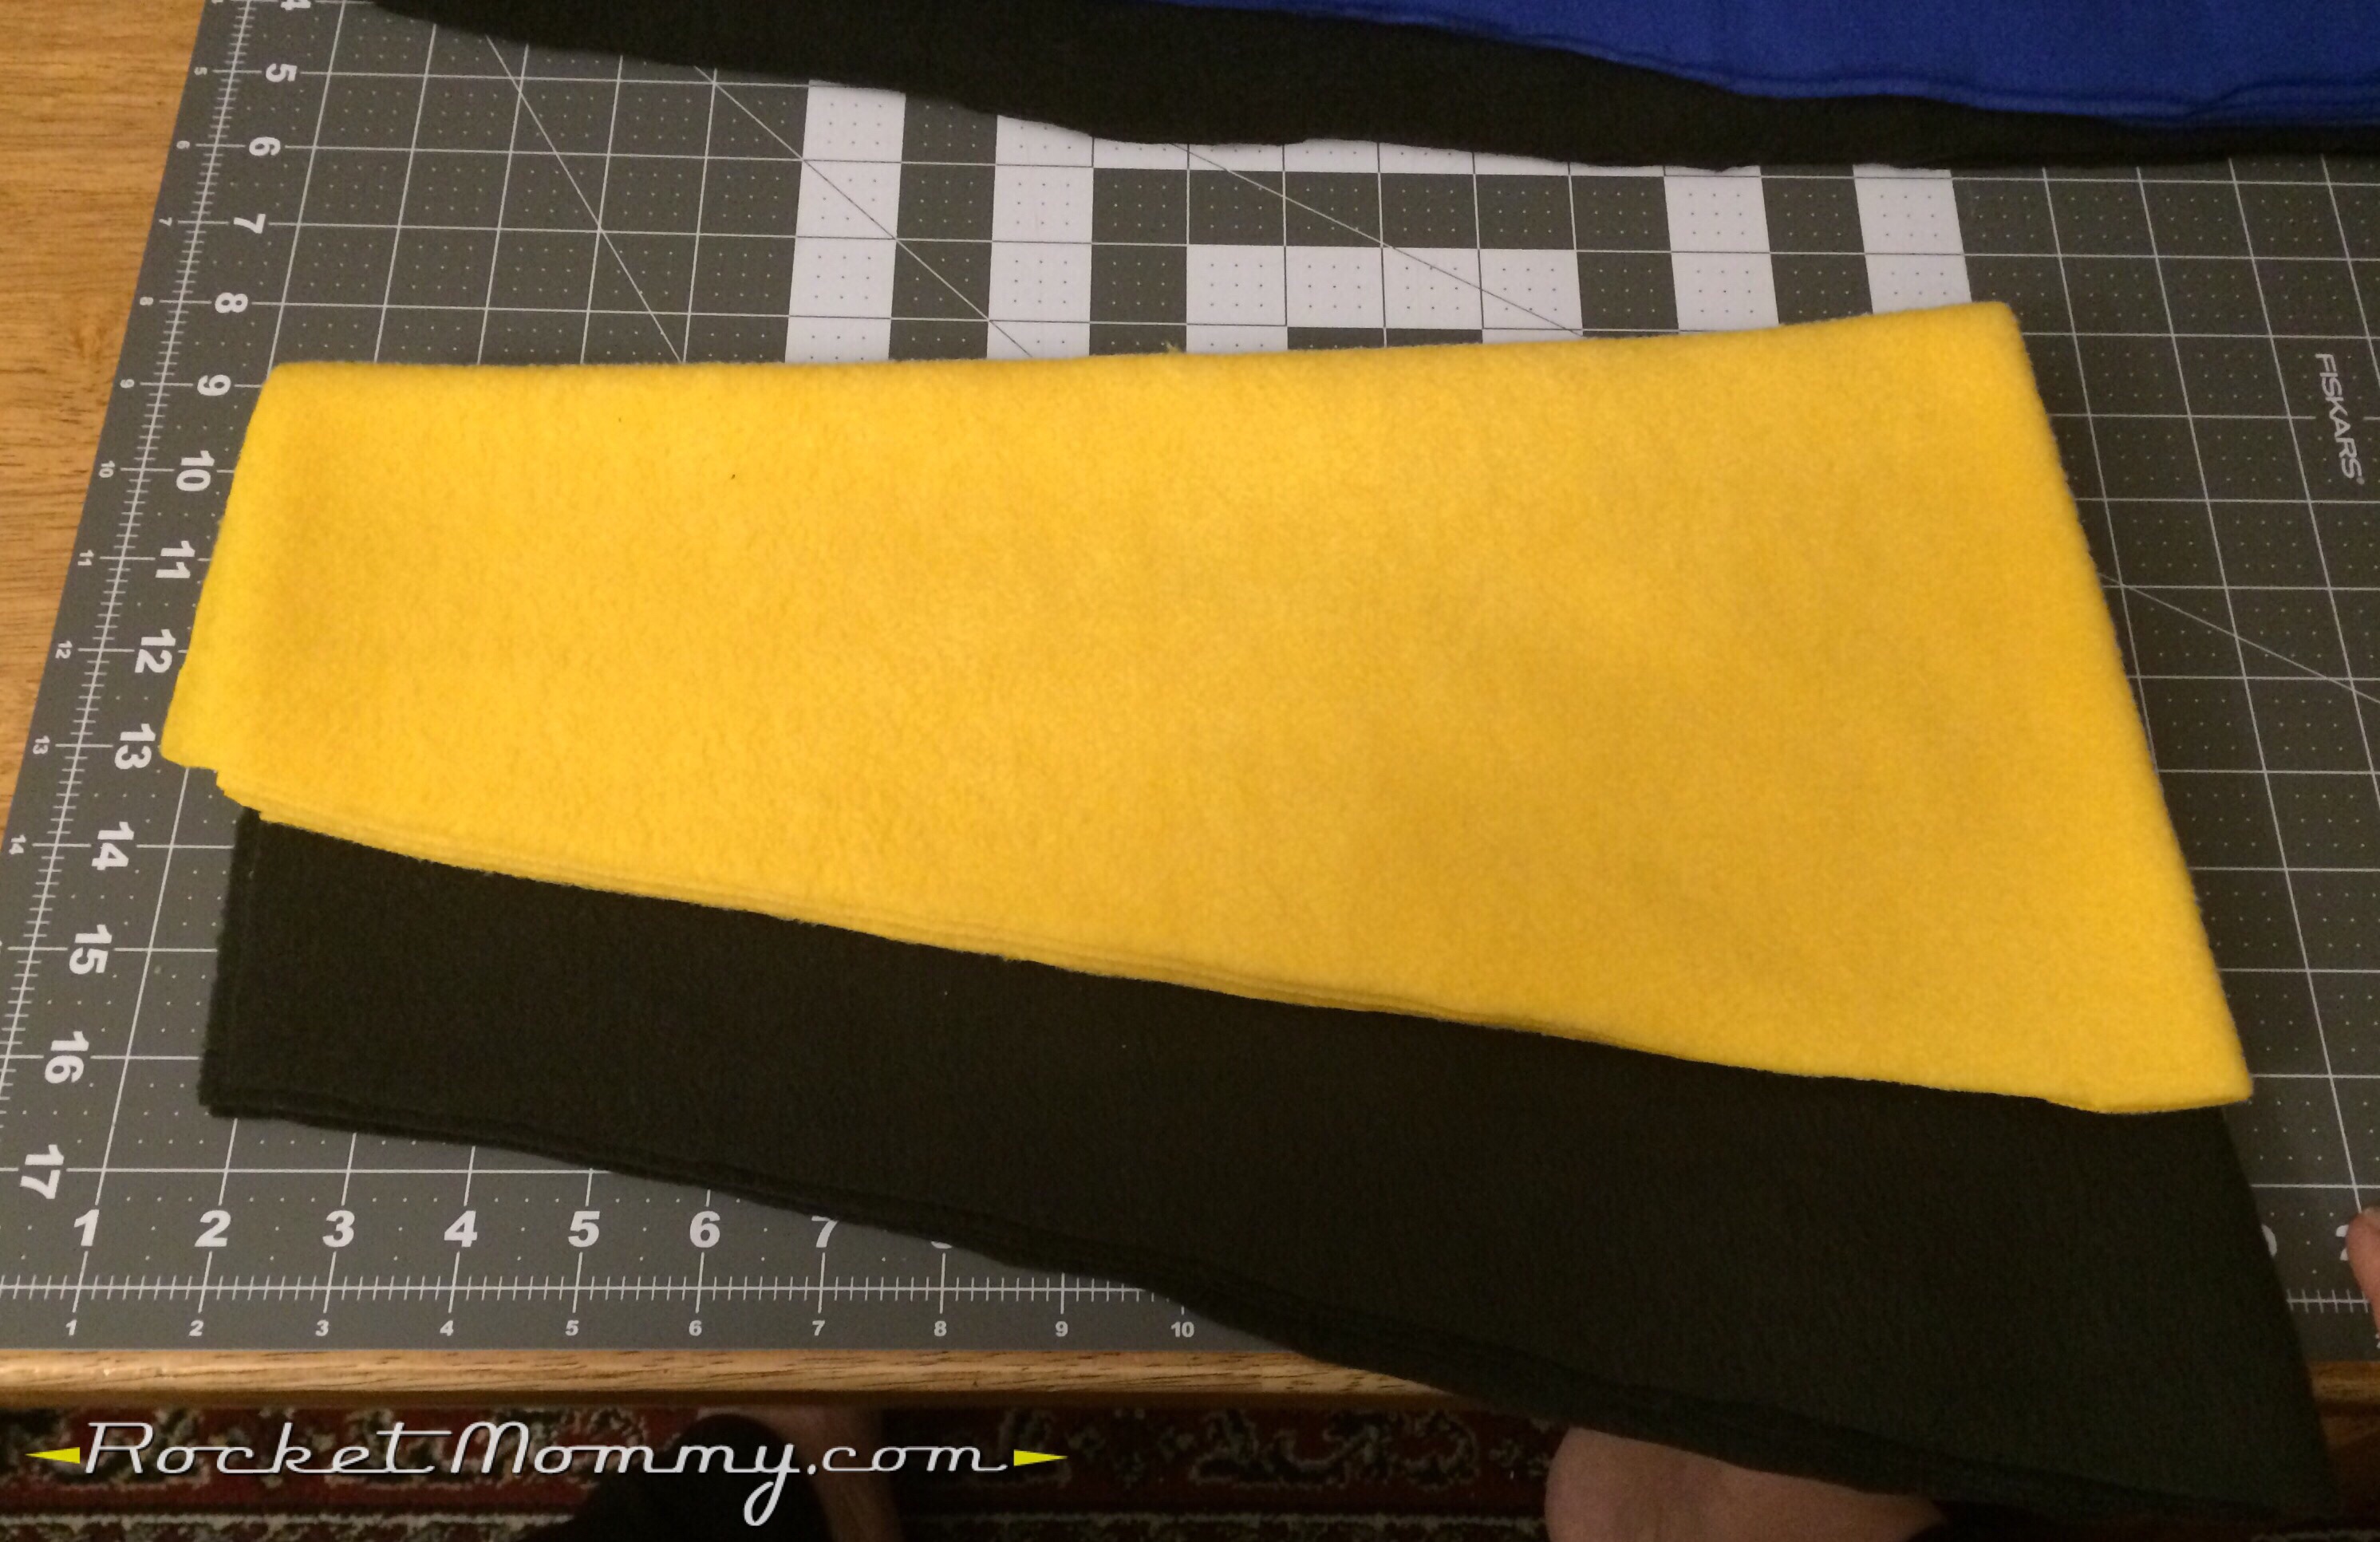
Repeat the same process with the yellow fleece, but cut it about 2-3″ narrower than the black fabric, like shown.
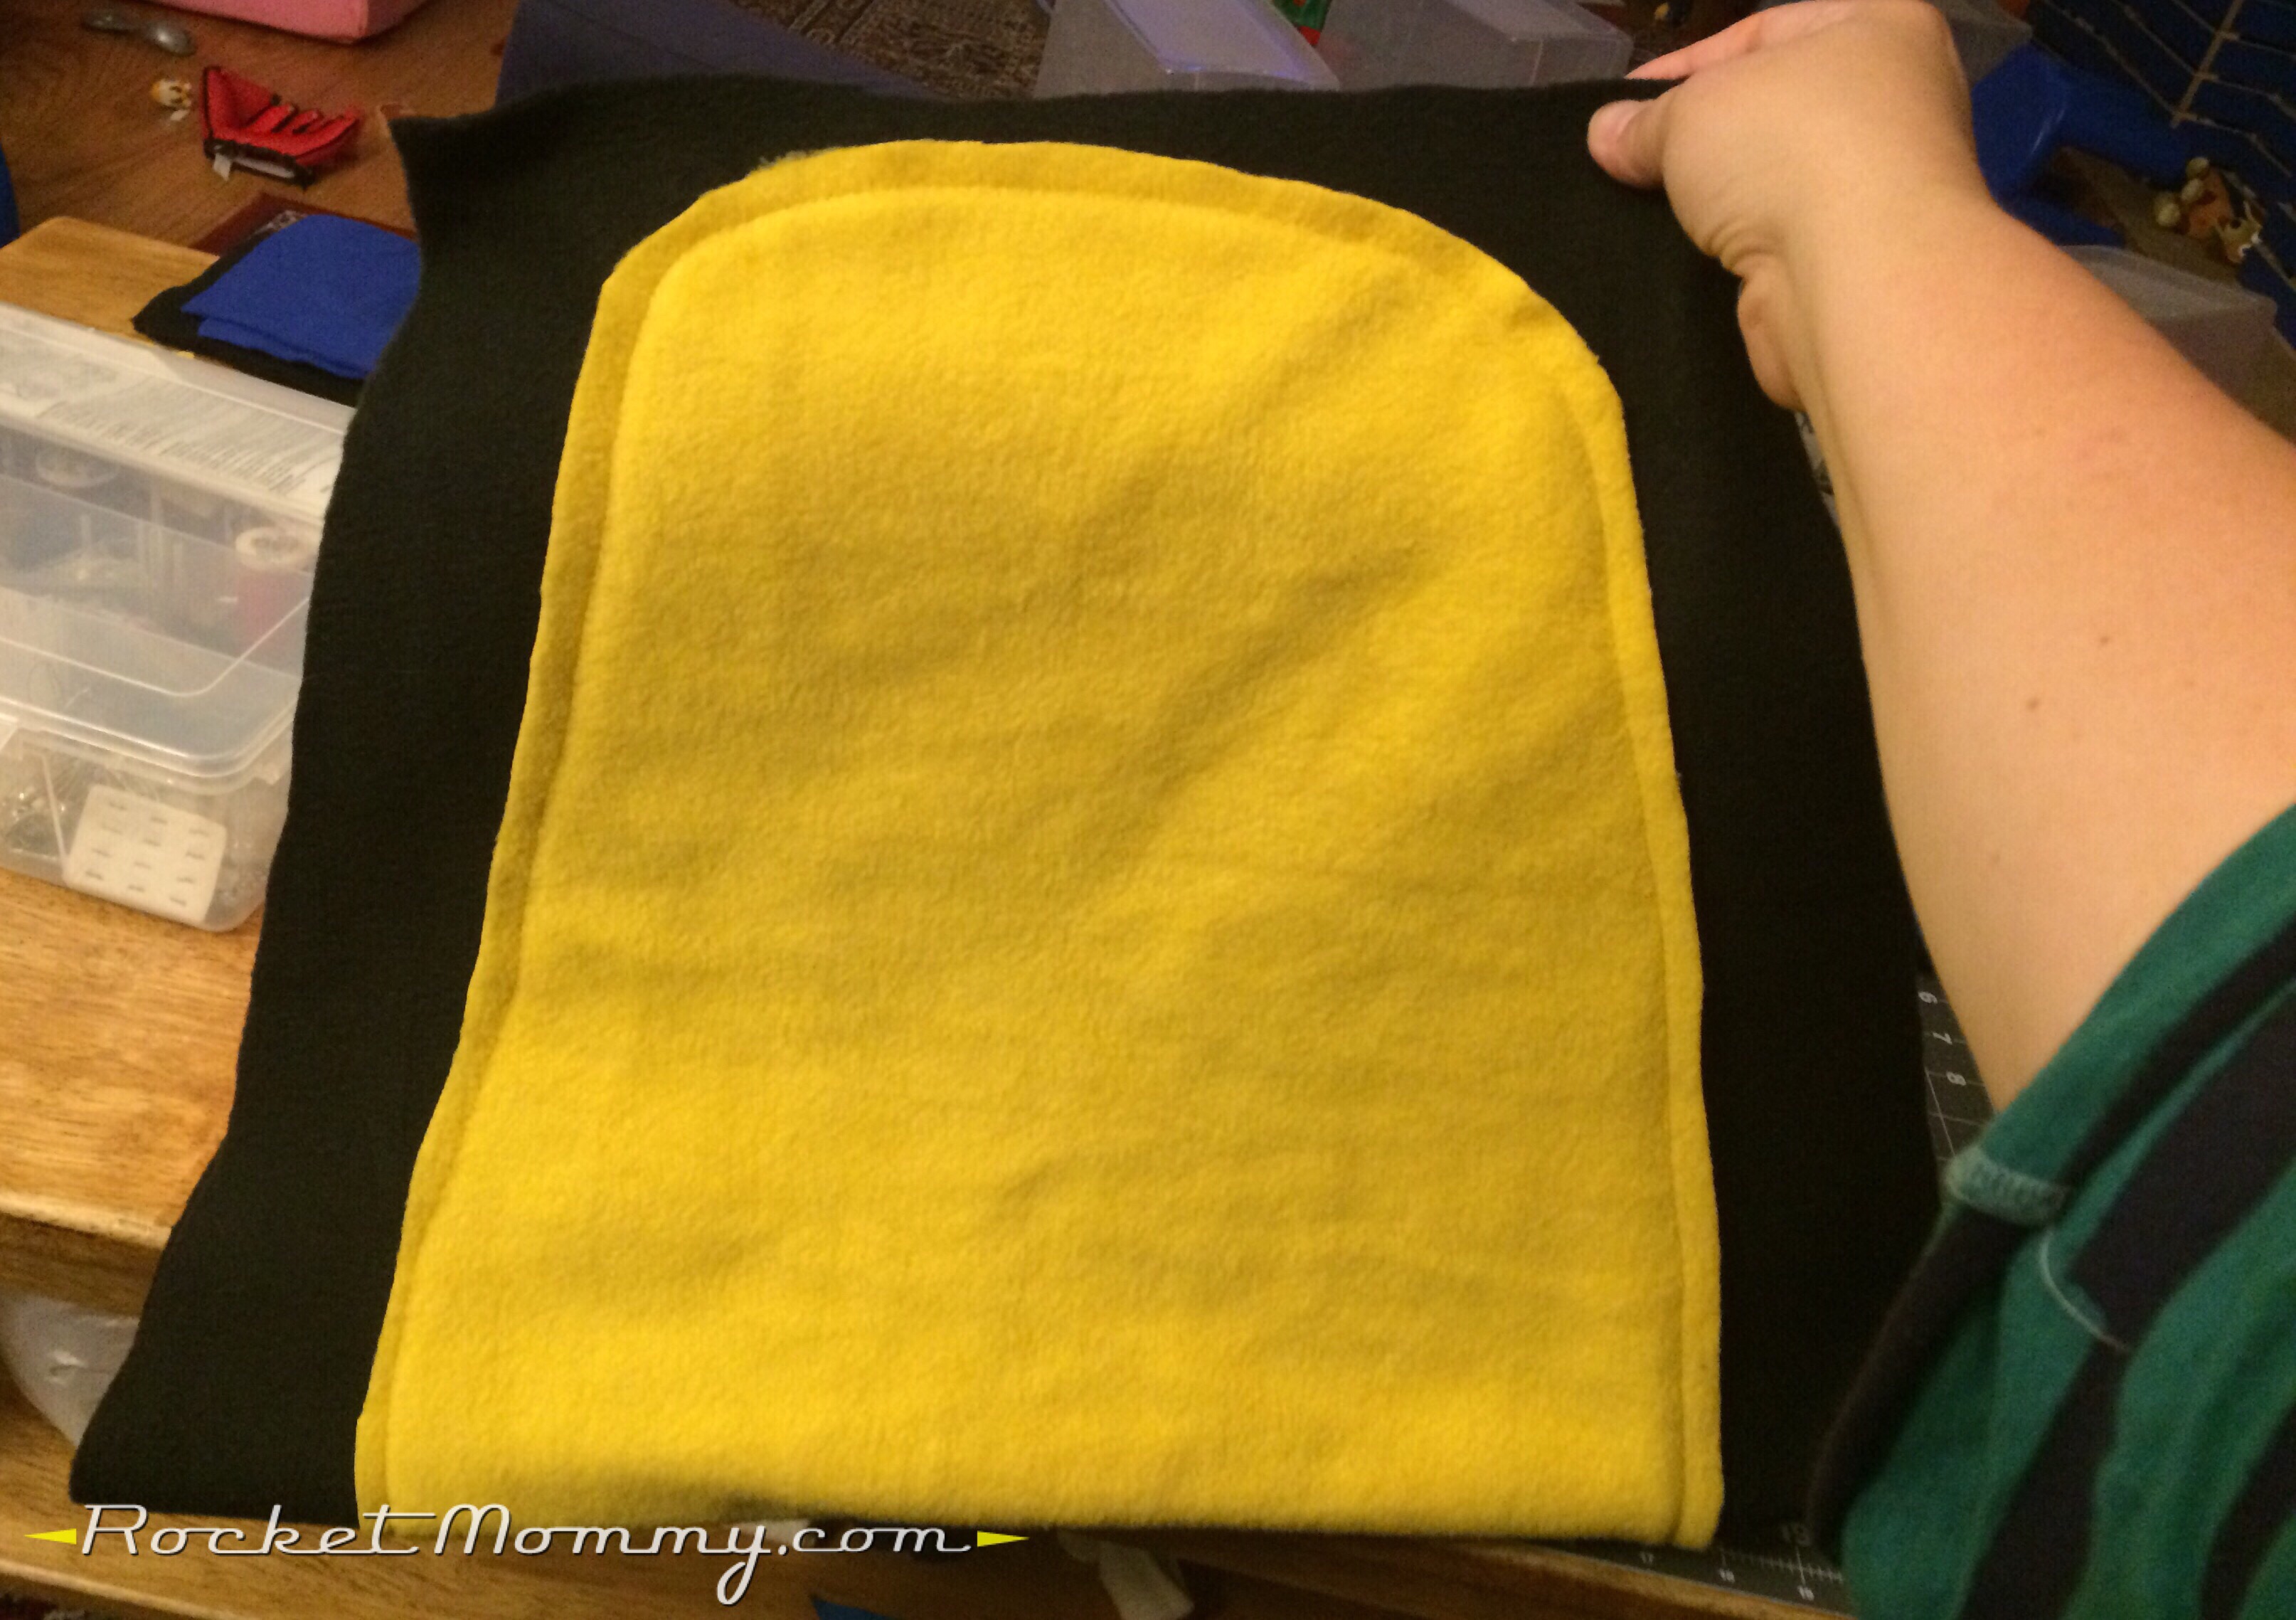
From there, you’re going to unfold the fleece, center the yellow on the black, trim the top and bottom edges into curves, and sew it down. Once it’s sewn, fold it again so it looks like the photo.
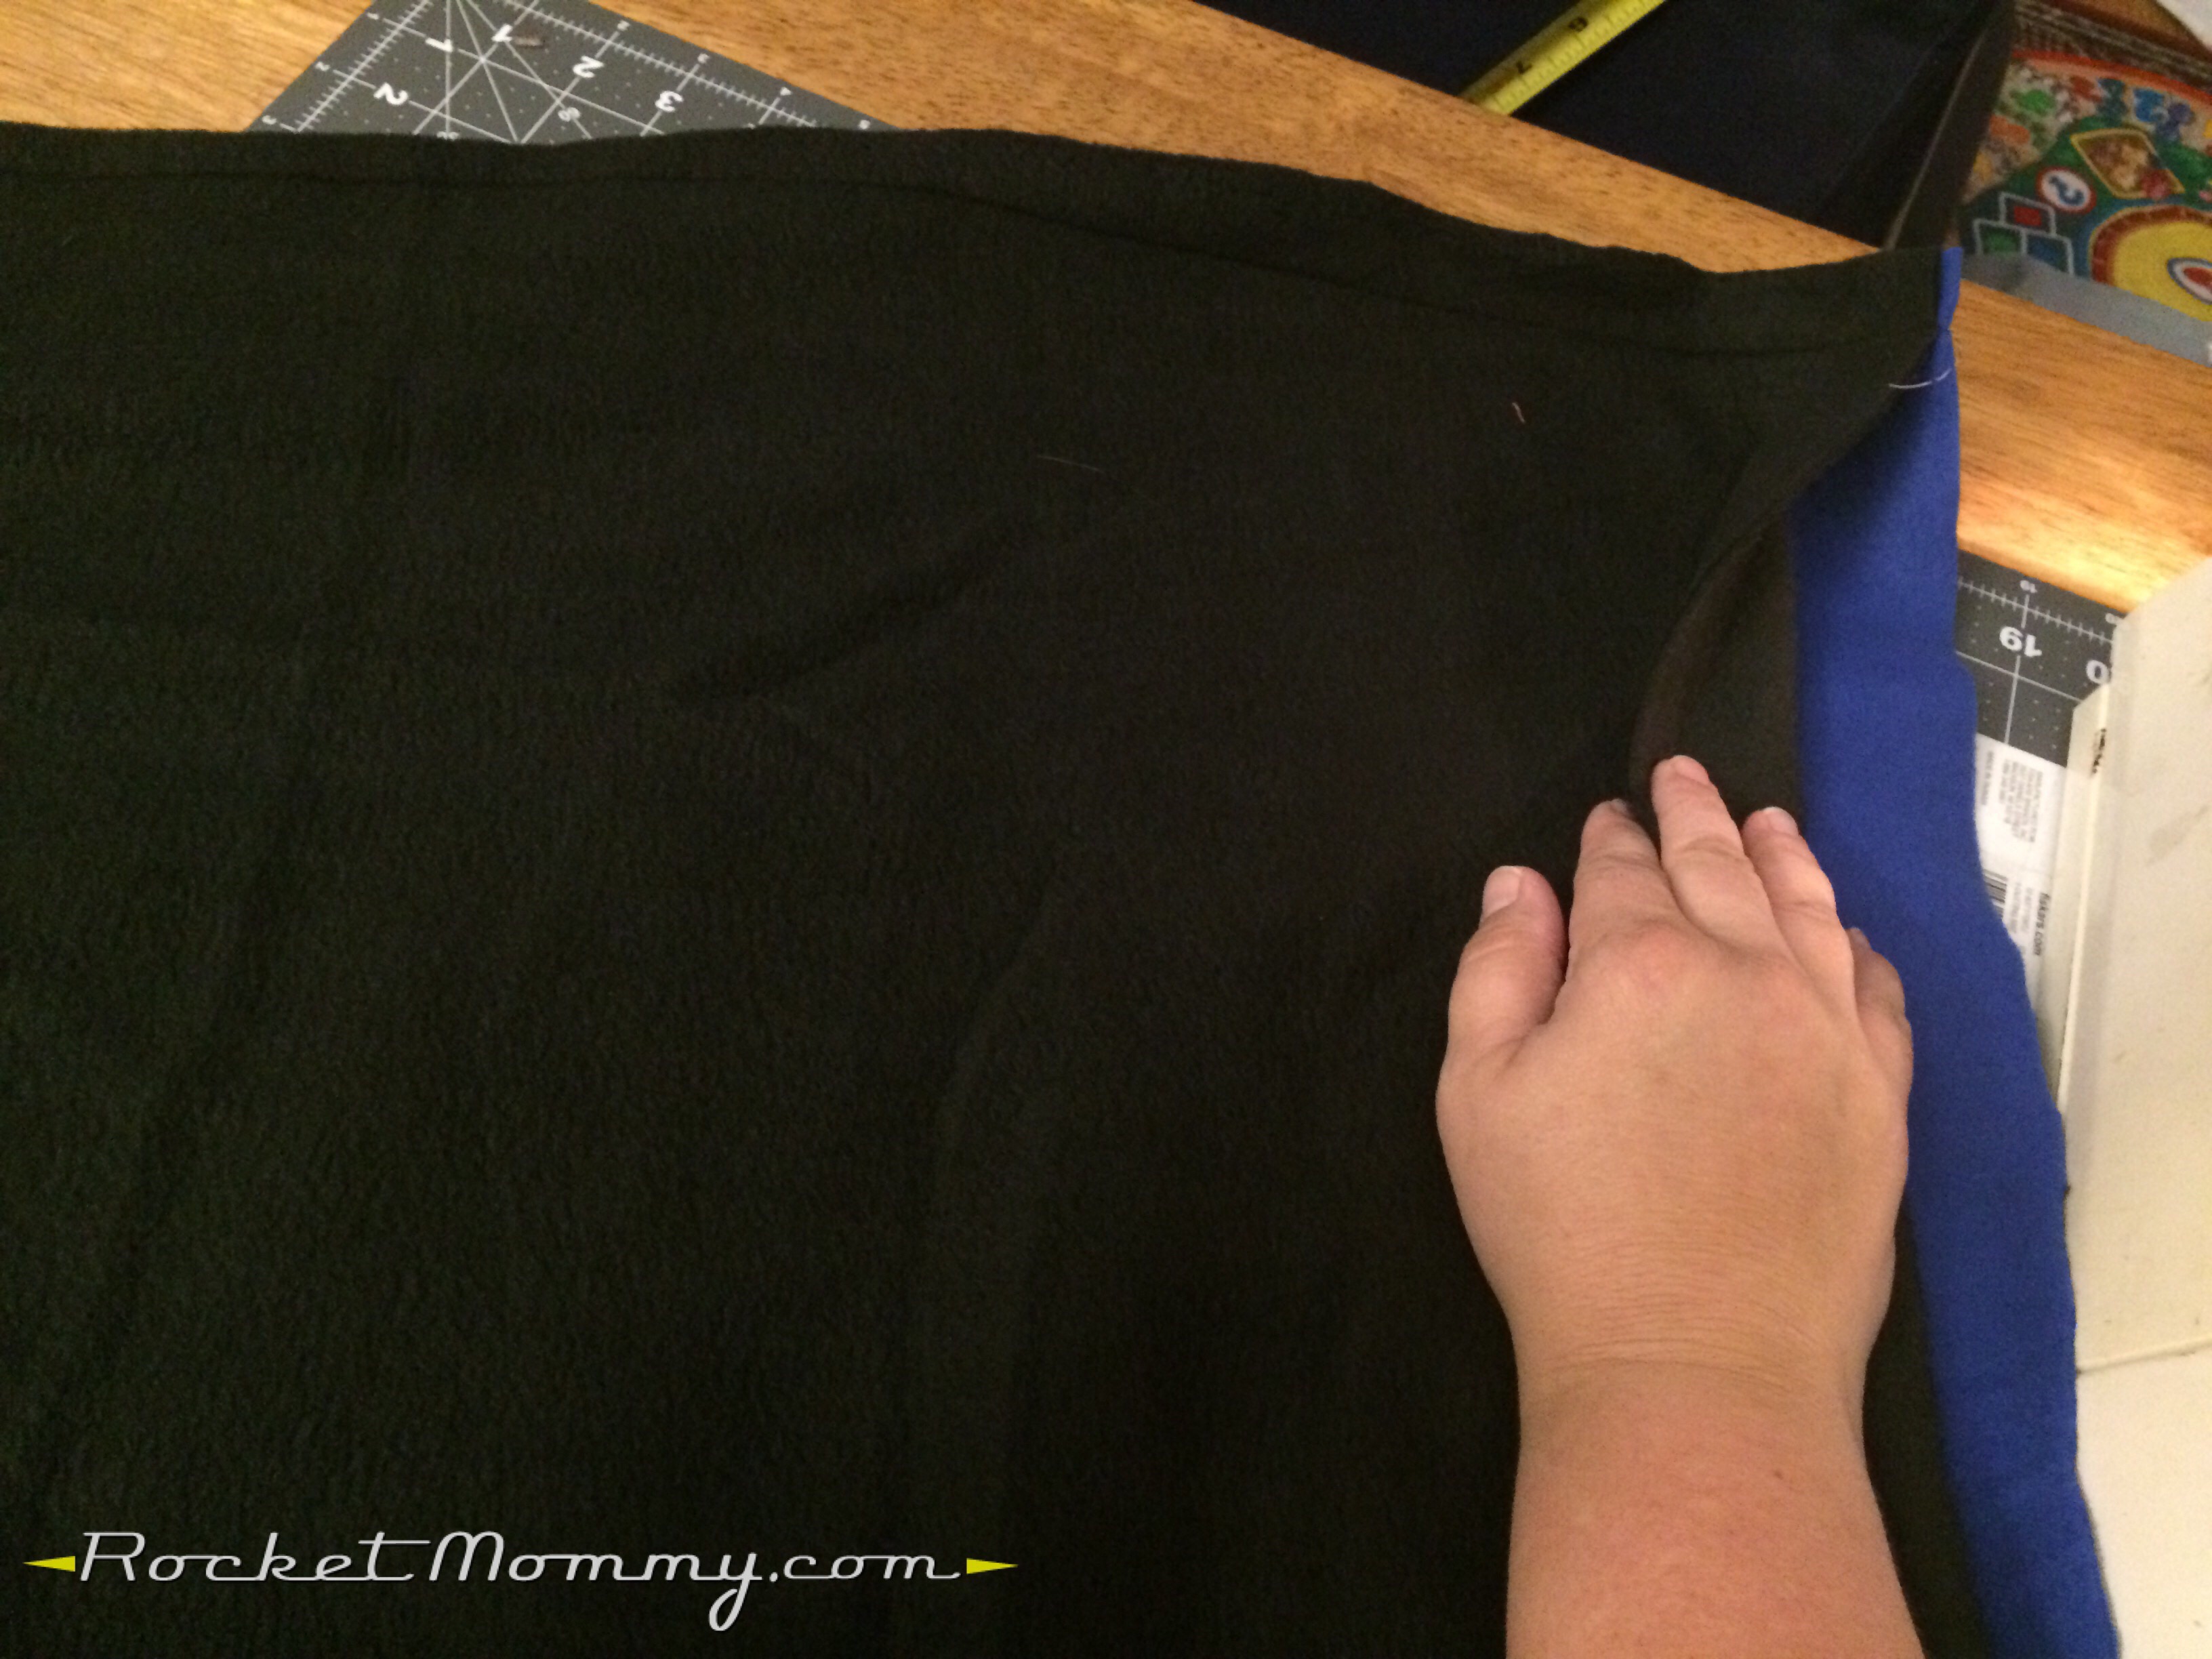
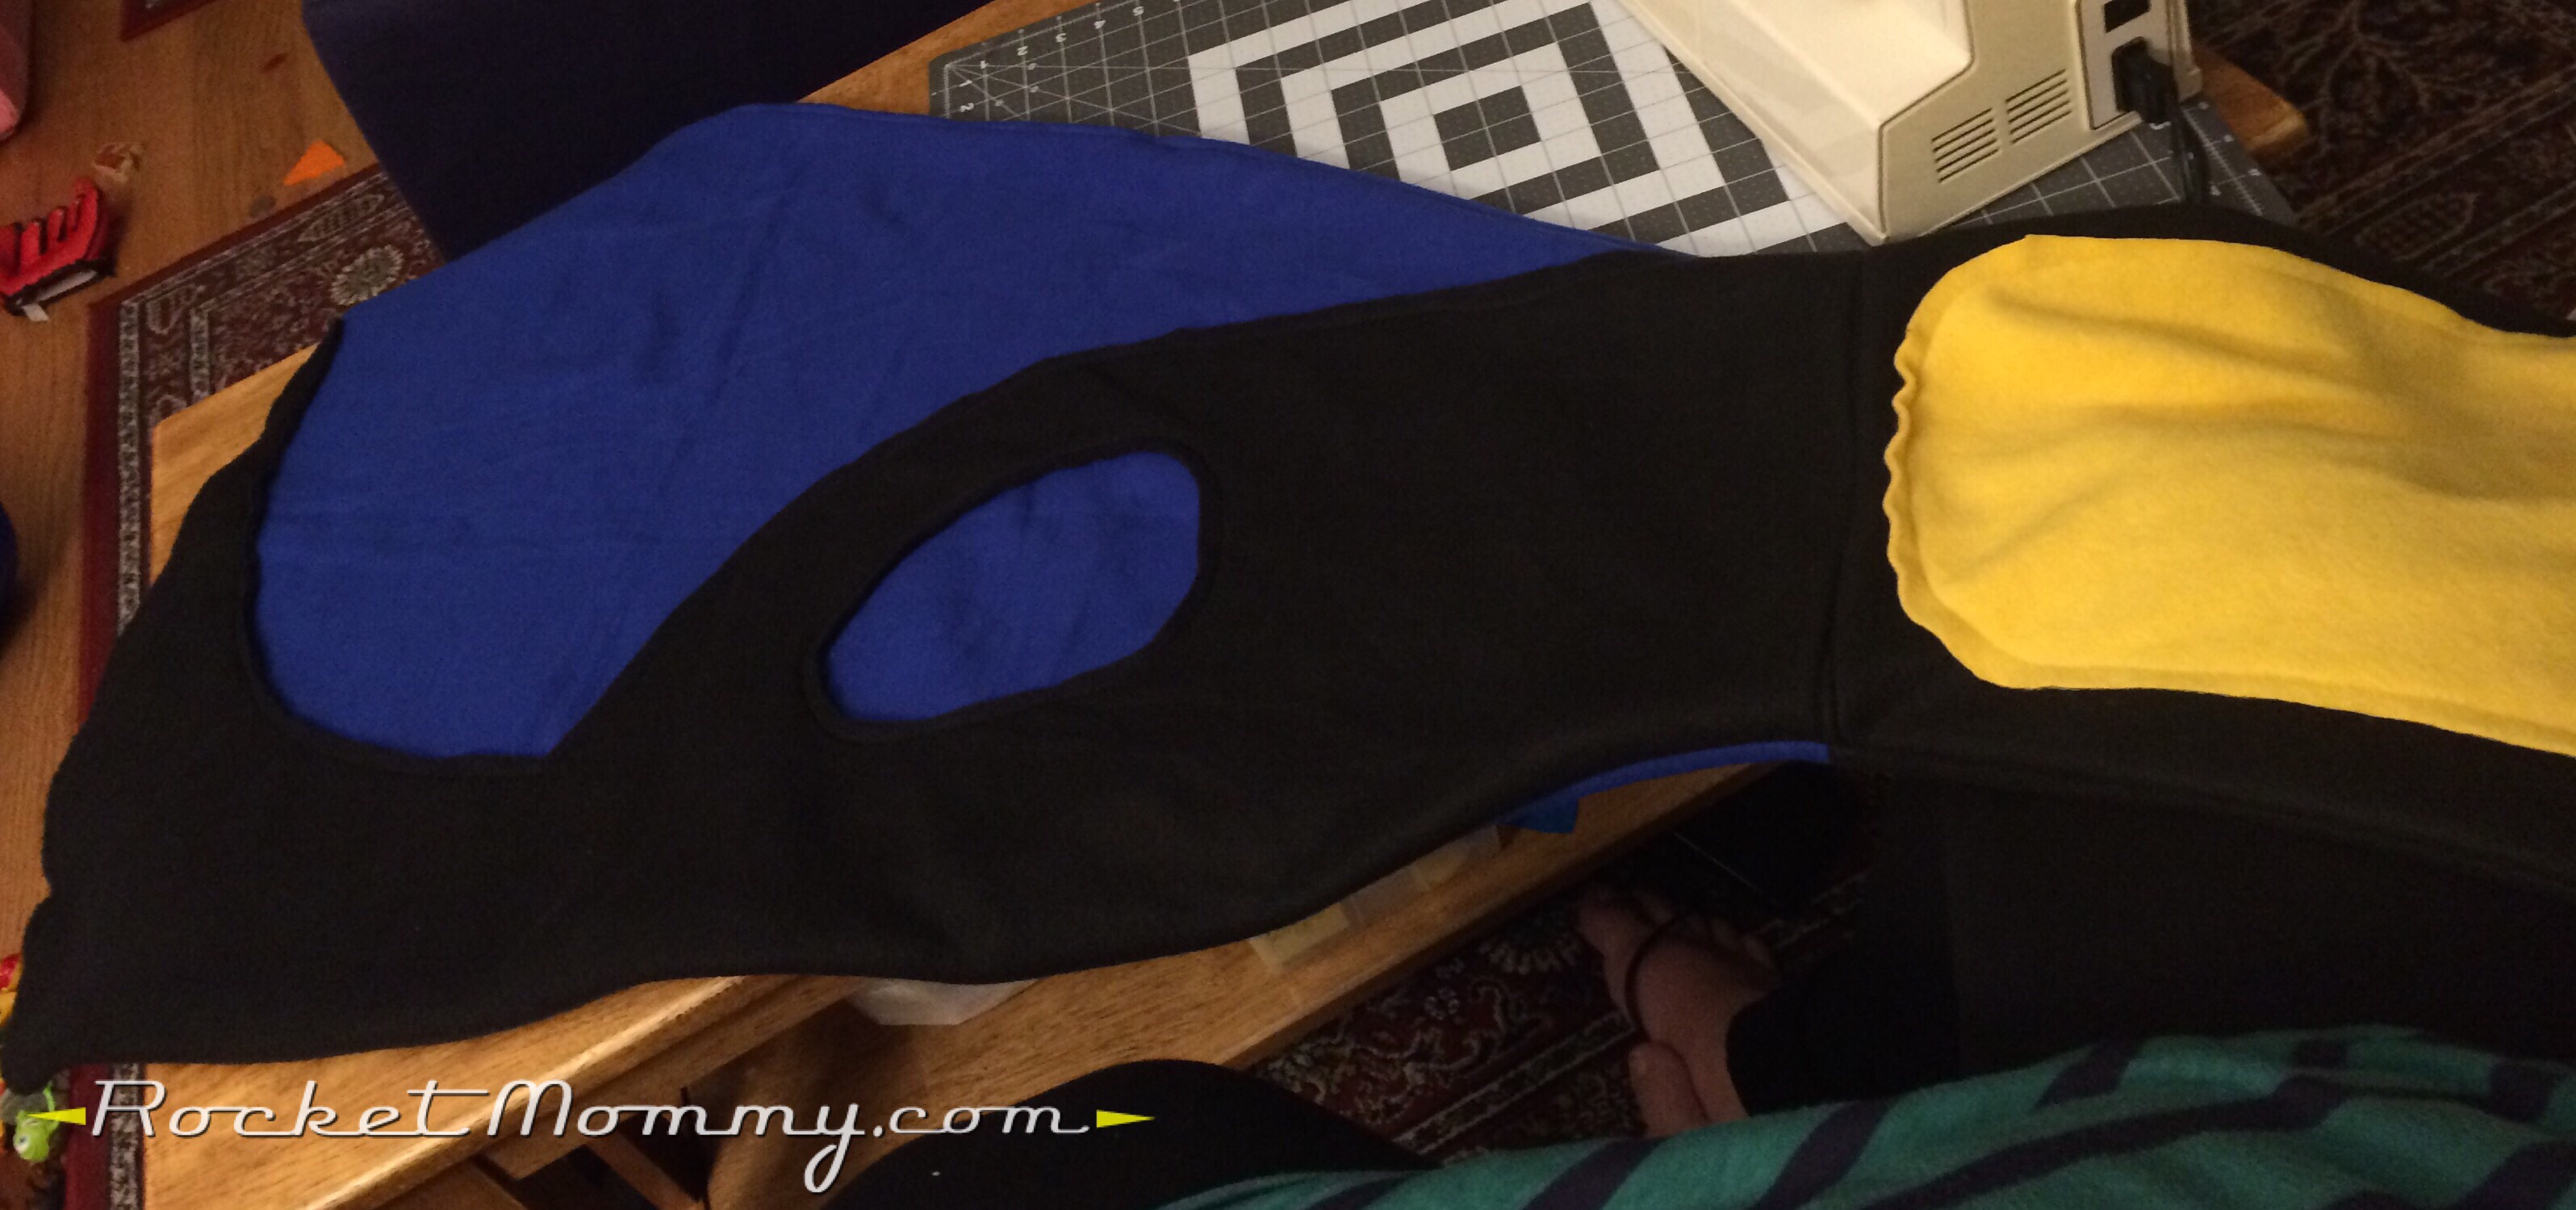
Now we’re going to work on the black design on the body. I found it worked best to sew the left edge of the black fleece down to the top piece of blue fleece before I started trying to cut anything.
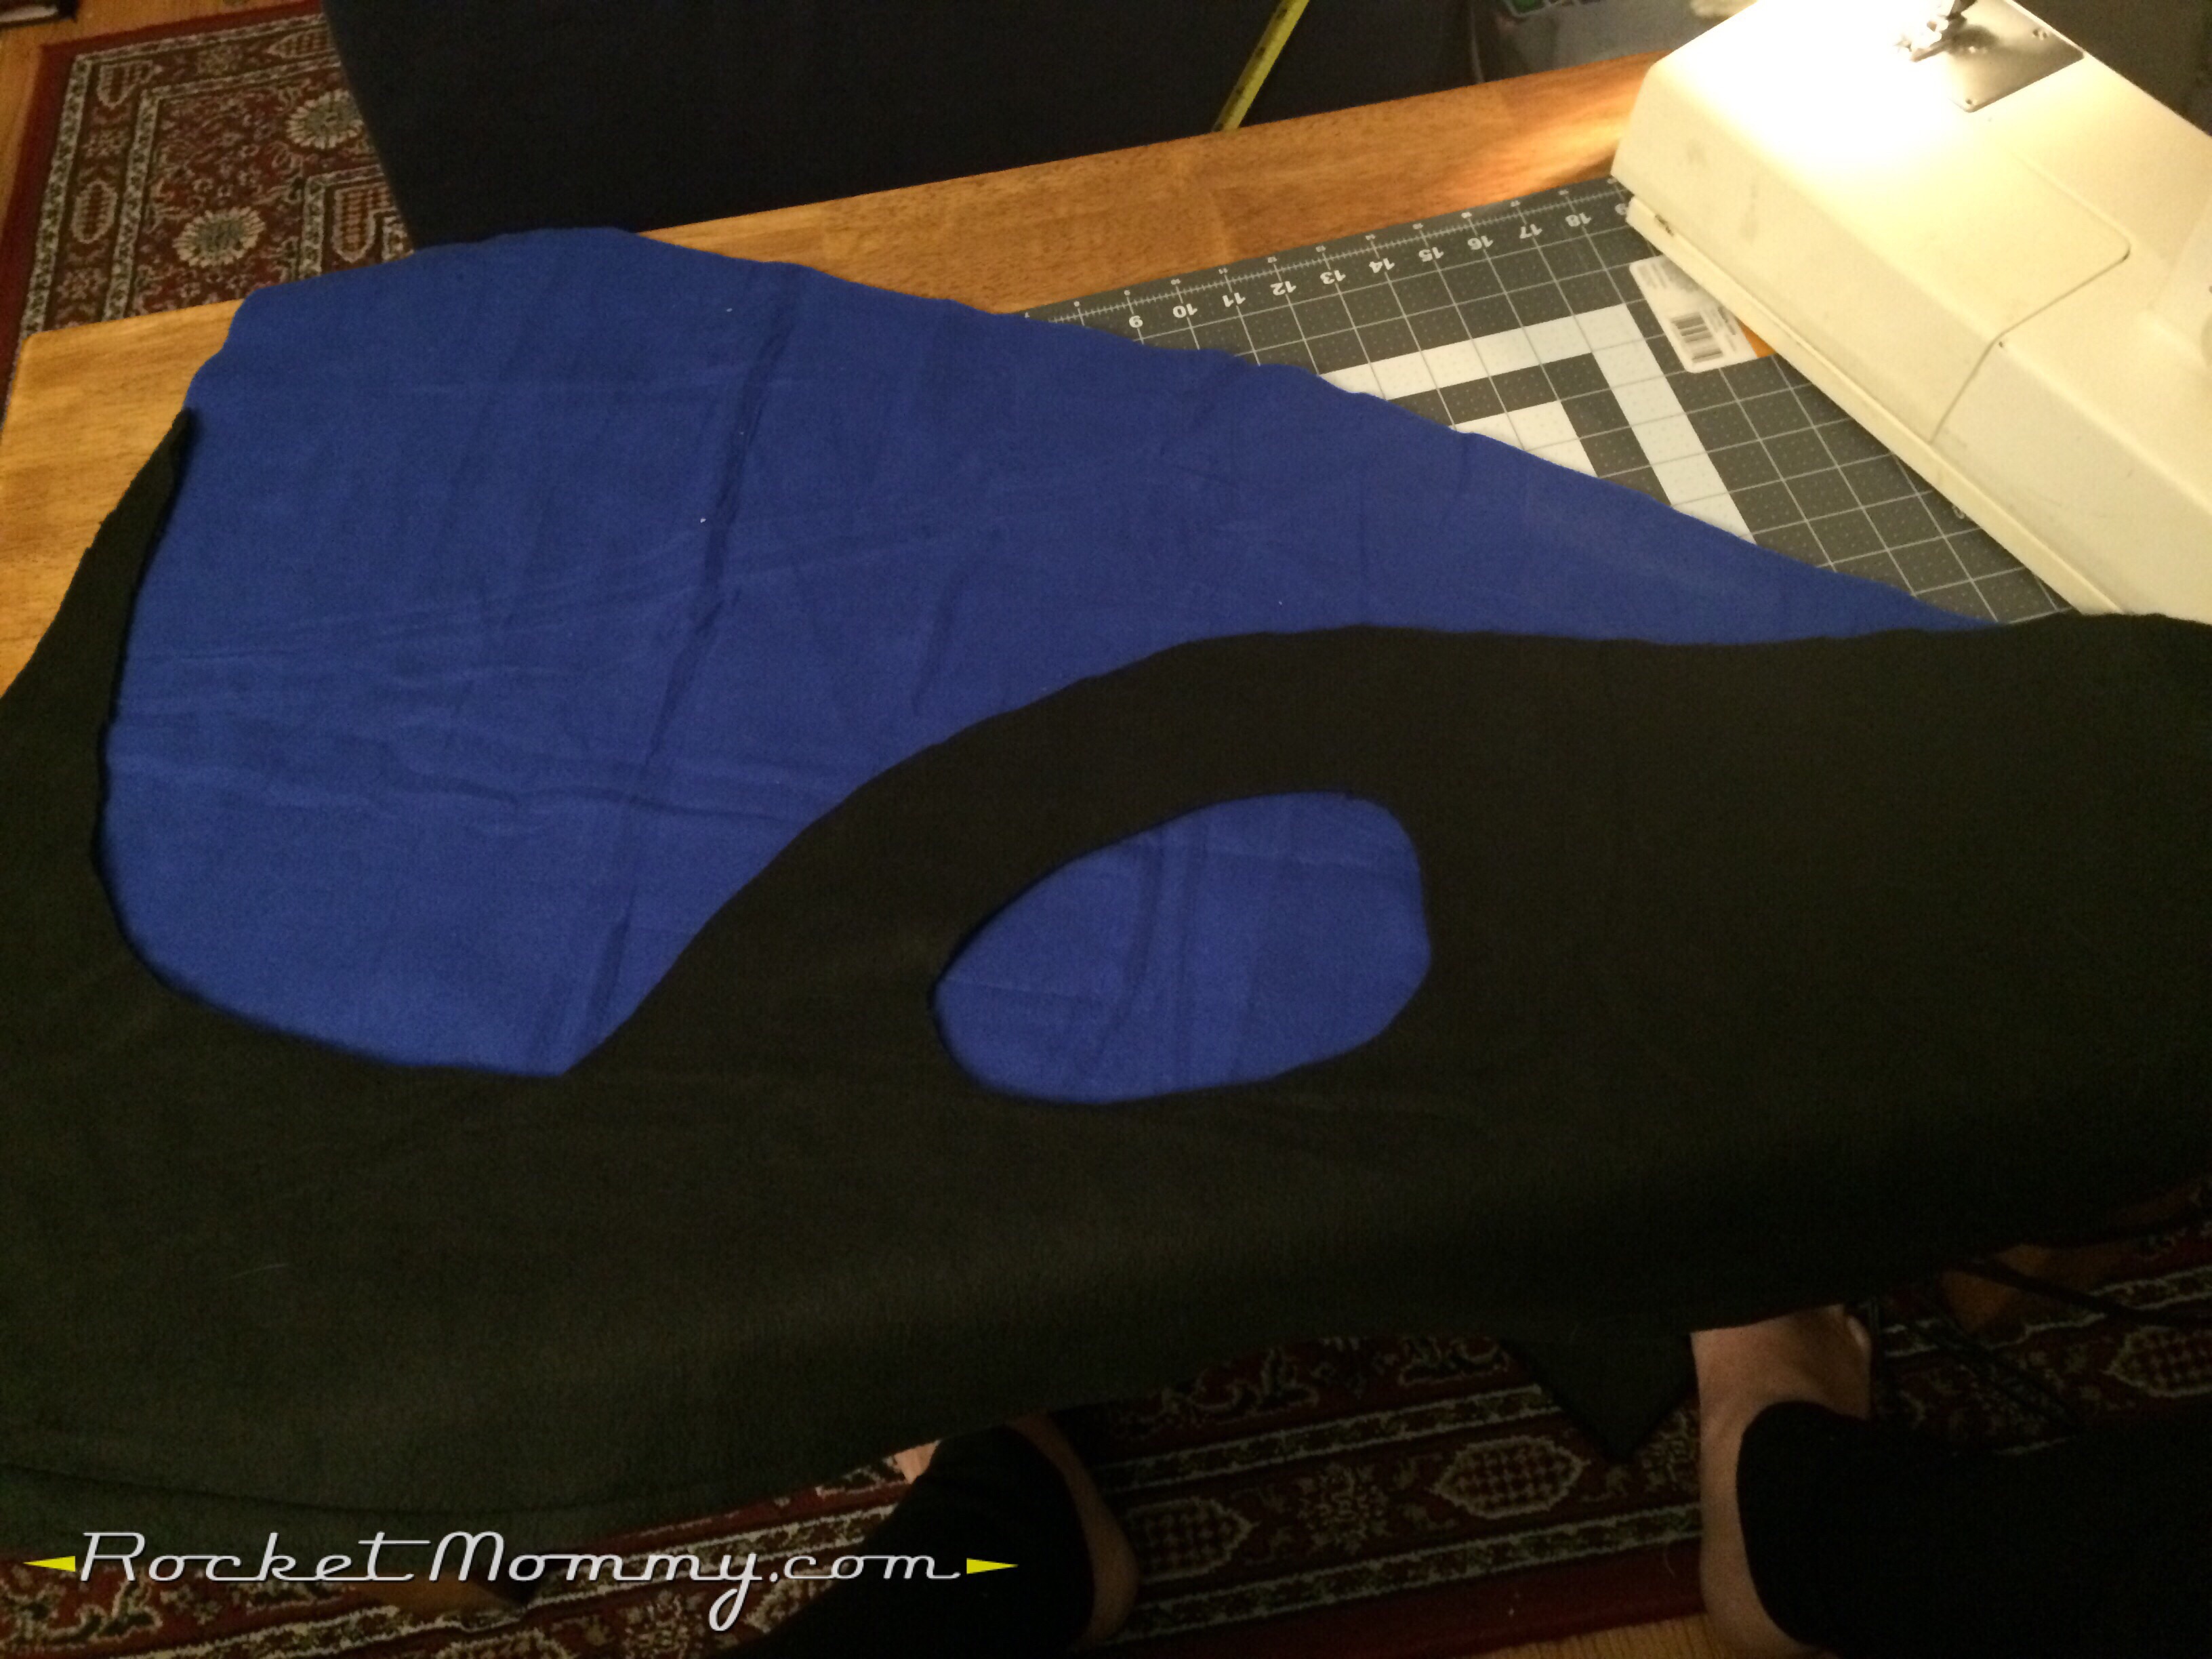
A good craft blogger probably would have made you a fancy template for this, but I was just freehanding it on the coffee table at 2AM, so… the next step is “cut a shape that looks like what you see in that picture.” The left side is already sewn, so it should stay in place reasonably well while you’re cutting.
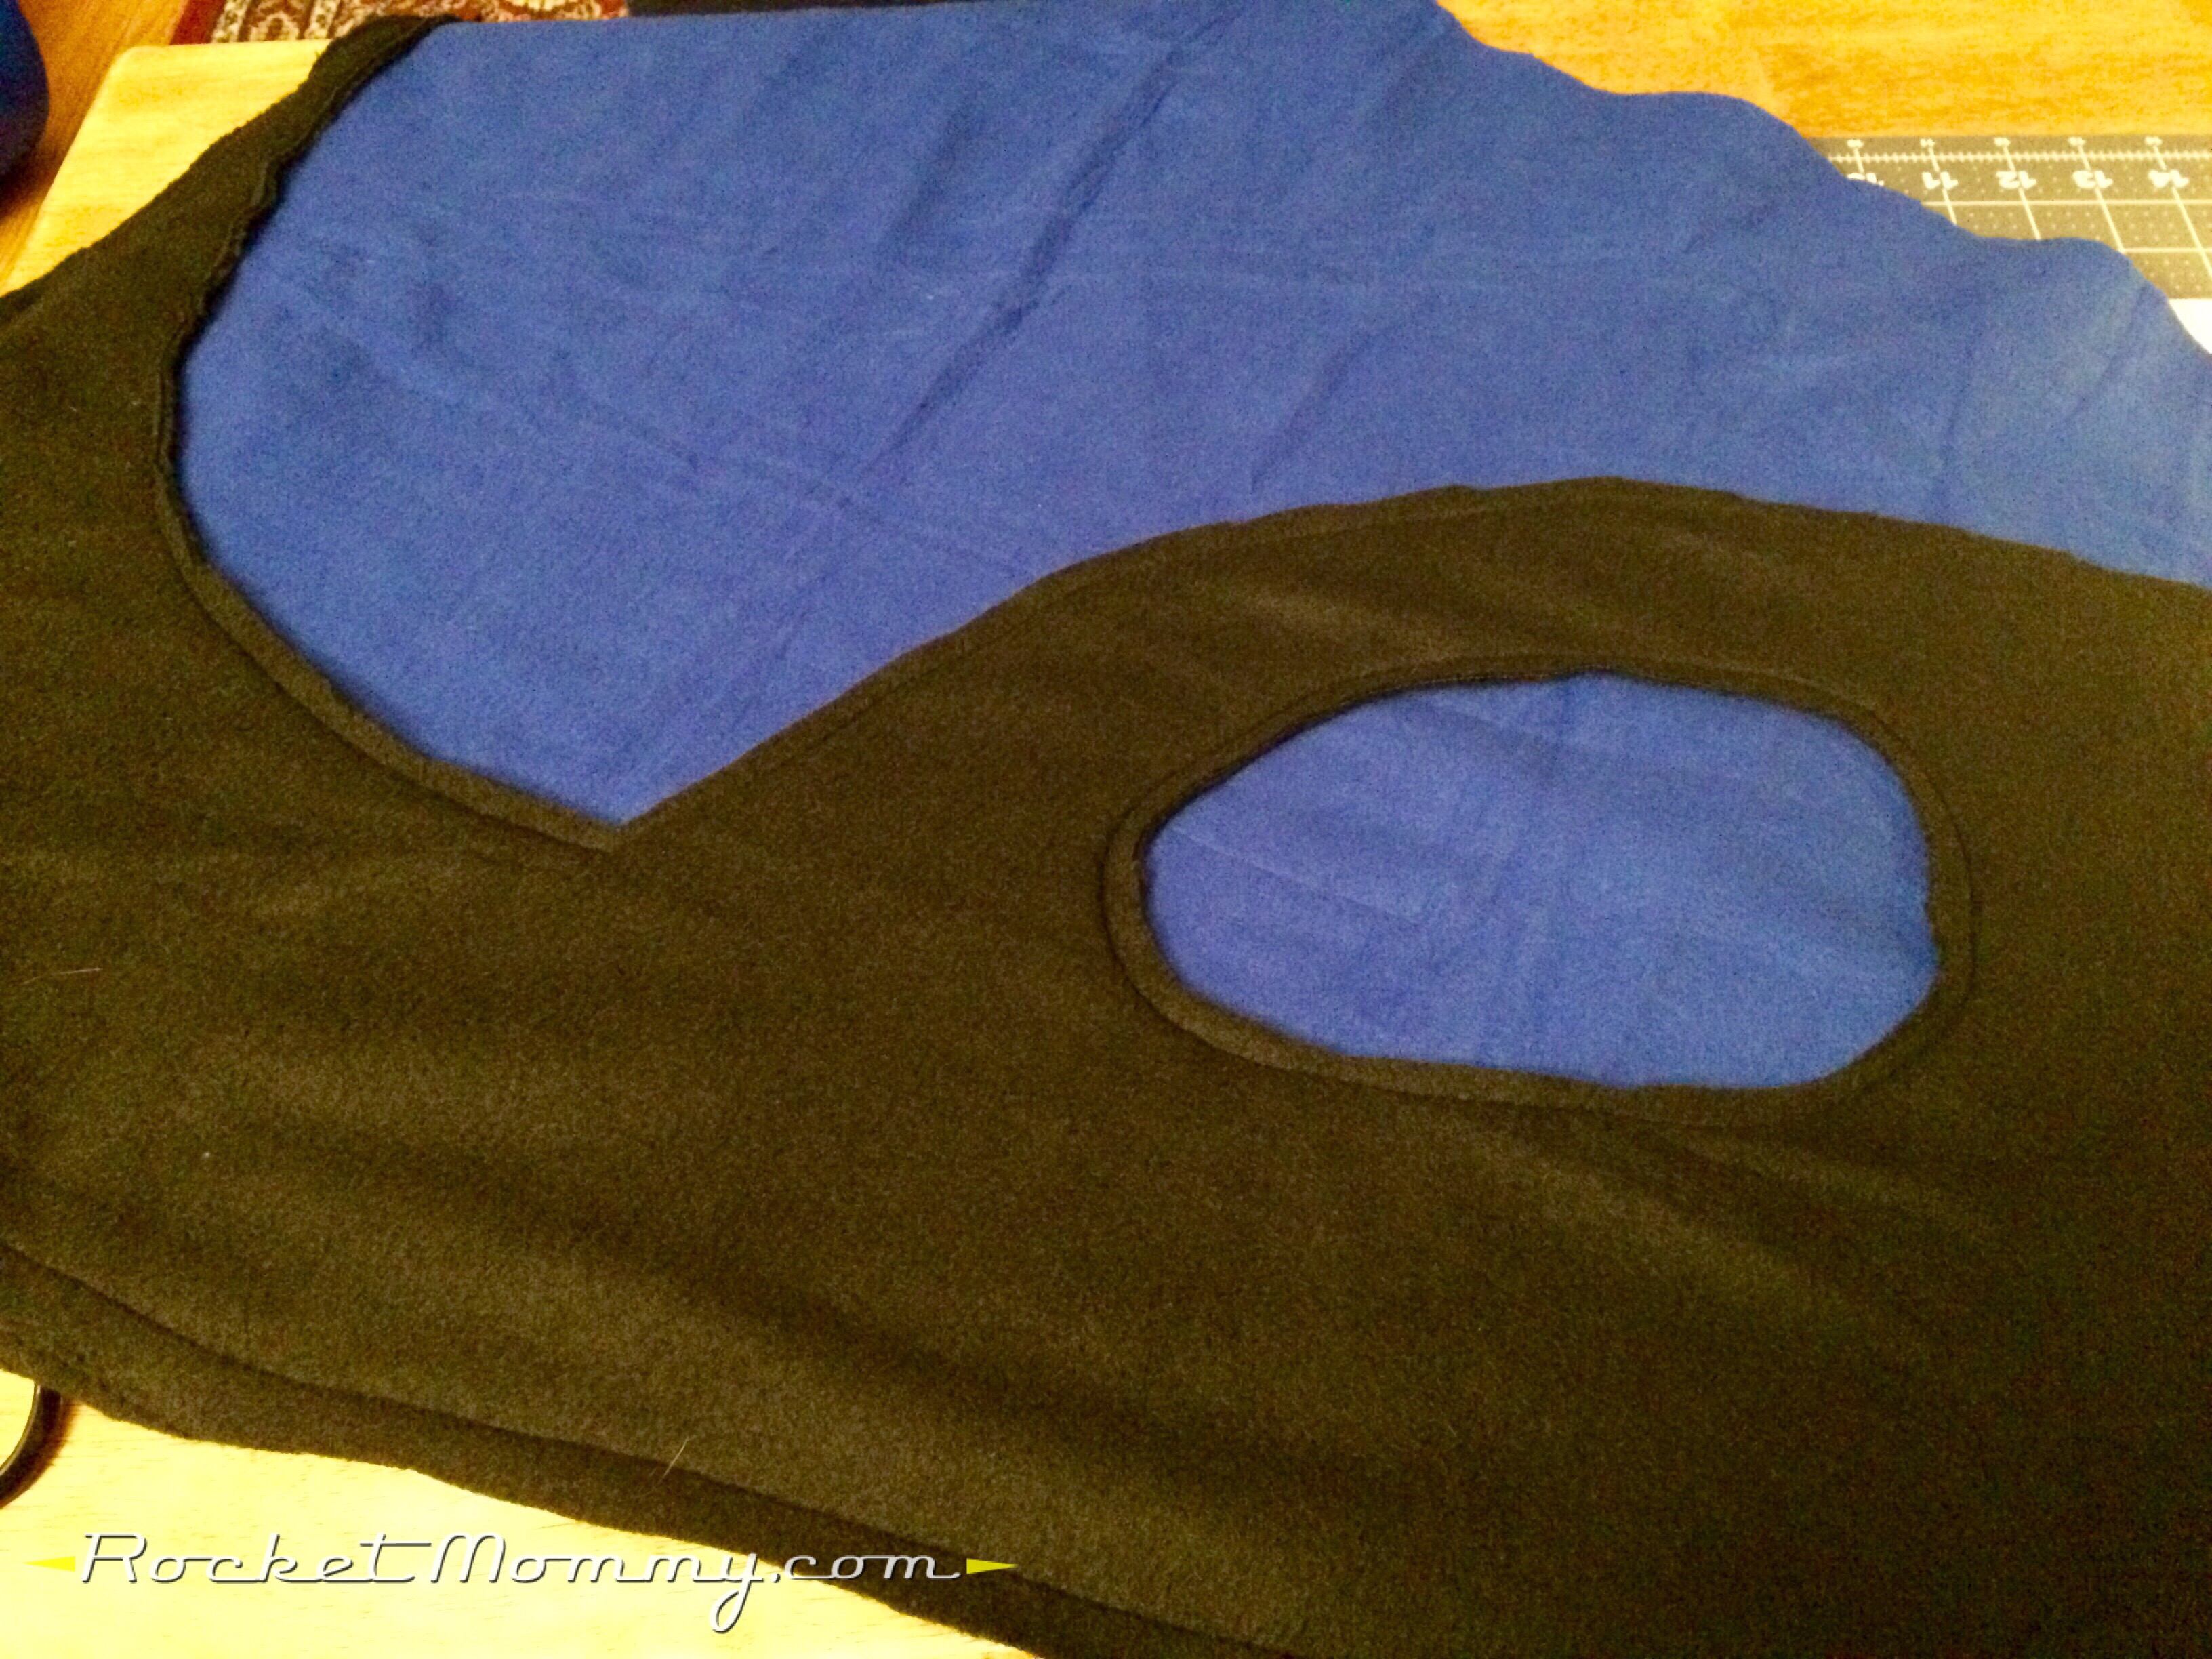
Once the shape is cut, go ahead and sew all the edges down to the blue piece, including inside the oval.

Ok, here we go! We’re going to attach the tail piece to the body pieces, and then, keeping the whole thing inside-out, sew it up both sides.
Turn it right-side-out and admire your handiwork. You’re almost done! But I think a waistband really helps a lot with this one because of the way the design on the front is at the top, so let’s go ahead and make it. I used yellow for it, which I know isn’t anatomically correct for a blue tang fish, but it ended up looking cute!
Just like we have before, cut fabric that’s 48″ long and about 6″ wide, or two 24″x6″ pieces that can be sewn together, and sew them into a loop. Then fold it in half lengthwise, trapping the seam inside.
Put the right-side-out blanket body inside the folded loop, line up the edges, and apologize in advance to your poor sewing machine for the fact that it’s going to have to sew through four layers of fleece at once. It took a little pep talk, but mine muscled through it eventually.
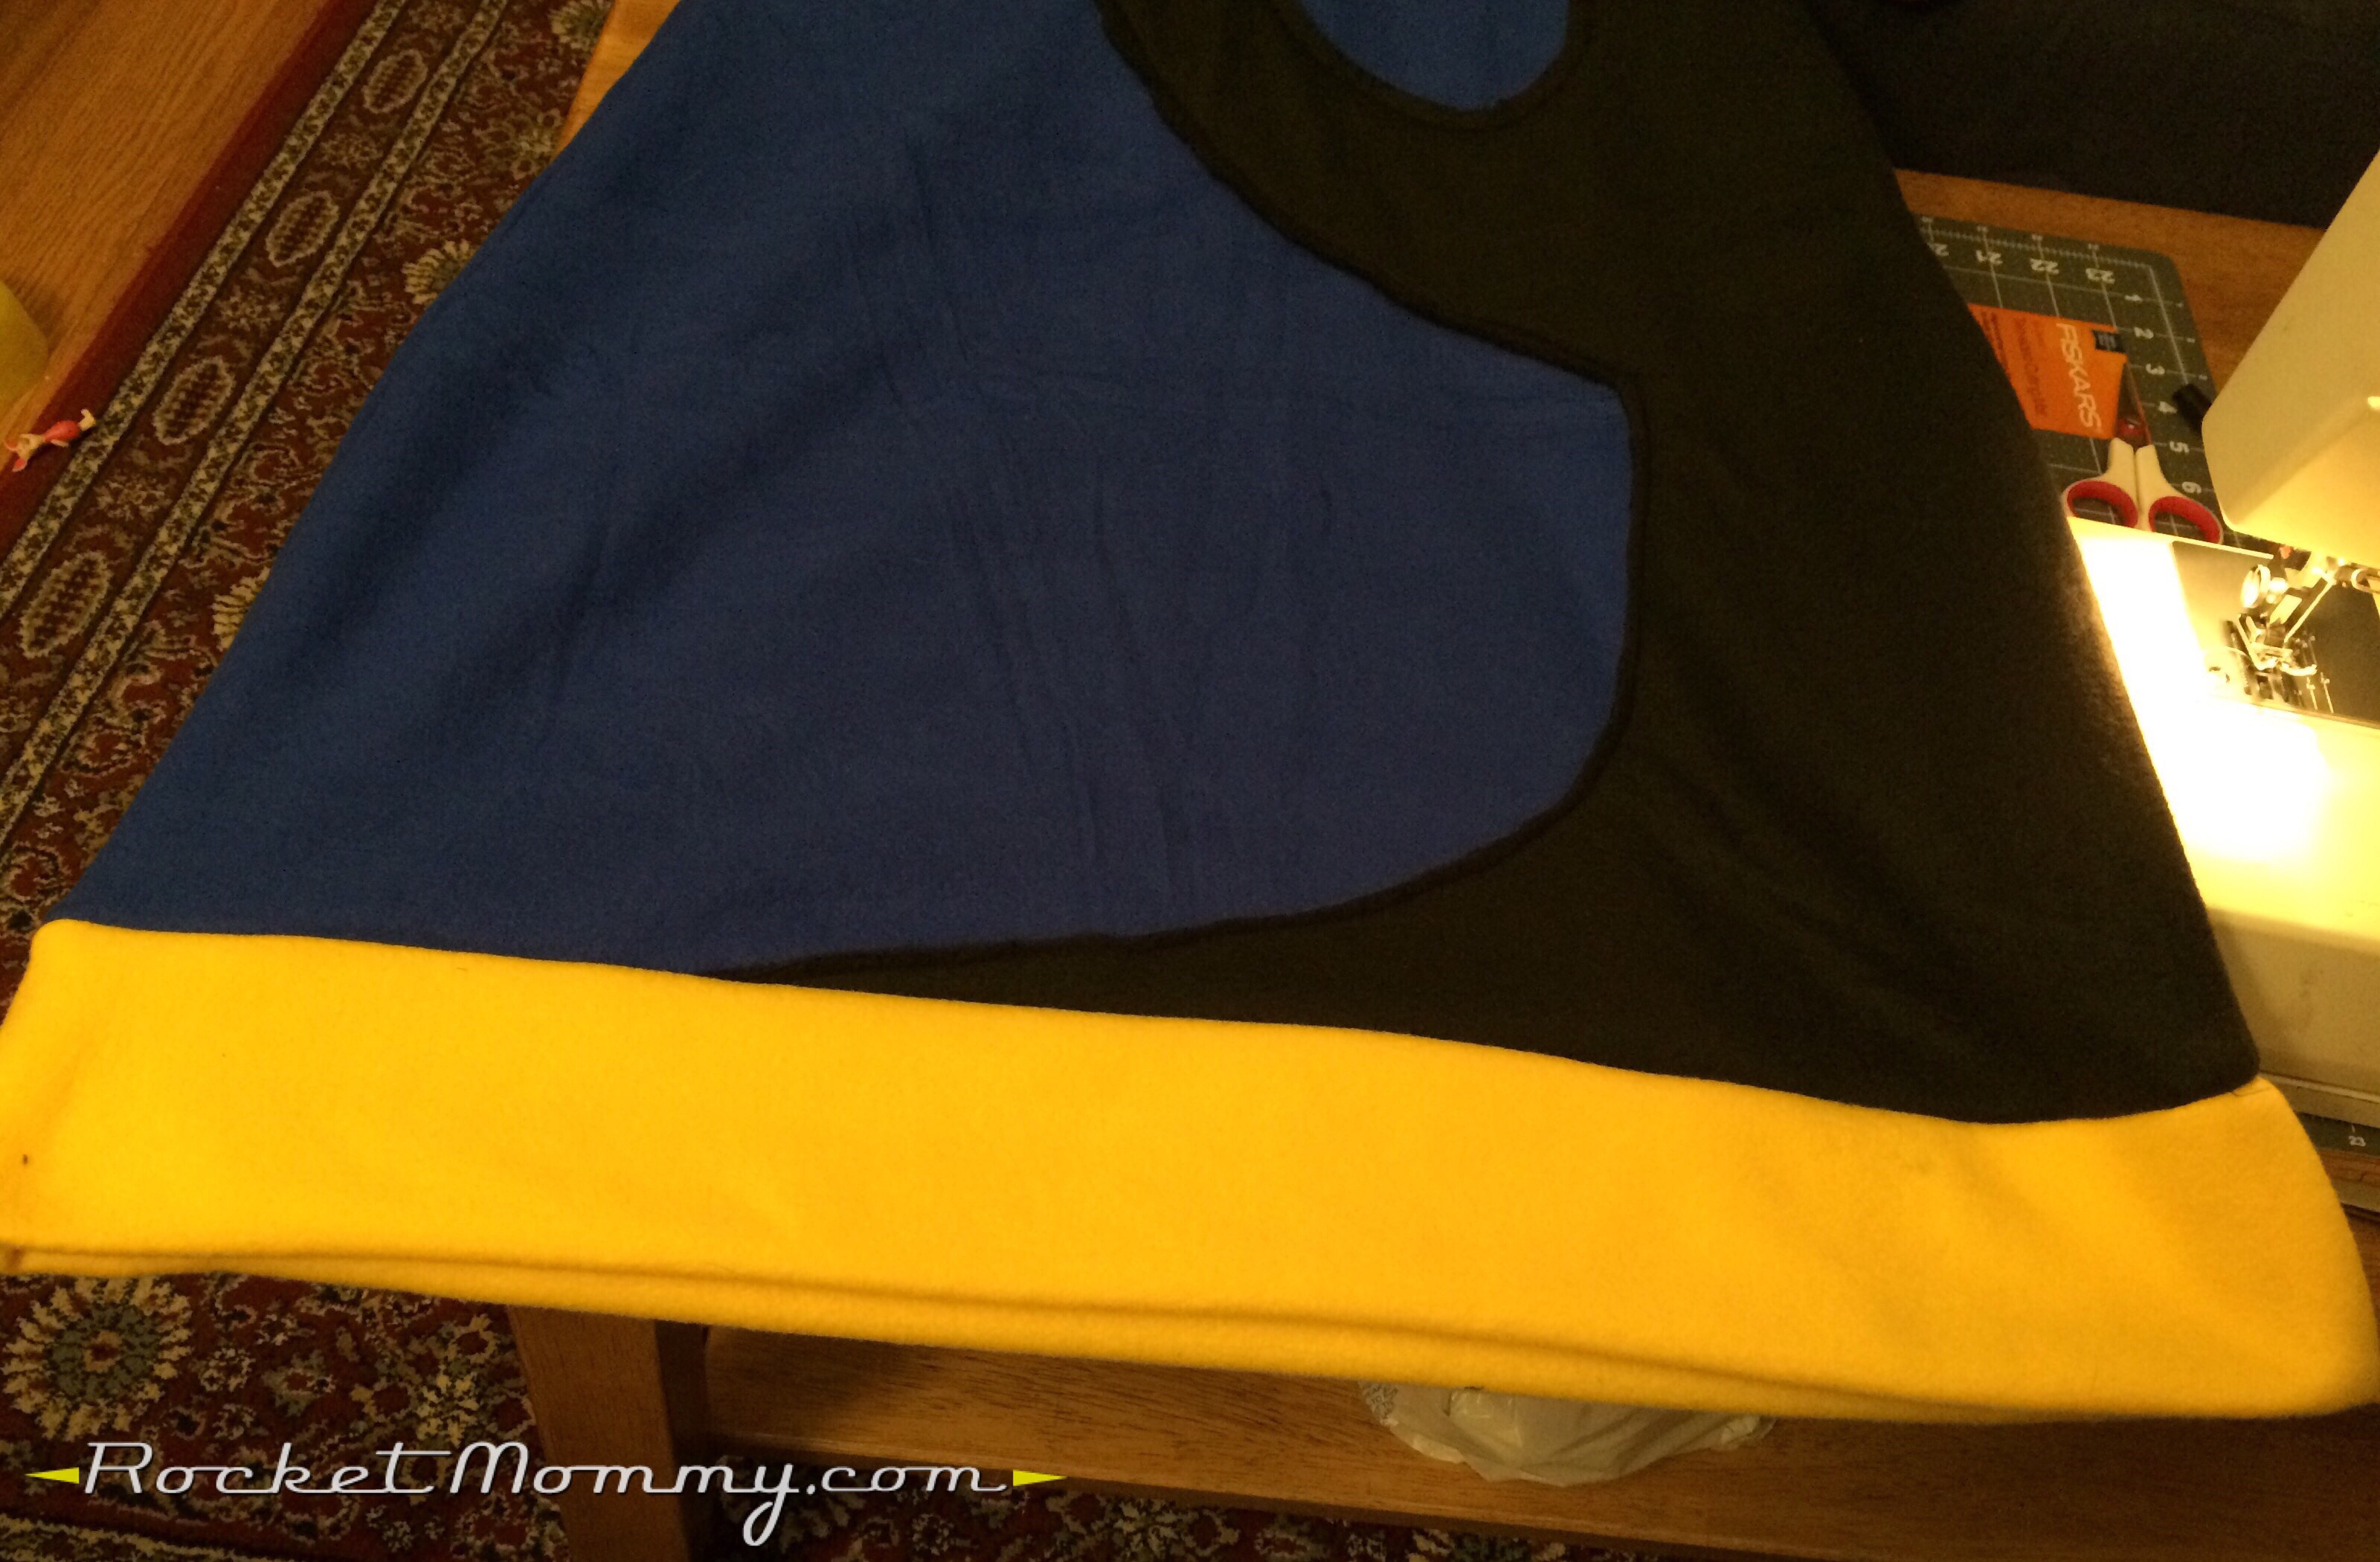
Flip the waistband over and – ta da! You’re done!
I had to wait until C fell asleep in order to get a picture of her in this blanket that wasn’t a total blur. My kids are so impossible in front of the camera!
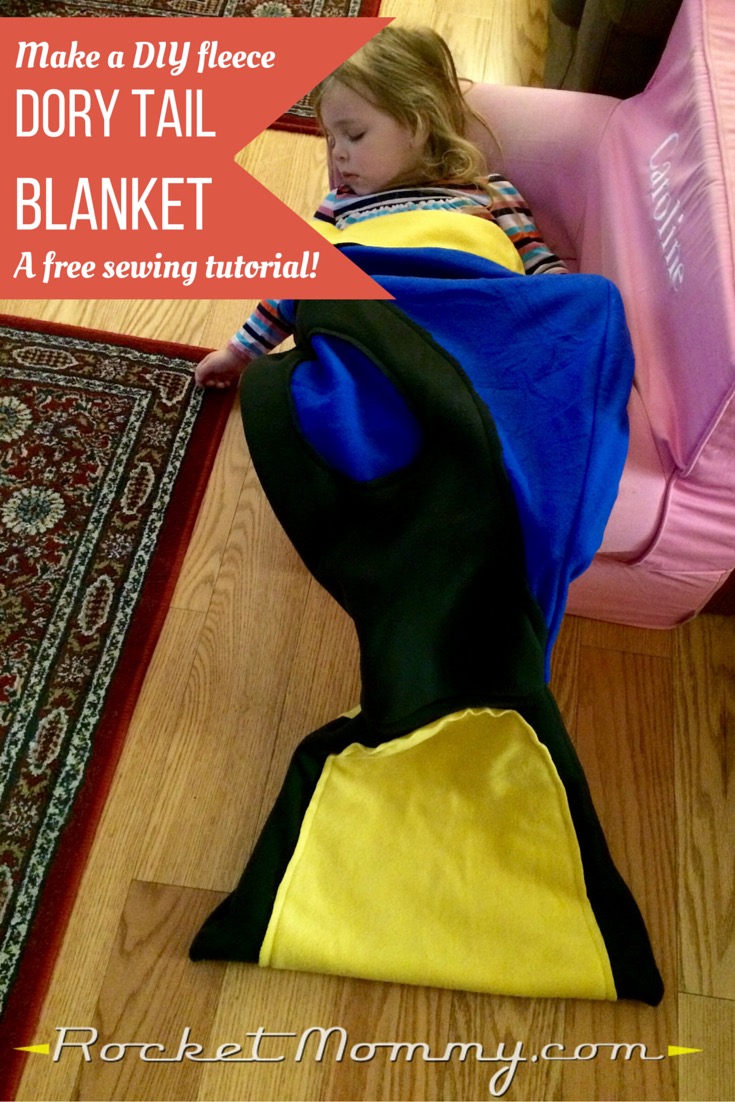
And I will keep you all posted on whether or not these darling blankets will help keep two rowdy toddlers contained at the movie theater ;).