
Bear with me, lovely readers – at the end of this rather long post, there’s a giveaway!
It’s no secret to my readers that our family watches a lot of TV. We aren’t among the many people I know who have decided they can live without cable, and most of the programming my kids watch comes from either Disney Junior or Nick Jr. and gets recorded and replayed on our TiVo. If I were sitting there watching everything with them, I would likely fast-forward through commercials like I do on my own shows, but they watch TV so I can shower, make dinner, and get minimal amounts of housework done, so when their shows are on, they get to watch everything that comes on for that half hour. As a result, I now have children who inform me about the virtues of Clorox and Allstate, who know when every new movie hits the theaters, and who discover all sorts of exciting new toys and products as they become available for purchase.
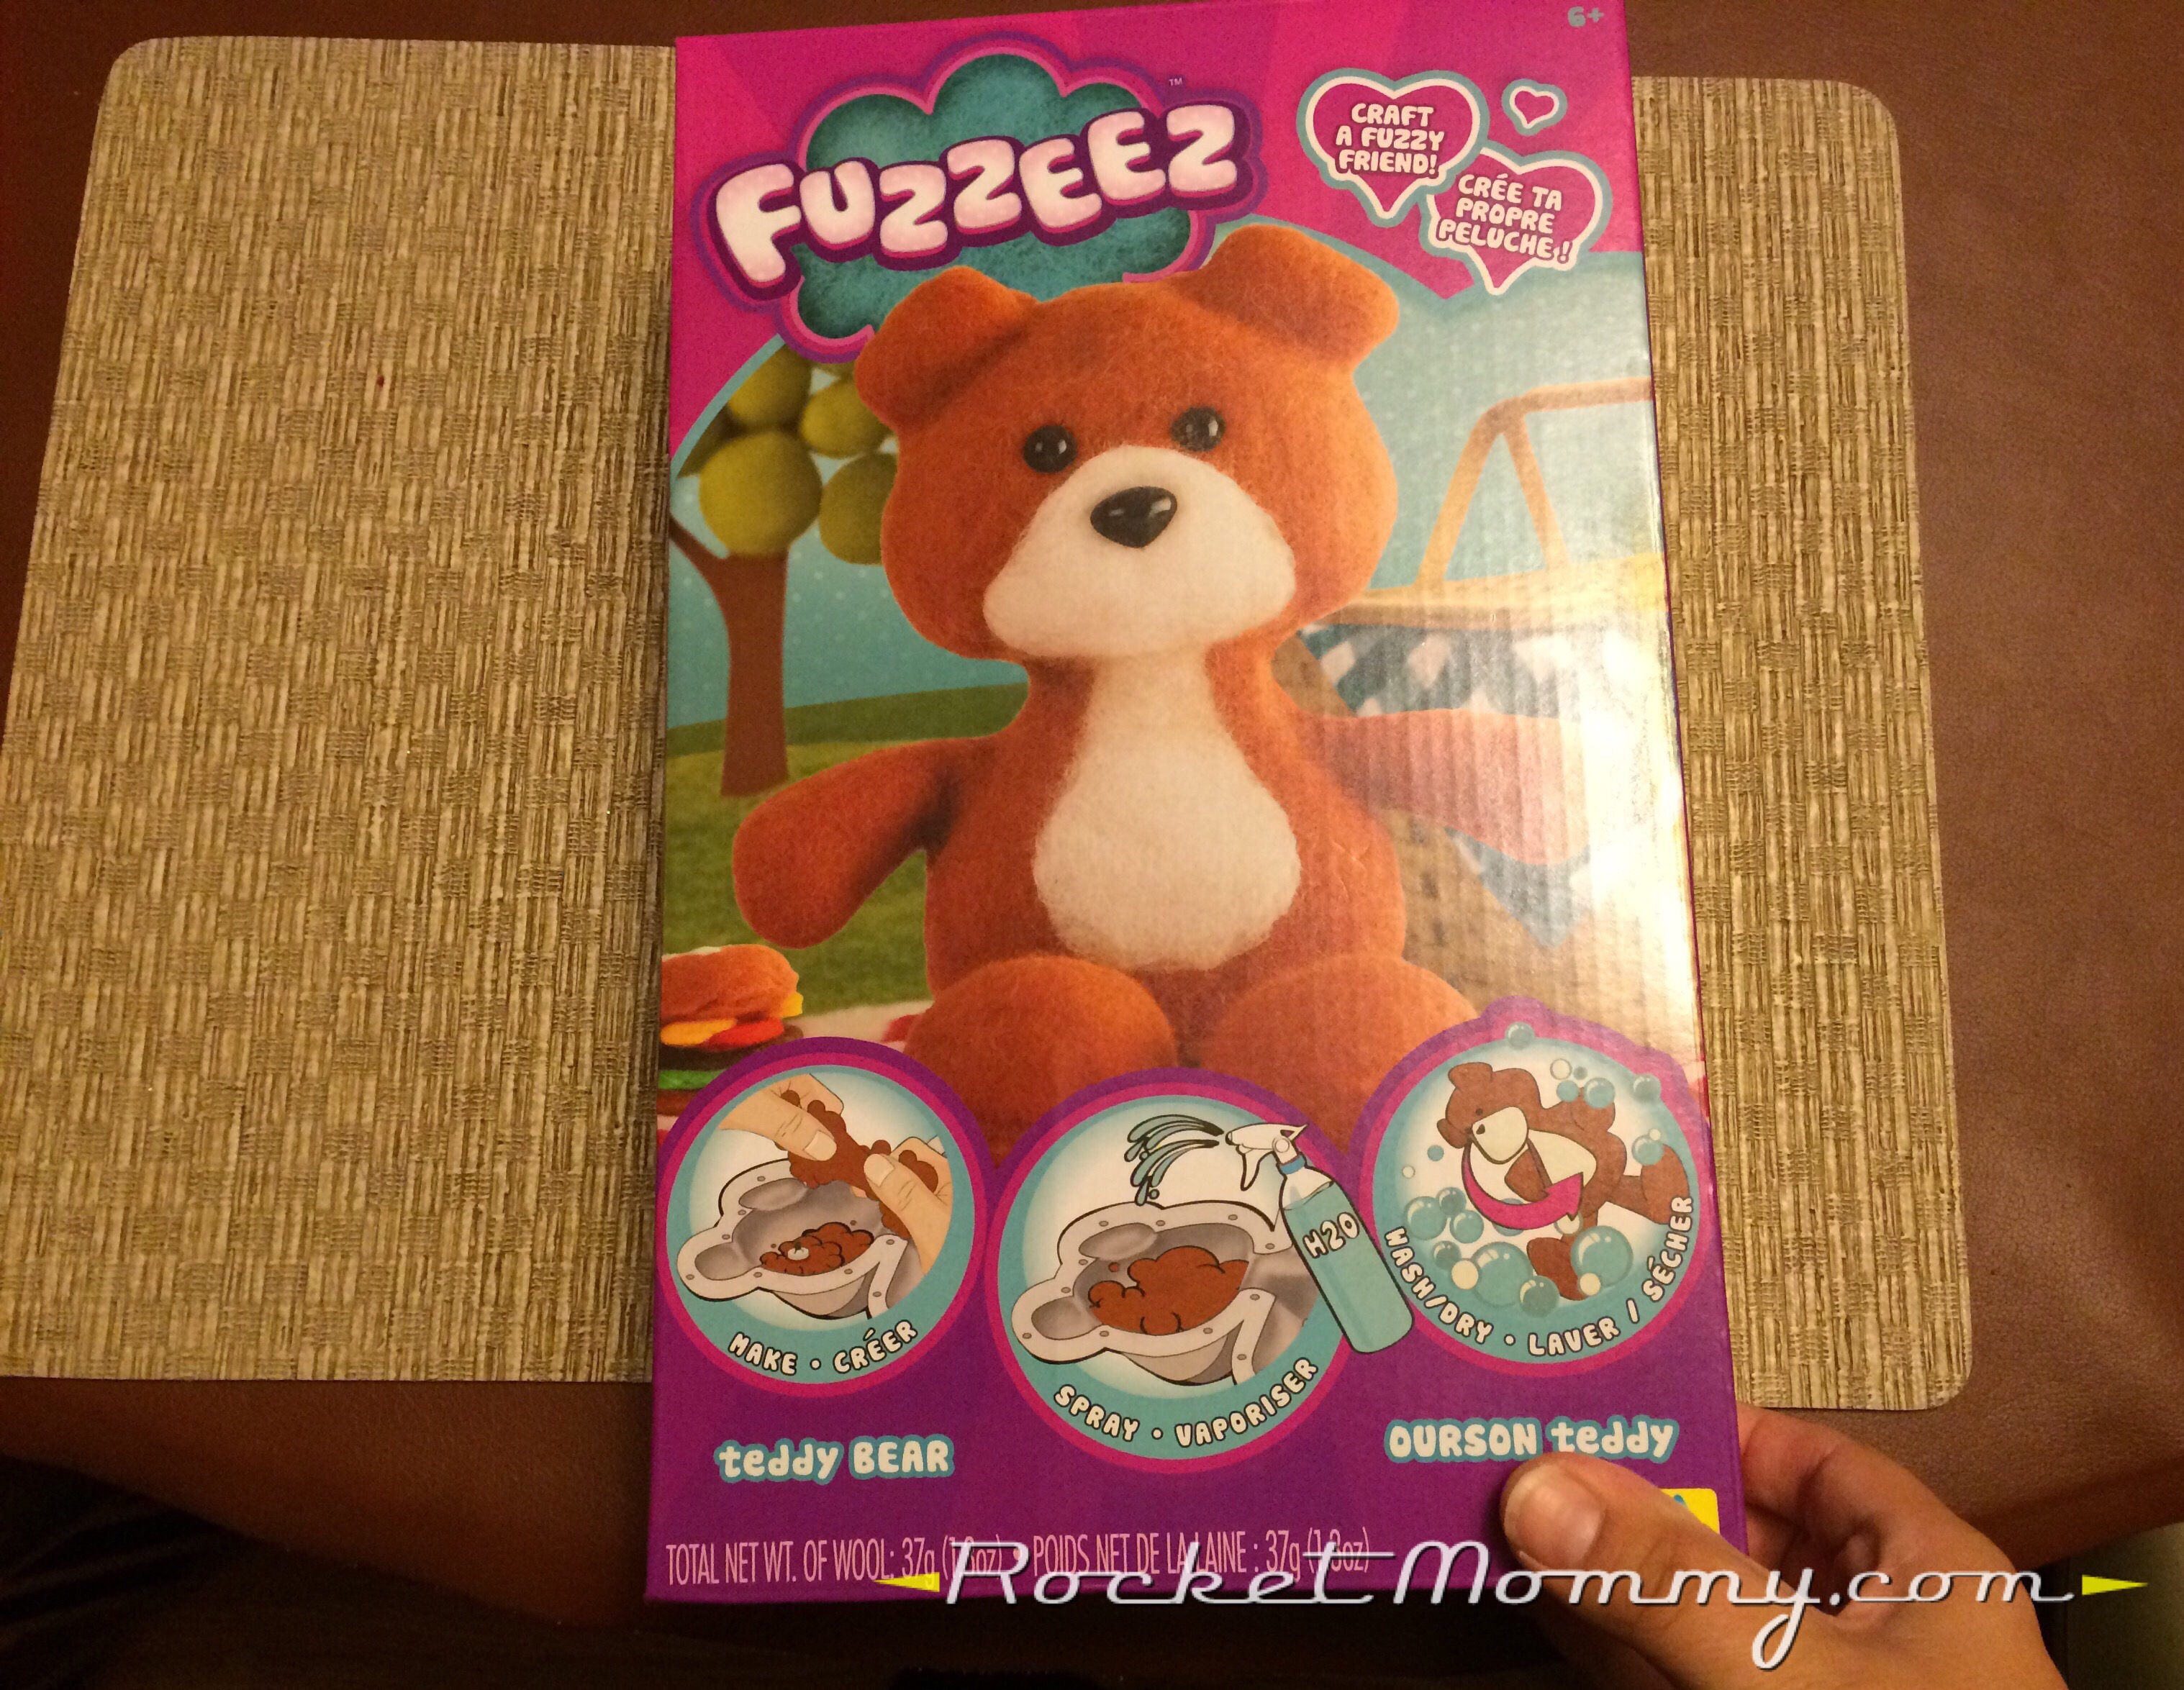
I actually caught the Fuzzeez commercial myself at the end of an episode of Paw Patrol one day, and the kids and I all stopped in our tracks to check out this awesome looking little kit that let you make your own little plush animal toy just by stuffing a mold with some wet fuzz and sticking it in the washer. G watched, wide-eyed, and turned around and said “I think we NEED THAT.” And normally I would roll my eyes and try to explain (again) the difference between want and need, but in that moment my own inner five year old took over, I thought about how much fun it would be to basically make this magic little plush character from nothing, and I said “Yes, honey, I think we do.”
As luck would have it, when I went online to research the product and figure out where to buy it, I came across a Facebook post from Fuzzeez asking for bloggers who might be interested in reviewing the product. Um, hello, YES PLEASE!! I contacted them right away, and then I pestered them a few more times, and they agreed to send it! Guys, I will be honest, this was crazy exciting for me. I’ve been writing this blog for almost a year and this is the first time I’ve had the chance to sample a product like this for a company. The fact that it was something I was already interested in trying just makes it even more awesome!
I received the box from Orb Factory, the company behind Fuzzeez, just in time for the twins’ birthday, and to my surprise, it came with TWO Fuzzeez kits – a puppy and a bear! So I wrapped up the puppy kit and gave it to C as one of her birthday gifts. Everyone was so excited when she opened it!
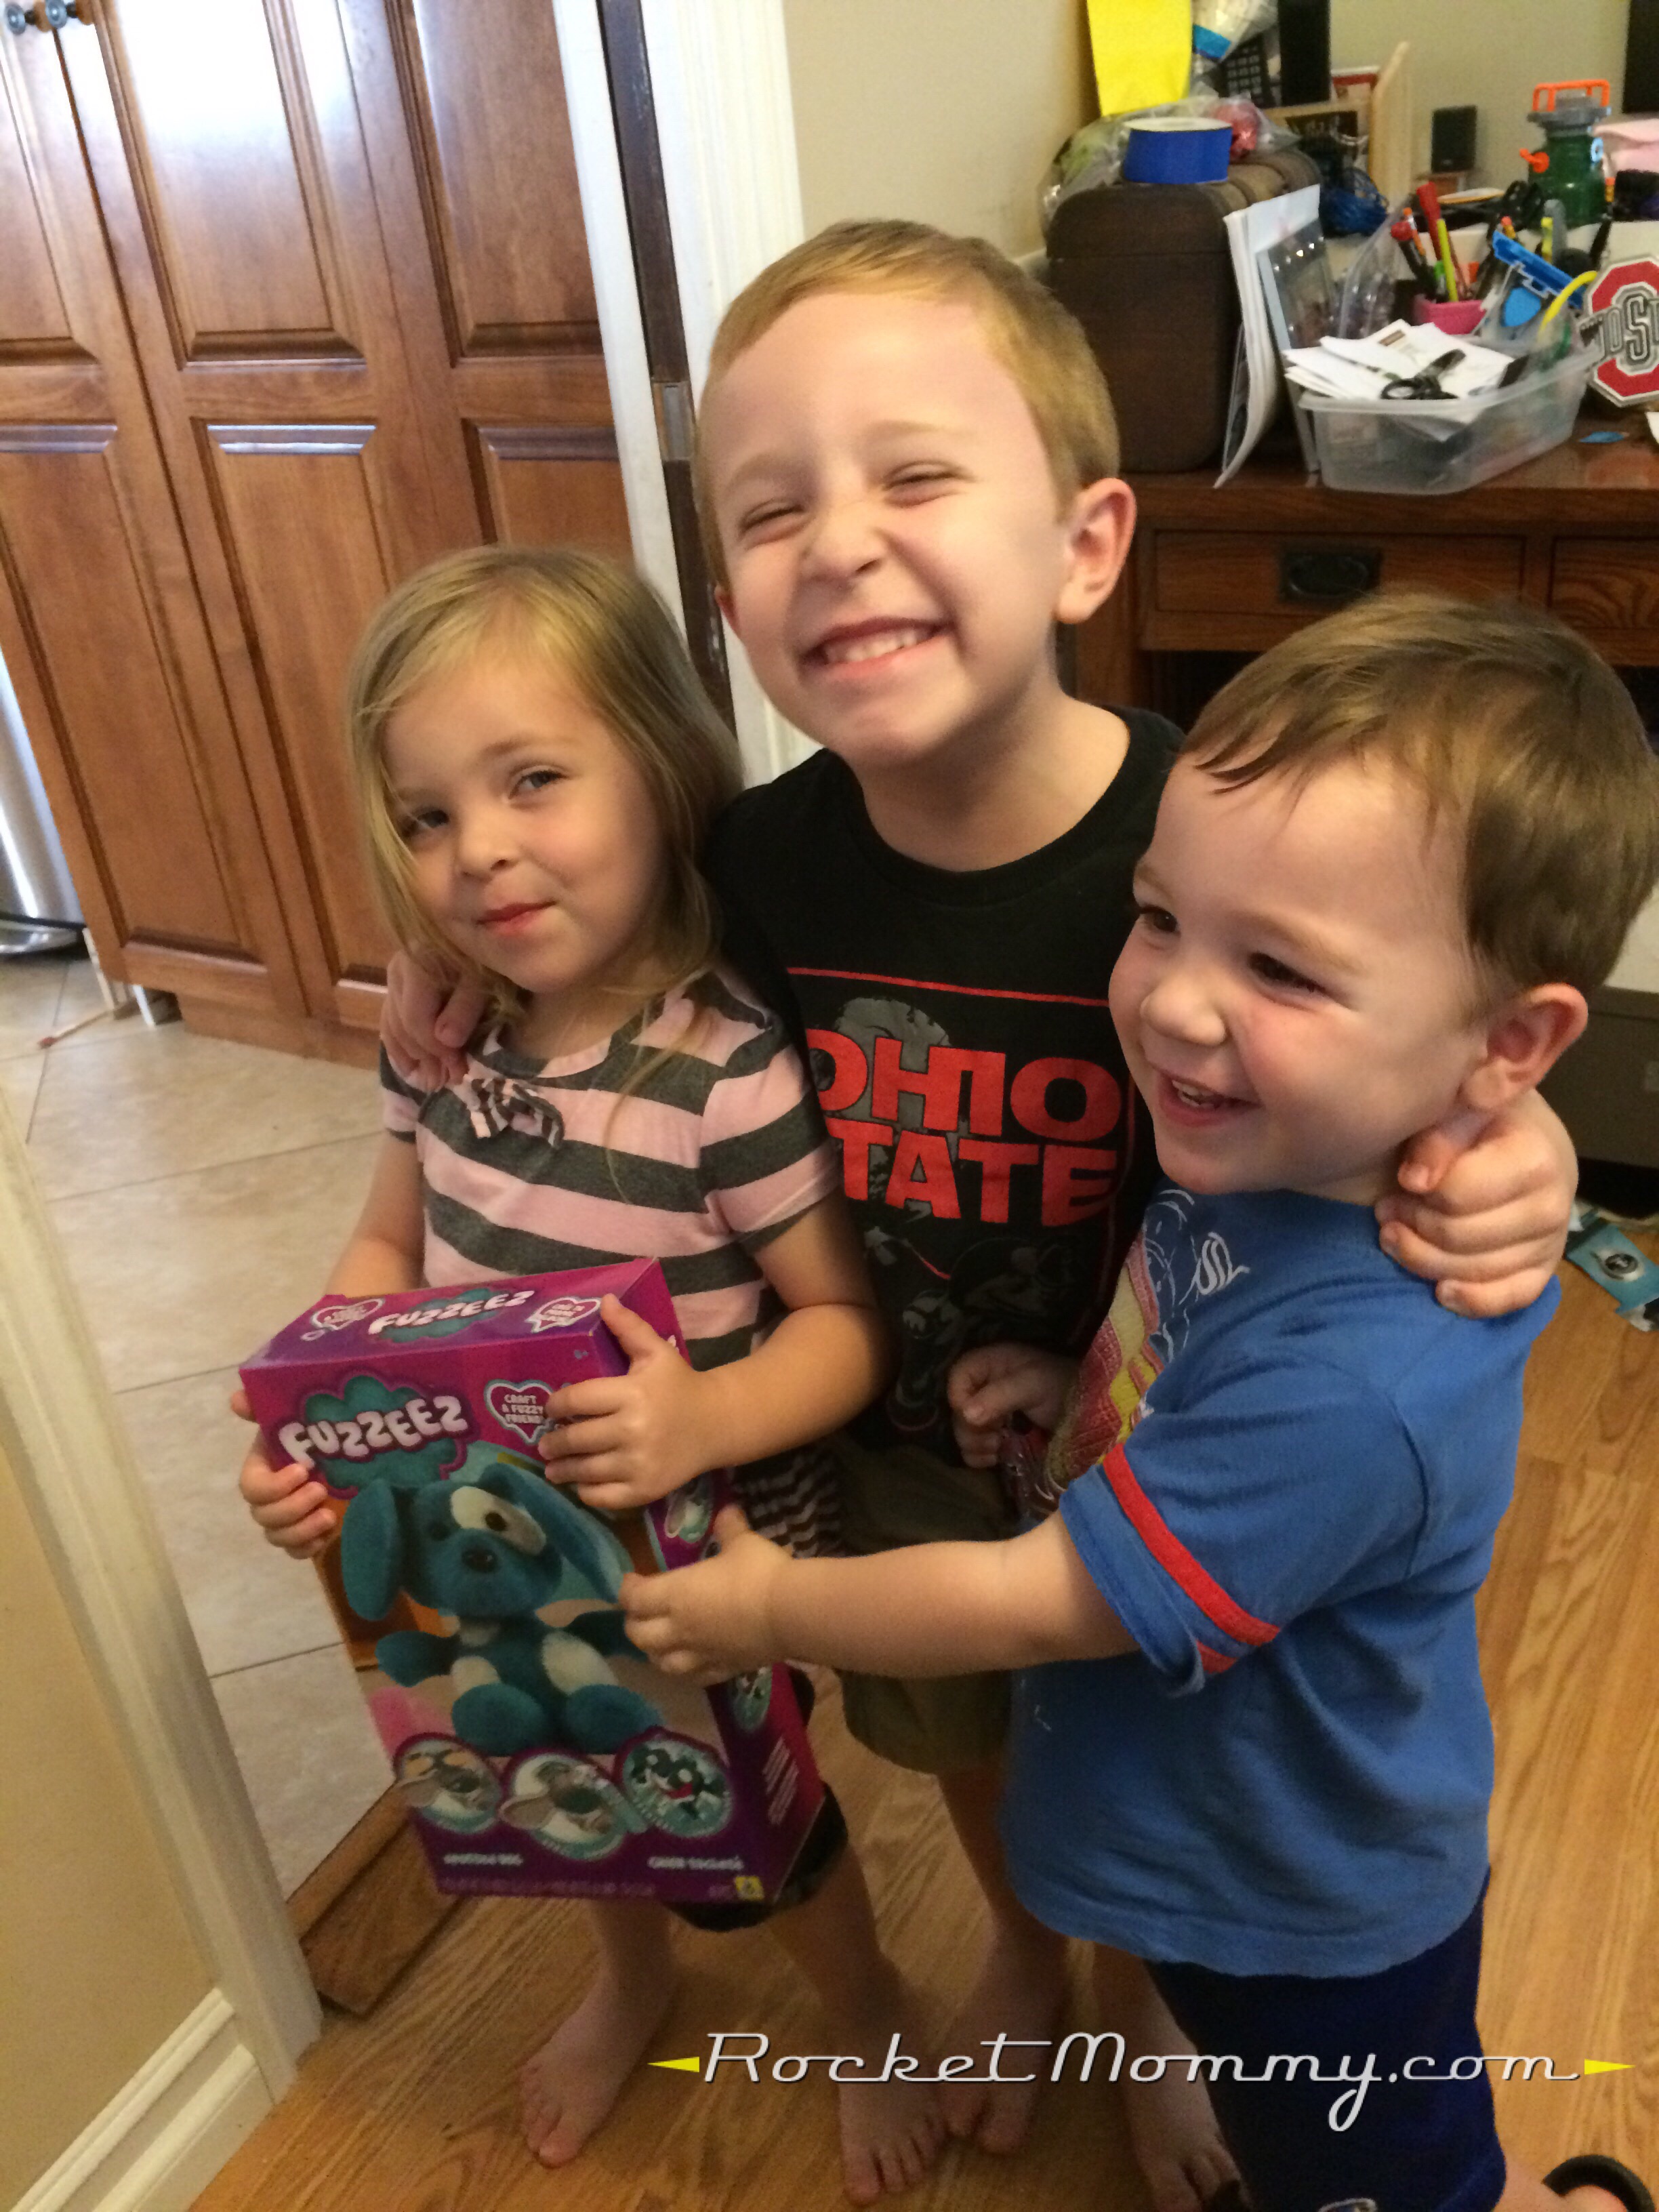
(As always, please forgive whatever mess I forgot to crop out of the background. The house is always a disaster.)
We picked a day where I knew we’d have enough time to wash and dry it completely, and we got to work.
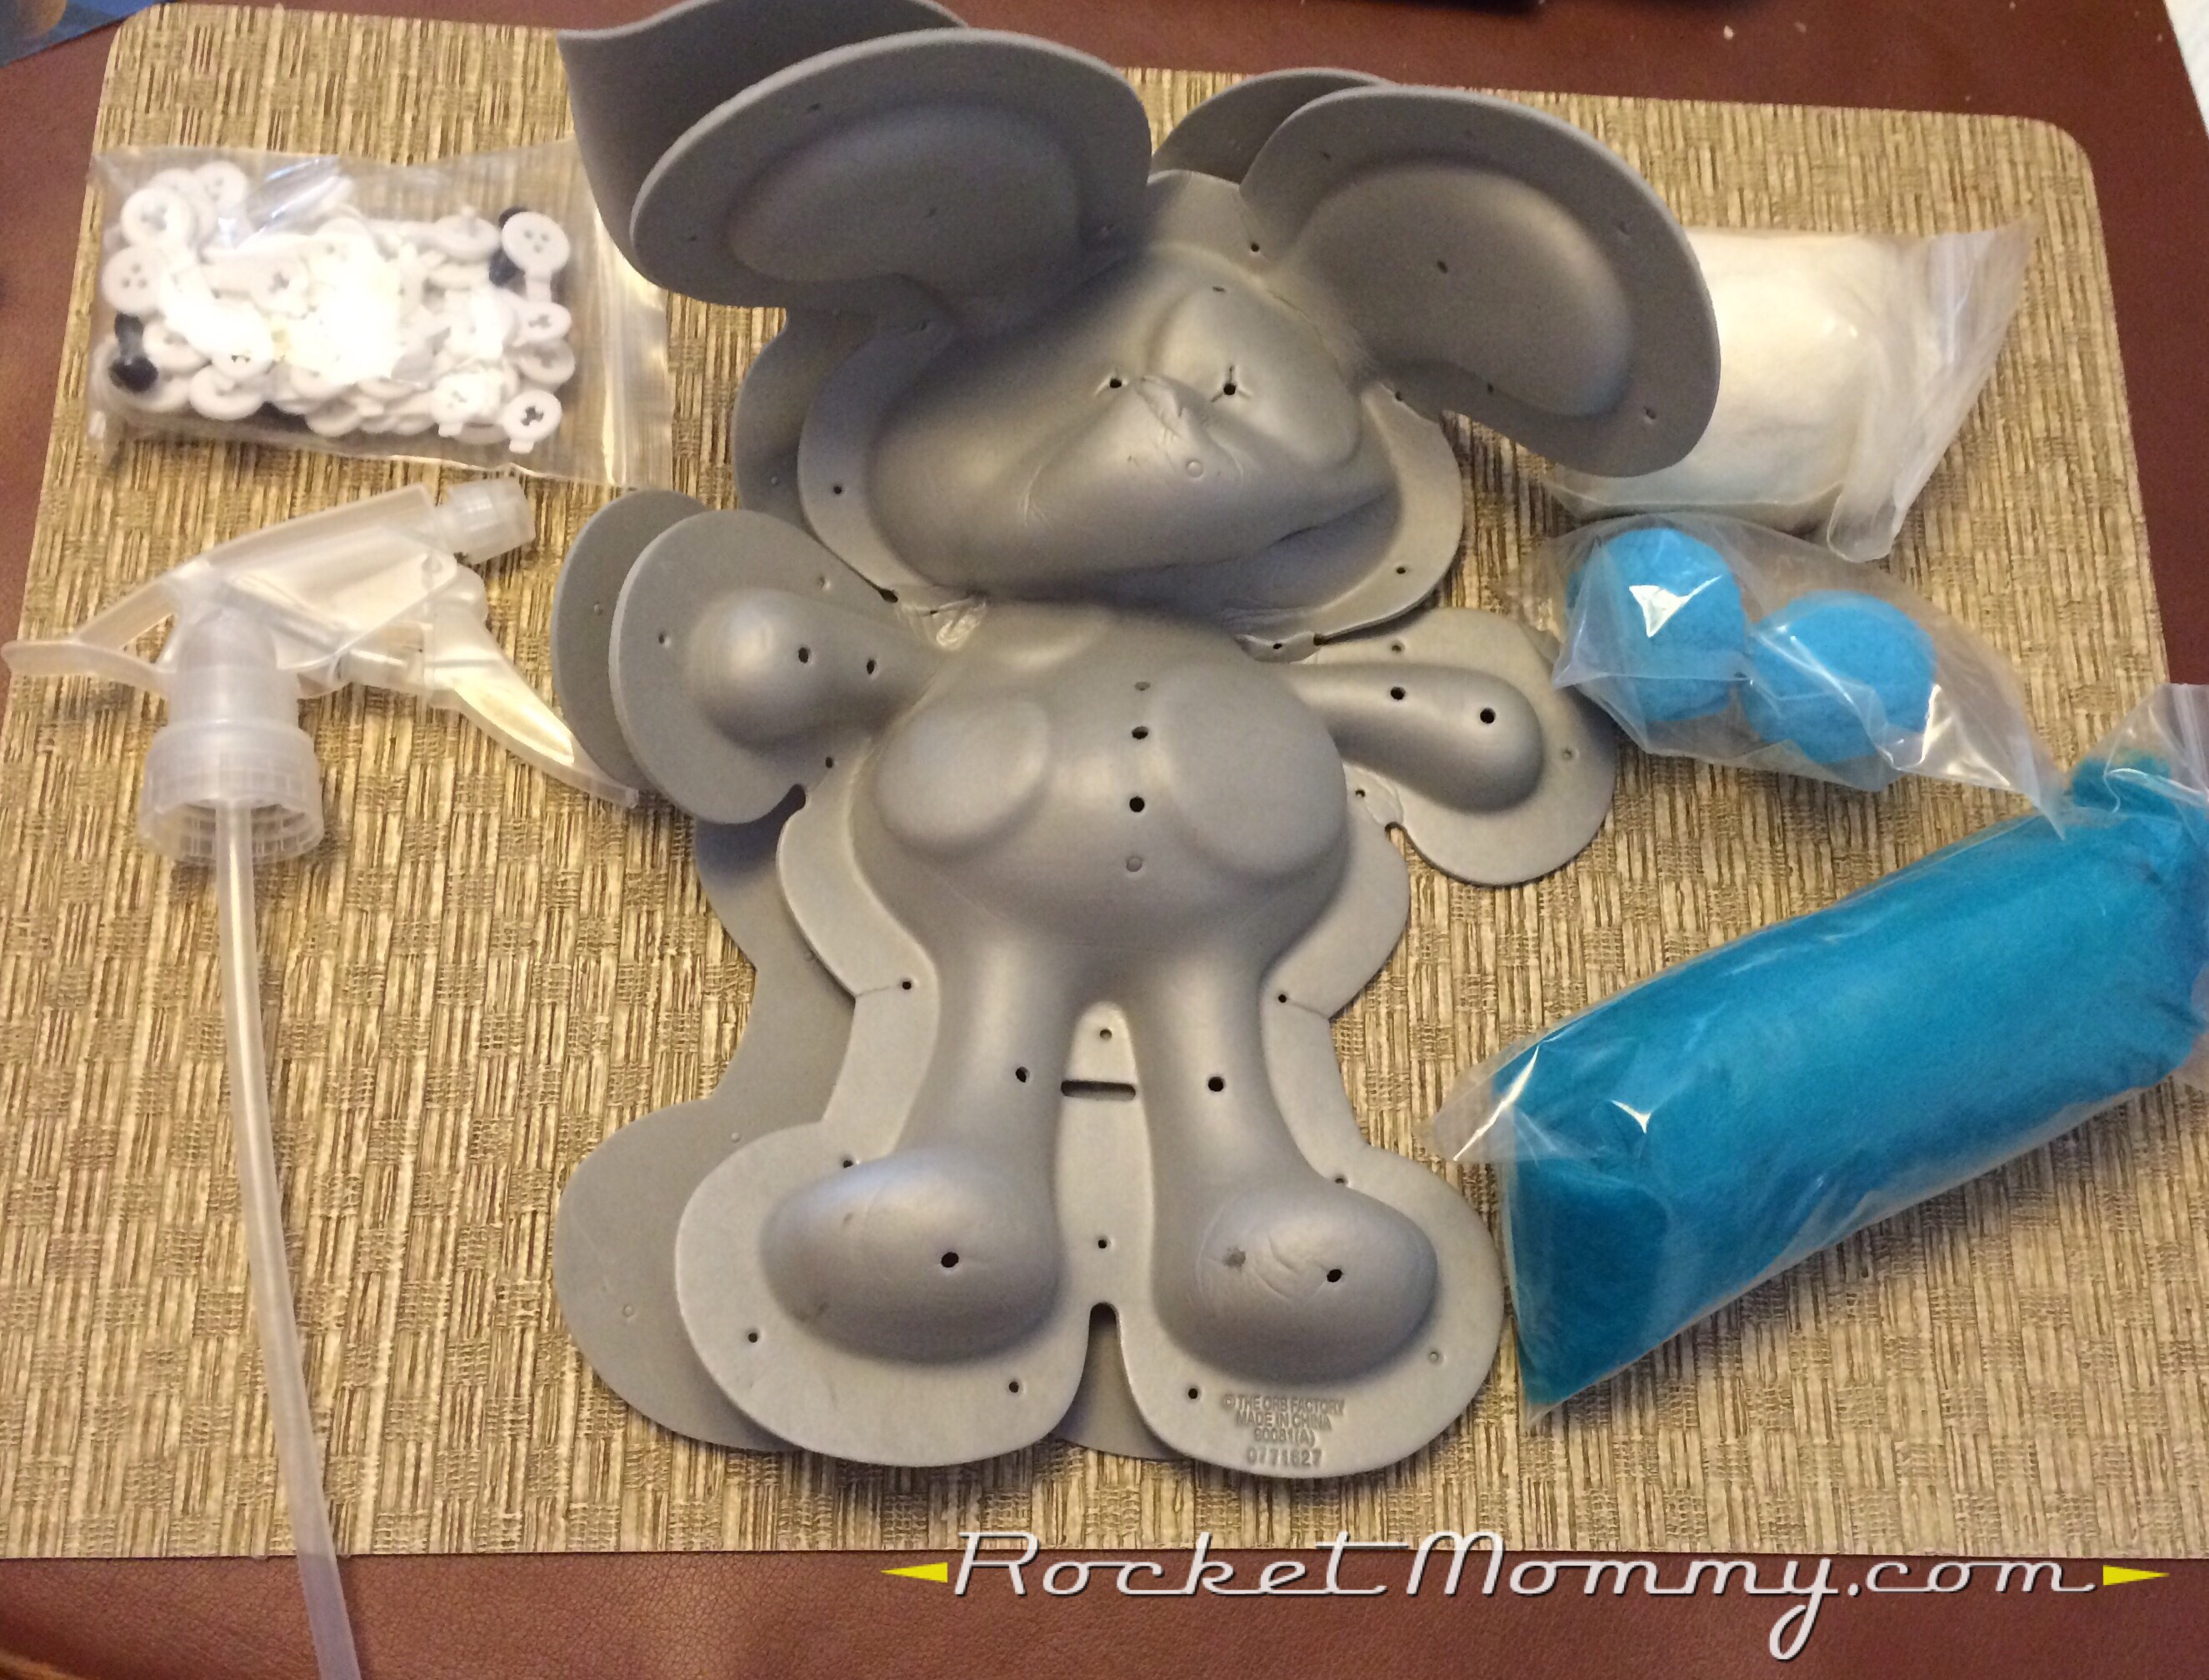
This is what comes in the kit. You get a foam mold, a sprayer nozzle that fits on a 20oz soda bottle (bottle not included, so scrounge one up from somewhere!), a larger bag of wool fluff, a smaller bag of wool fluff, two relatively big pompom balls, and a baggie that holds all of the hardware – two eyes, a nose, three washers, a Y-shaped felt piece, and a bunch of little clips to hold the mold together.
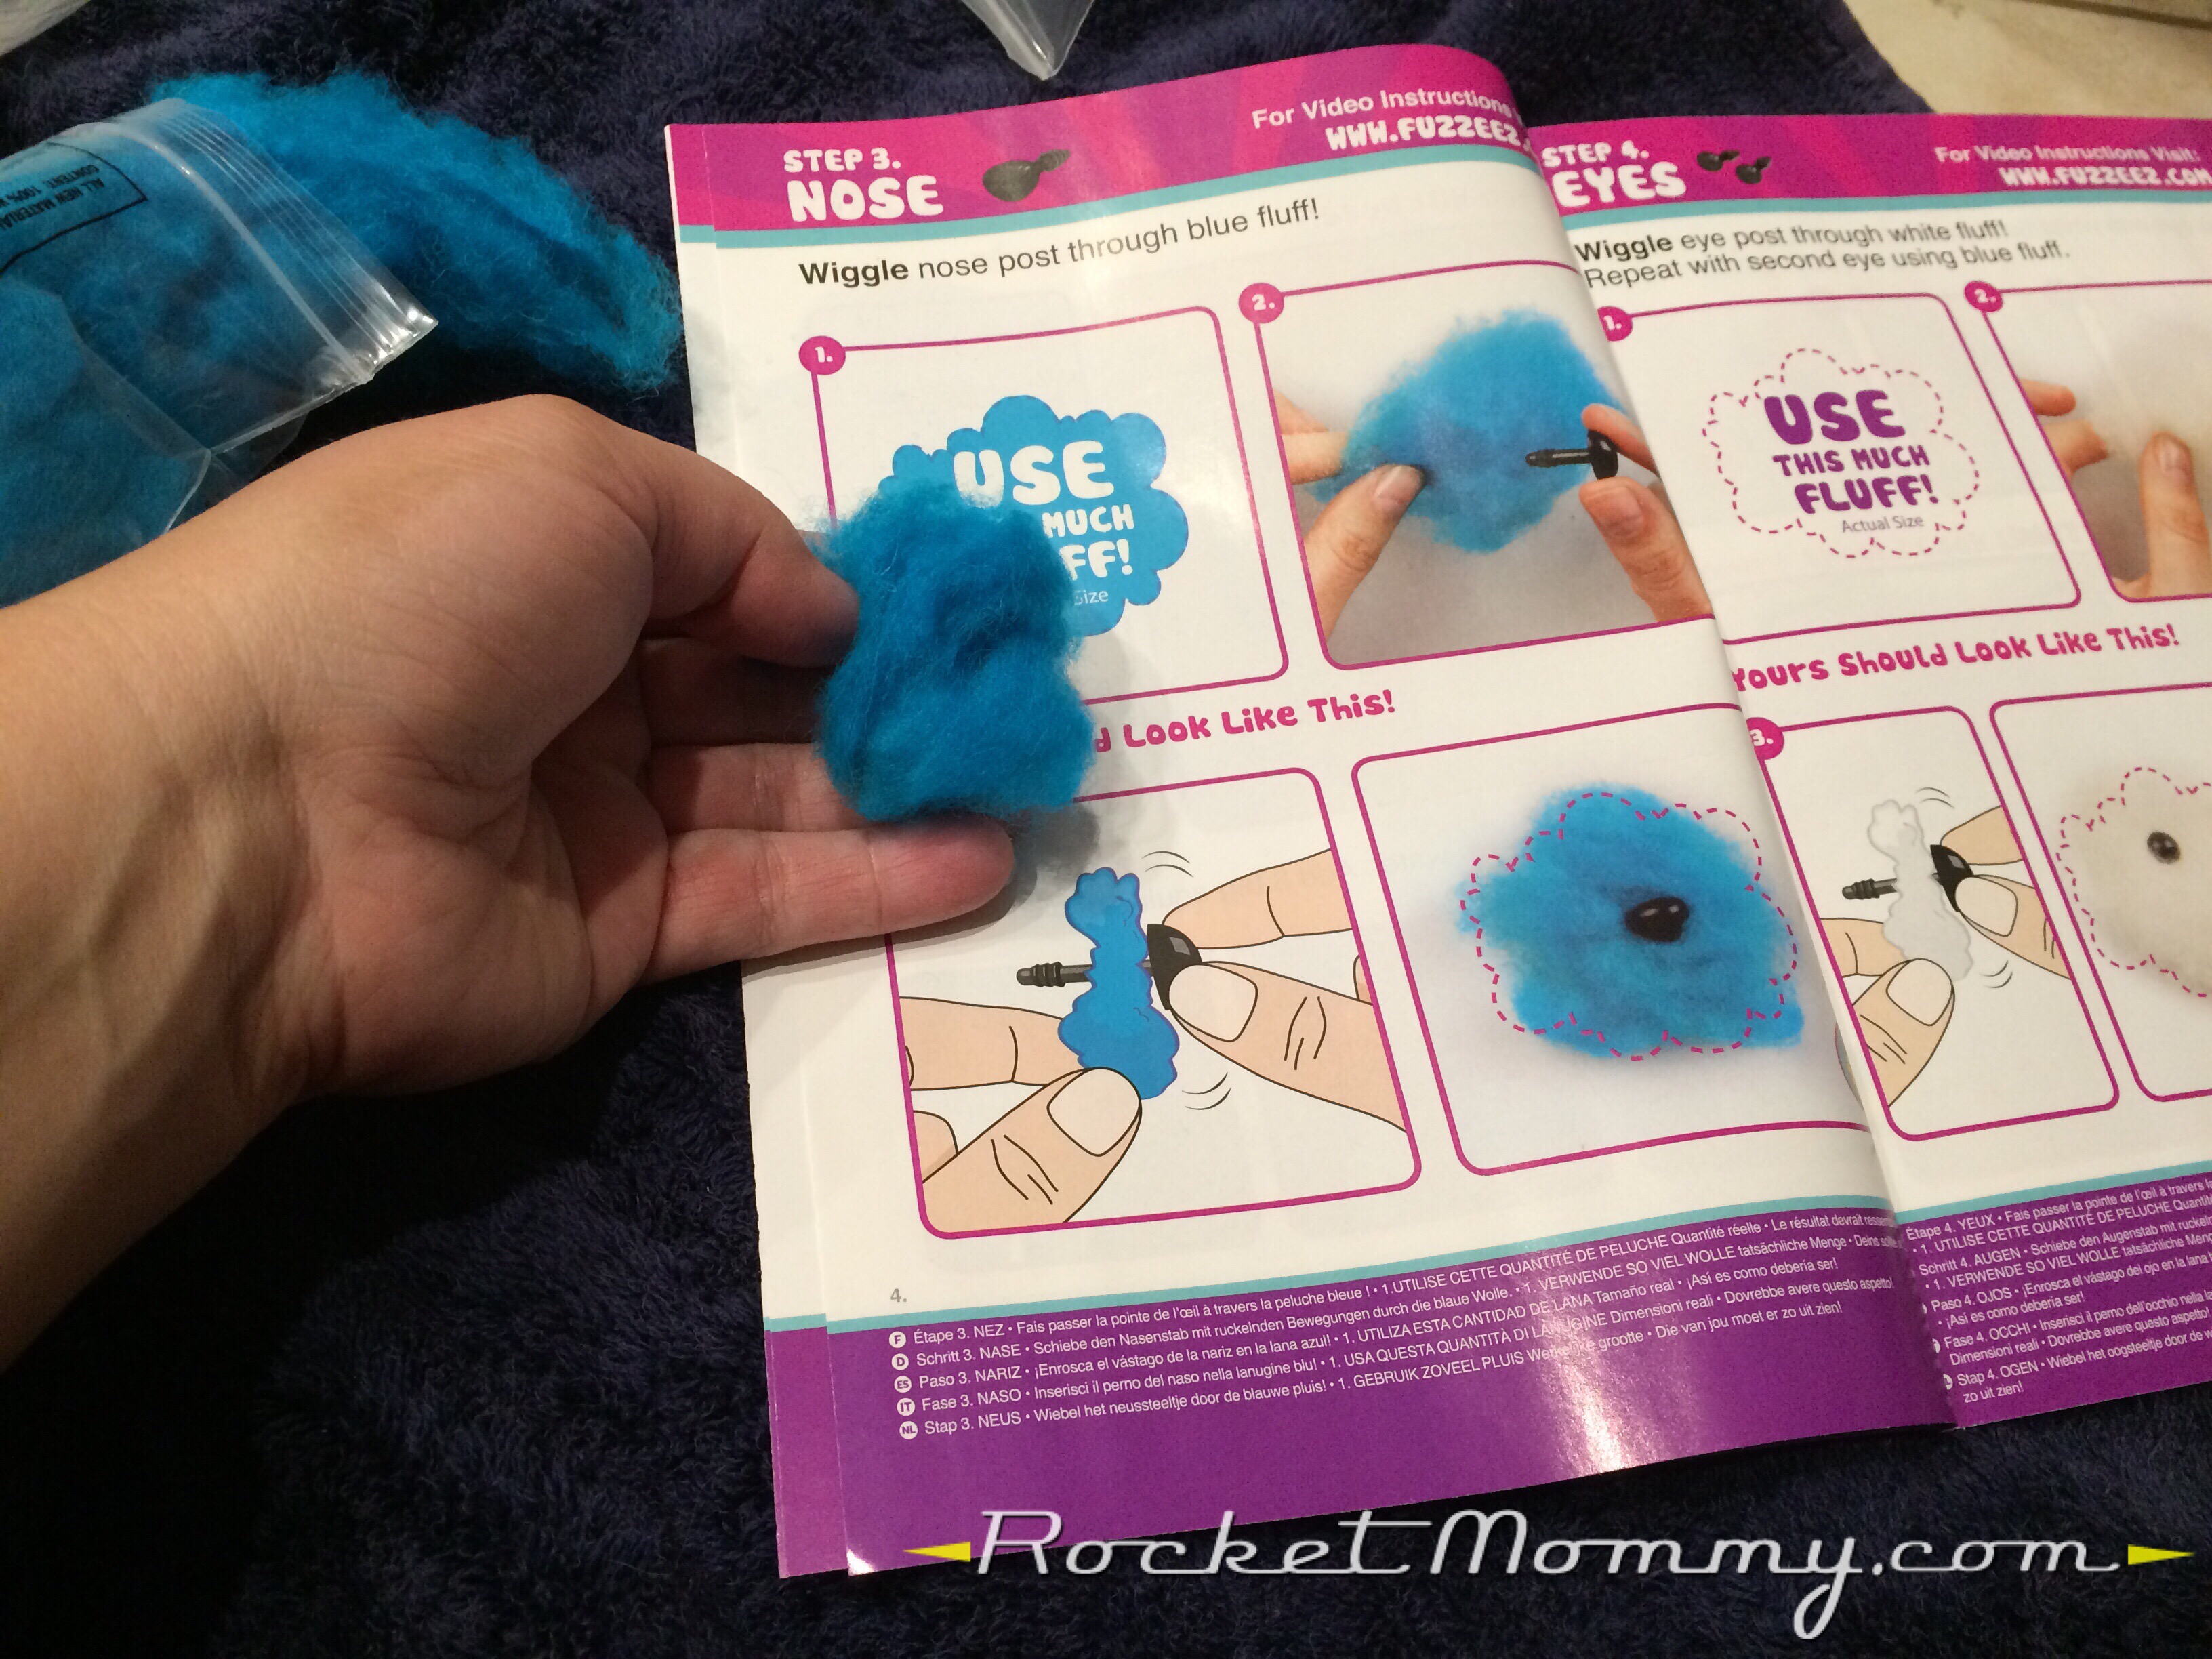
You also get an instruction book that is quite detailed and has some very clear pictures to show you how things should look every step of the way. There are detailed videos out there that will show you how to create your Fuzzeez, but I wanted to see if I could do it just by following the written instructions that are provided in the box – I figured that would be a more authentic test of the product.
I like that the instructions give you guidelines on how much wool to use for each step of the process. I’ve done a lot of different types of crafts in my life, but I’ve never really ventured into any of the fiber arts – needle felting, wet felting, spinning, knitting, etc – so working with wool roving like this is a whole new arena for me.
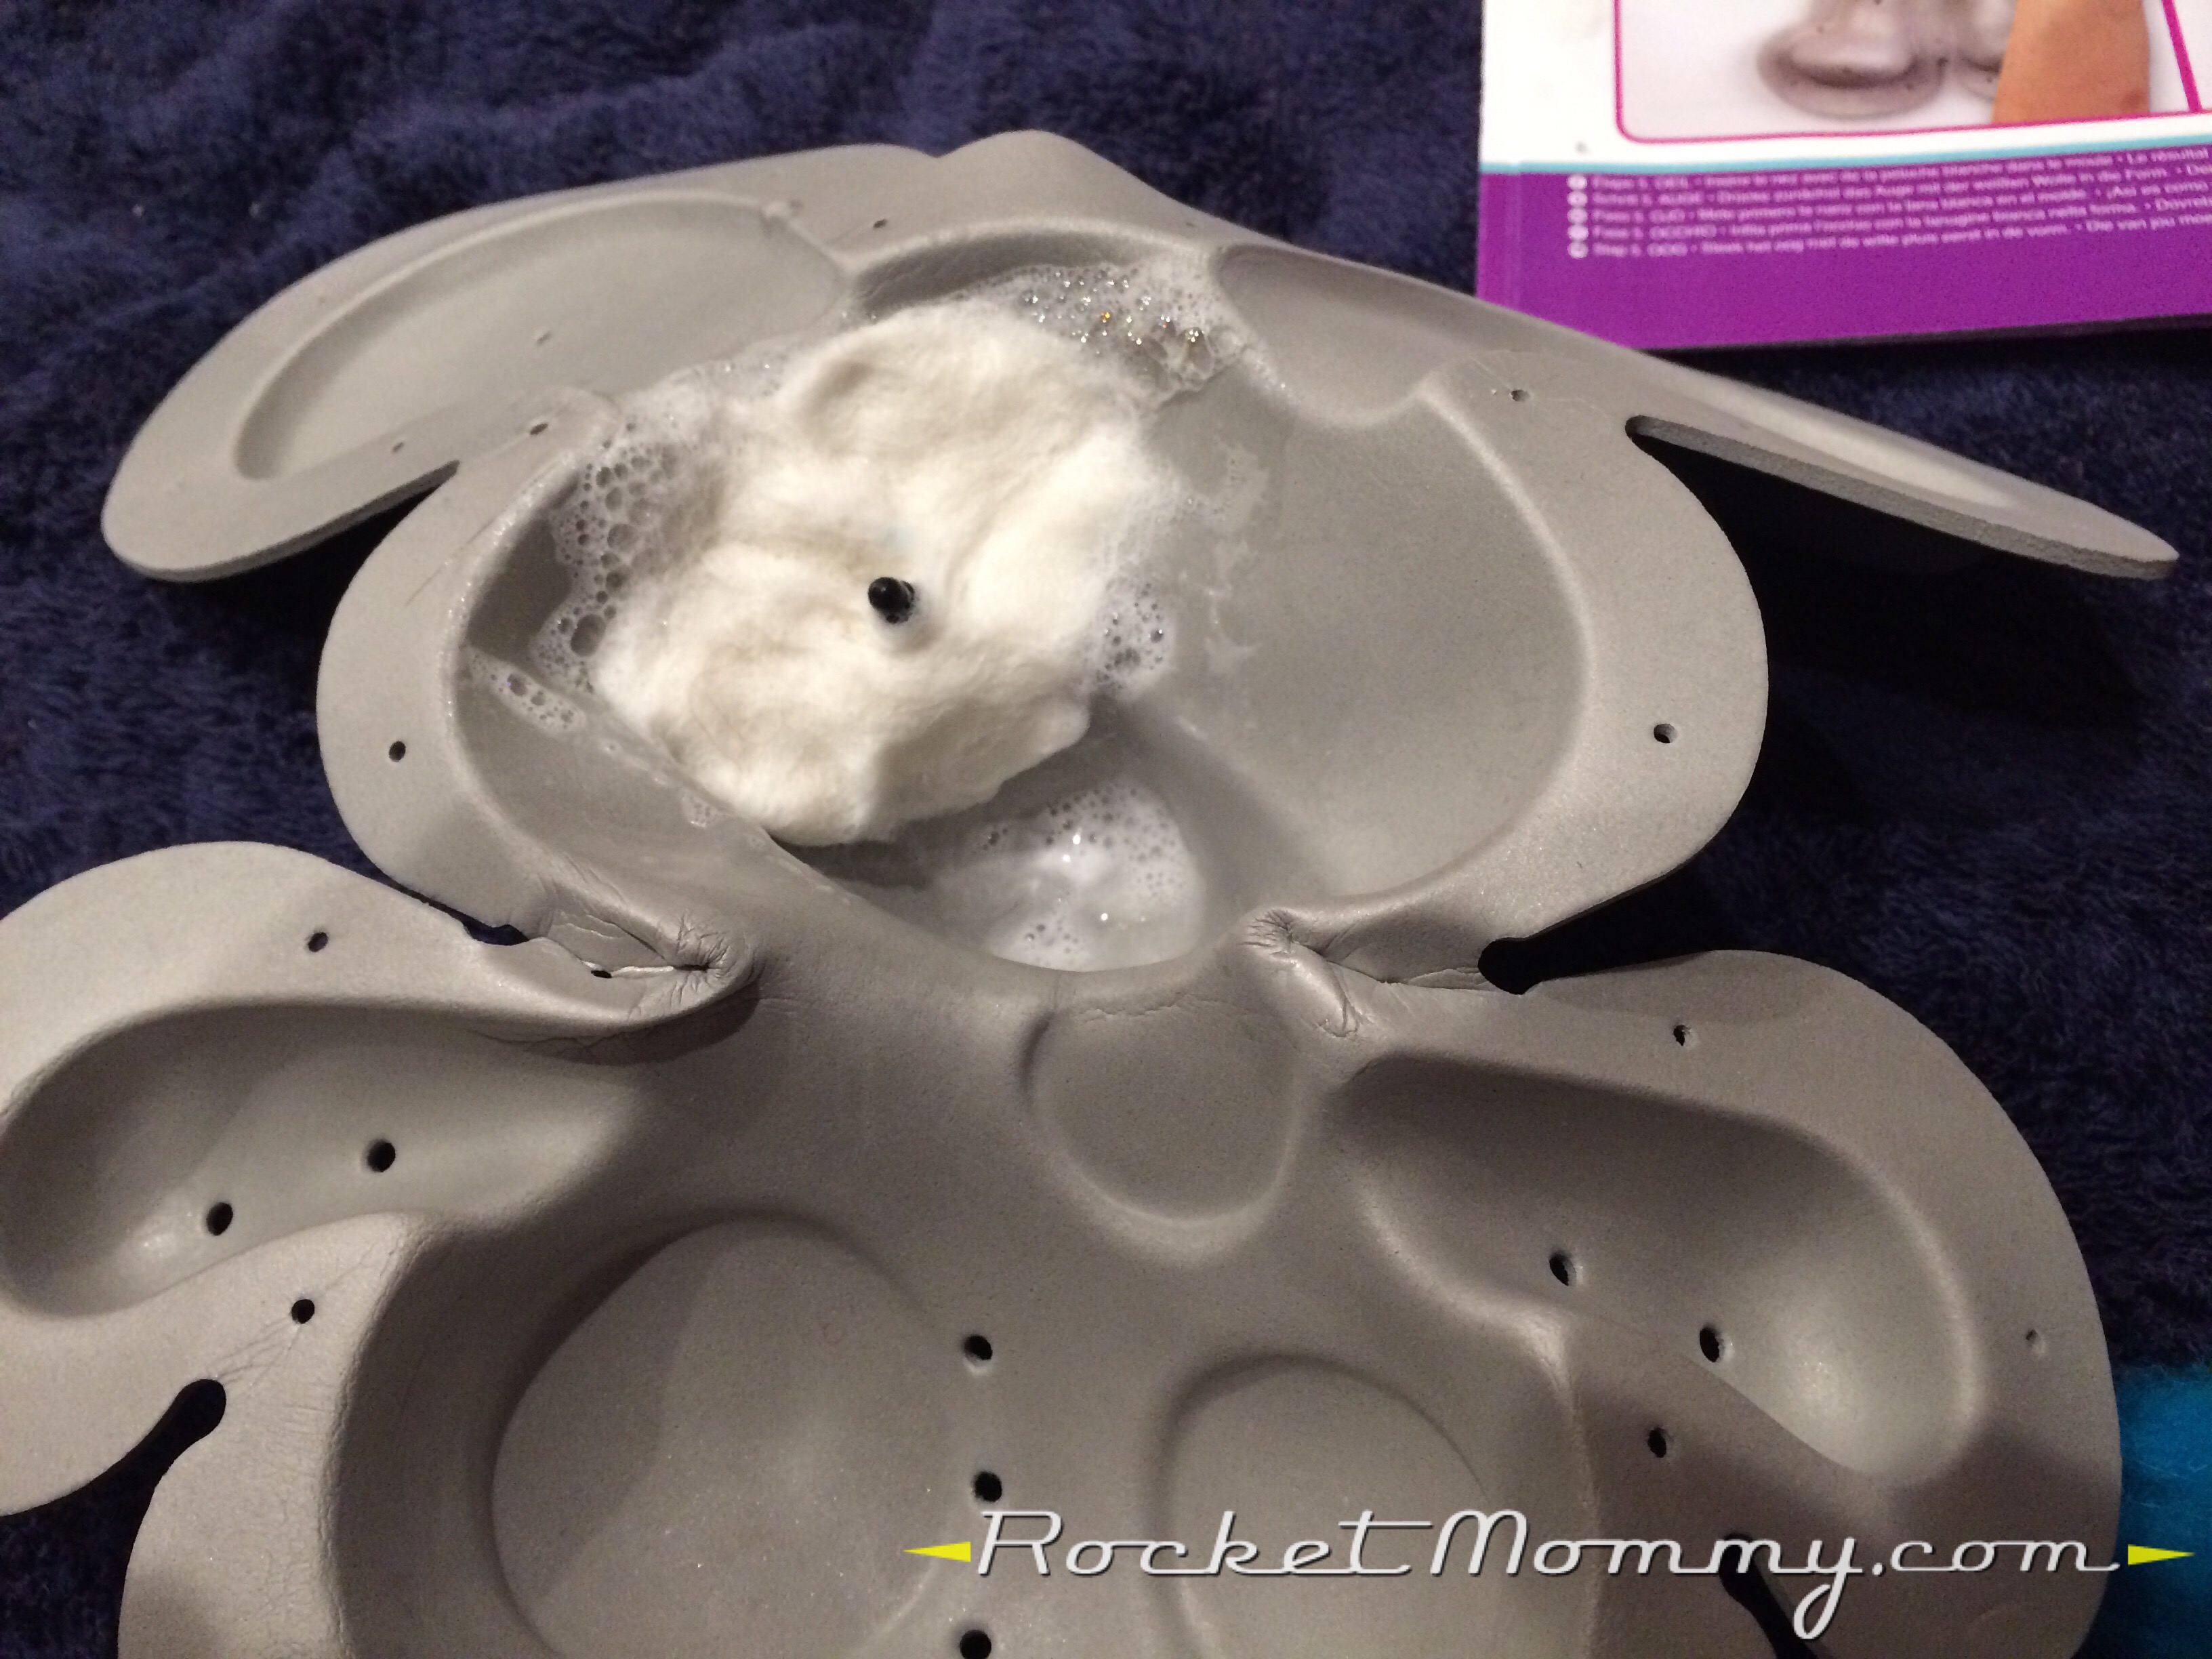
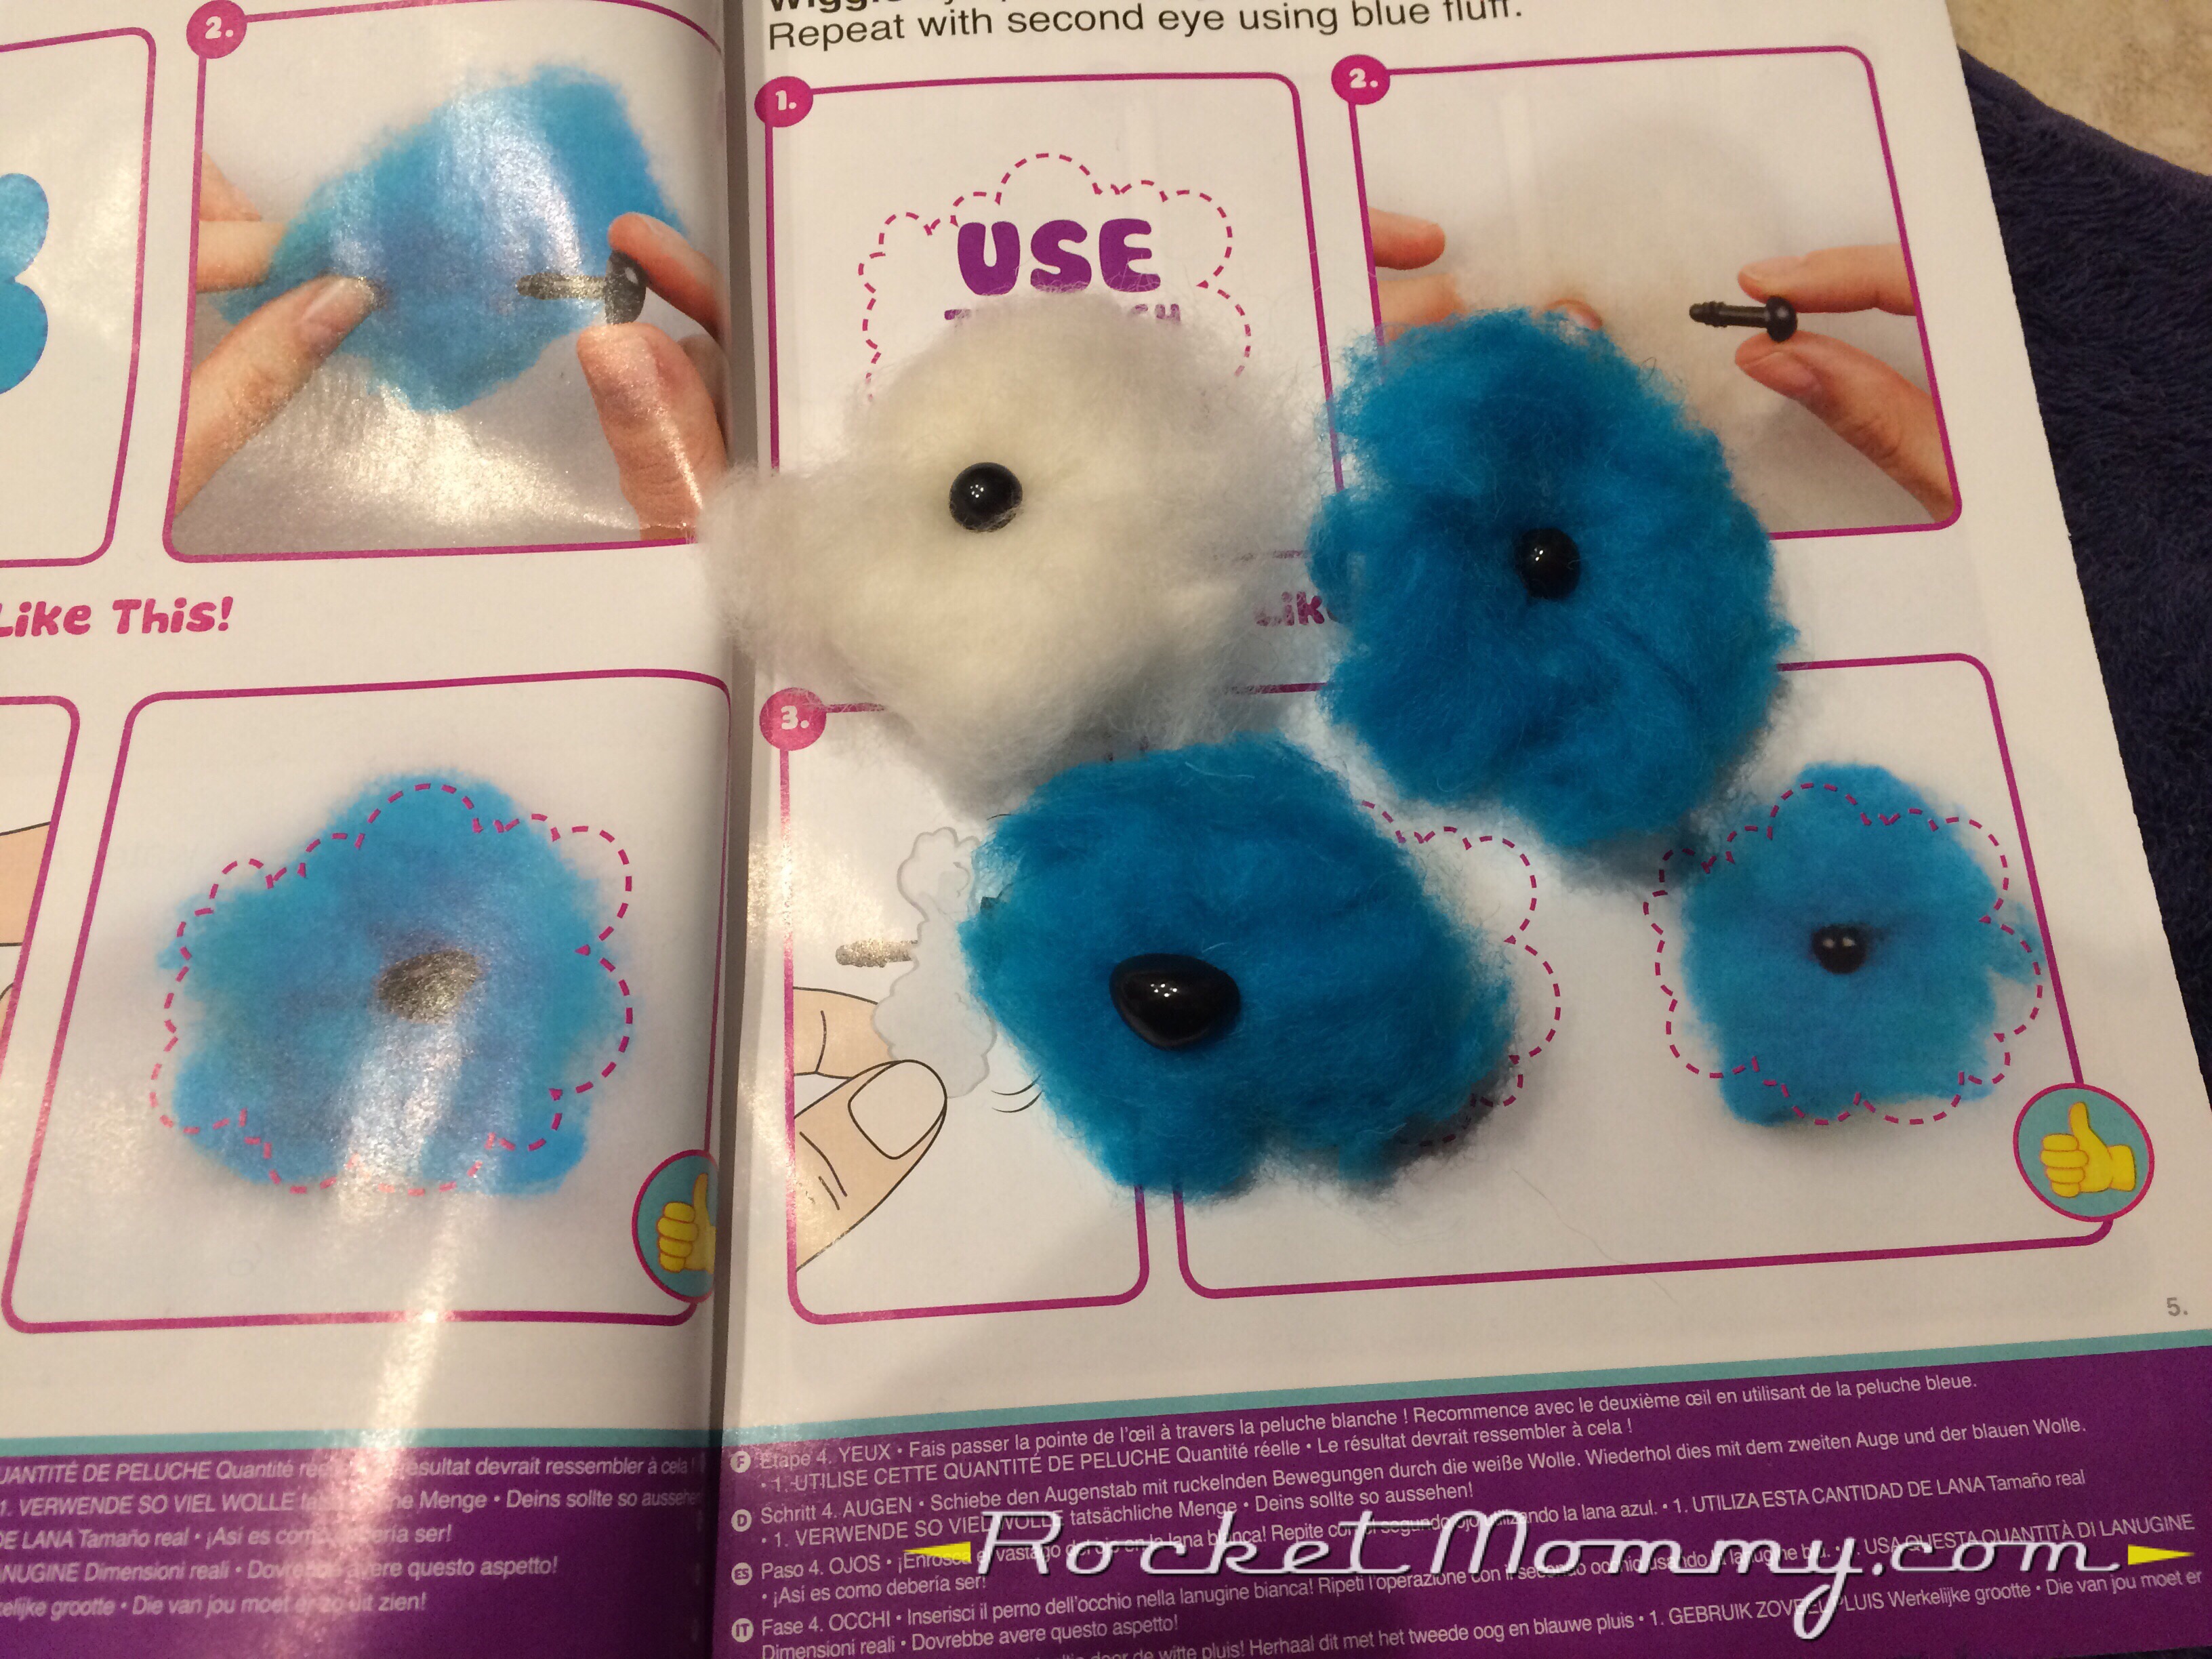
Building the Fuzzeez animal in the mold starts with the face, and the first layer you put down is the one that’s going to be on the very front of the animal, so you want to make sure the shape looks the way you want it. You wet each little bit of wool thoroughly with the soapy water solution that they have you mix up, and then you mush and knead it into place in the mold. You really need to work the wool around a lot, matting it to the point where it stops feeling like fuzz and feels more like a modeling compound of some kind, if that makes sense.
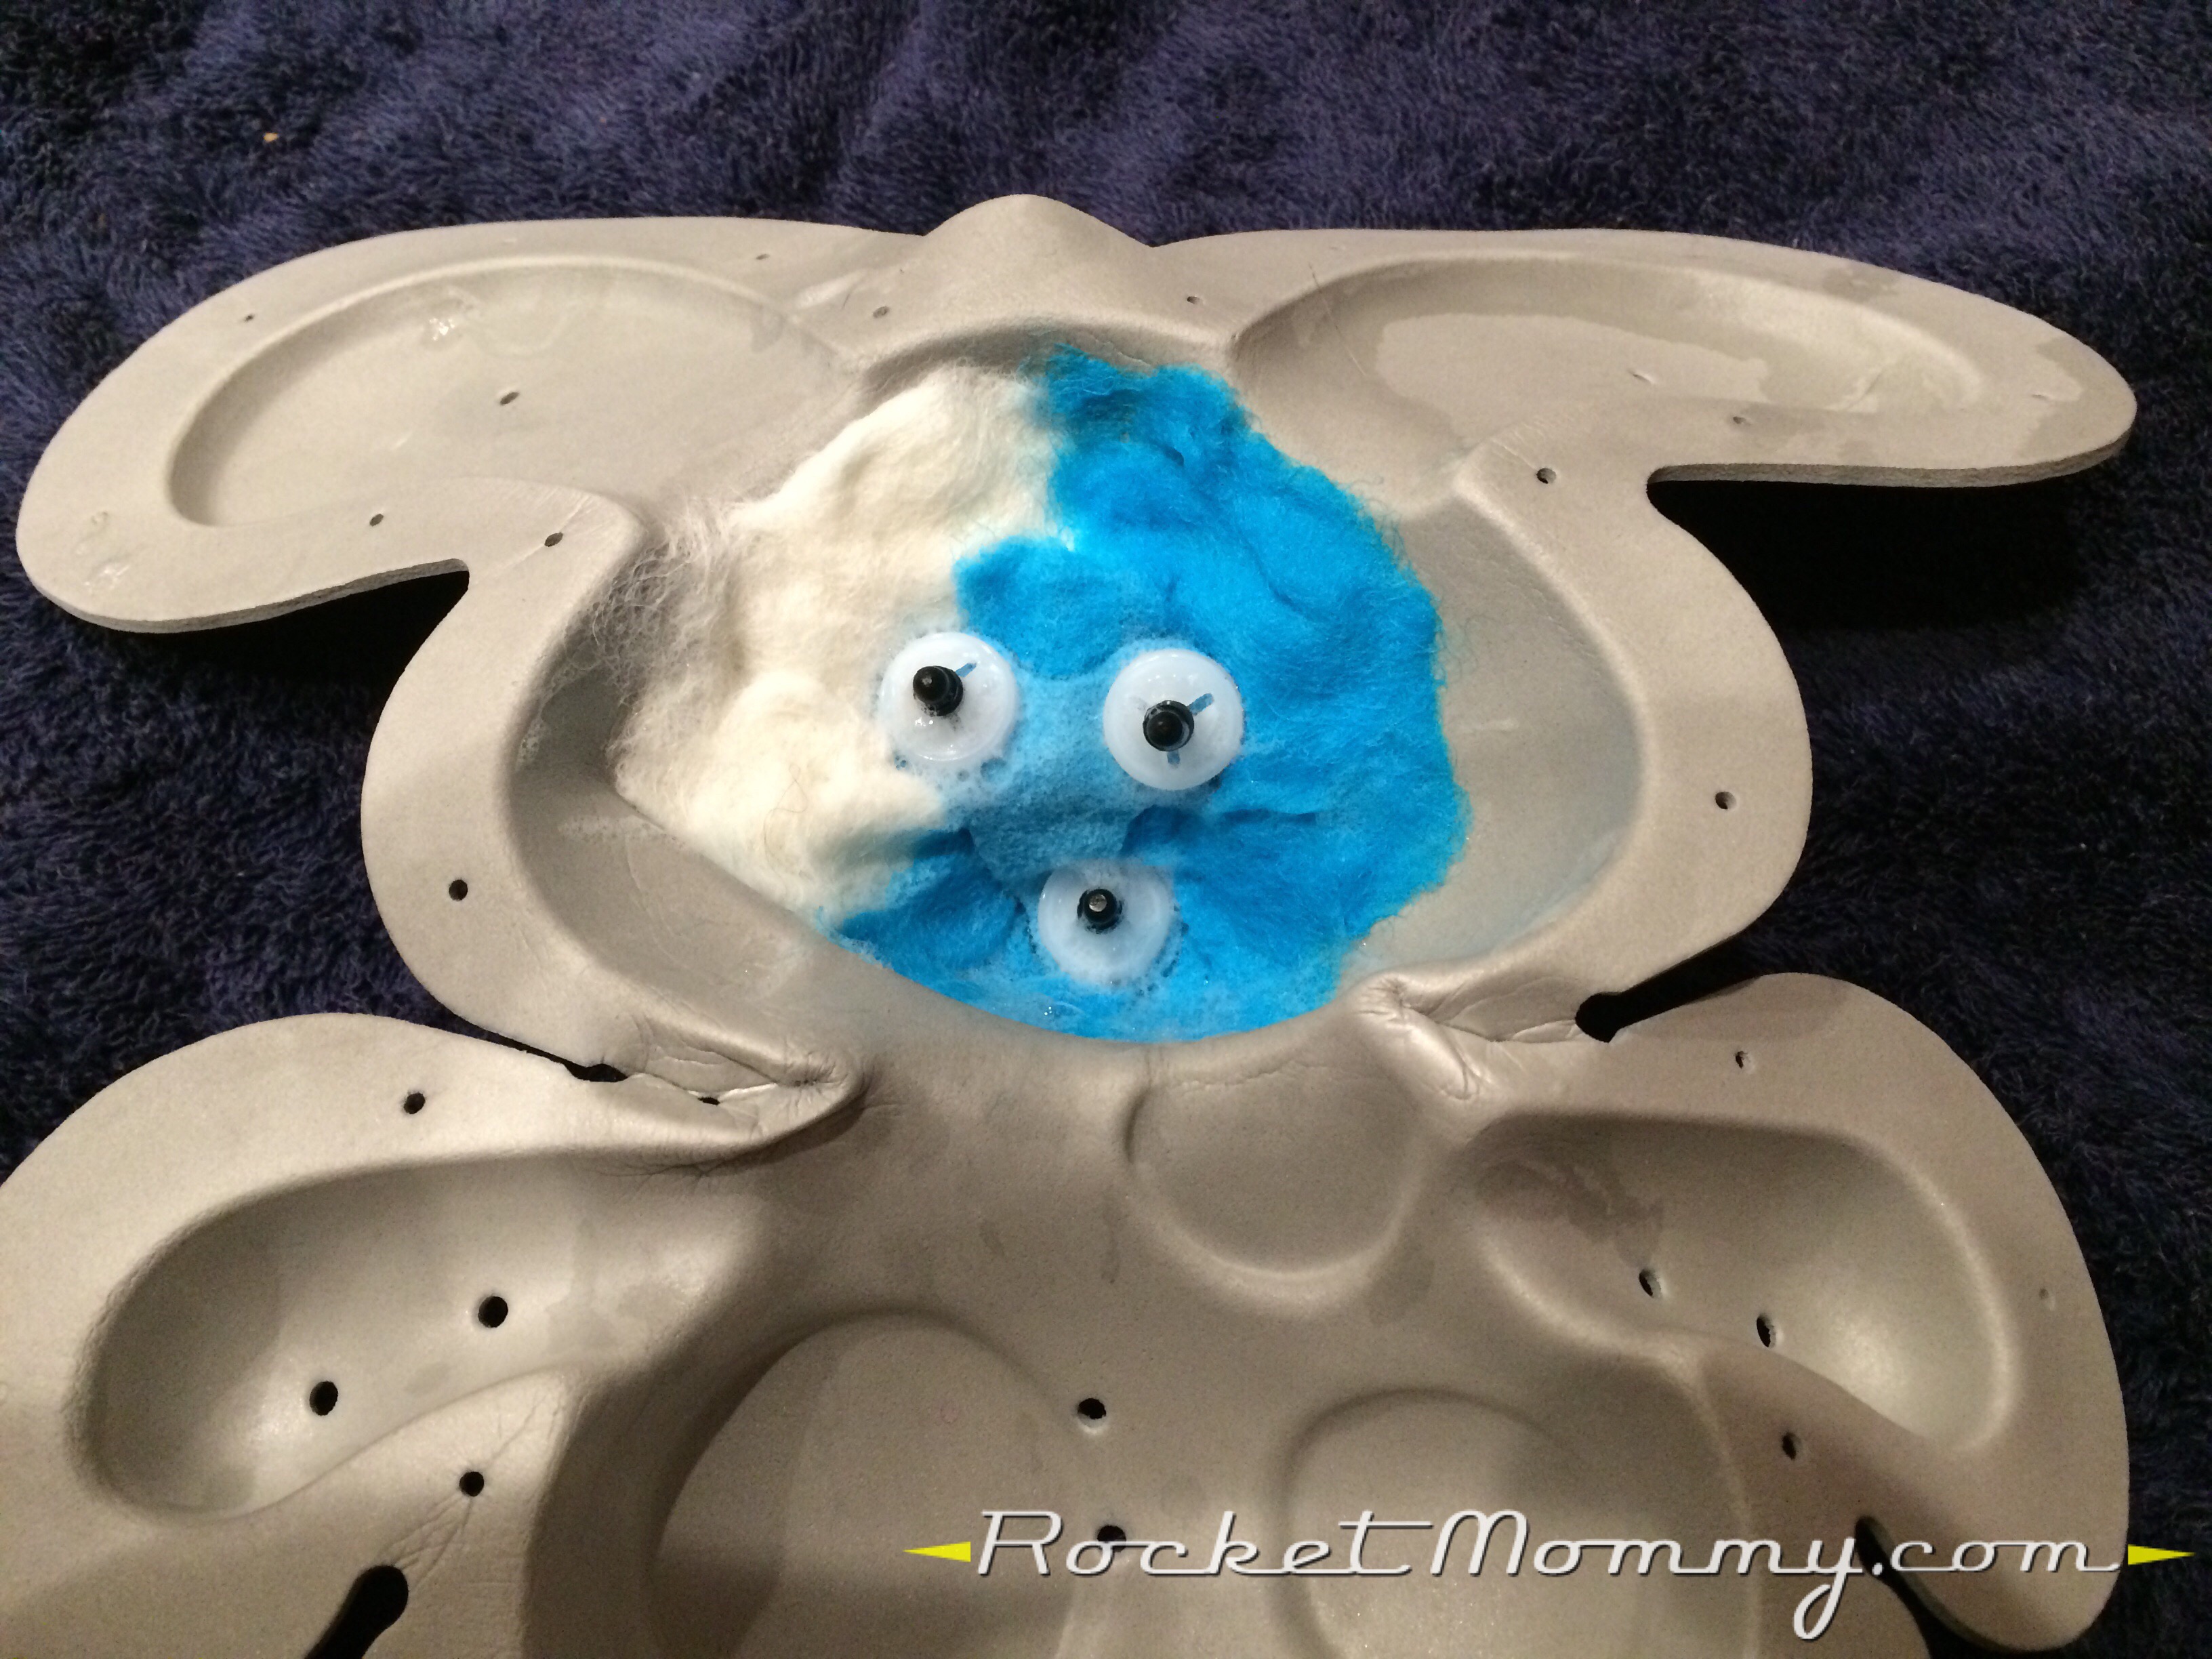
The eyes and nose fit through the holes on the front of the mold to keep them in place during the process. Once all three facial features are in place, you put the felt shape over them to hold them tight, and you push a washer down on the back of each post.
When the face is in place, you move to the body. Fuzzeez can be customized with any design you want to create on the animal, and I was tempted to go a little outside-the-box with it, but because it was my first time making one, I figured it was probably smarter to stay true to the instructions. So we made this puppy with three white spots on the belly, just like the manual and the mold indicate.
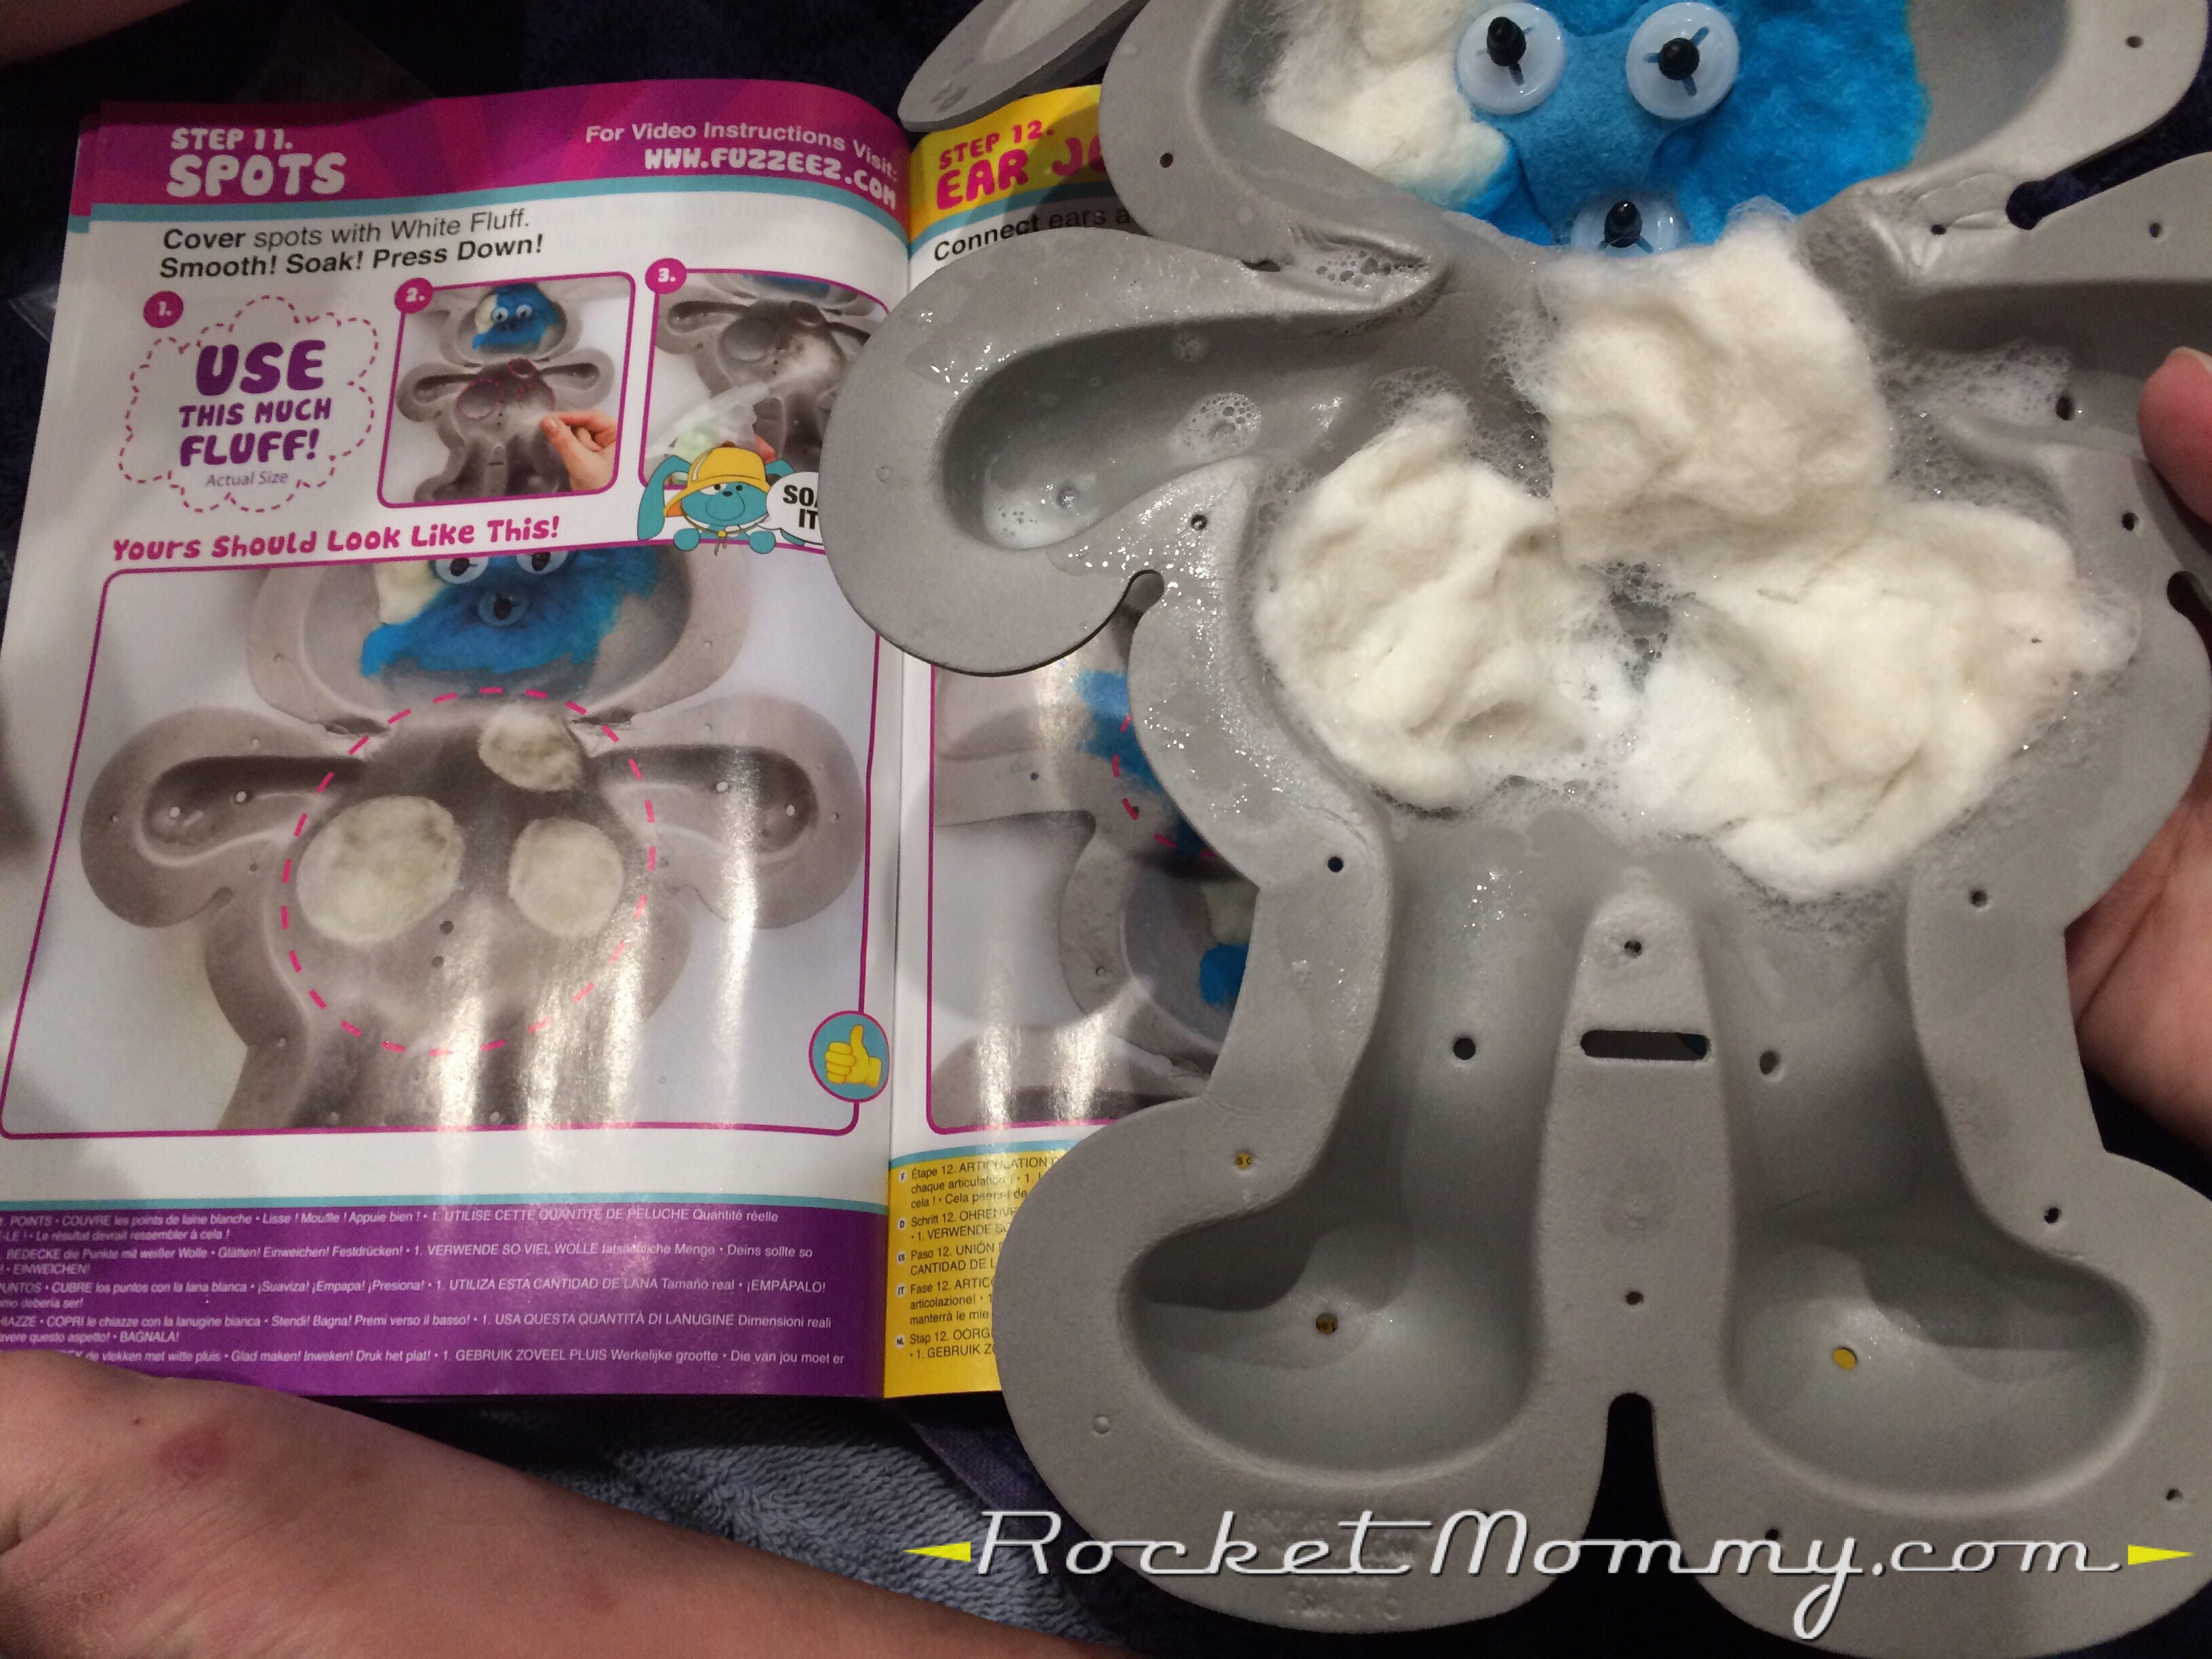
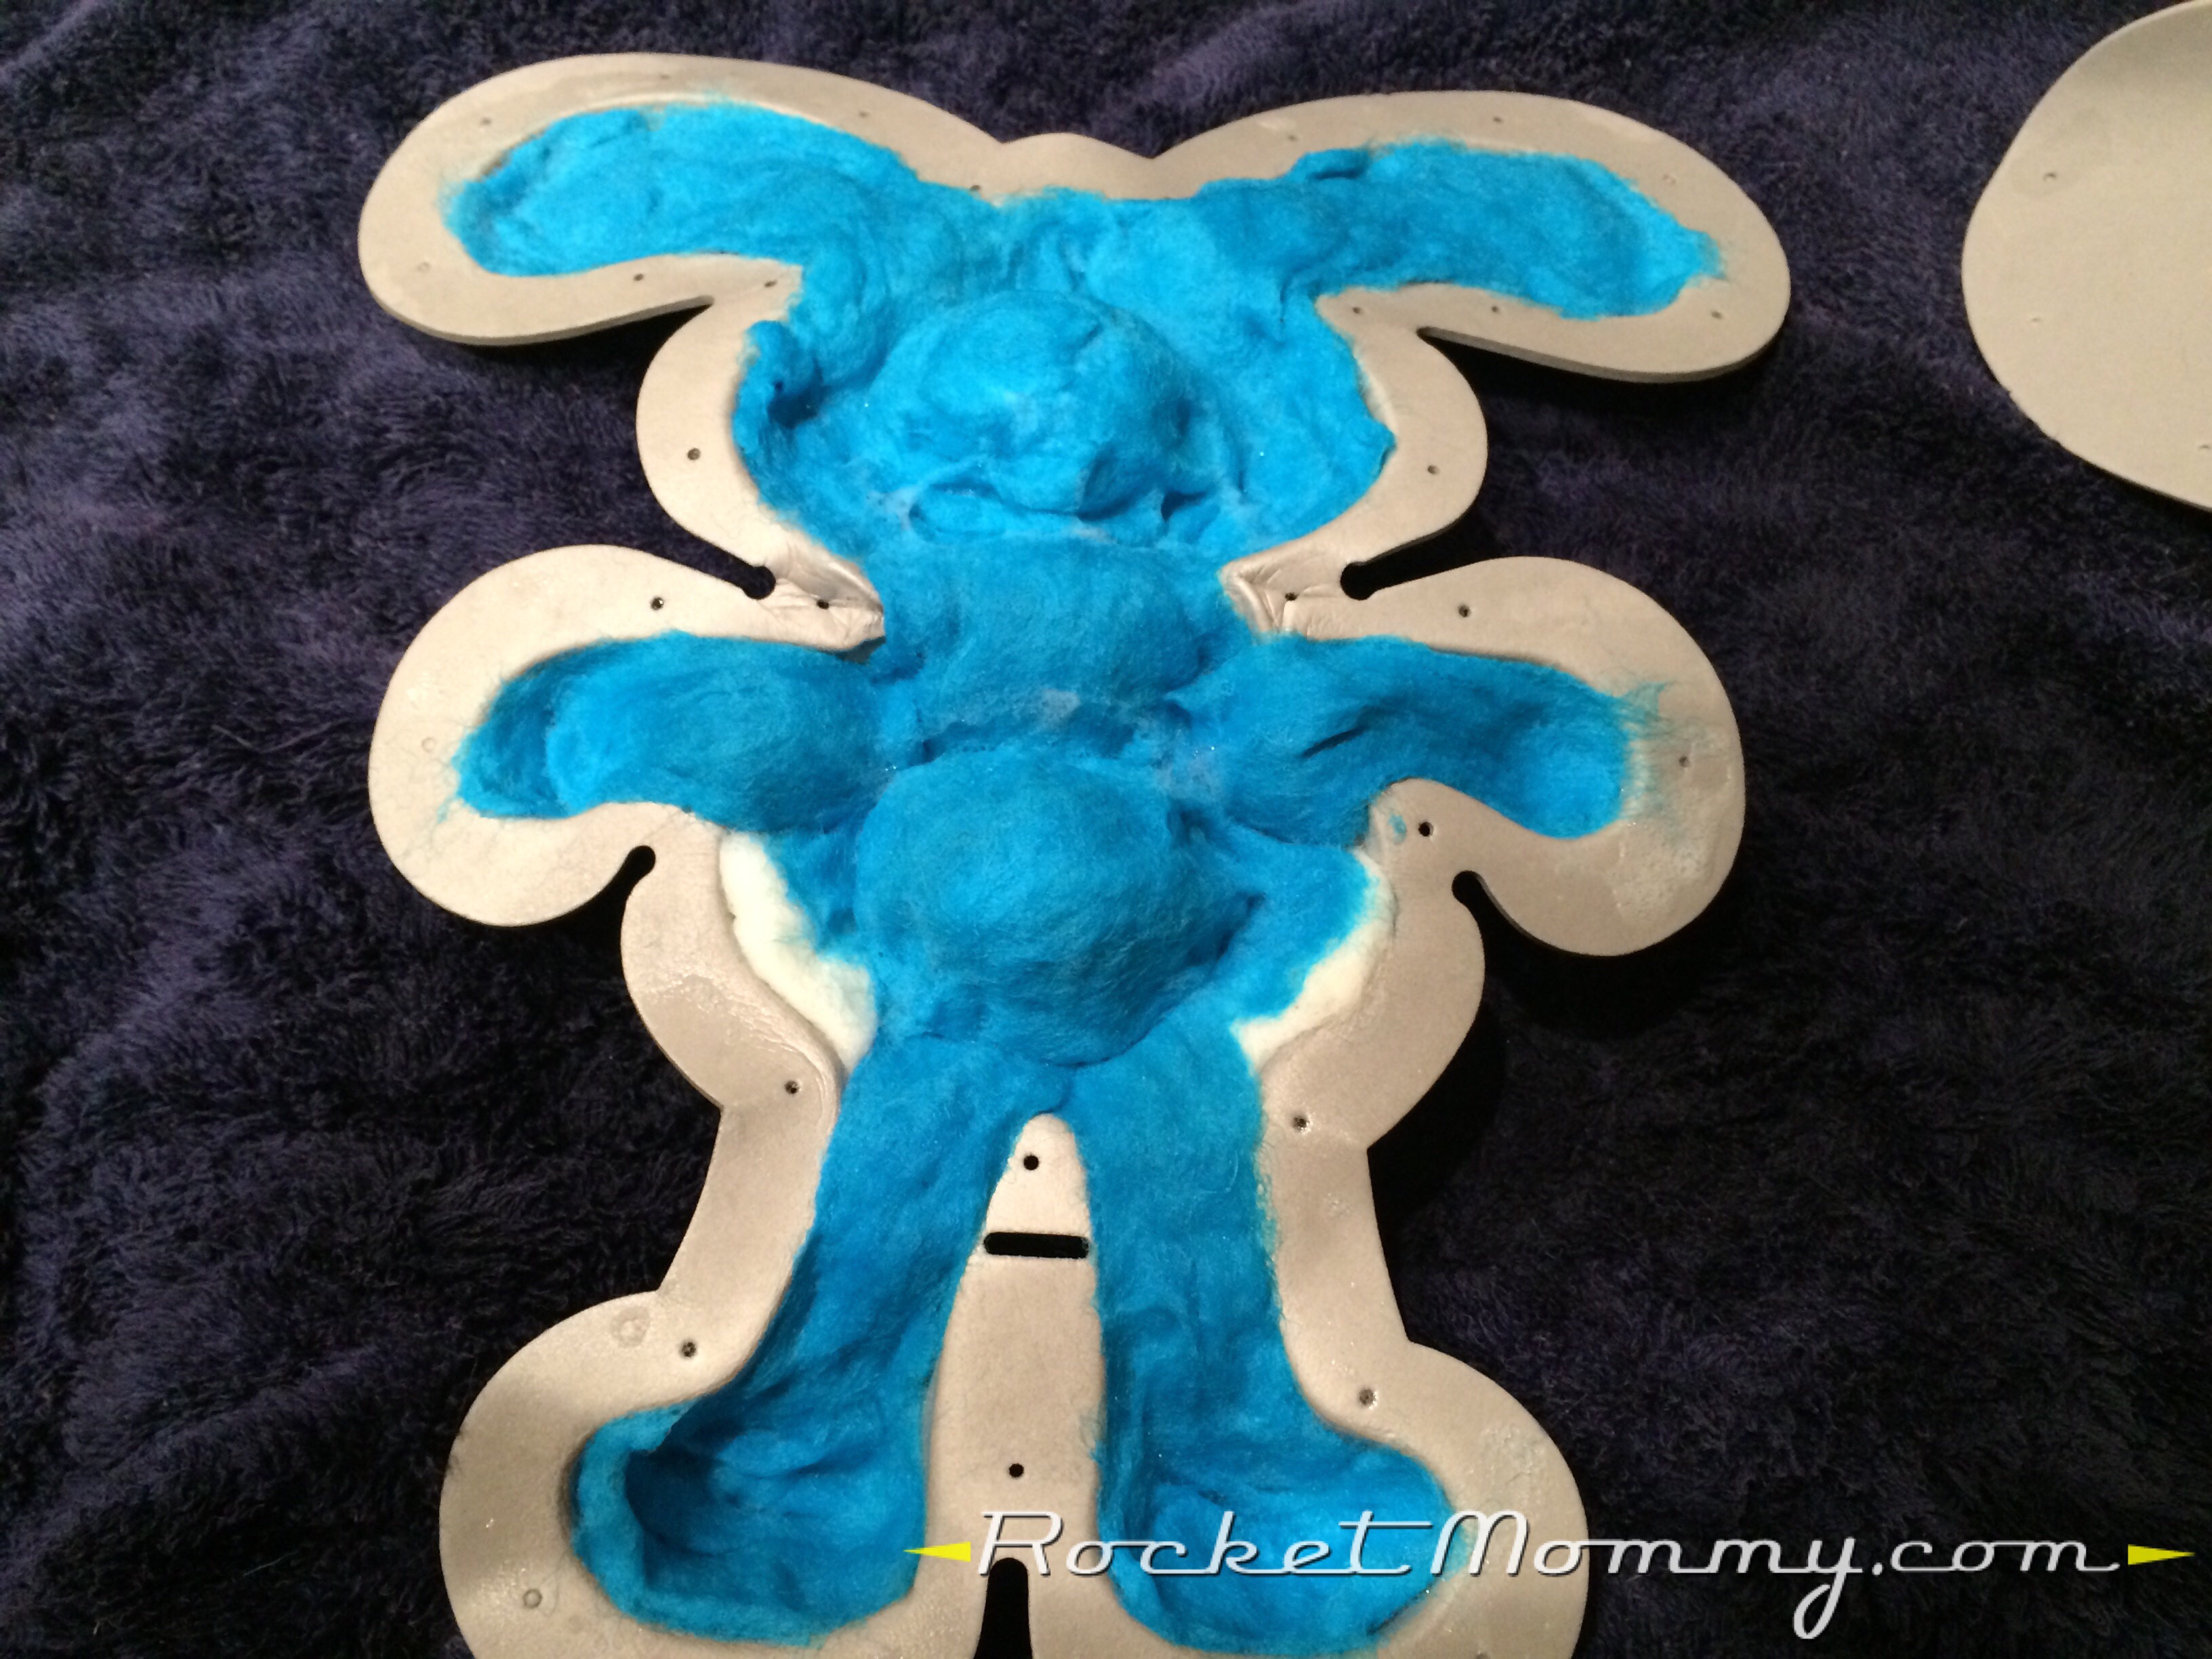
When we started working on building out the appendages, the instructions make it very clear that you need to soak and apply THREE separate layers of fluff everywhere that there’s a skinny joint. Three layers for each ear, arm, and leg, and three layers on the neck. This is supposed to help hold all of the pieces together.

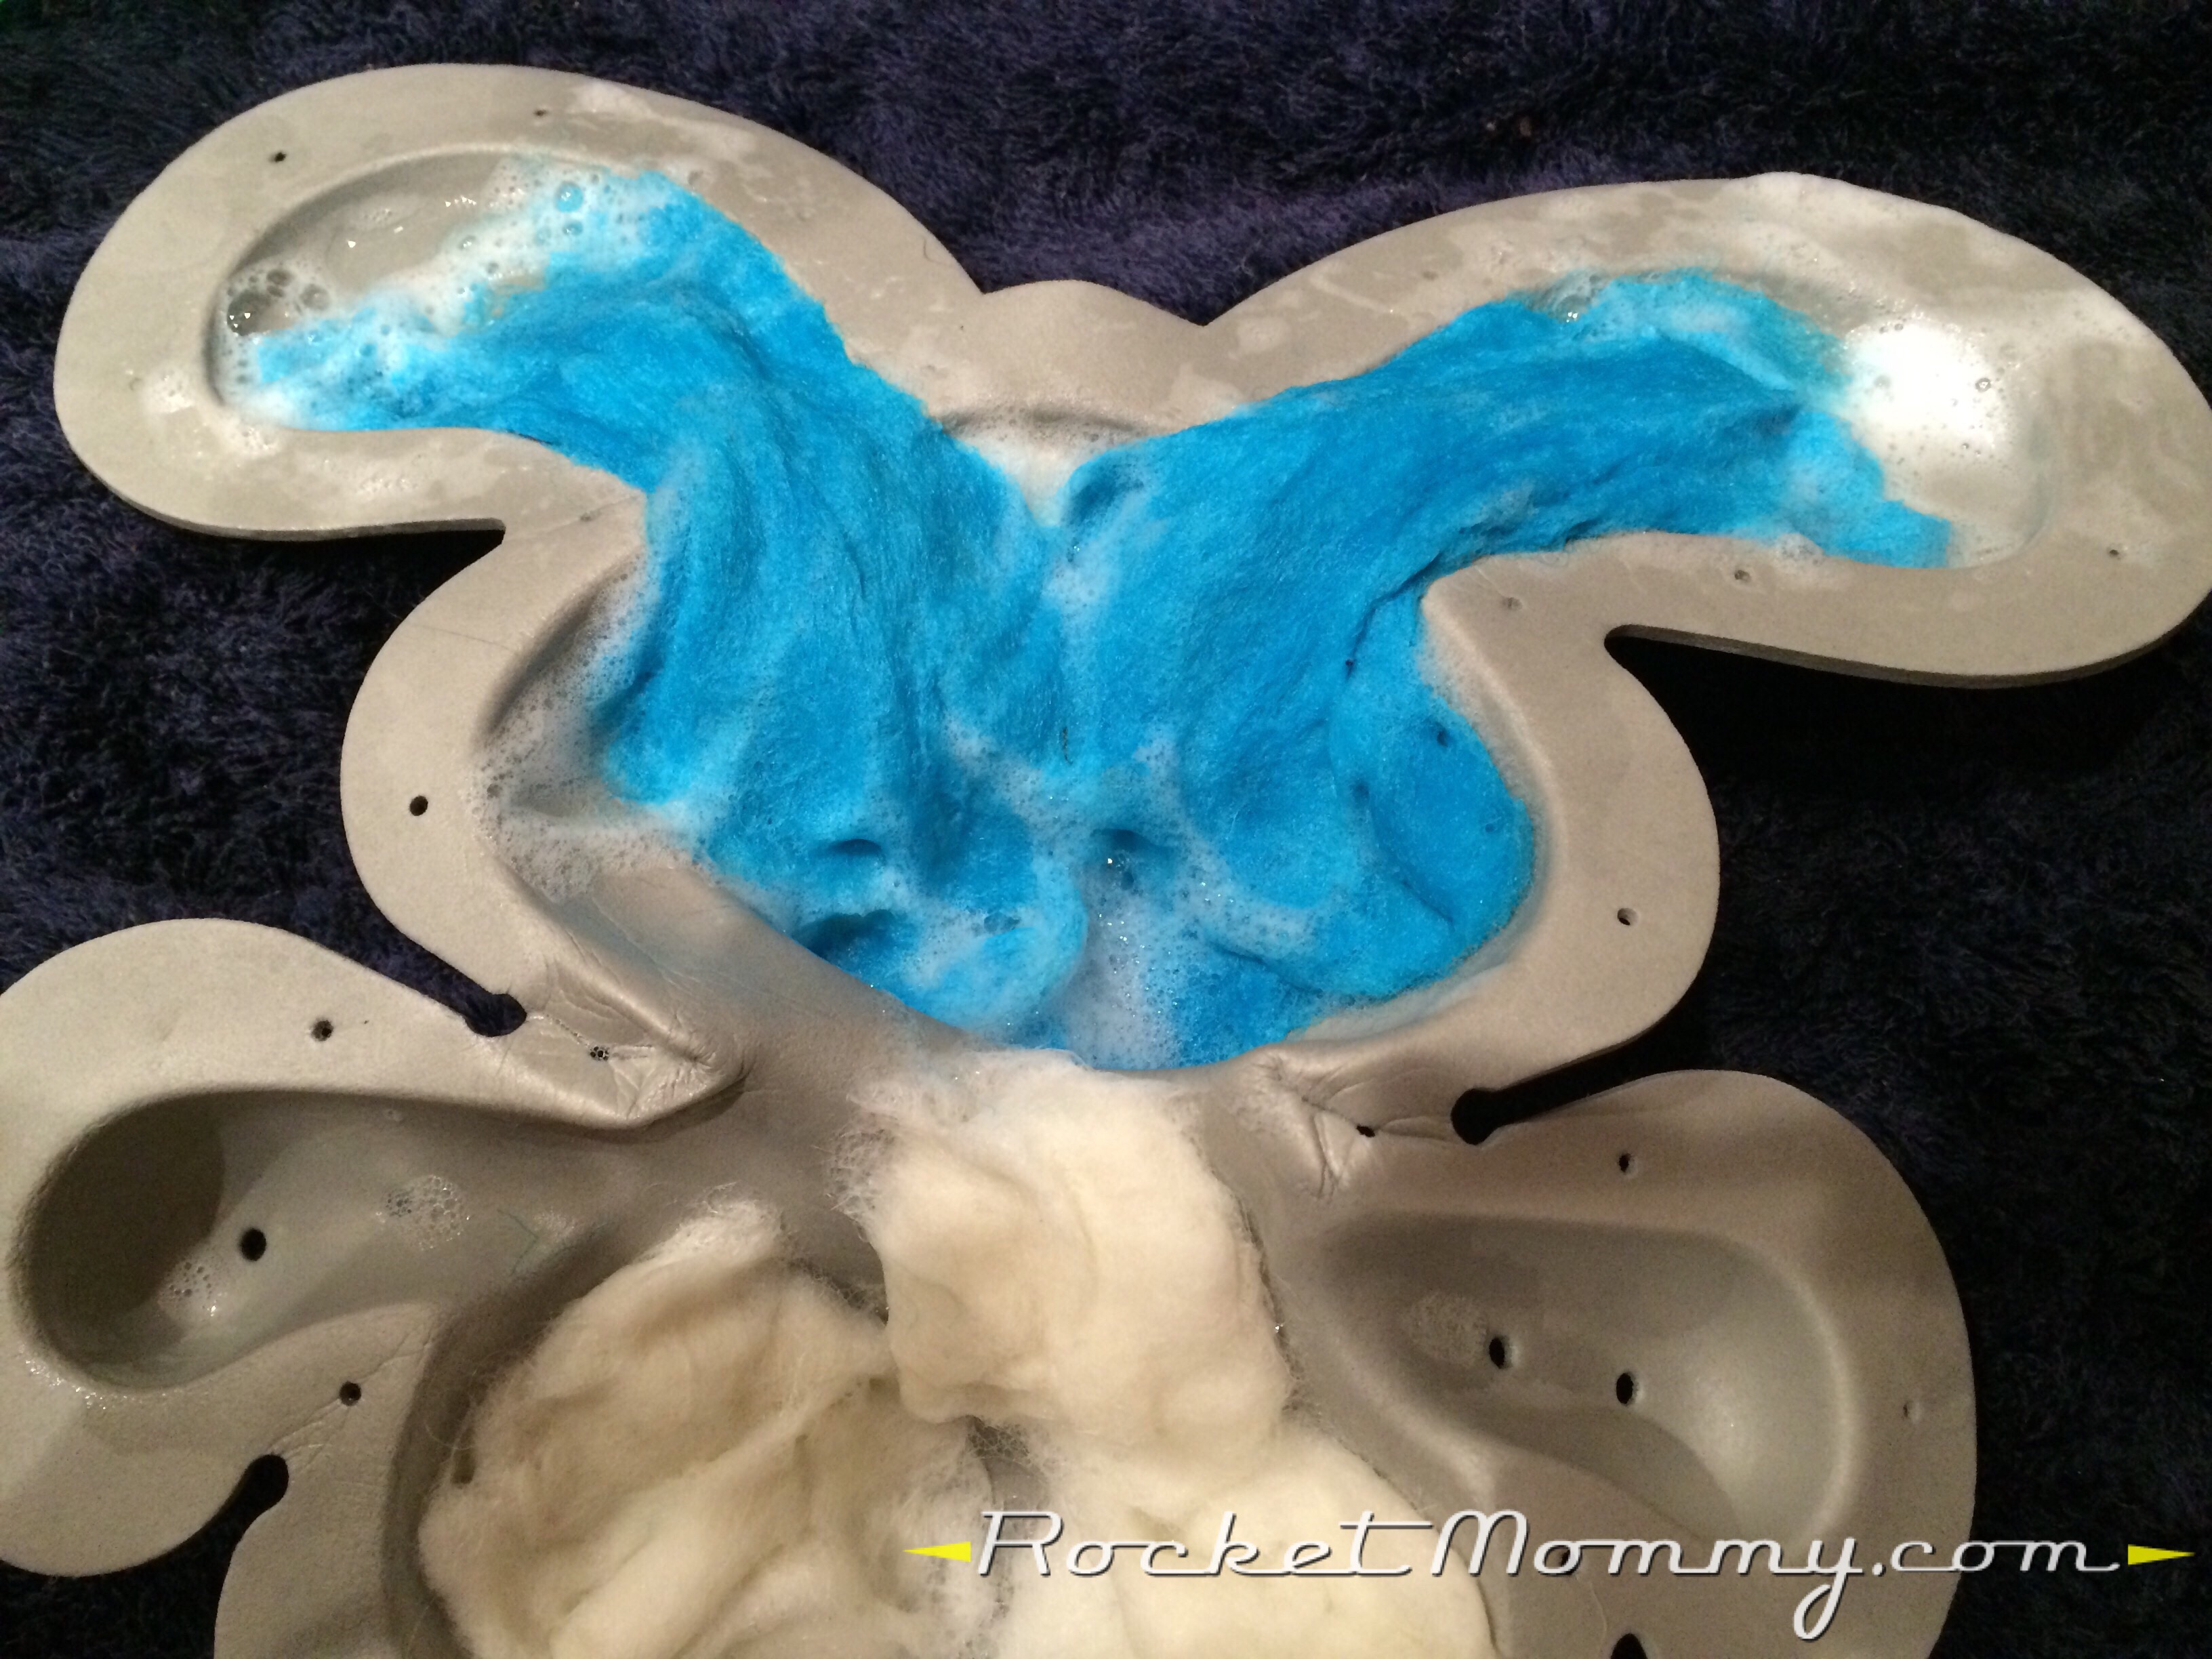
When you have all of those joints covered x3, the mold should look more or less like this.
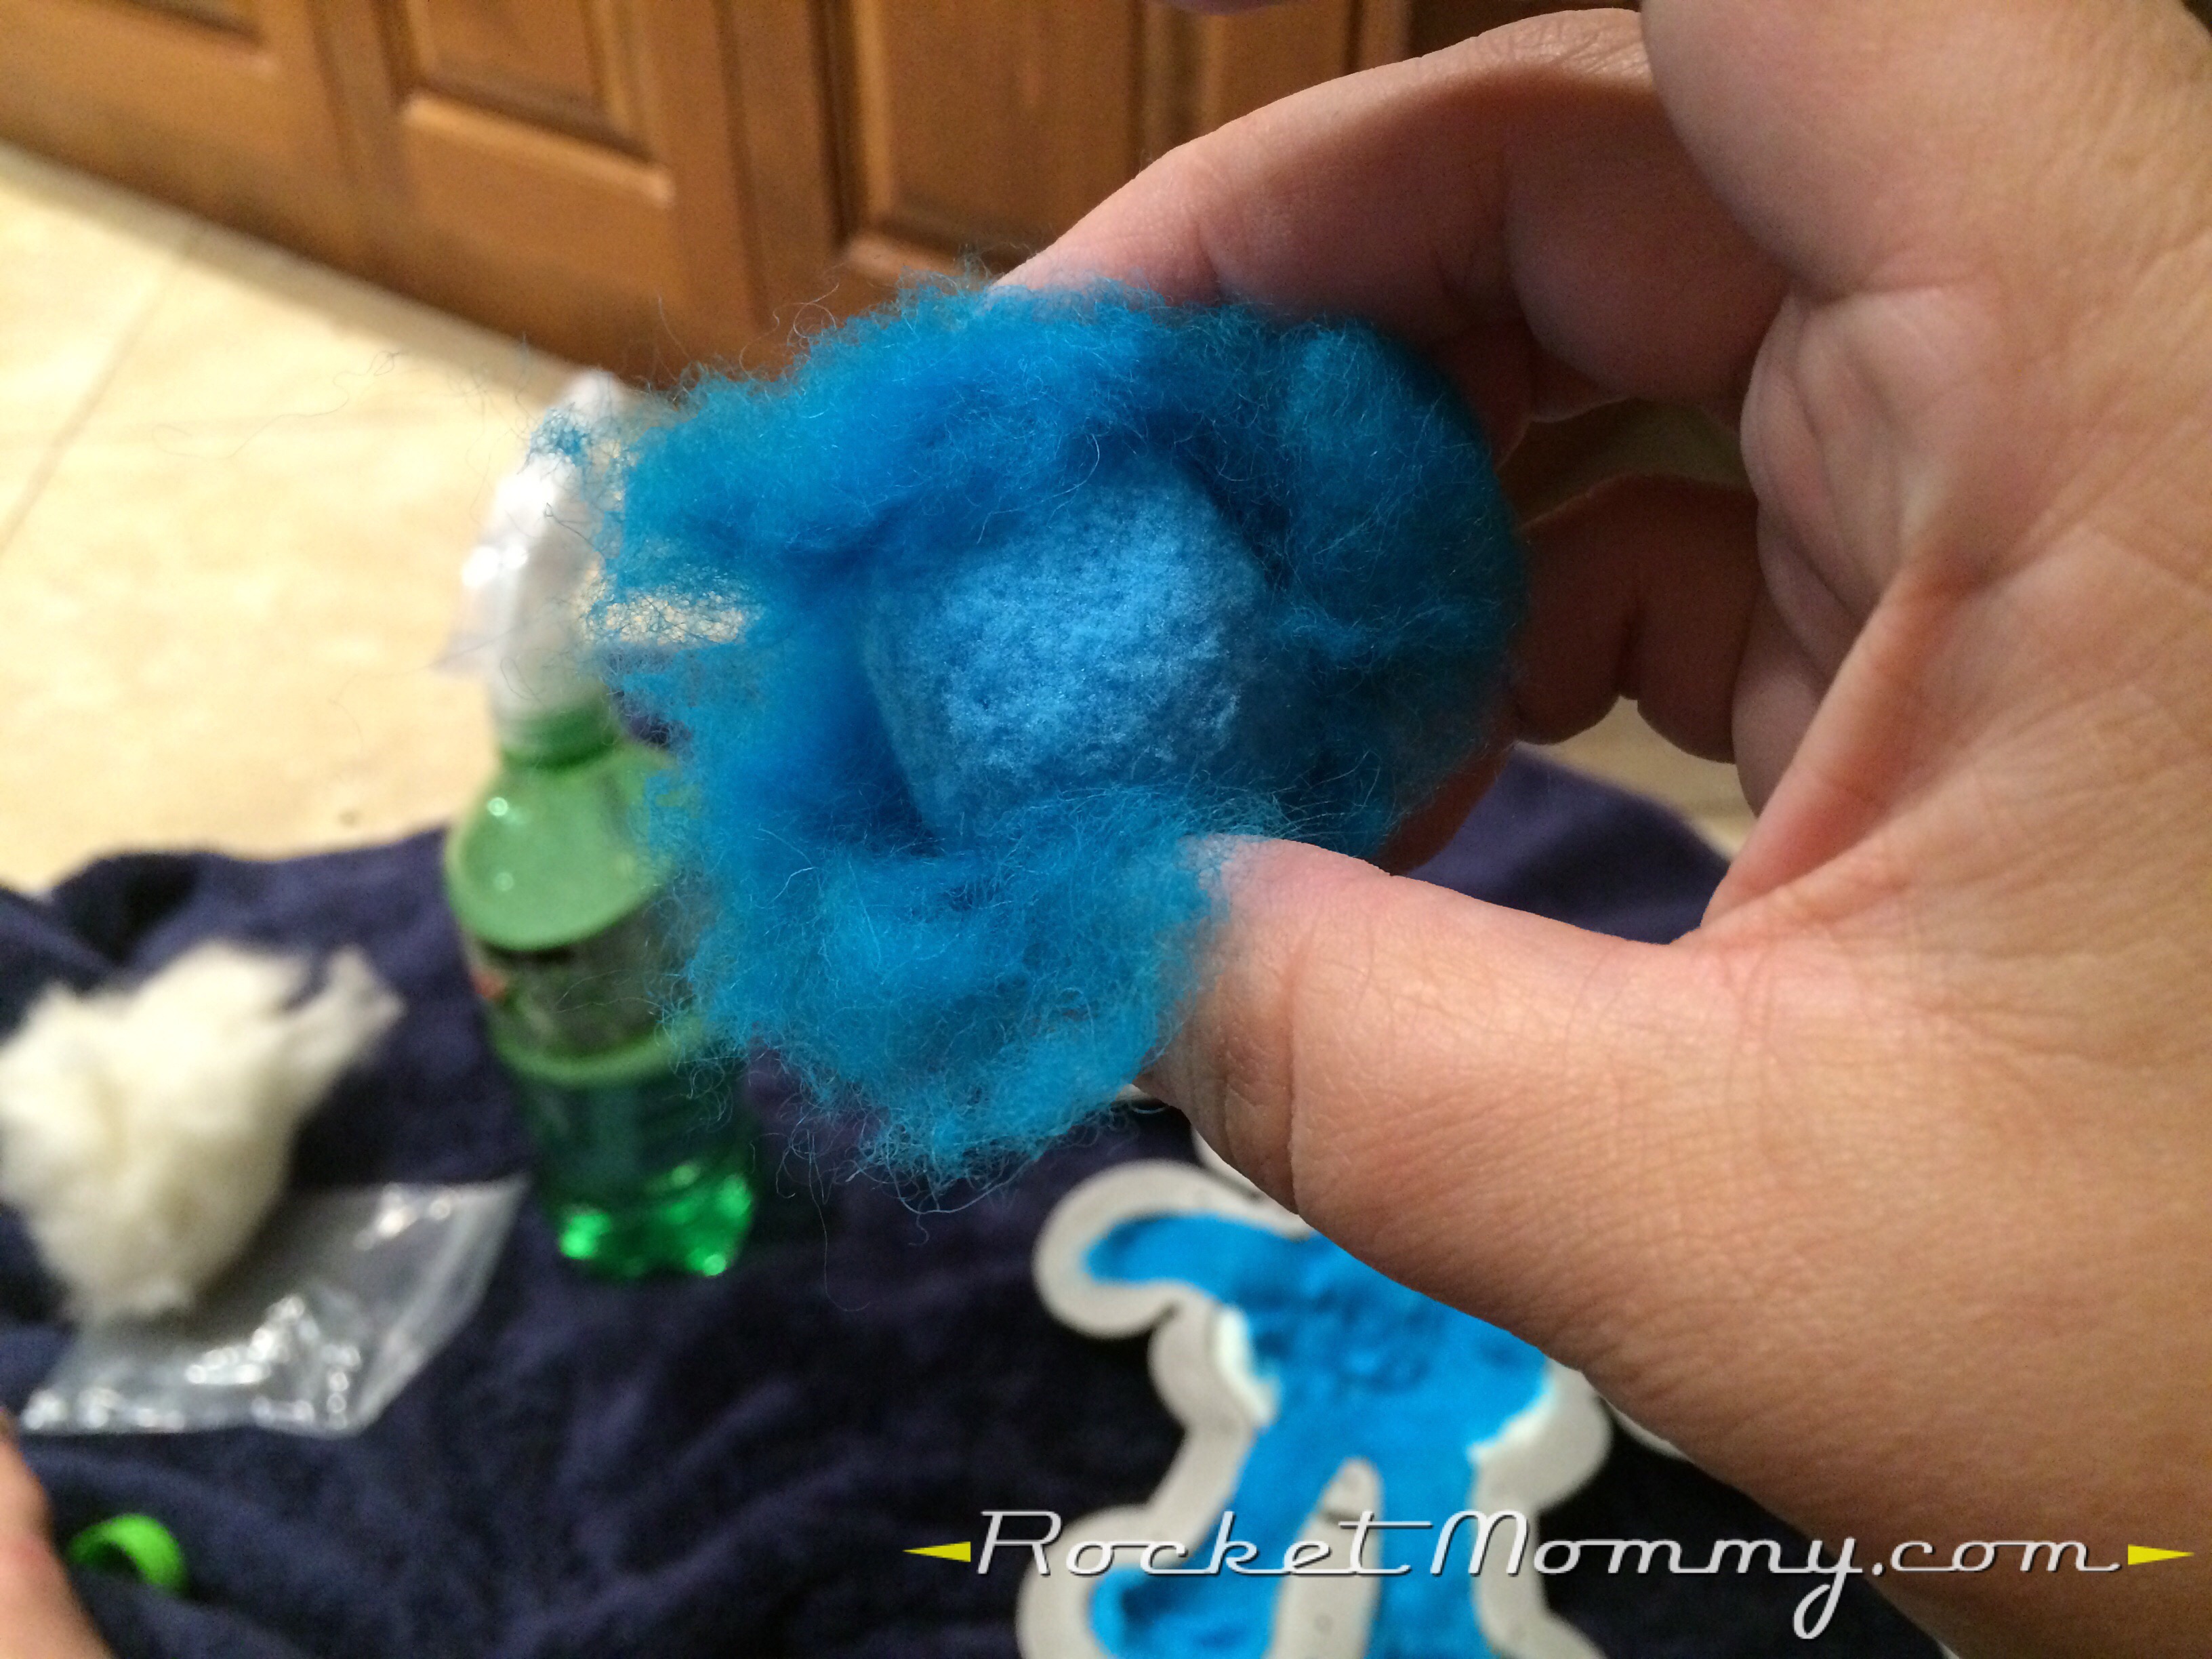
Now it’s time for the pompoms! You take each one, wrap it in a little tuft of fluff, soak it thoroughly, and put it in the mold. One goes in the head, and one goes in the body, like so:
Those pompoms are going to help add bulk to the bigger areas of the finished animal.
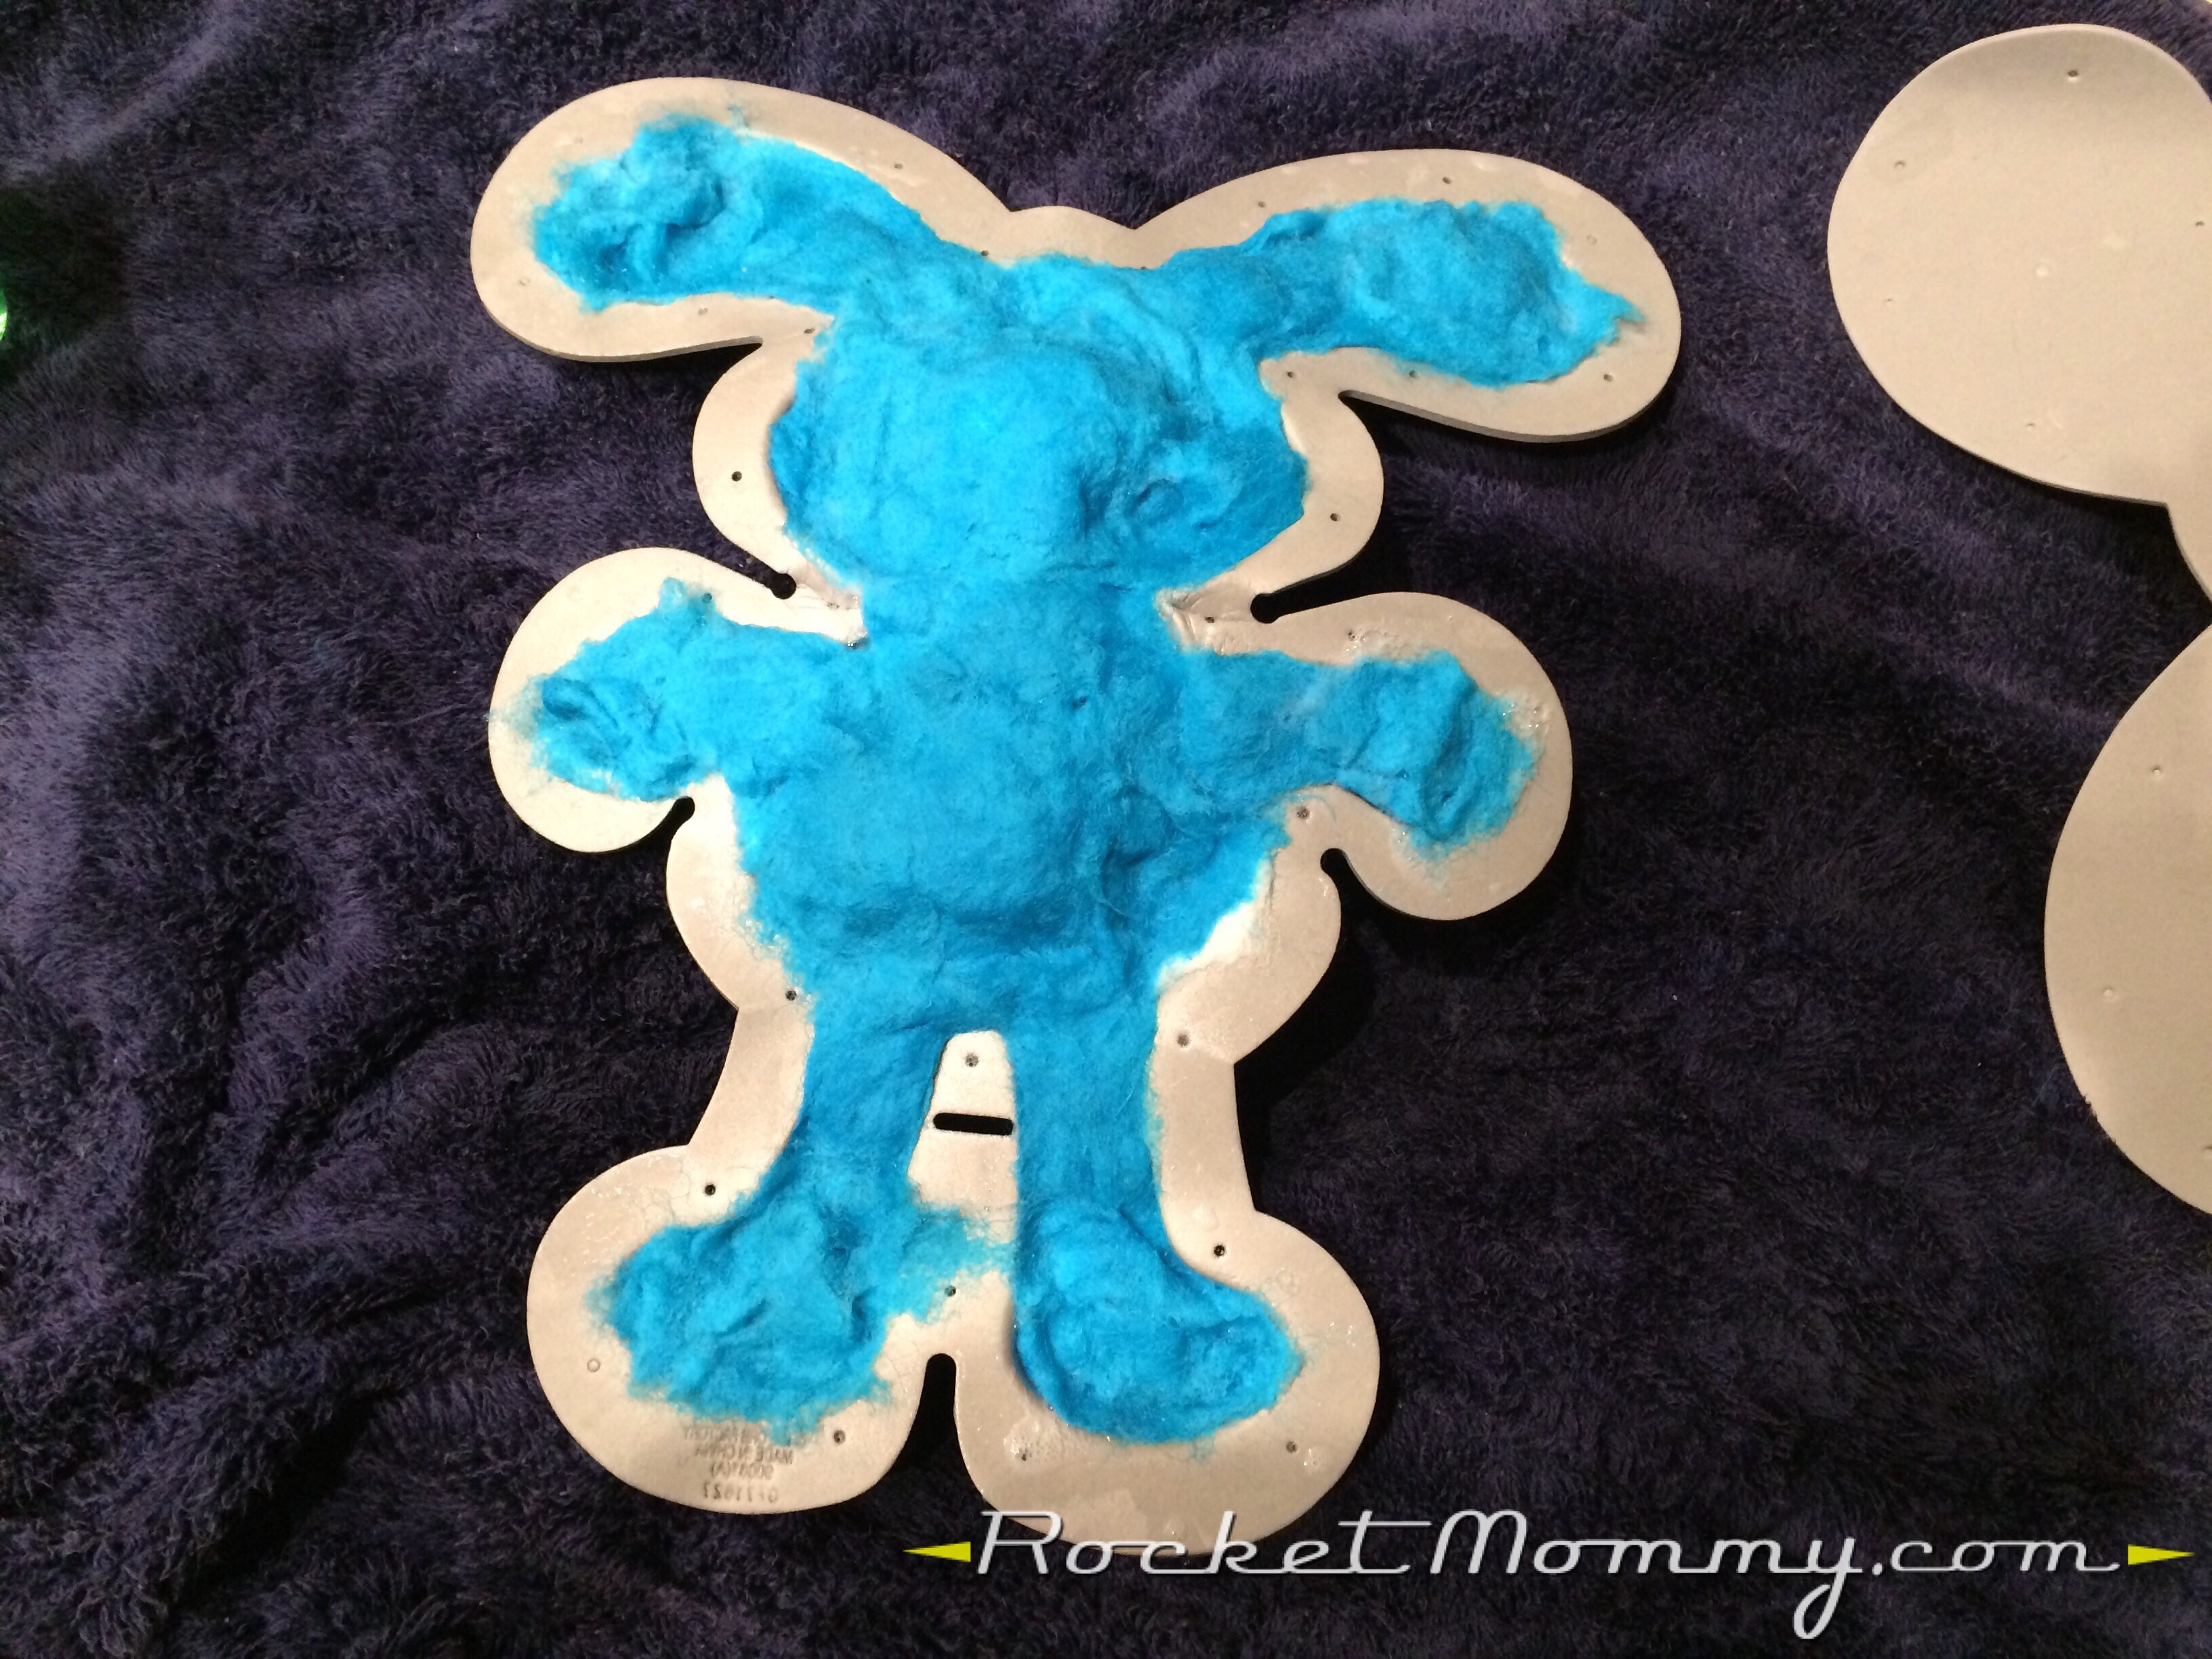
Then you fill the rest of the mold with the wool and pack it in tightly, making sure it’s very wet and soapy.
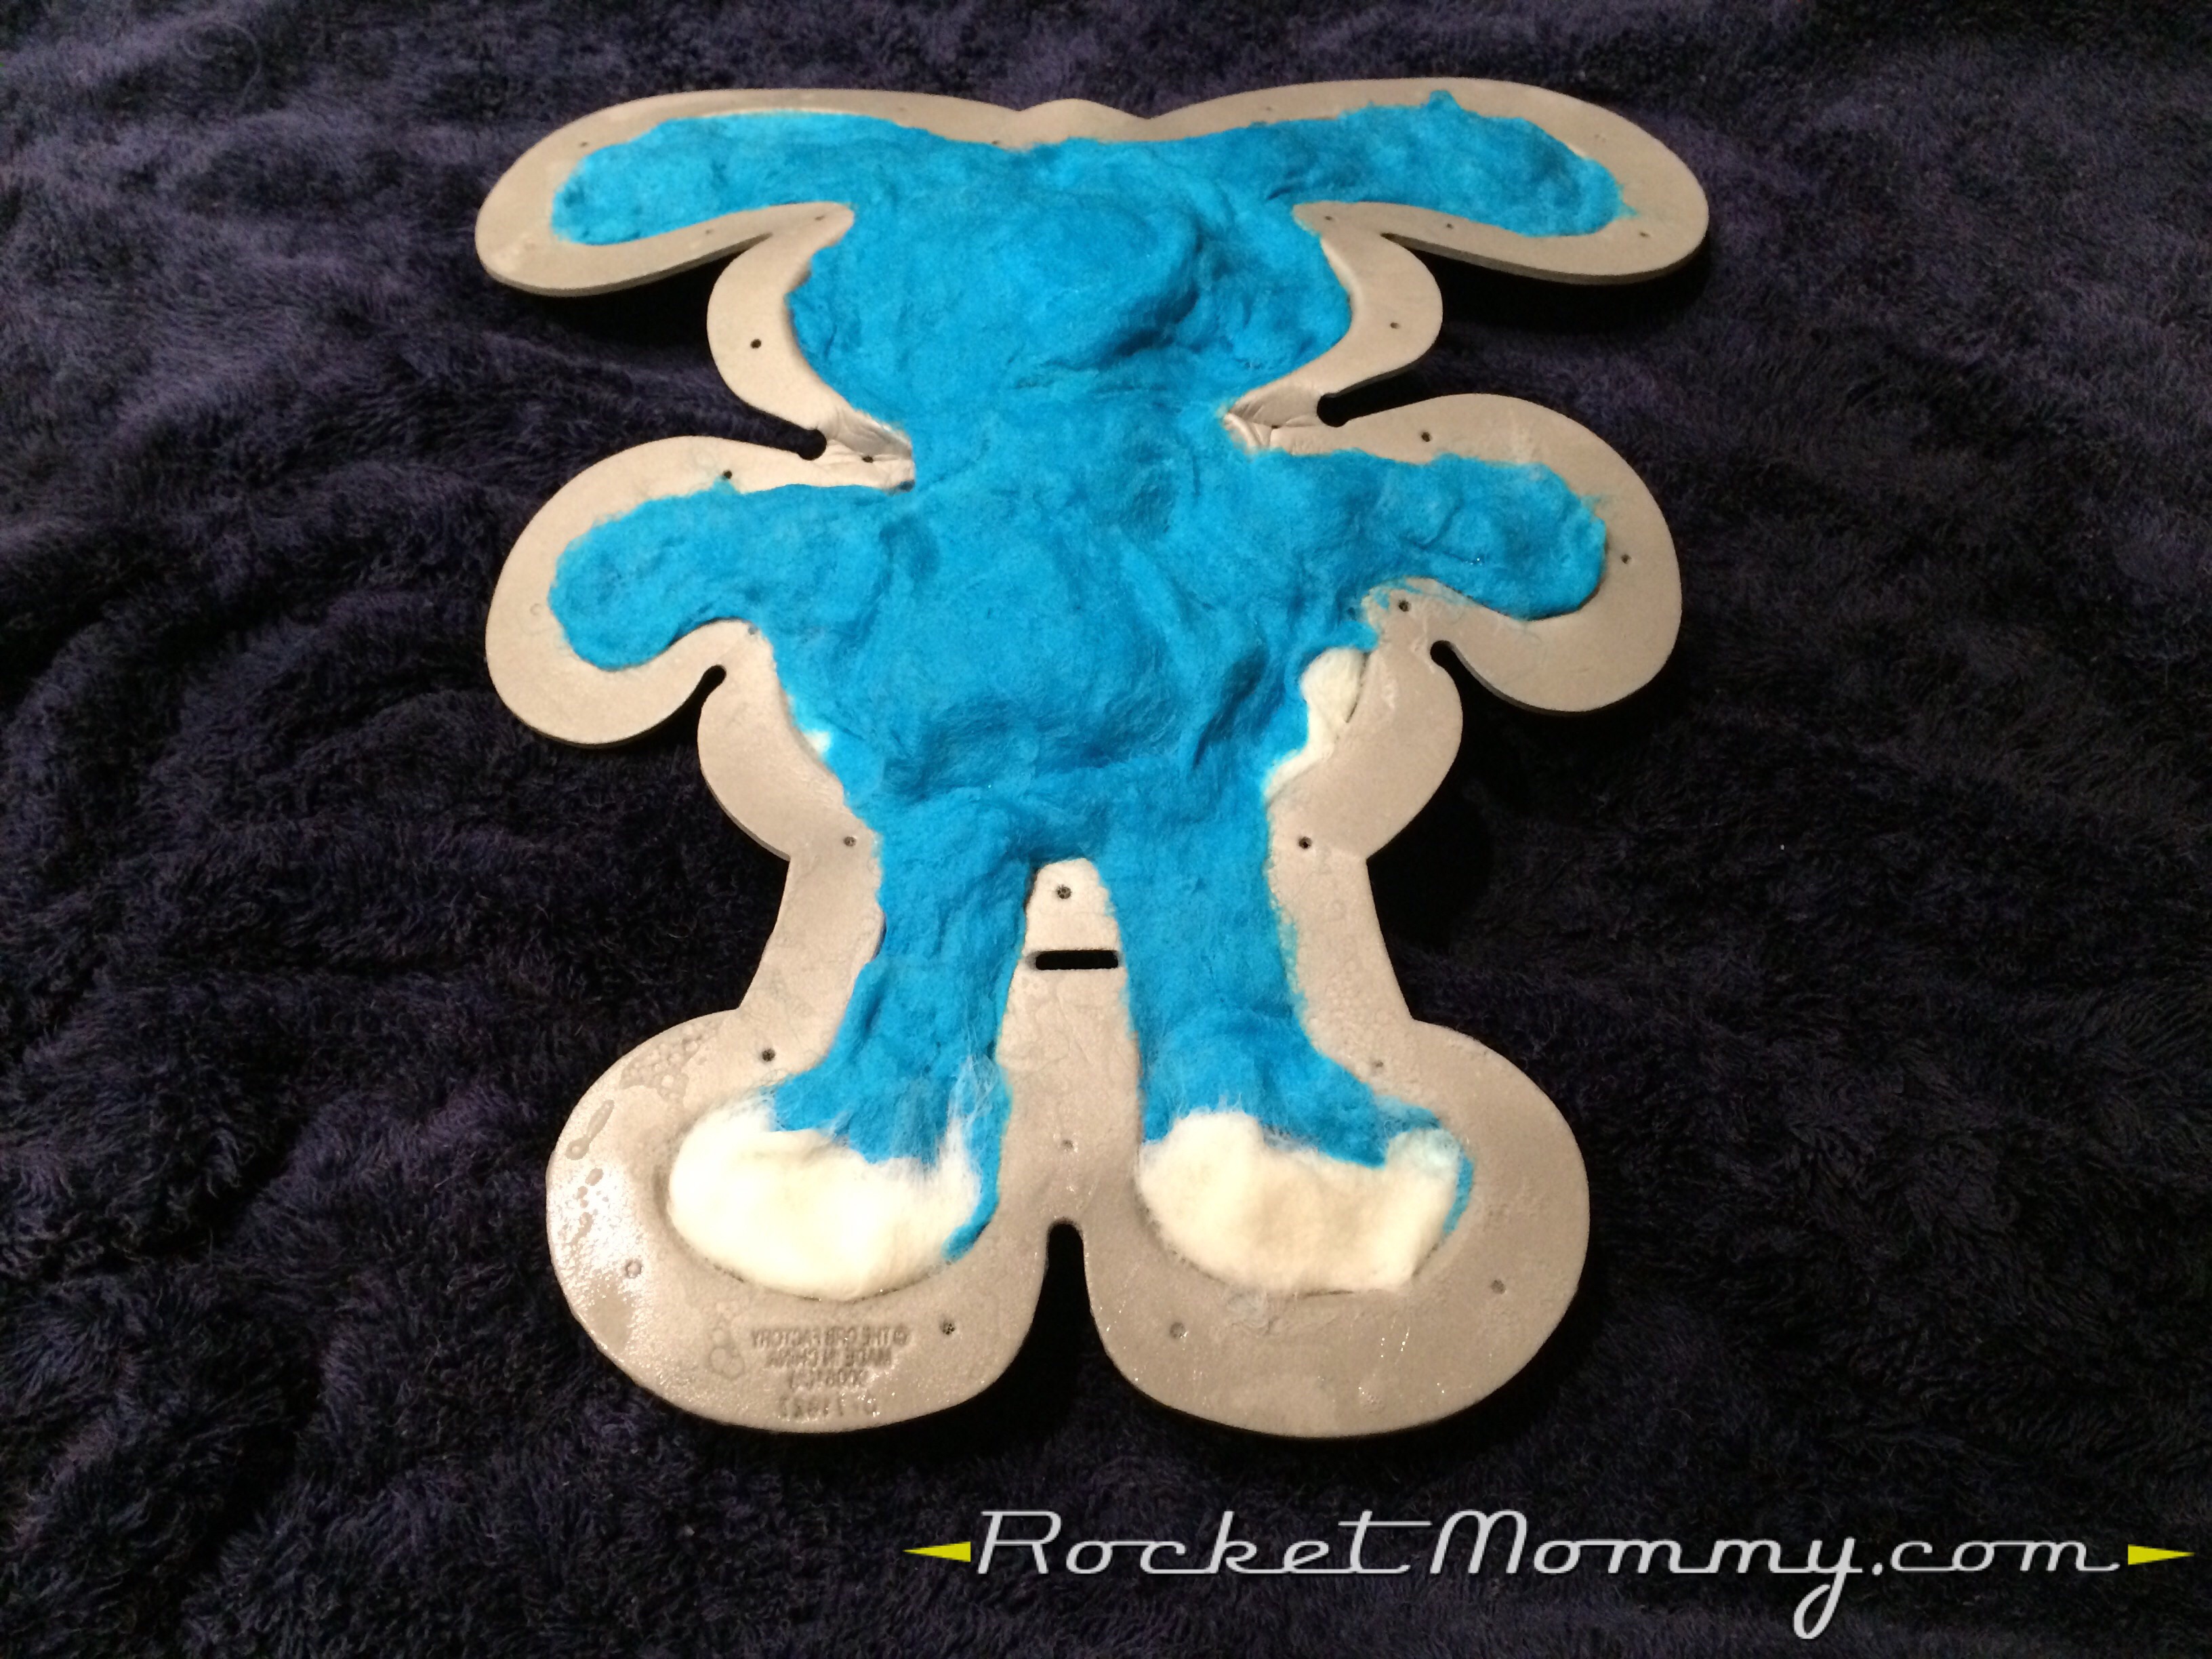
I had some room in the bottom of the feet, and I was out of blue wool, so I added what was left of the white in there instead.
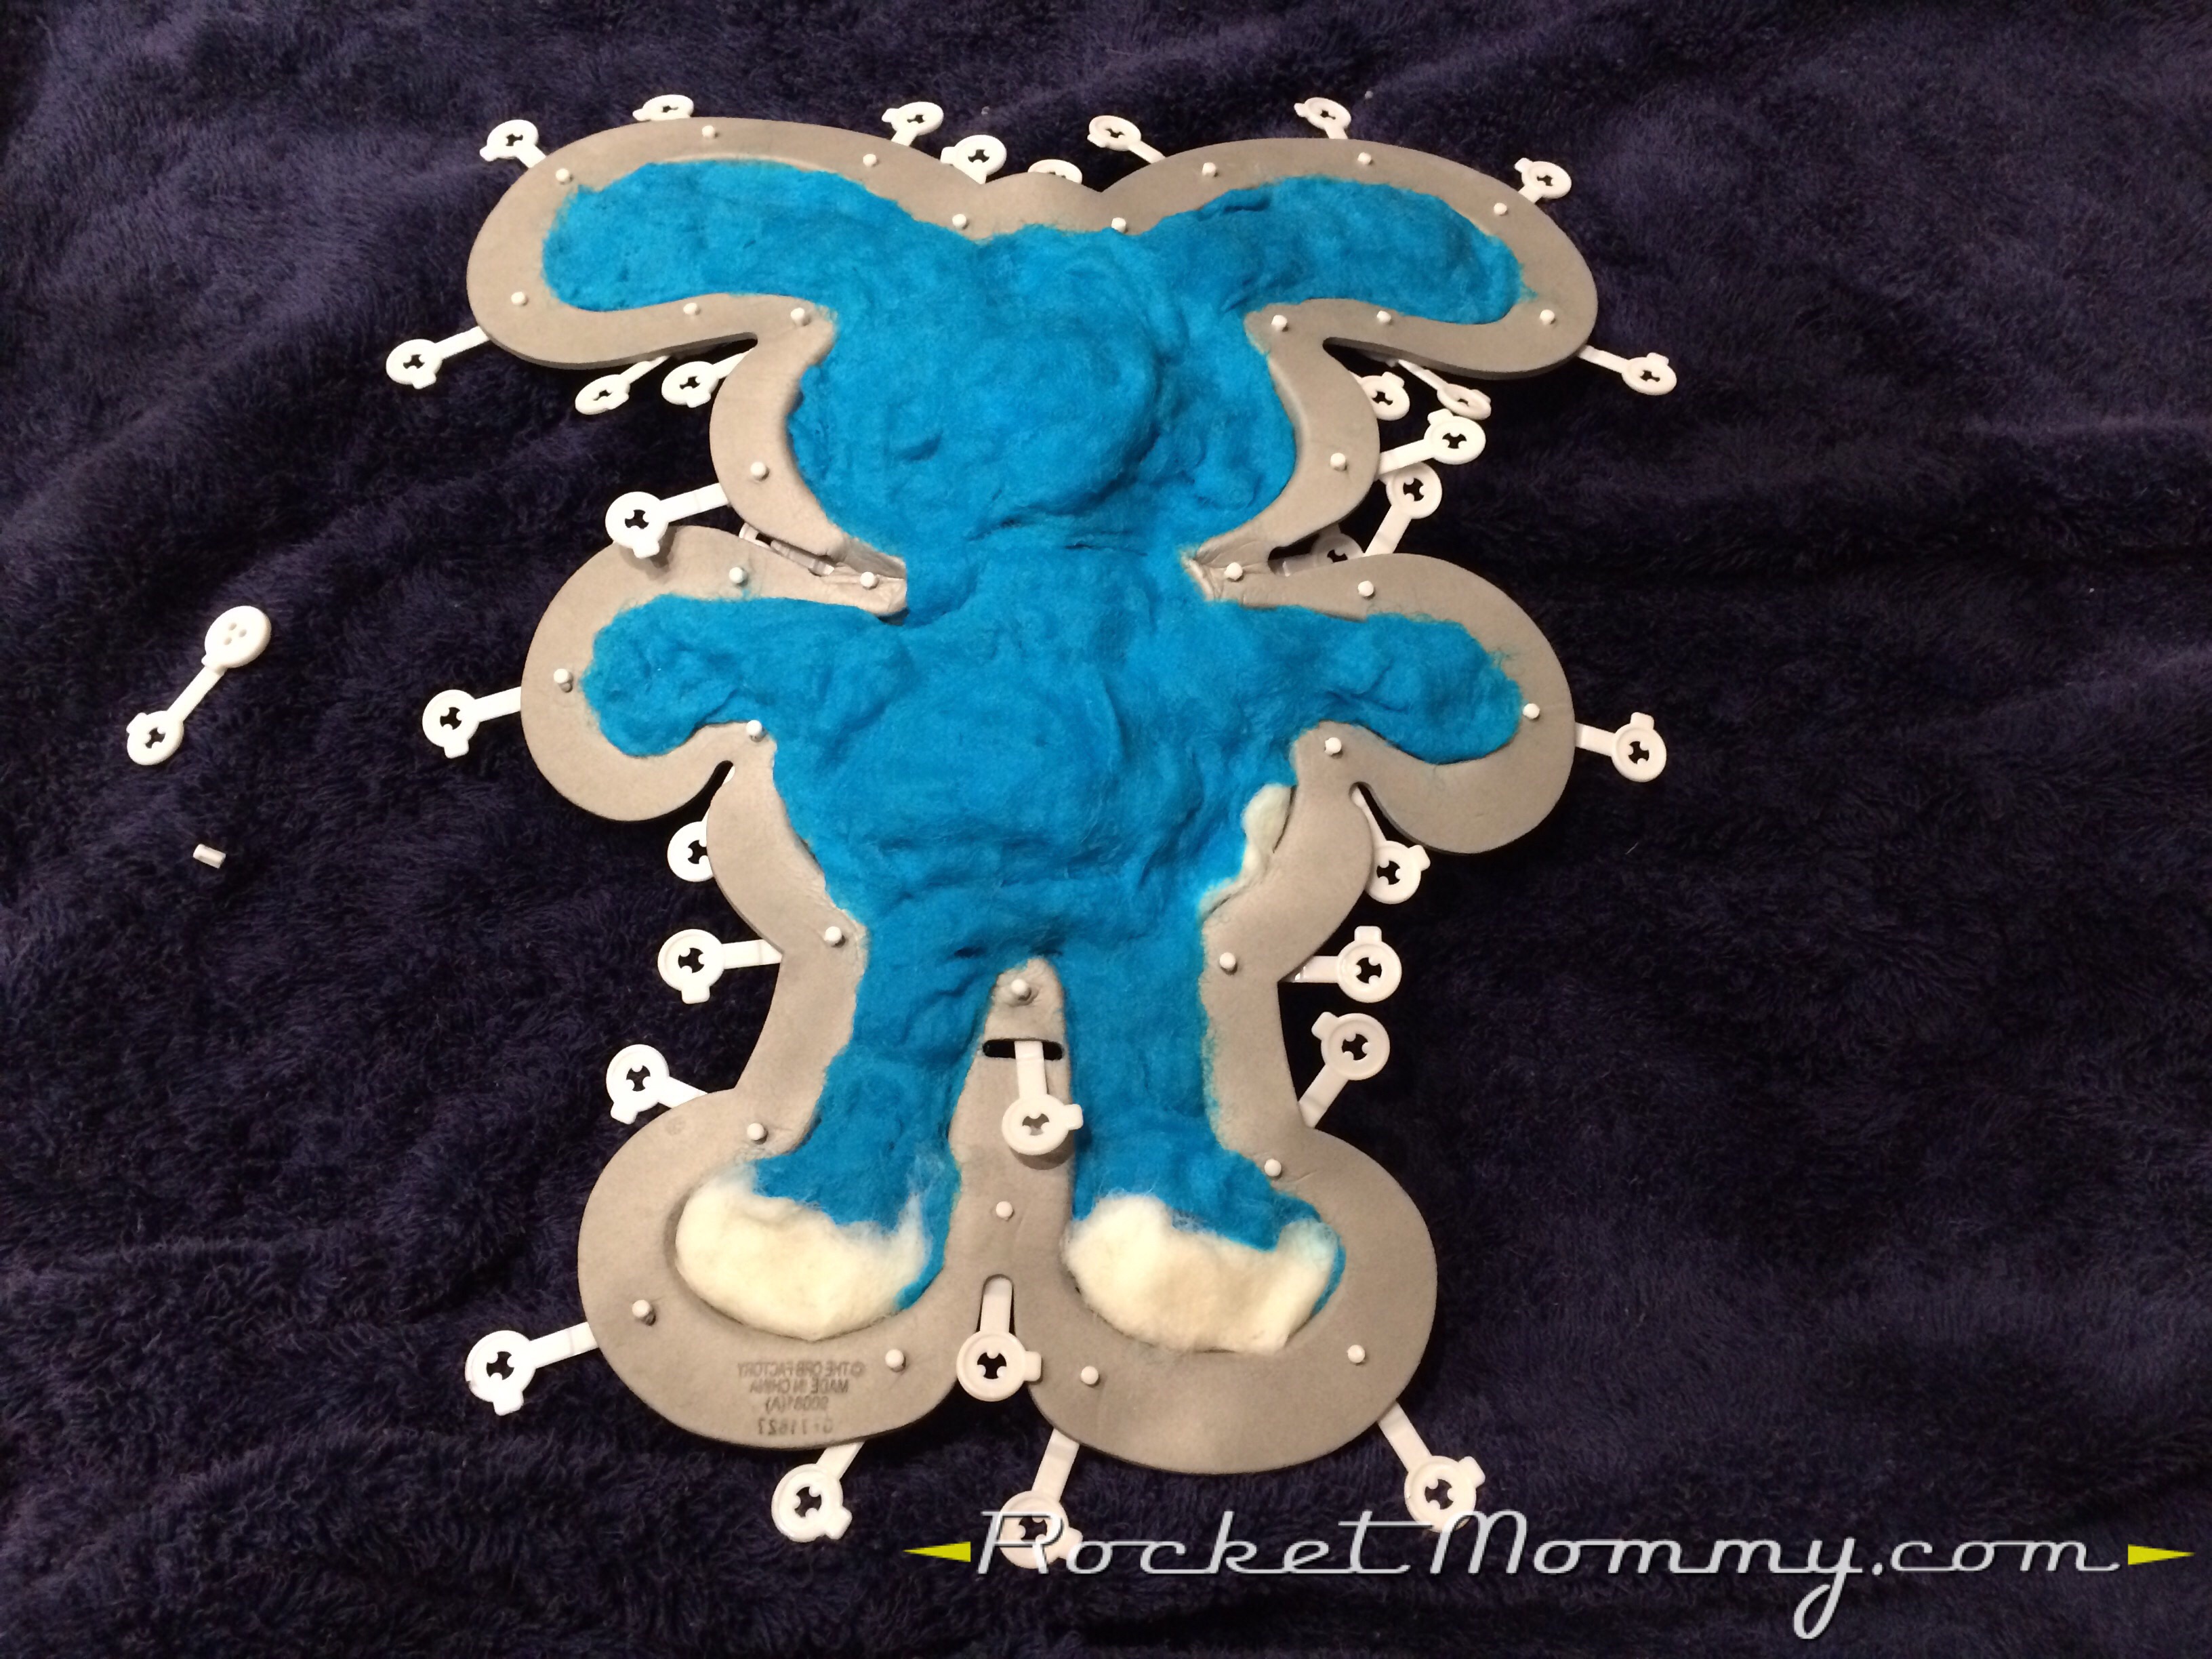
Time to get all the clips in! Each clip has a little post that fits through one of the pre-punched holes around the edges. You get all of the clips situated on the front of the mold, then lay the back on top.
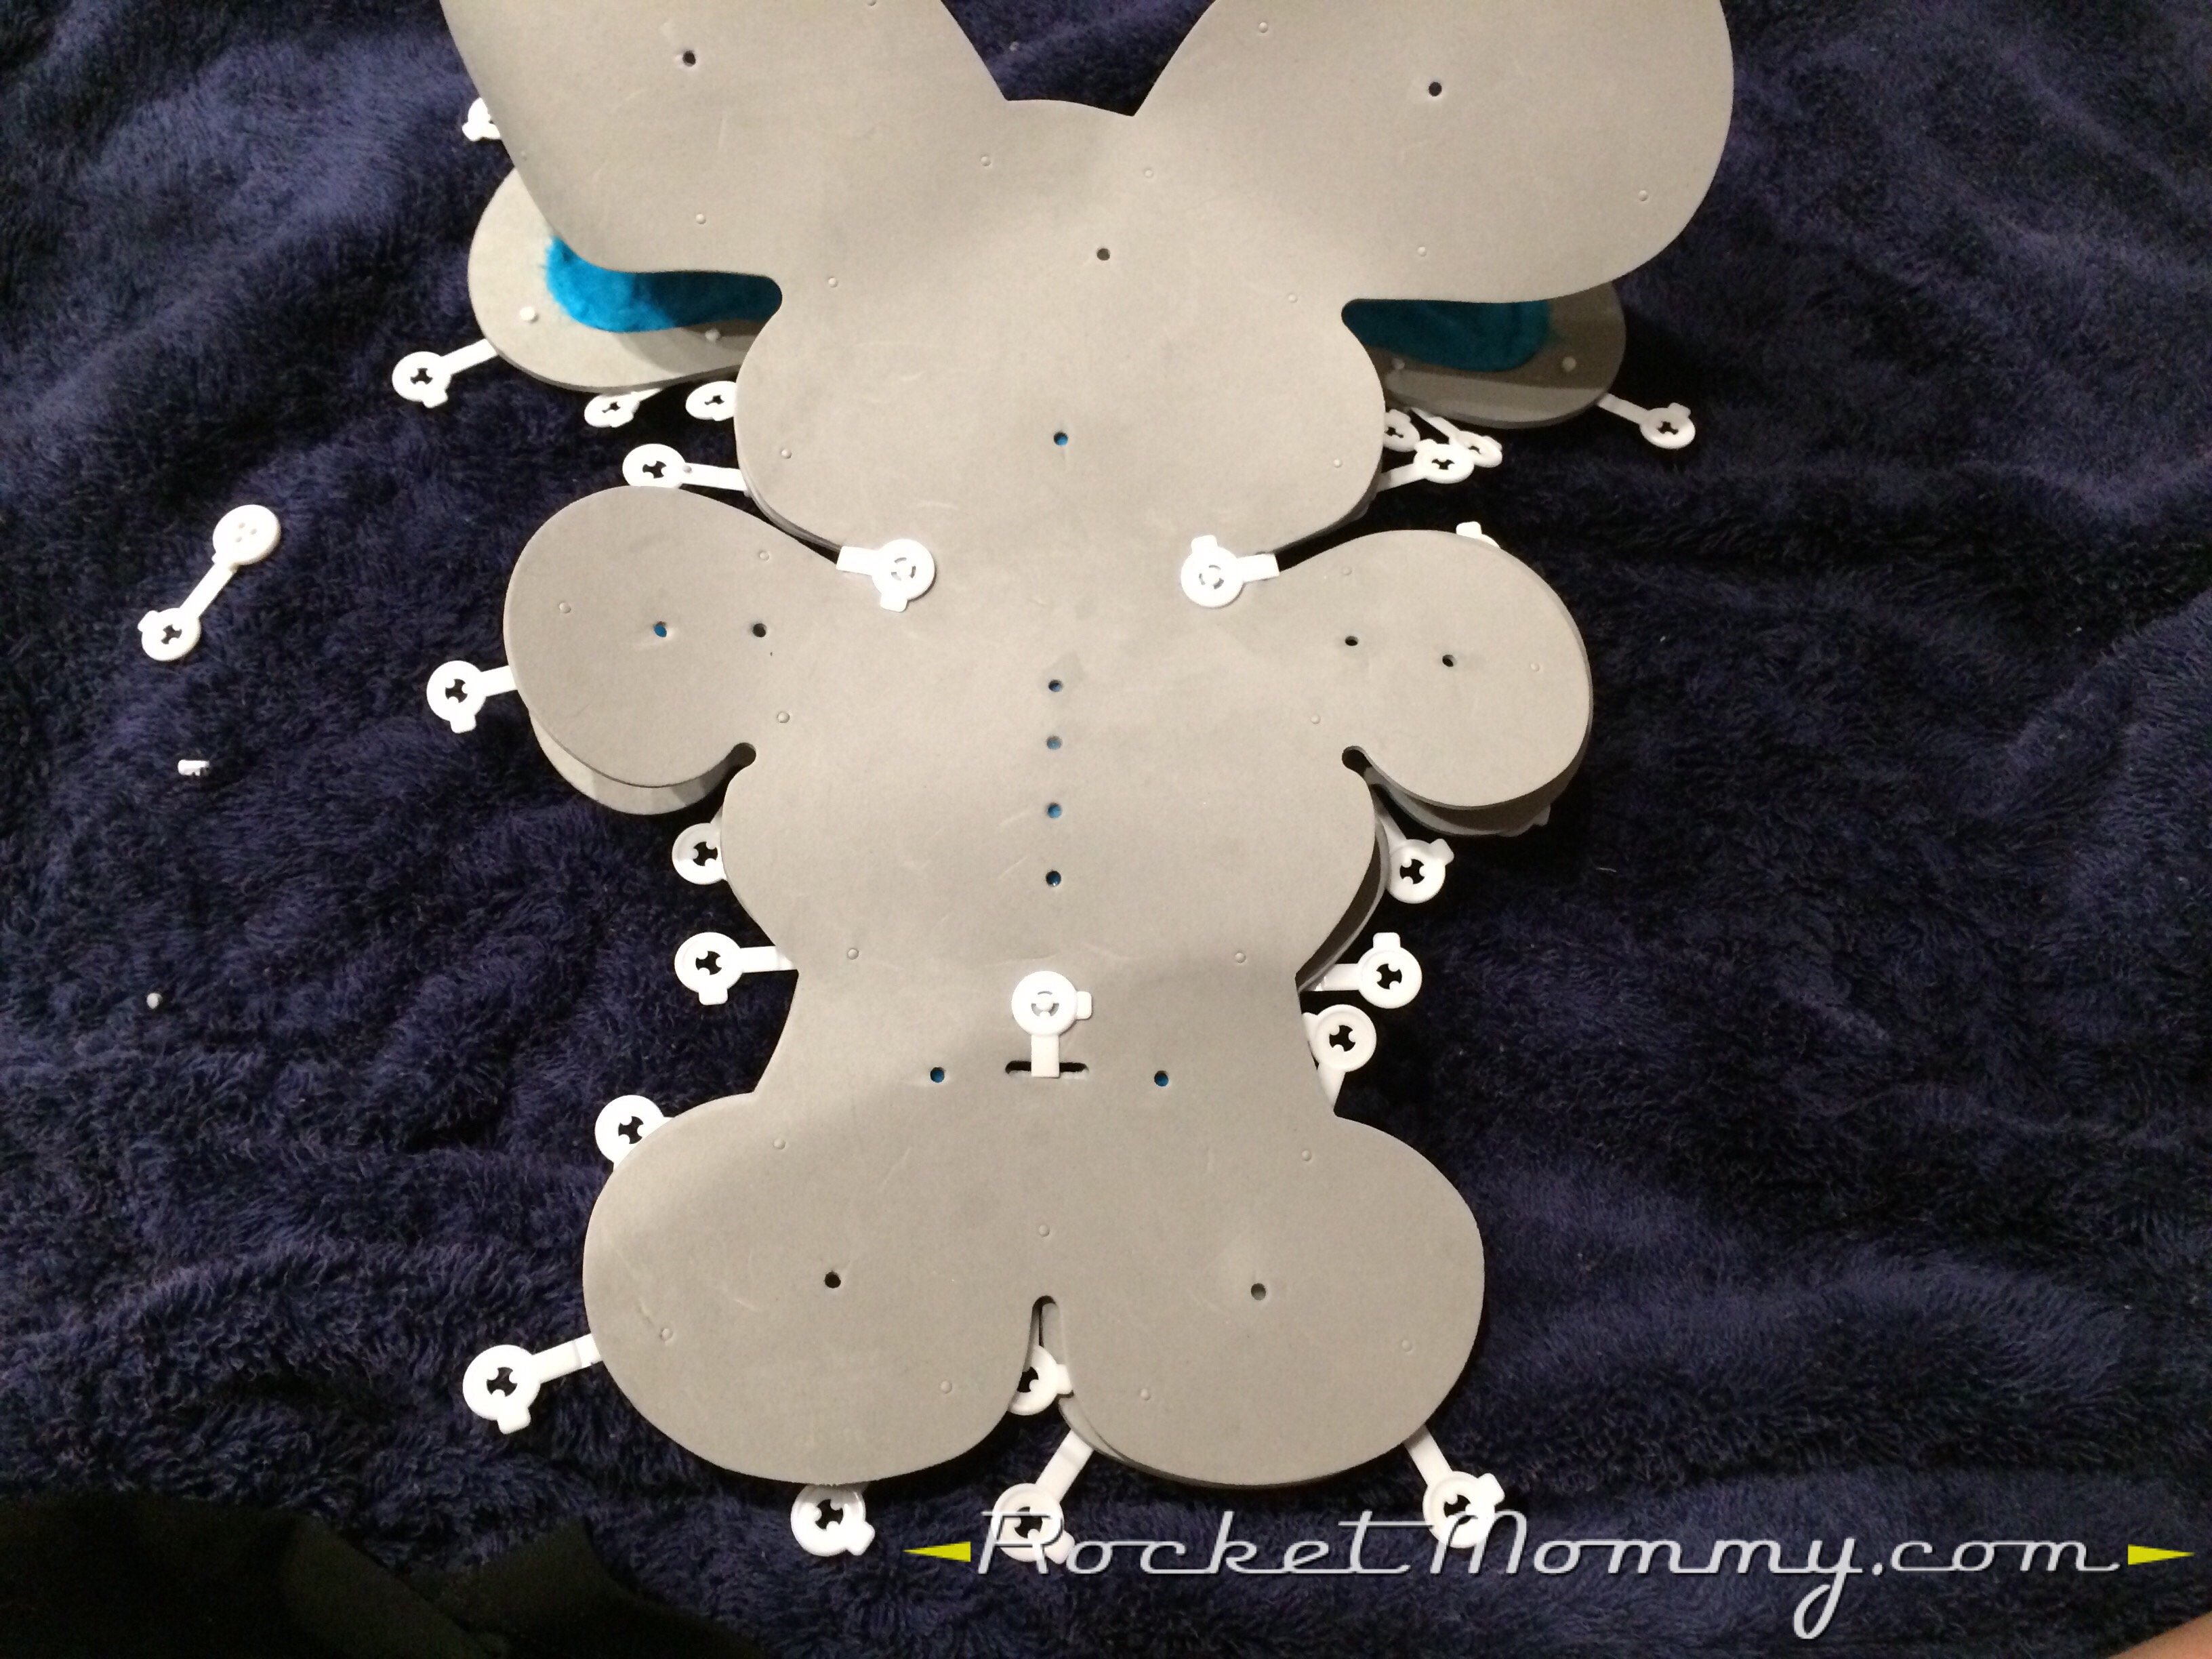
The clips between the legs and on each side of the neck need to be fastened first, and then you can work around the perimeter to all of the other ones.
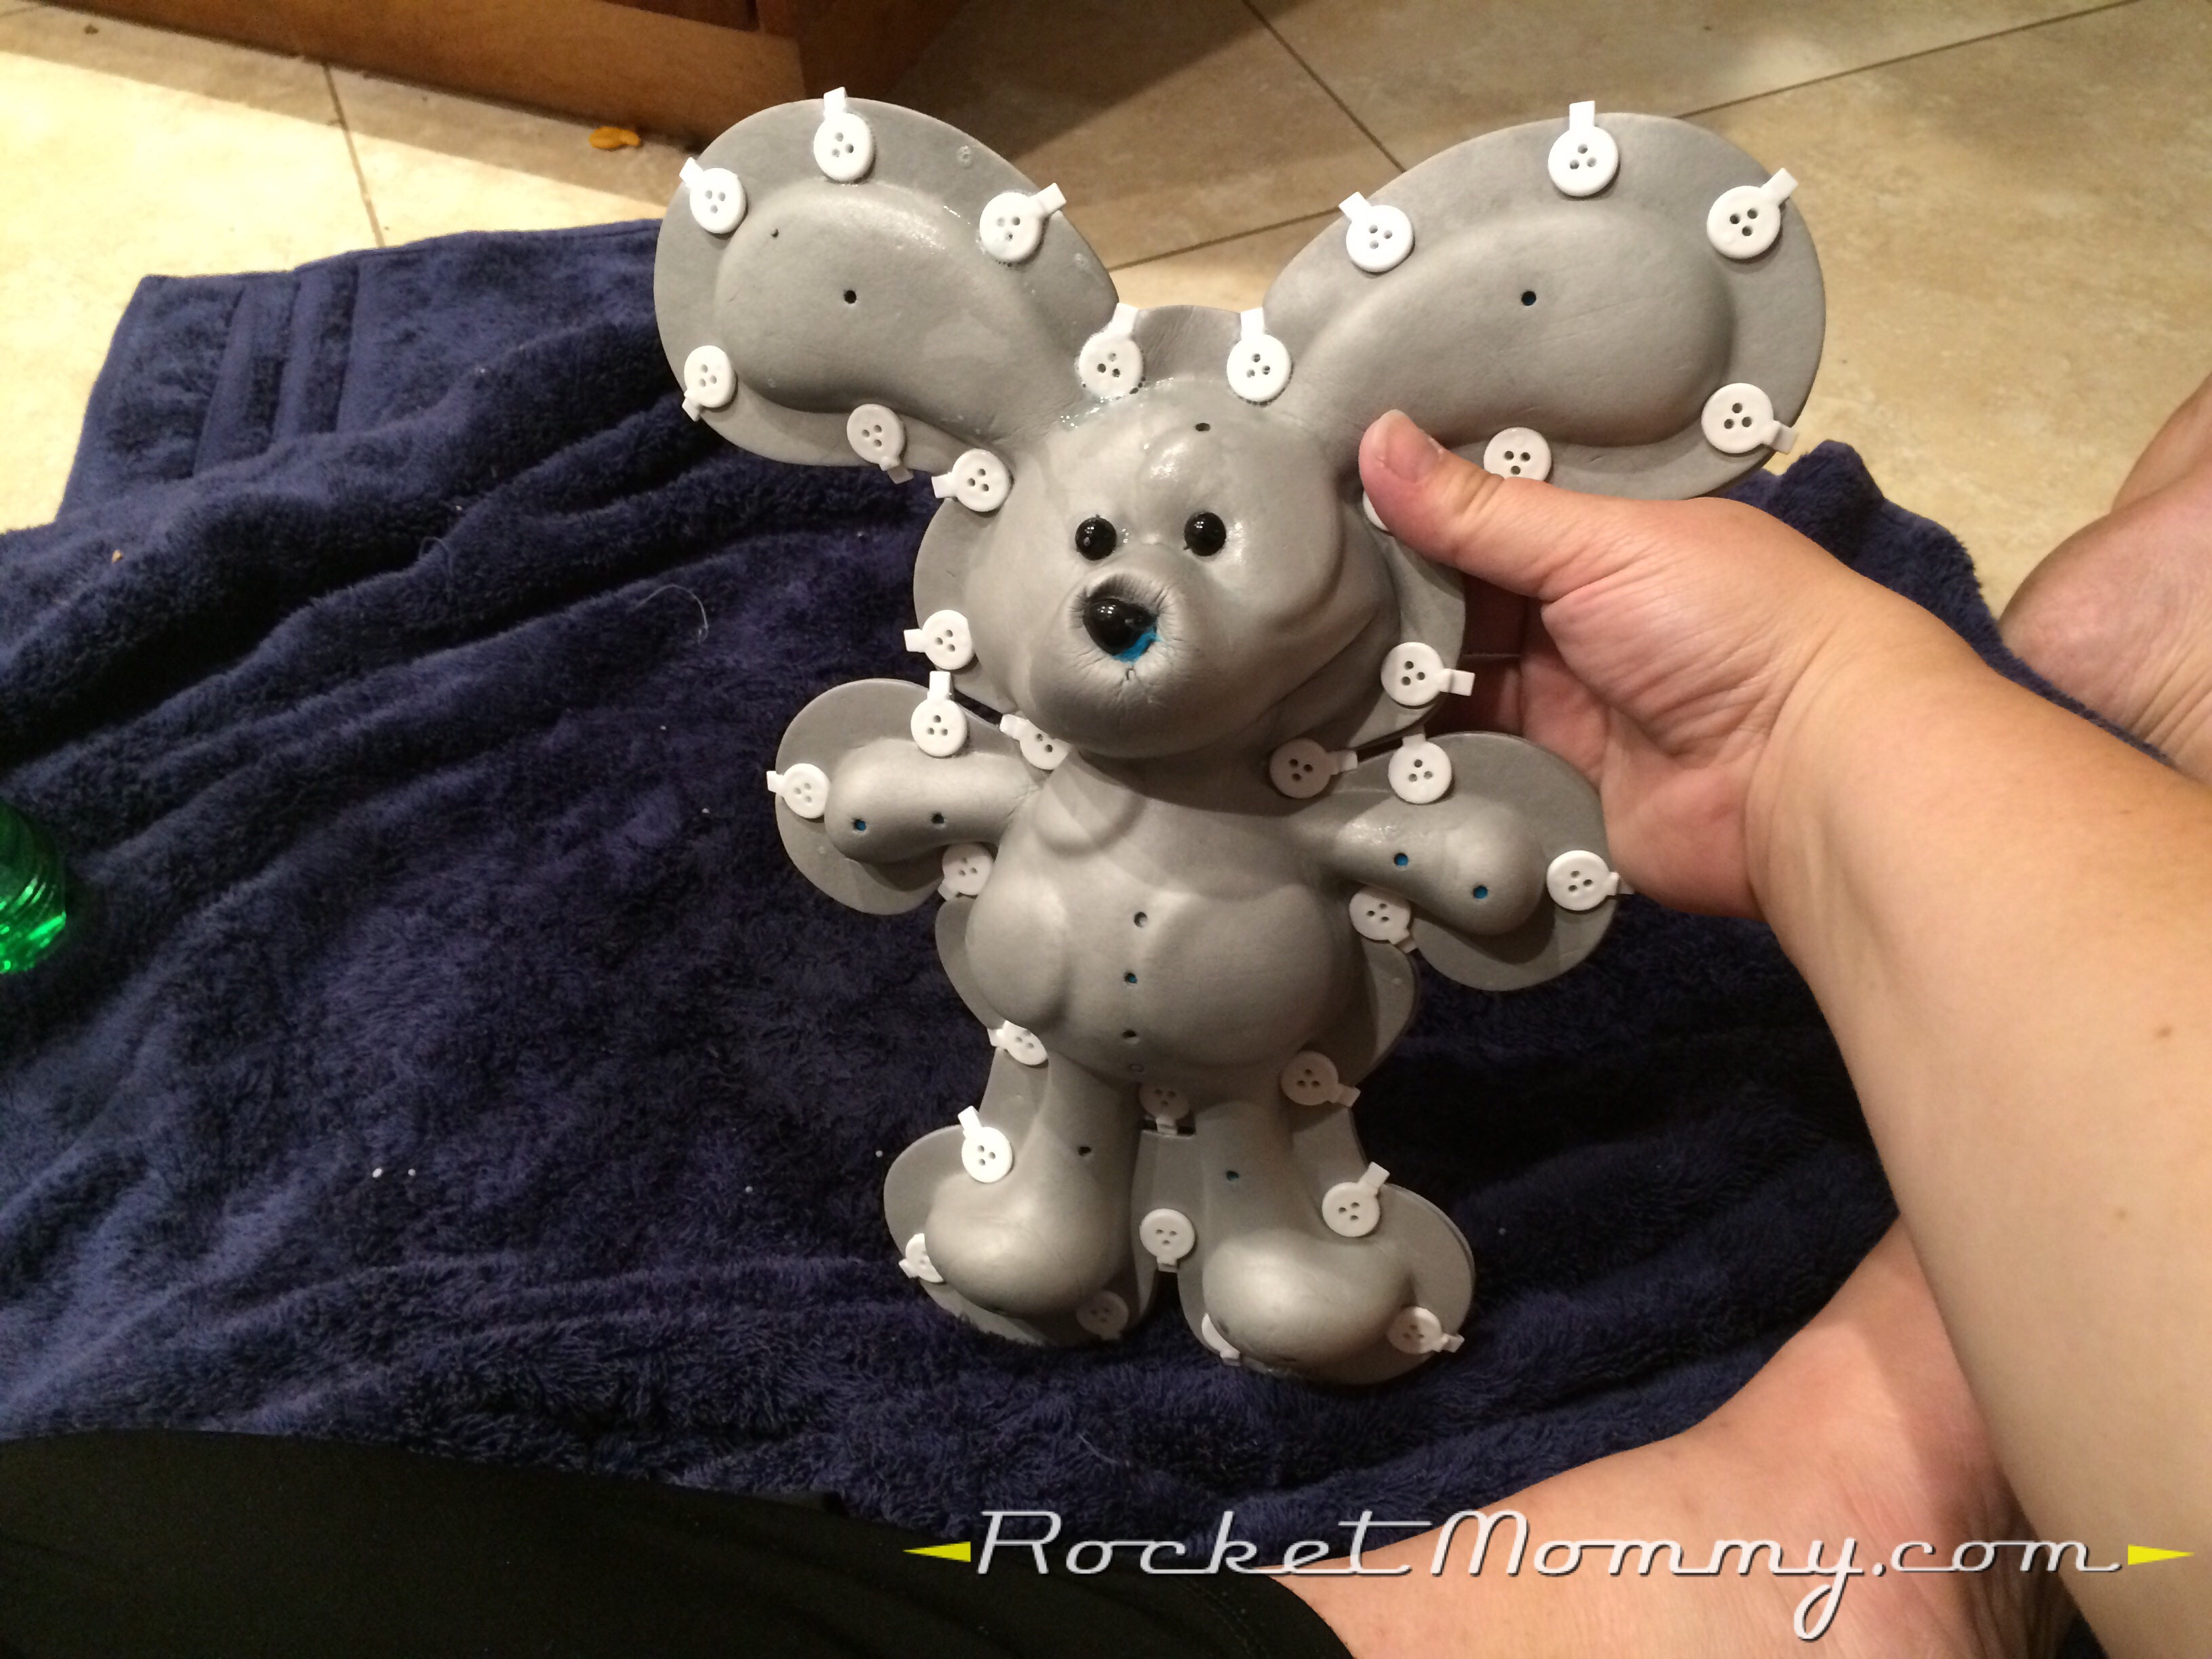
All ready to go in the washer! Stuff this guy in a pillowcase, tie a knot, and wash twice and dry on HOT. (And cue about three hours of the kids asking “Is the Fuzzeez done yet?!?”)

When I took it out of the dryer and started taking the mold apart, I noticed that the bottoms of the feet weren’t holding together that well. The instructions are clear about what to do if that happens – open up the mold, soak it all again, pack all the fuzz back down, clip it back up, and wash/dry again. I did all of that, and the second time it came out great!
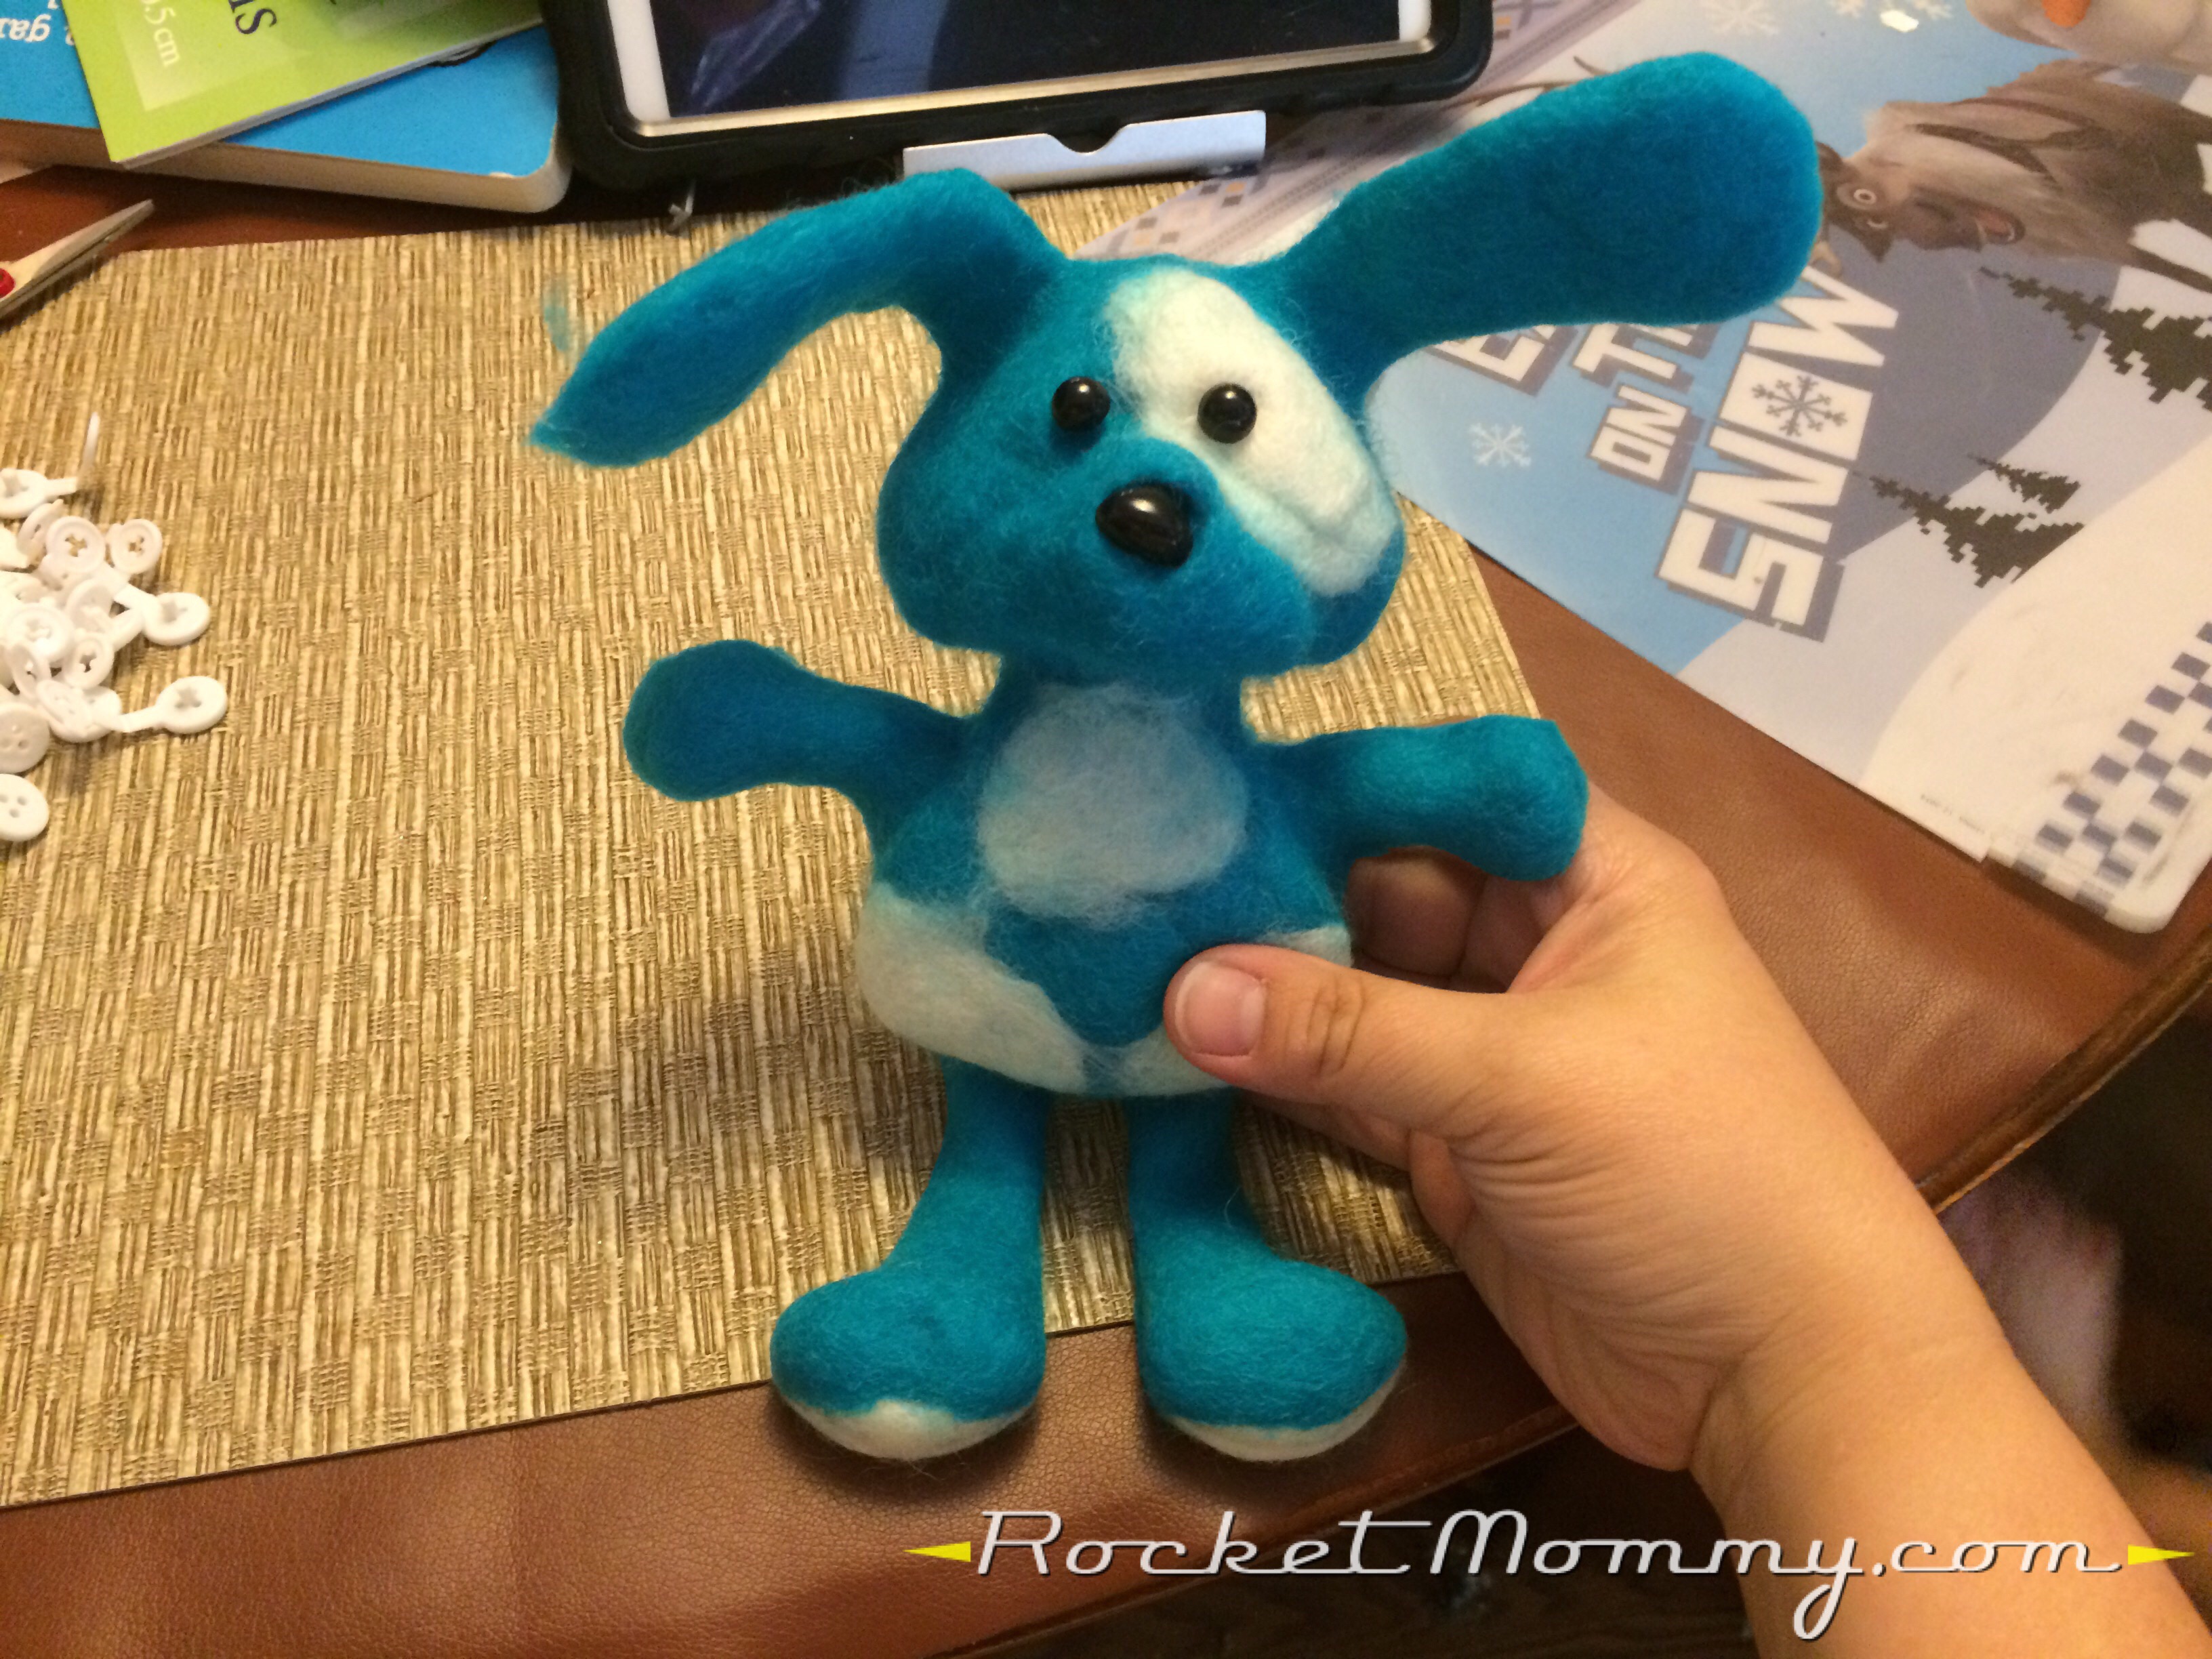
C was instantly in love, and she named him “Puppy.” Very creative, I know. Ha.
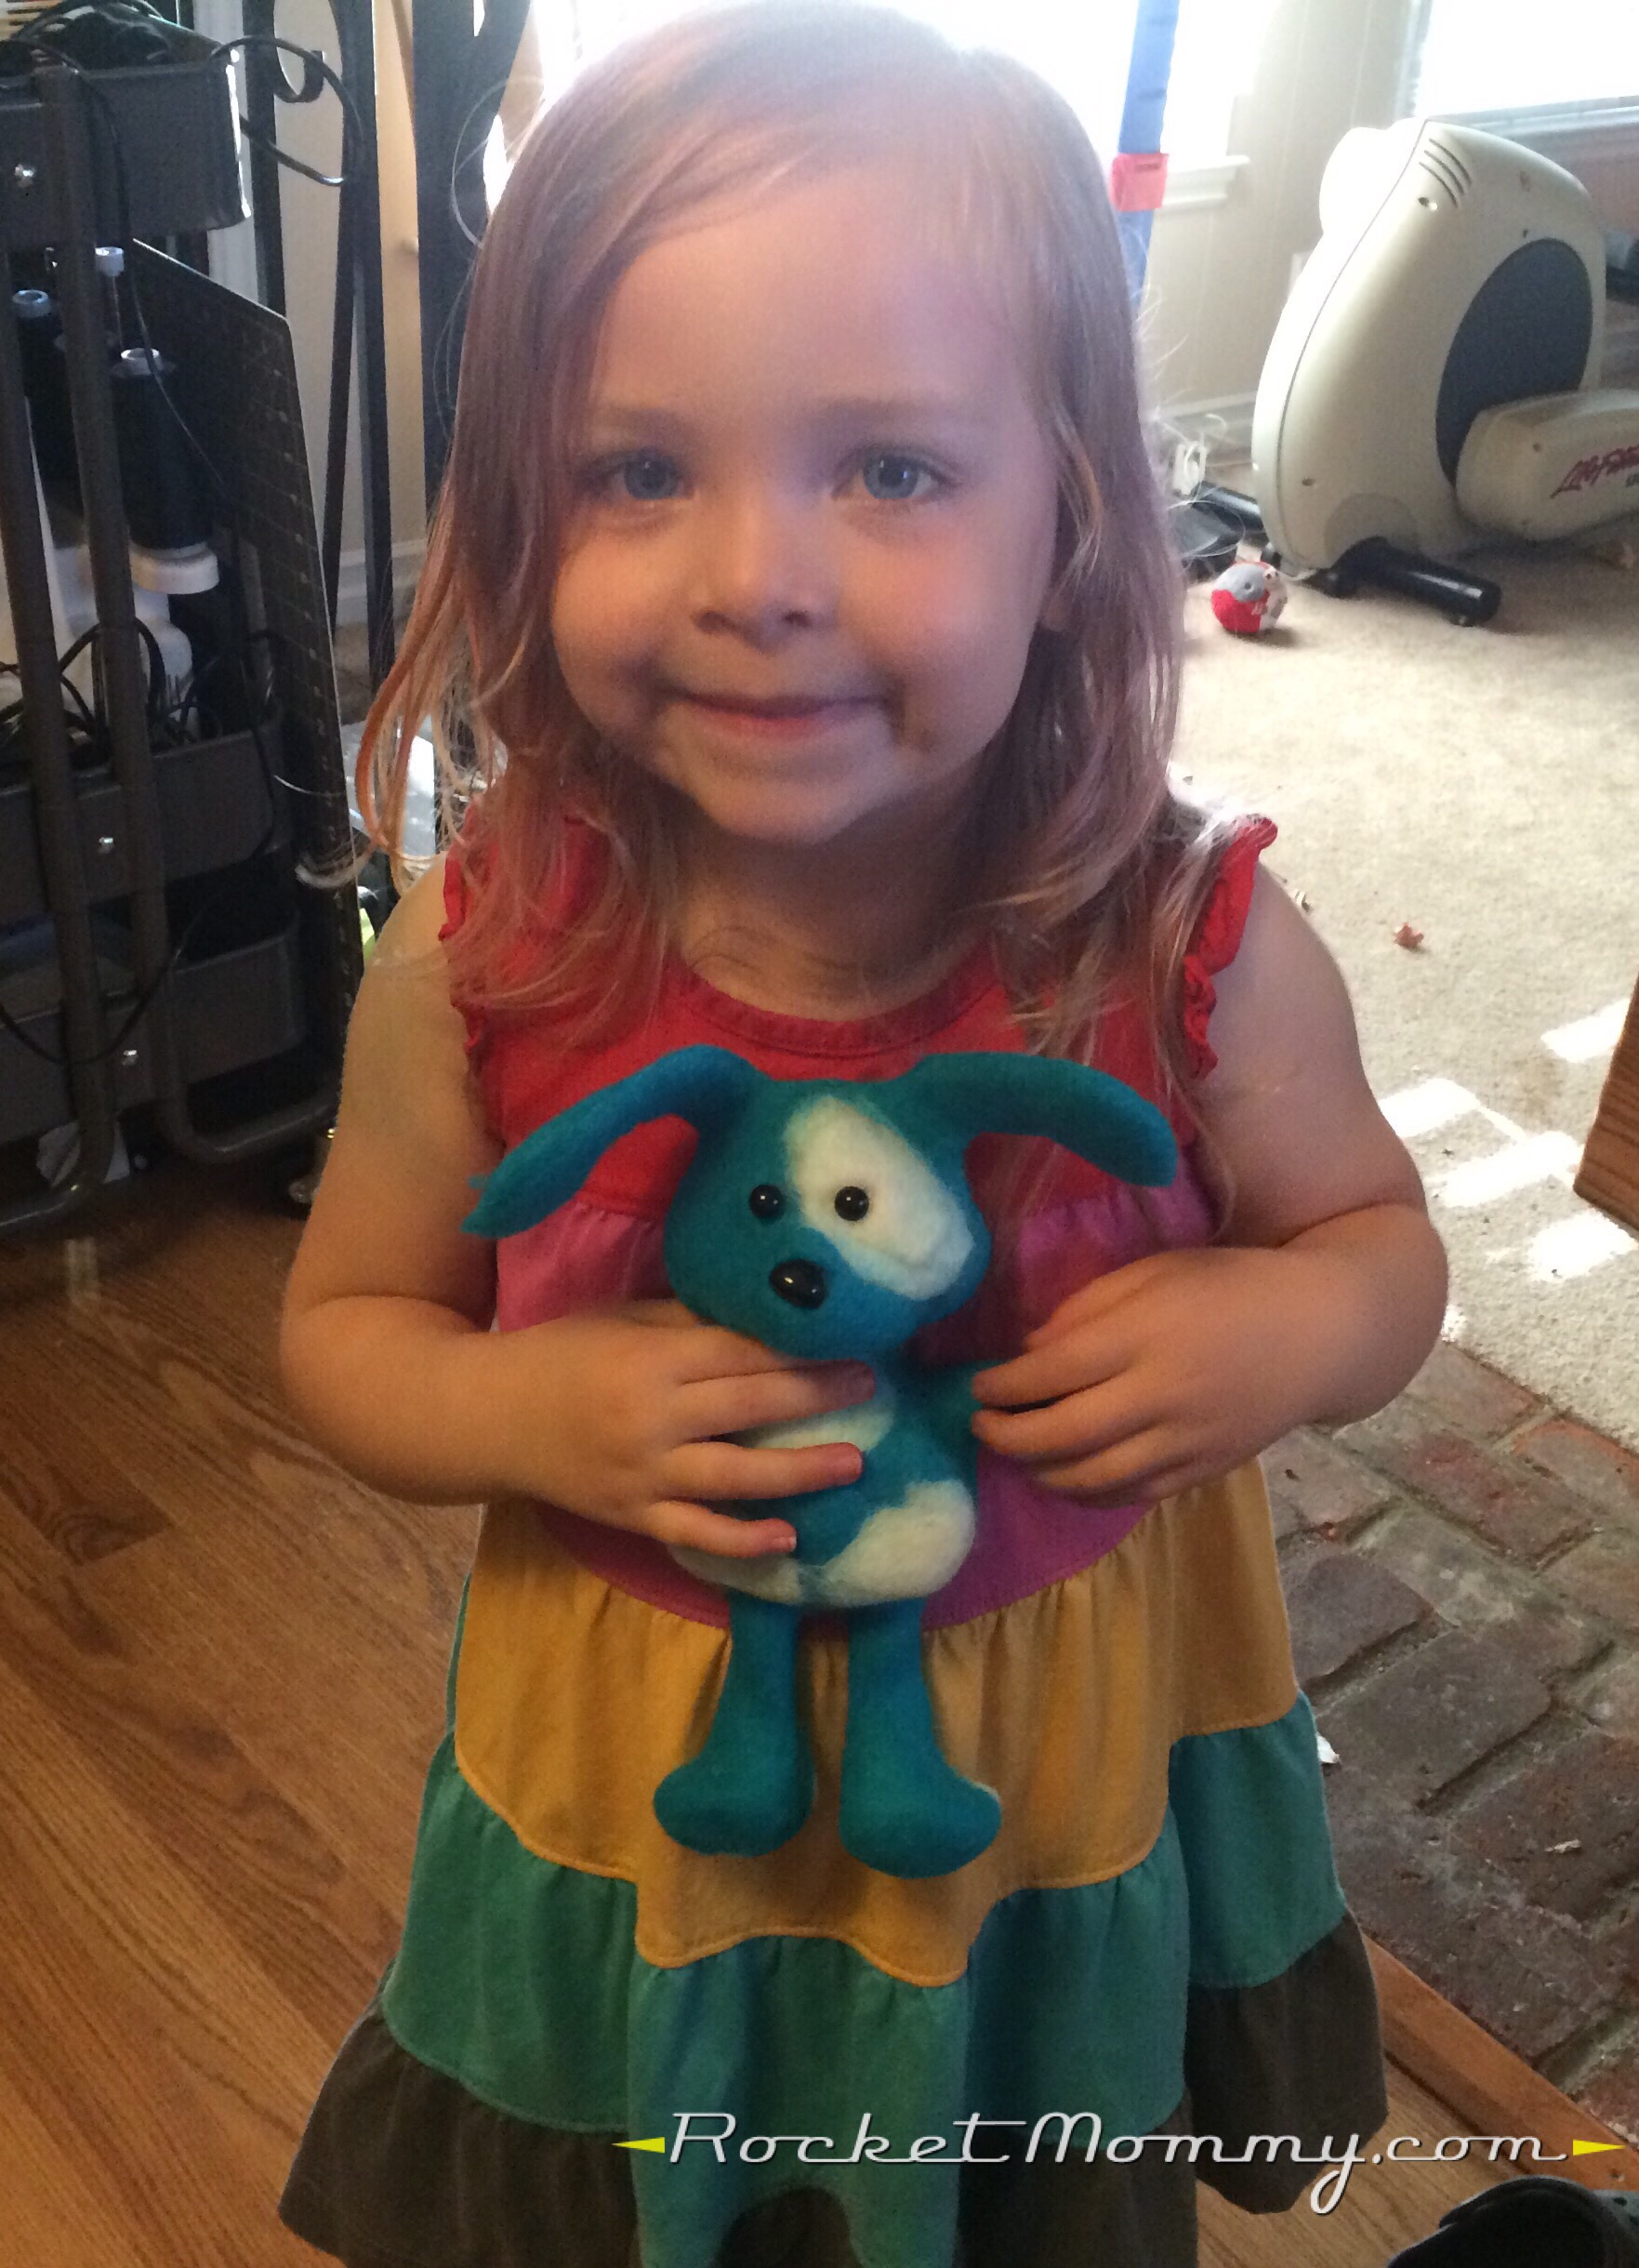
Now, this isn’t a super-sturdy stuffed animal that can withstand a ton of abuse, so if you have rambunctious kids (ahem, like I do), you might need to warn them to be a bit gentler than normal with the little guy.
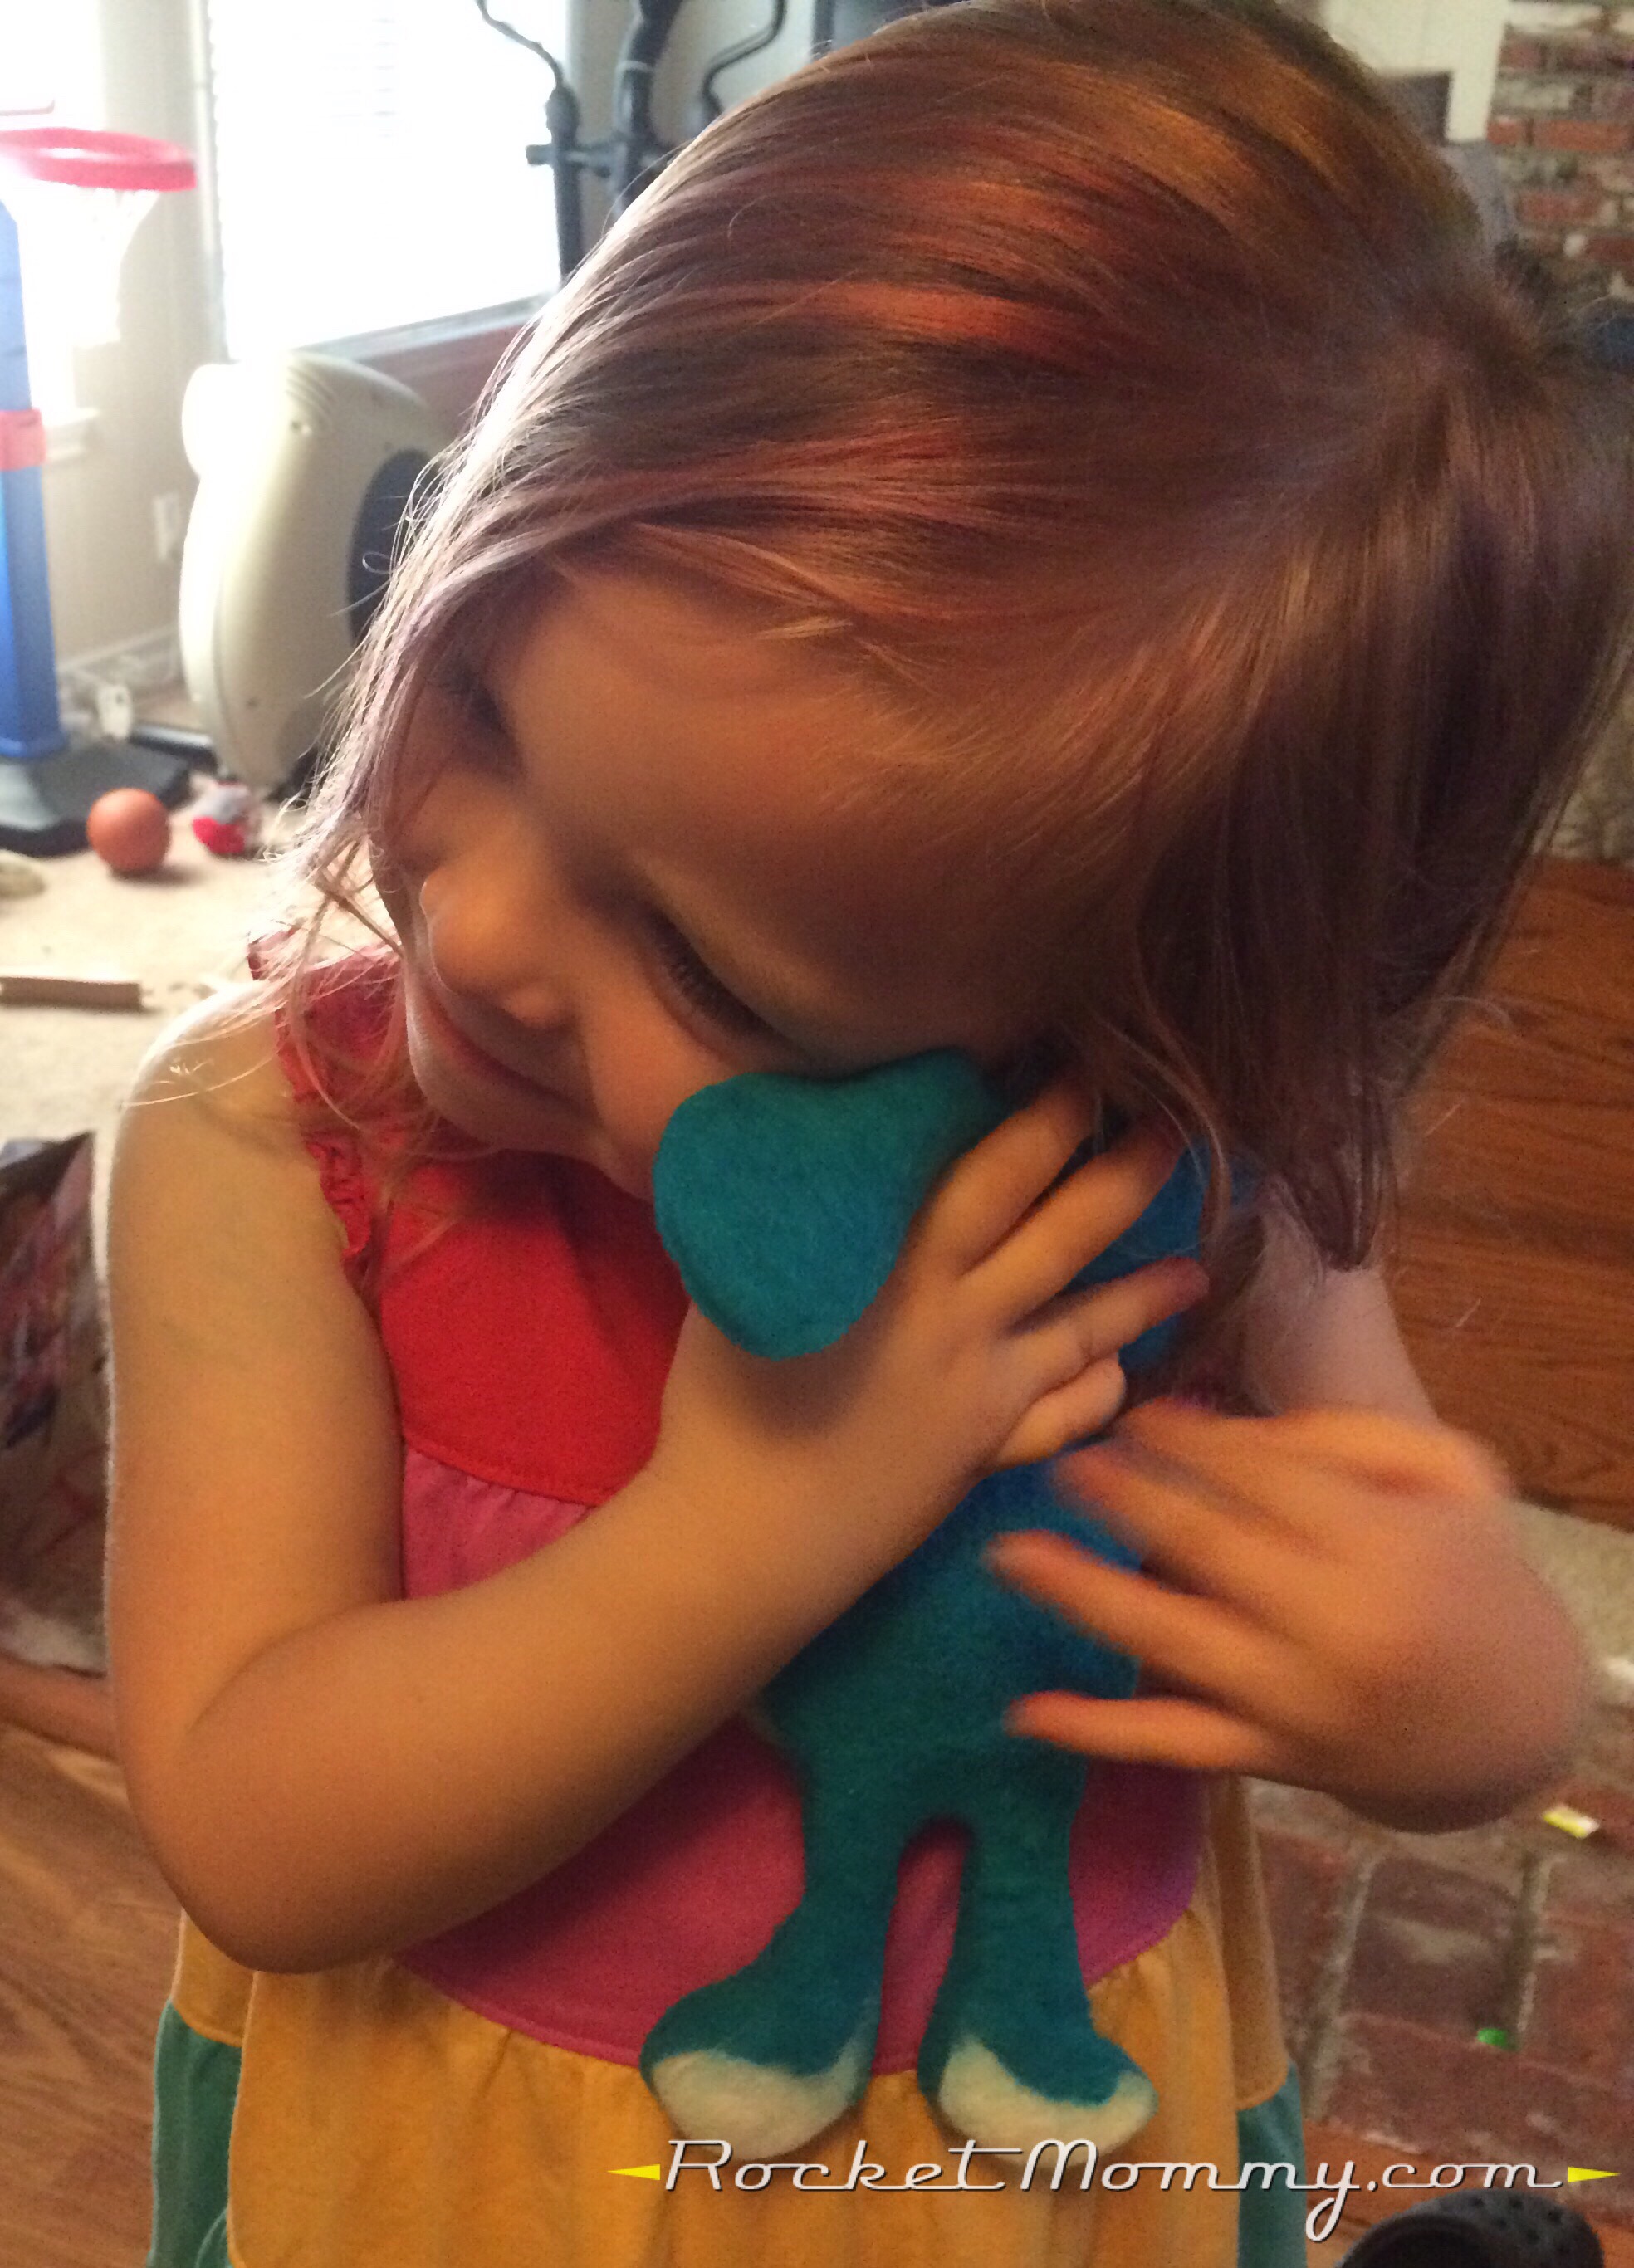
Puppy has been on the receiving end of a whole lot of three-year-old tough love for the past few weeks, and I’d say he’s actually held up pretty well under the circumstances! This is what he looks like today, almost a month after we created him:
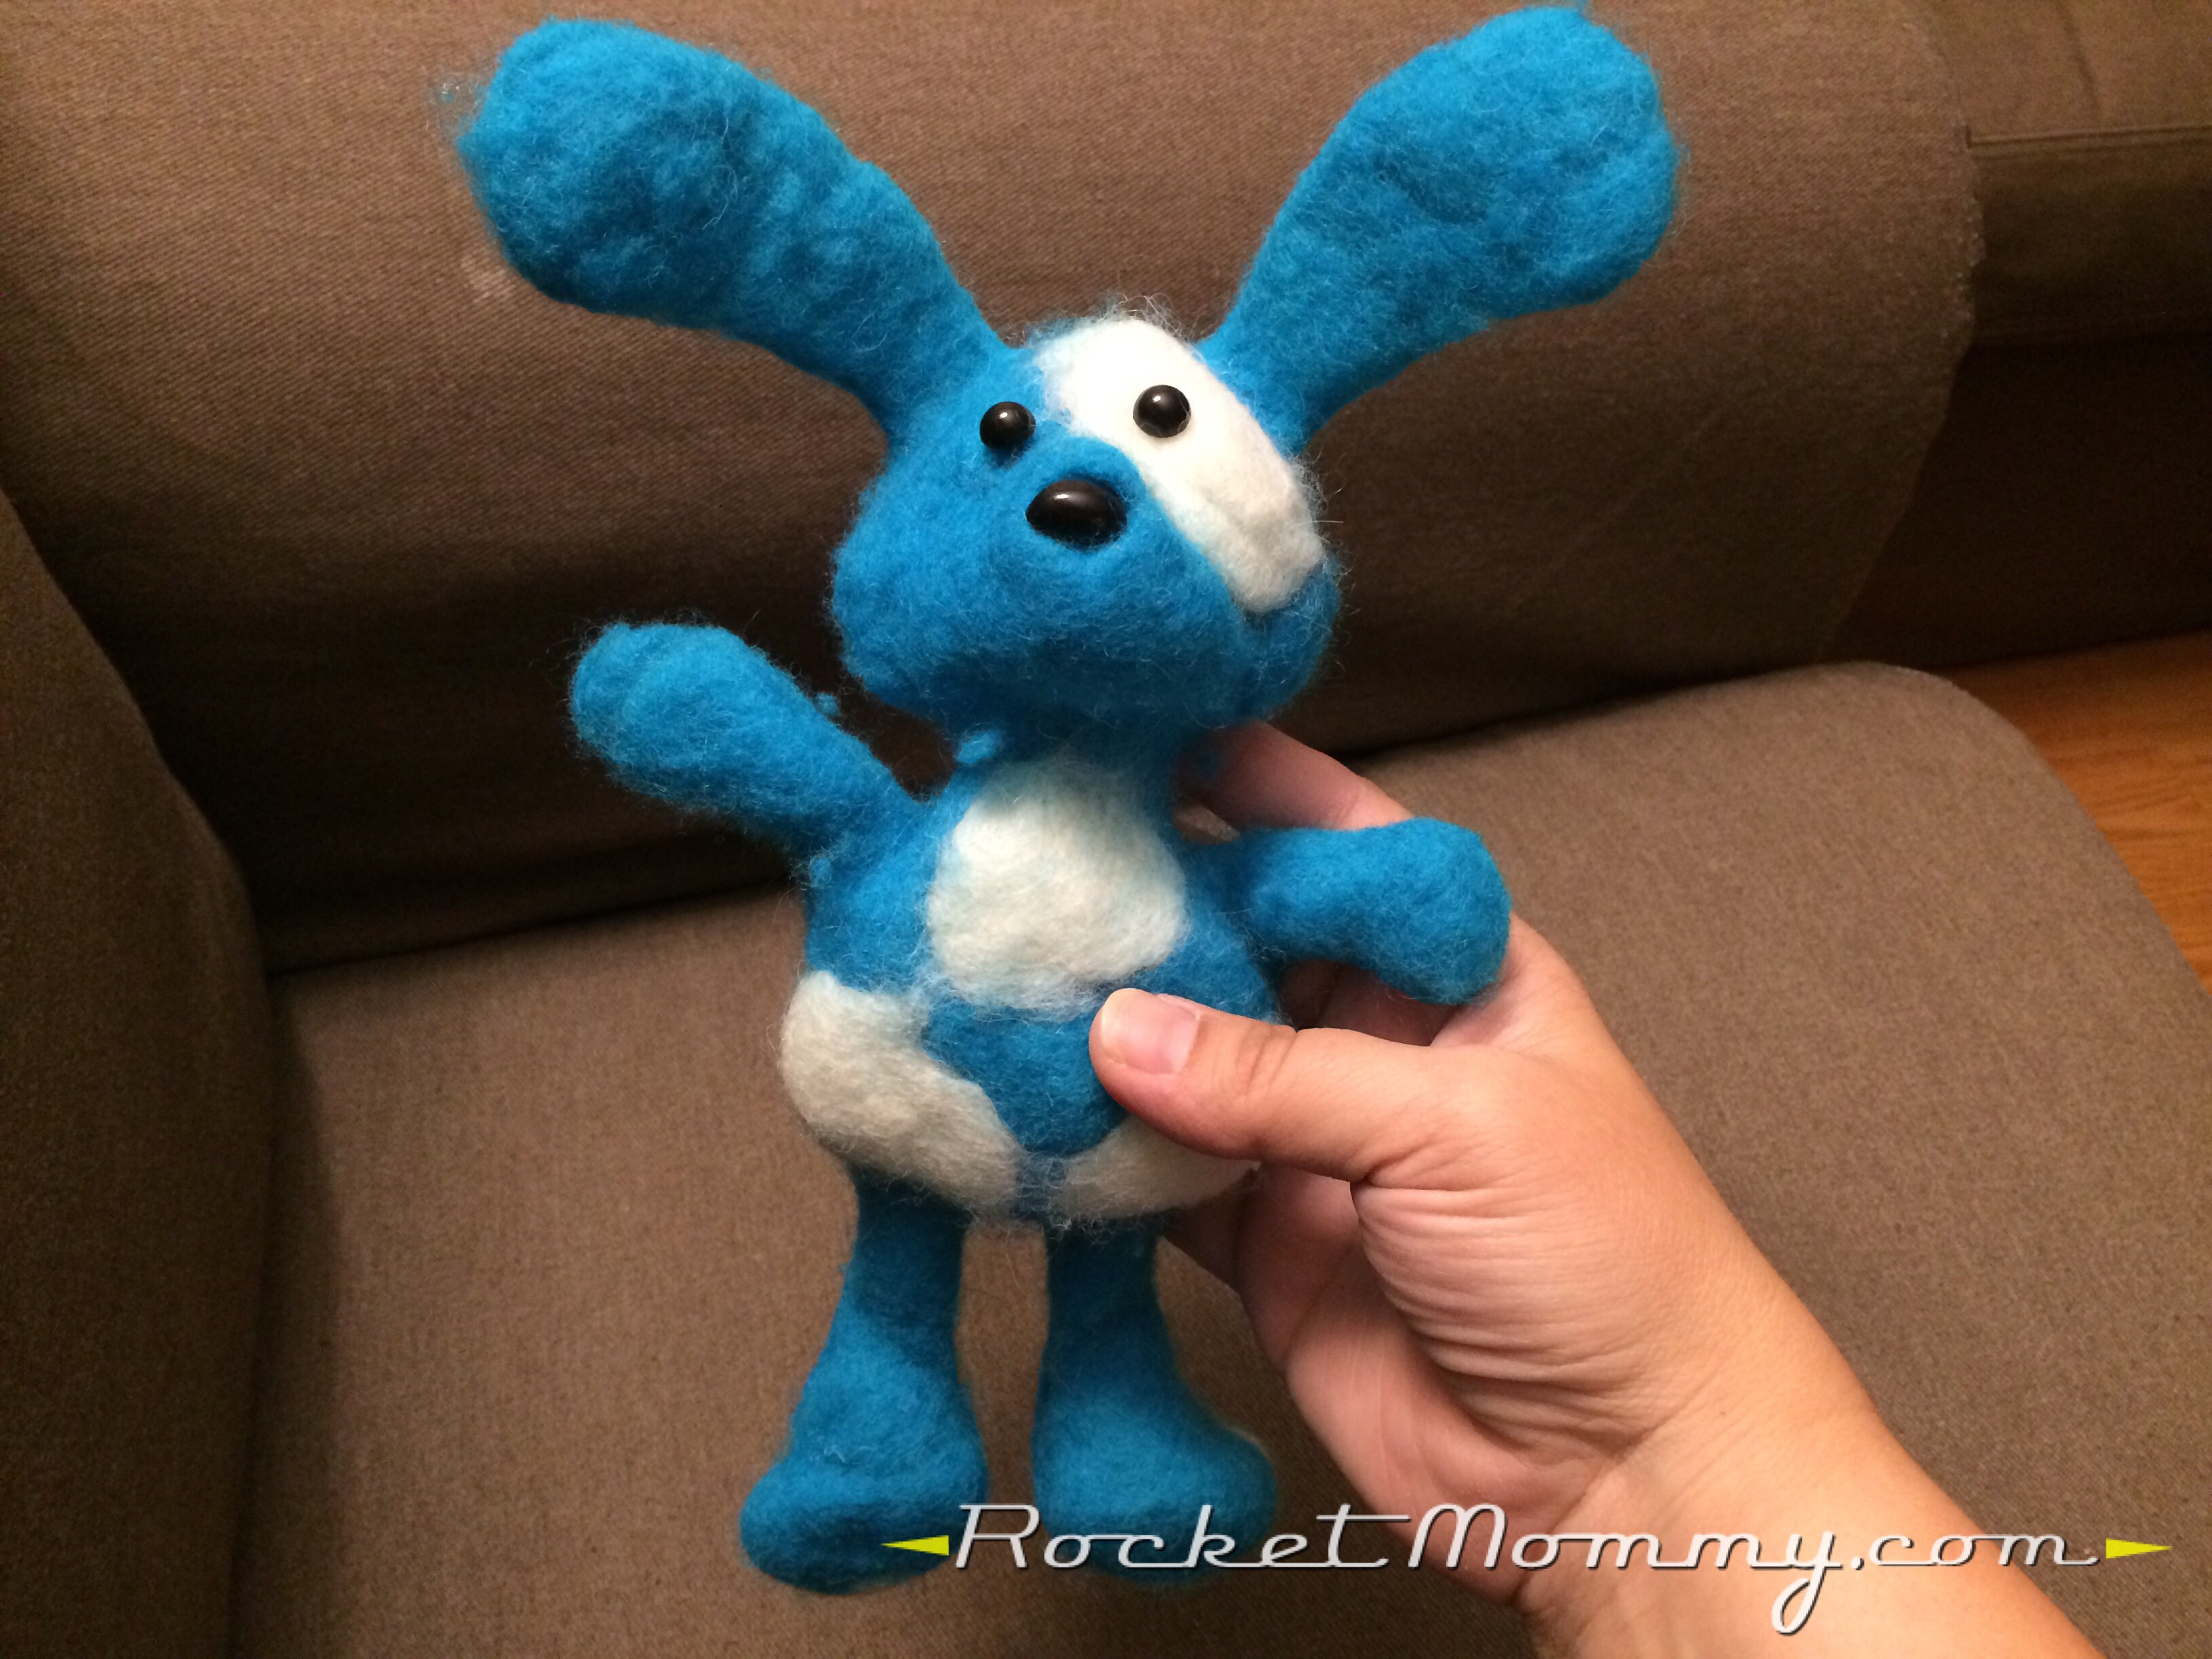
His fluff is a bit looser in a few areas and there’s been a little bit of pilling, but all of his parts are still intact and he’s still very cute and cuddly. The kids and I all really enjoyed the process of making Puppy, and the boys keep asking me when we get to make another one so each of them can have a Fuzzeez friend to play with. I’ve ordered some wool roving in different colors and some eyes
and noses
so I can try the whole process over again using the tools from the kit.
Now, what you’ve all been patiently waiting for: A GIVEAWAY!
I mentioned before that Orb Factory sent me two Fuzzeez kits in the mail. And let me tell you, I REALLY REALLY REALLY want to keep them both. And I suppose I could, since they didn’t give me any specific instructions on what to do here besides make the animal and review it honestly. But that would be pretty selfish of me, because I know that I have readers out there who would LOVE to give this craft kit a shot. So…. if you’d like to win this adorable Fuzzeez bear kit, please follow the prompts to enter the Rafflecopter giveaway below! (This is my first time using Rafflecopter, so fingers crossed that it works!)
And if you aren’t the lucky winner on this one, you can purchase a Fuzzeez kit at http://www.myfuzzeez.com for $19.95 (plus shipping and handling) AND they’ll even send you double the fluff so you can make two animals!
This would be a great project for my kids! Lots of fun! Thank you for the review and giveaway!
Does it look odd to have a flat back? How long did it take you to put it together? How big is the item? It looks cute but frankly it looks like it’s too much work for the payoff.
It doesn’t look too odd – the animal has enough dimension that the flat back doesn’t bother me. I think we spent about an hour filling the mold, and then whatever time it took to go through the washer and dryer a few times. I didn’t want to waste the water and energy running it all by itself, so I put it in with some other dark laundry that I was comfortable washing on hot. As for the time spent vs. the payoff…well, most of us craft lovers would argue that the time spent making something is PART of the payoff, because that’s where you have all the fun! ;).
So cool! I have somehow missed the commercials for this but I’m sure Will would love it.
I would love to win this for my daughter, it would be a fun project to do together.
Puppy is seriously adorable. My kids would love this project.
I’ve always wanted to dabble in felting–what fun!
How cute this turned out! My boys play rather rough, so I wonder how this would hold up for us!
This looks really fun for the kids to do with you.
Looks fun!
Abigail has seen these same commercials and has been begging for one.
oh my gosh I never heard of these. So cute. I bet my youngest son and daughter would love one of these Note from the manufacturer – It looks like your Fuzzeez didn t felt correctly! If this happens, there is a super easy way to fix this! Spray it down with warm soapy water, pop it back in the form and run it through the dryer again. This will ensure that your Fuzzeez is nice and felted.
Whoa all kinds of wonderful material. https://canadiantoprxstore.com best 10 online canadian pharmacies