My kids are so excited about Finding Dory coming out in theaters this month. We are planning to take the twins to the movie theater for the first time to see it when it opens, and since all of them have loved Finding Nemo forever, they’ve been pointing out the ads and every Finding Dory-branded product wherever we go (and there are a LOT of them popping up in every store).
I was recently browsing through the remnant bins at the fabric store (as usual), and I found a good-sized piece of orange fleece, and I started thinking about my mermaid tail blankets and how I could rework that basic pattern to make a set of Finding Dory blankets for the twins. I mean, that would be adorable, right? And hey, maybe if I brought them with us to the theater, they-who-never-sit-still might be less likely to try to get up and run around! Worth a try, right? I kept scrounging and found some black, white, blue, and yellow pieces that looked like they should be big enough to put a couple of blankets together, and after a few weeks of planning and procrastinating, I finally buckled down and got these done!

I’m splitting this post into two parts so I don’t overwhelm anyone with too many pictures and instructions at once. So we’re going to start with Nemo today, and I’ll post Dory tomorrow.
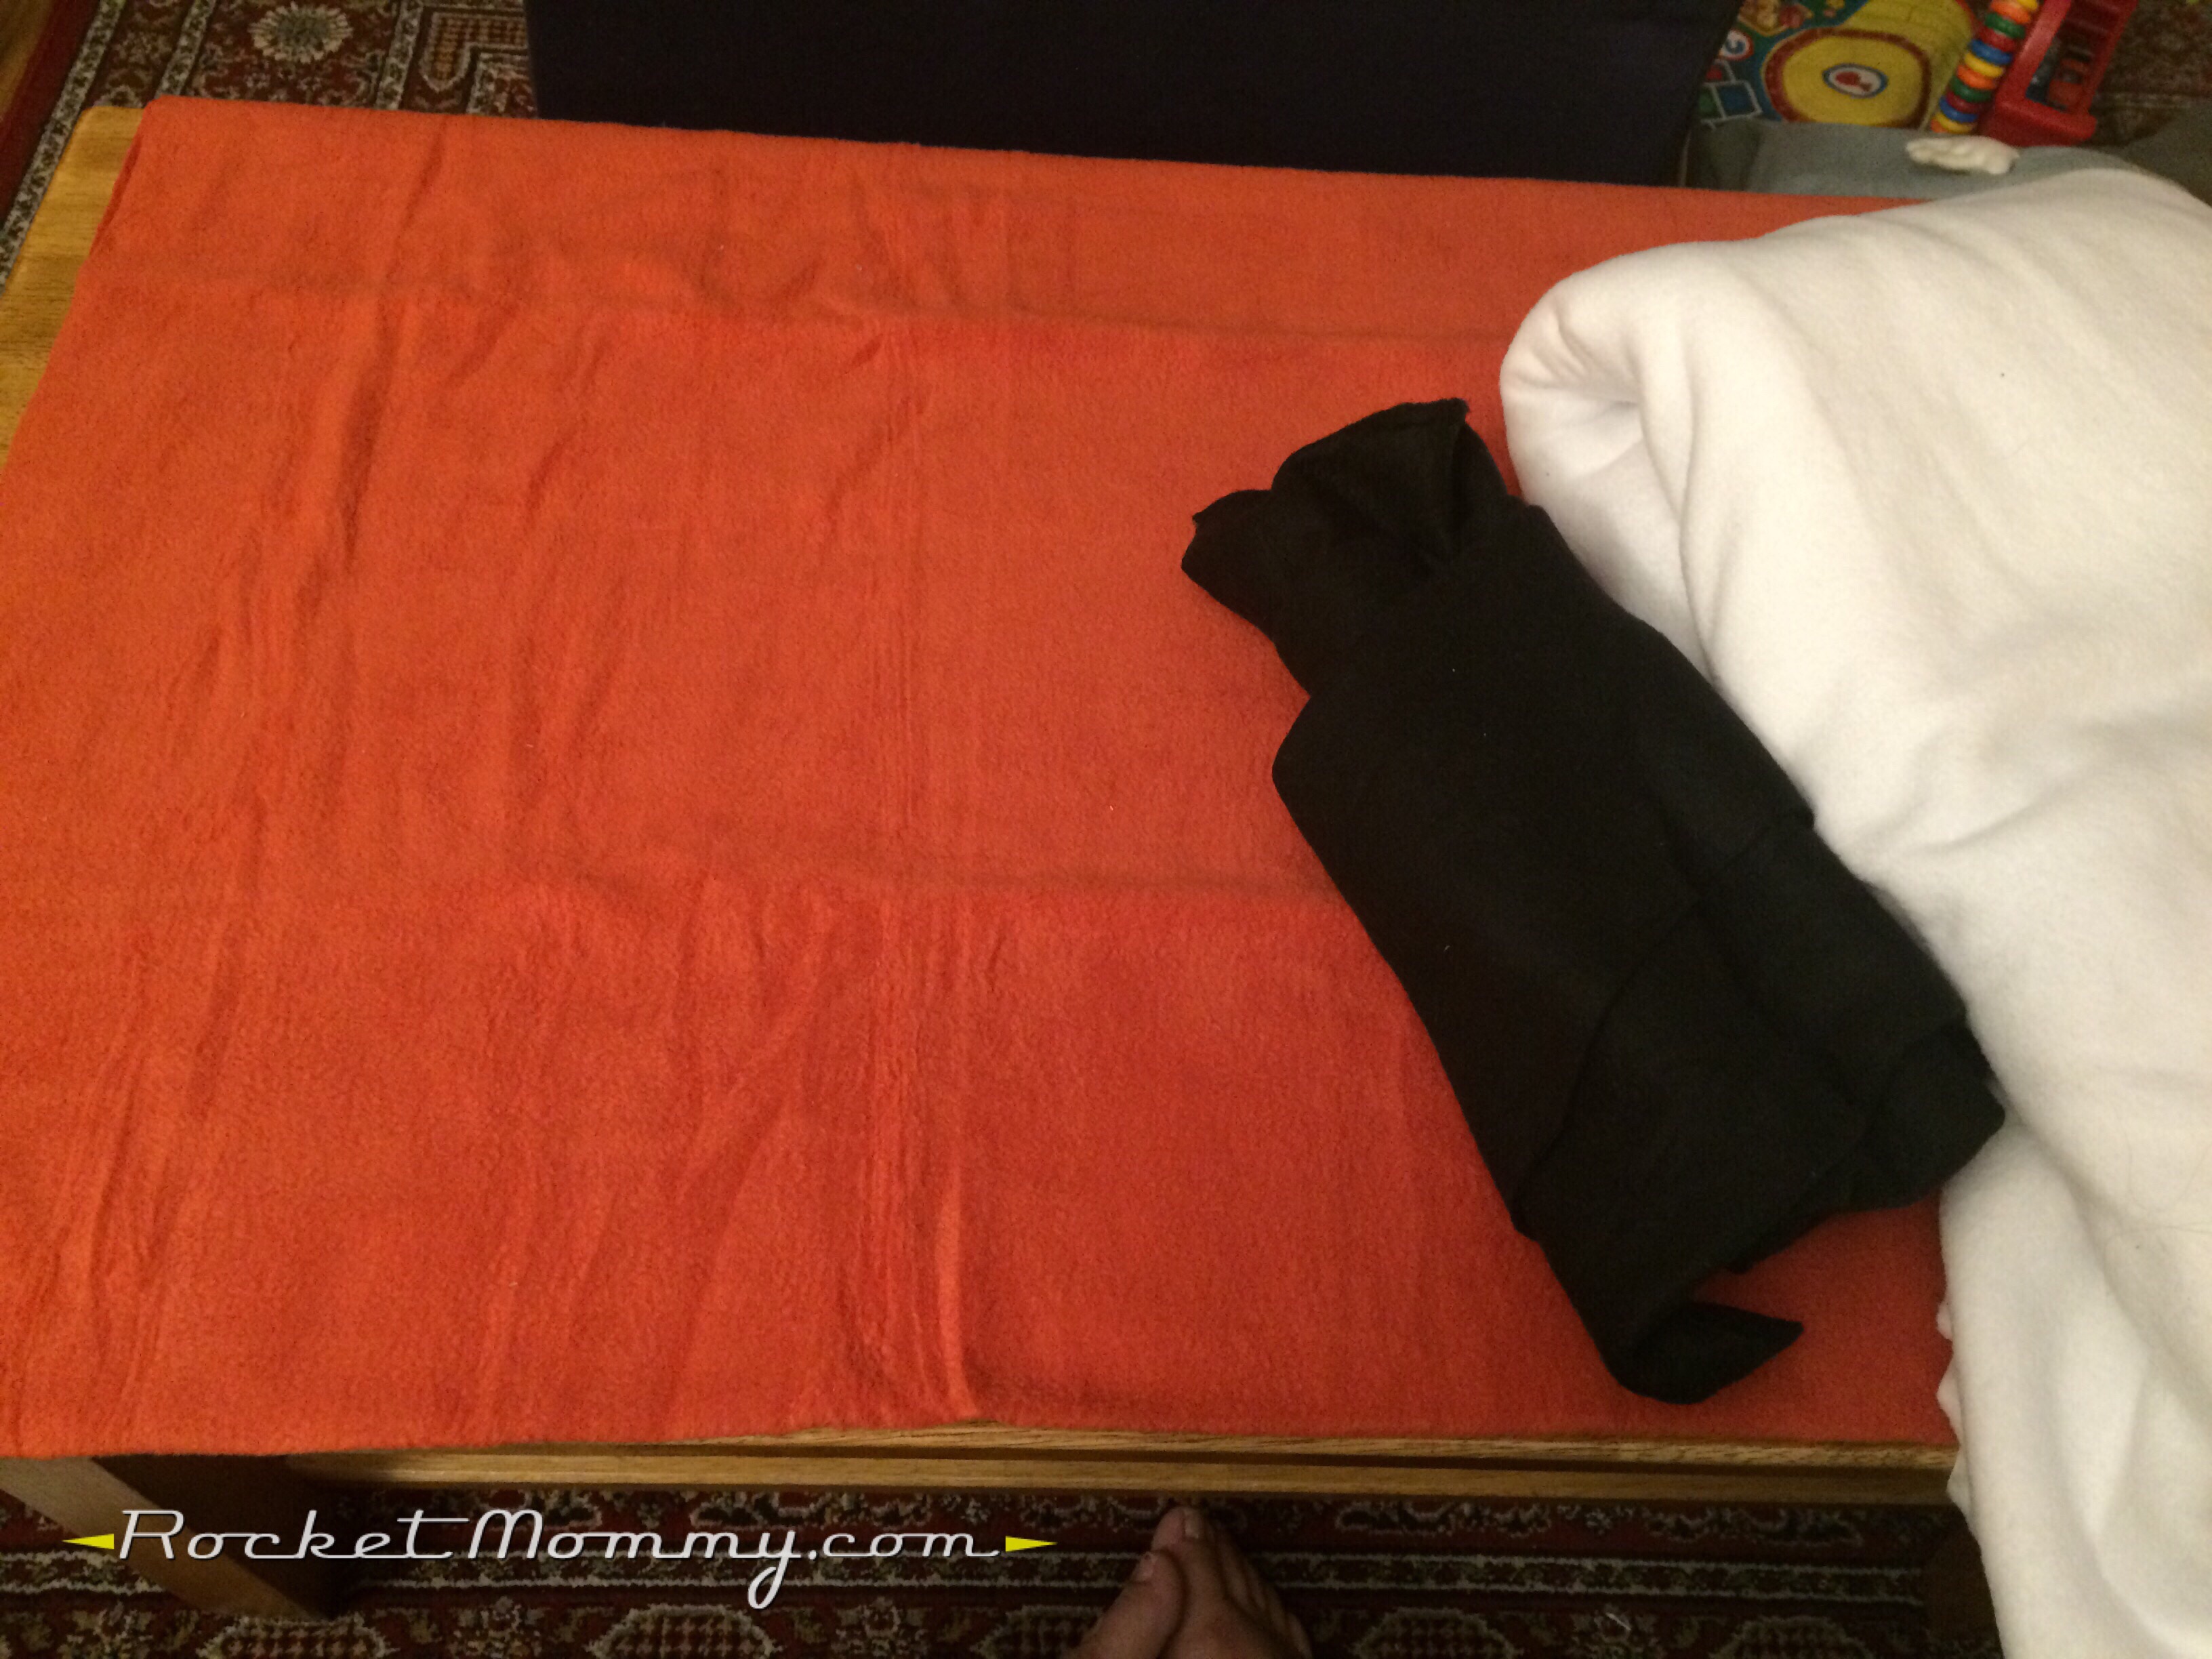
You’re going to need at least a yard and a half of orange fleece, but two yards would be more comfortable to work with. I underestimated and had to piece my tail together from scraps, and it was annoying and makes it hard to explain in a tutorial. You’ll need smaller amounts of white and black fleece – a yard of each would be plenty, but you could squeak by with 1/2 yard of white.
If you’re not familiar with my original instructions for the mermaid blanket, you should check those now. We’re going to follow the same basic steps and measurements for the body portion. Click here for that tutorial.
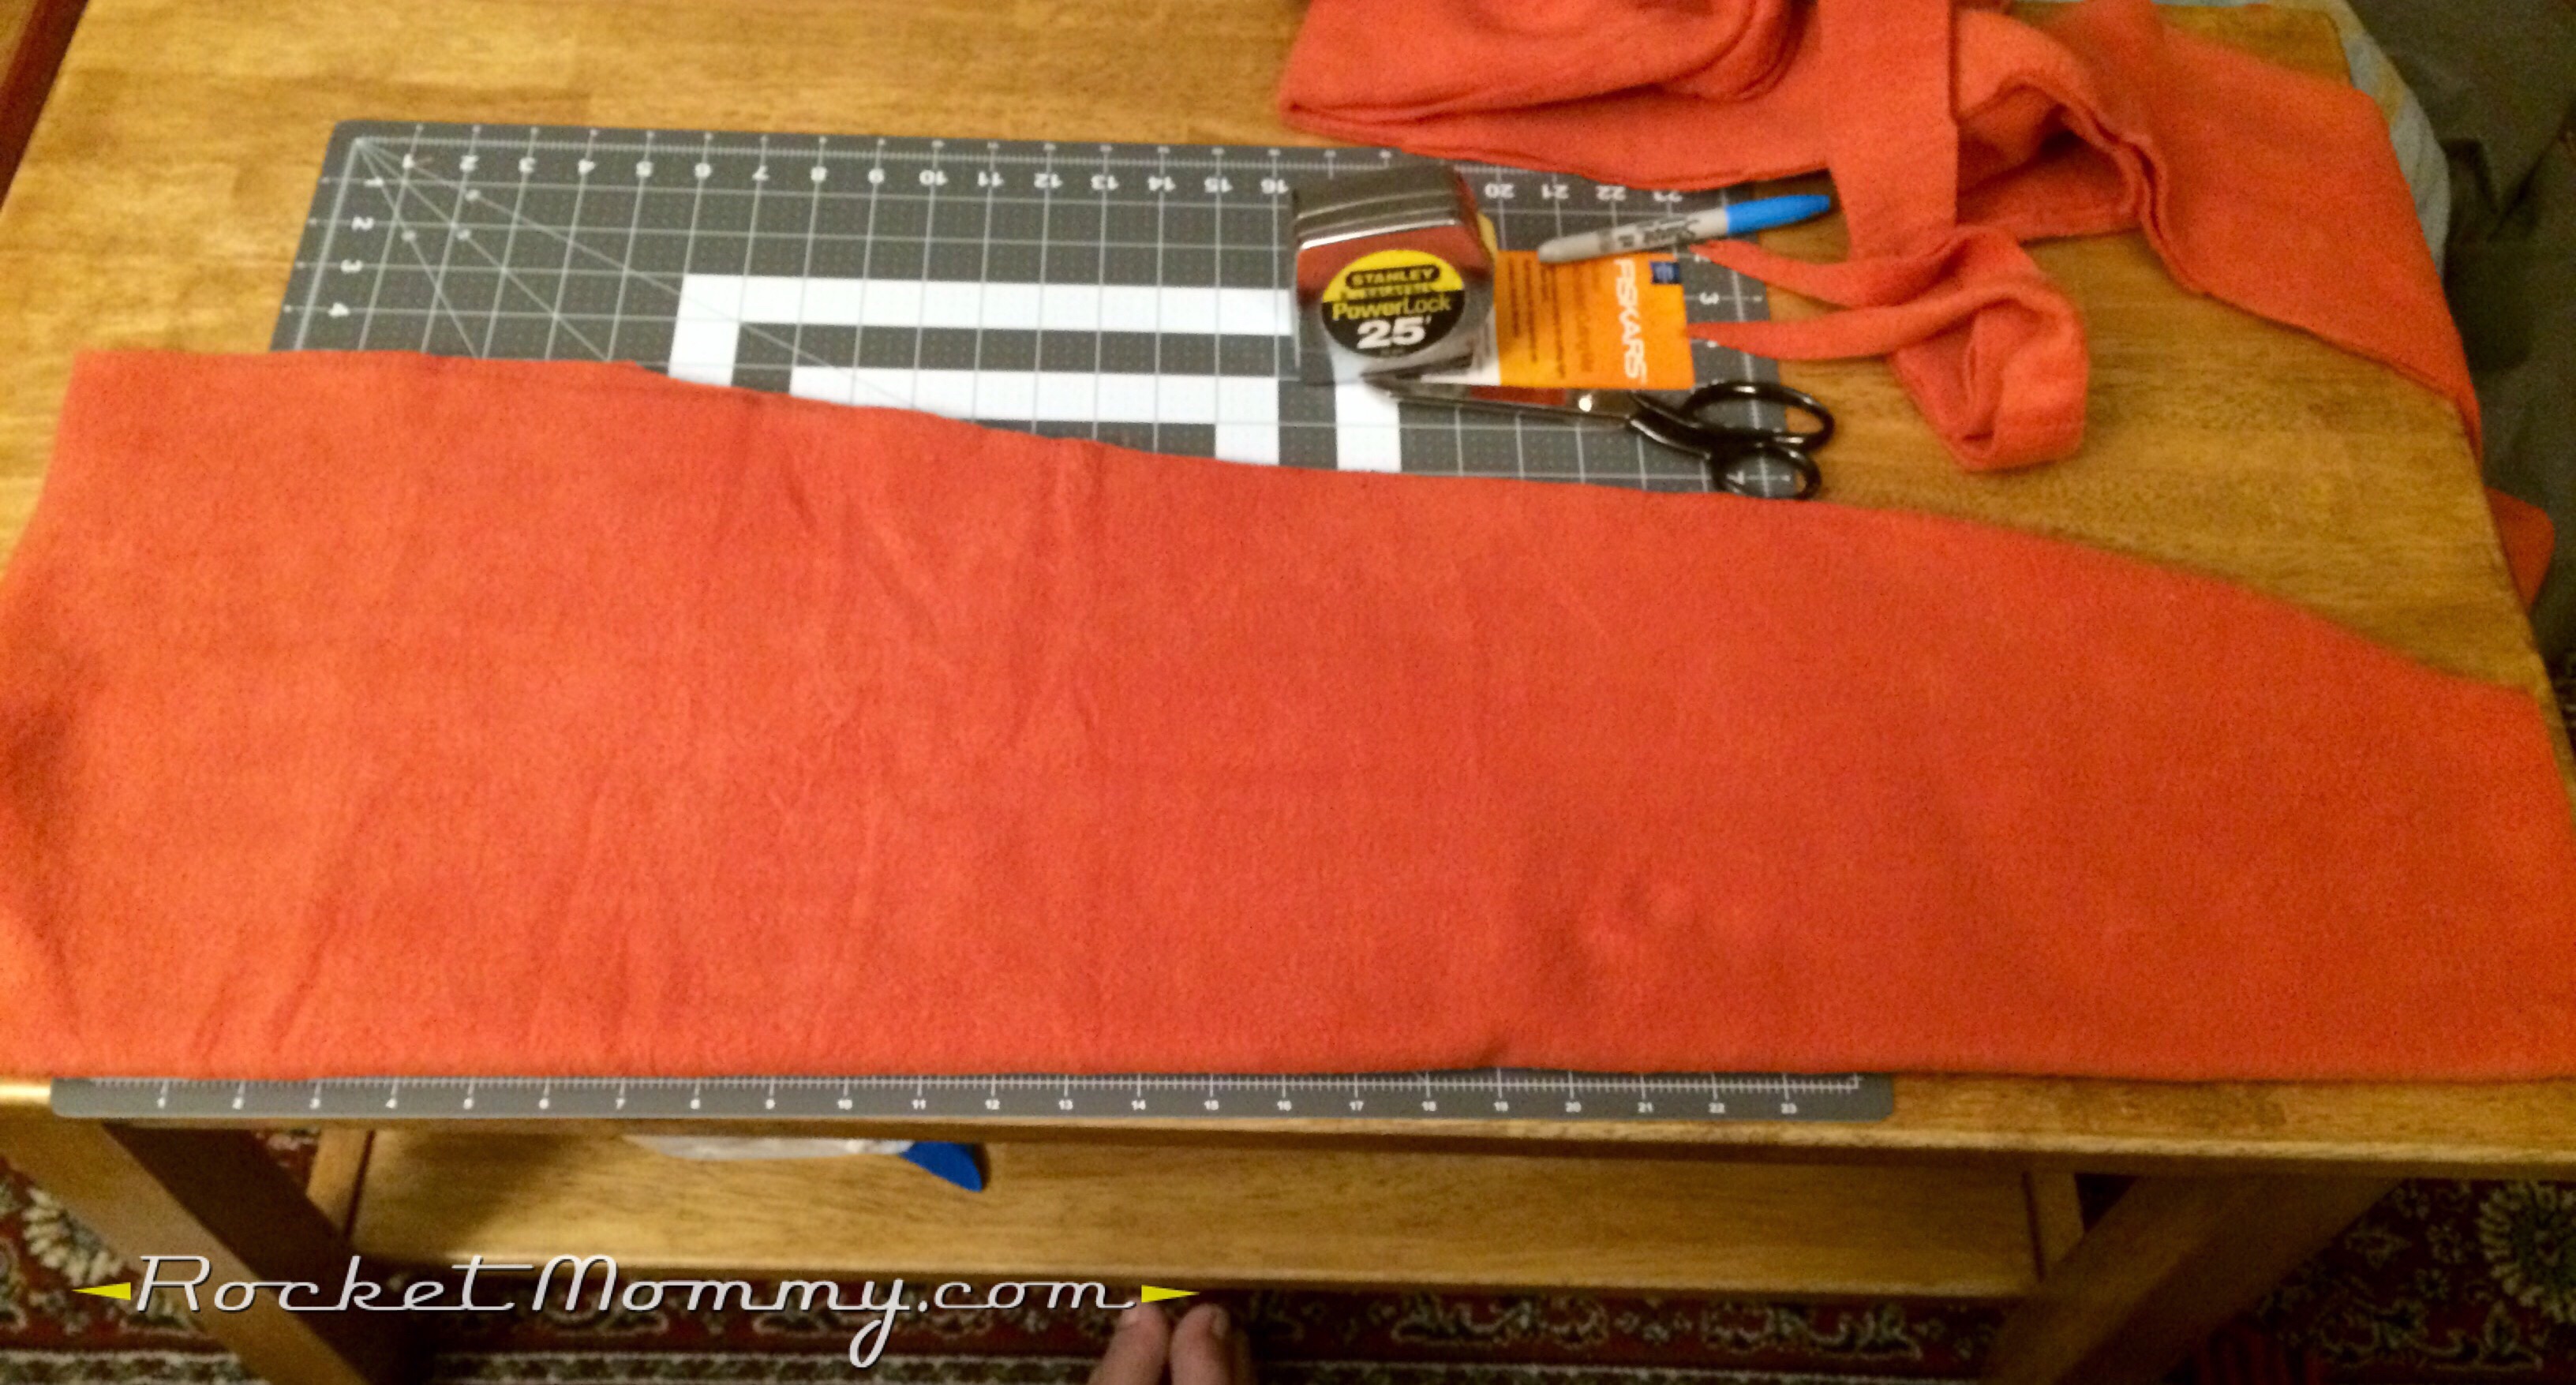
Fold and cut your orange fleece following the original tutorial, until you have two pieces that look like this photo and measure about 36″ long and 24″ wide at the top (12″ wide at the top when folded like you see here). The bottom will be 12″ wide, or 6″ when folded.
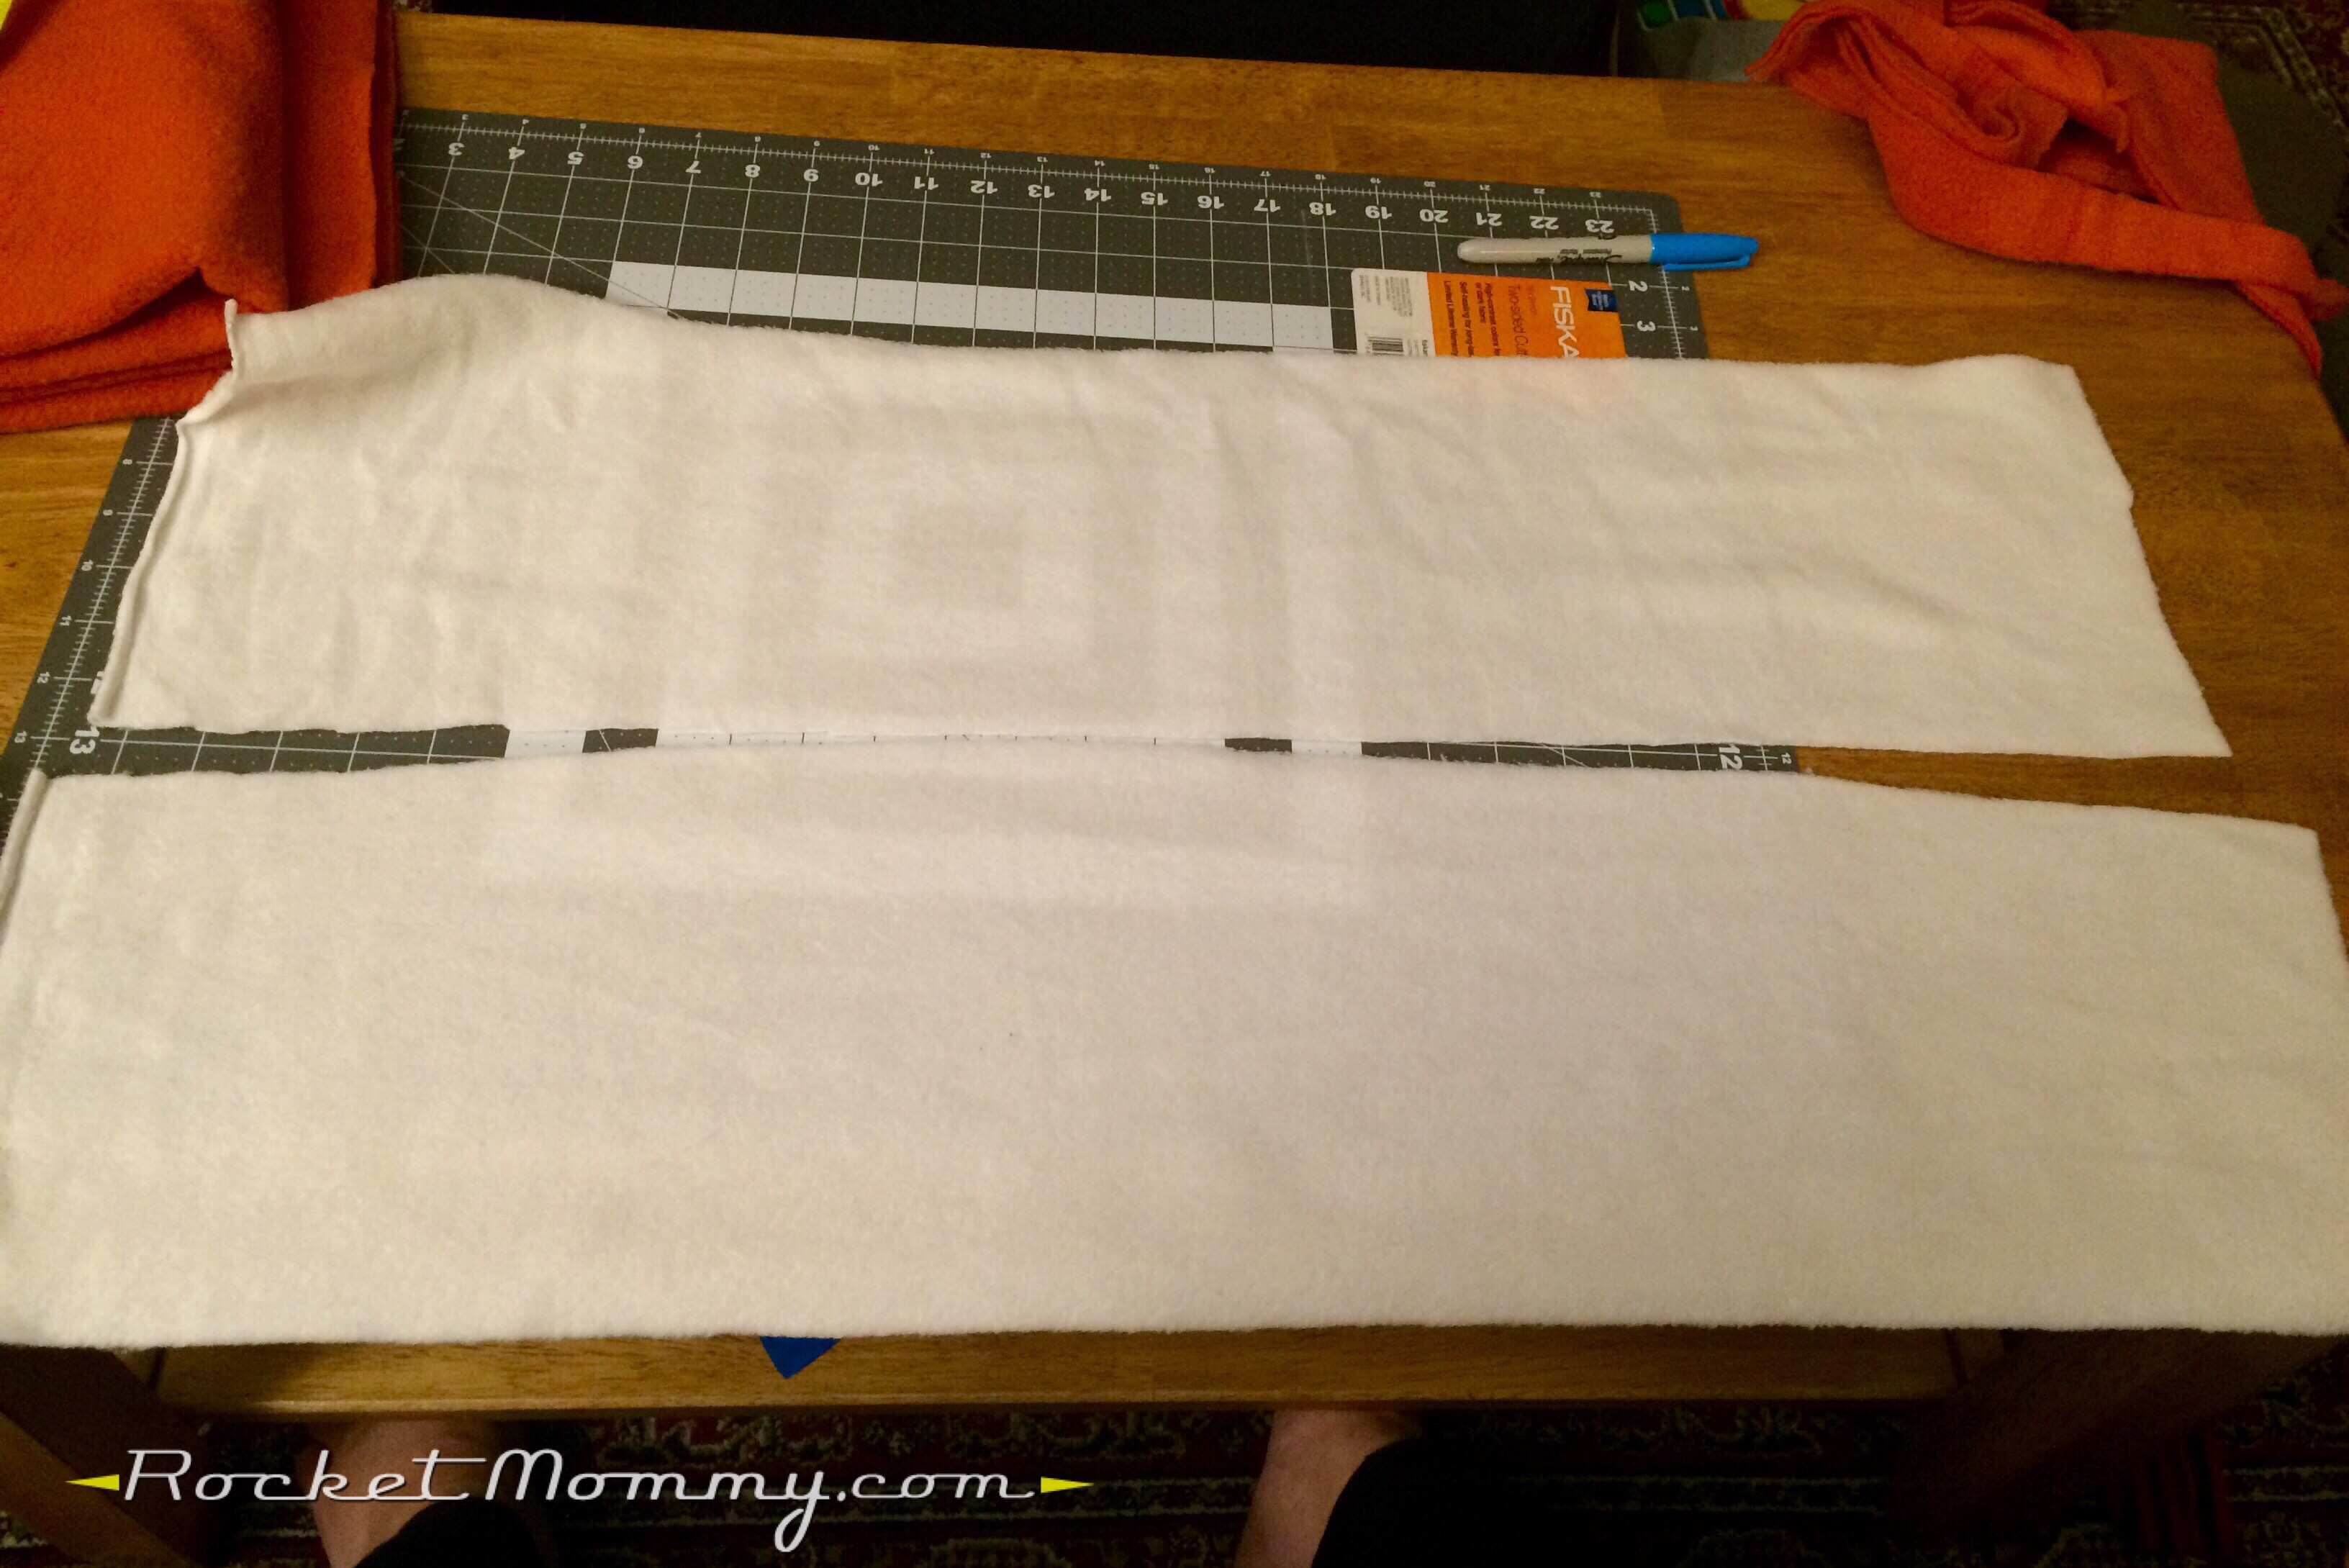
Then we’re going to move on to the stripes. Cut two 24″ strips of white fleece, one 10″ wide, one 8″ wide. These are a little oversized for now, but that’s ok, we’ll trim them down later.
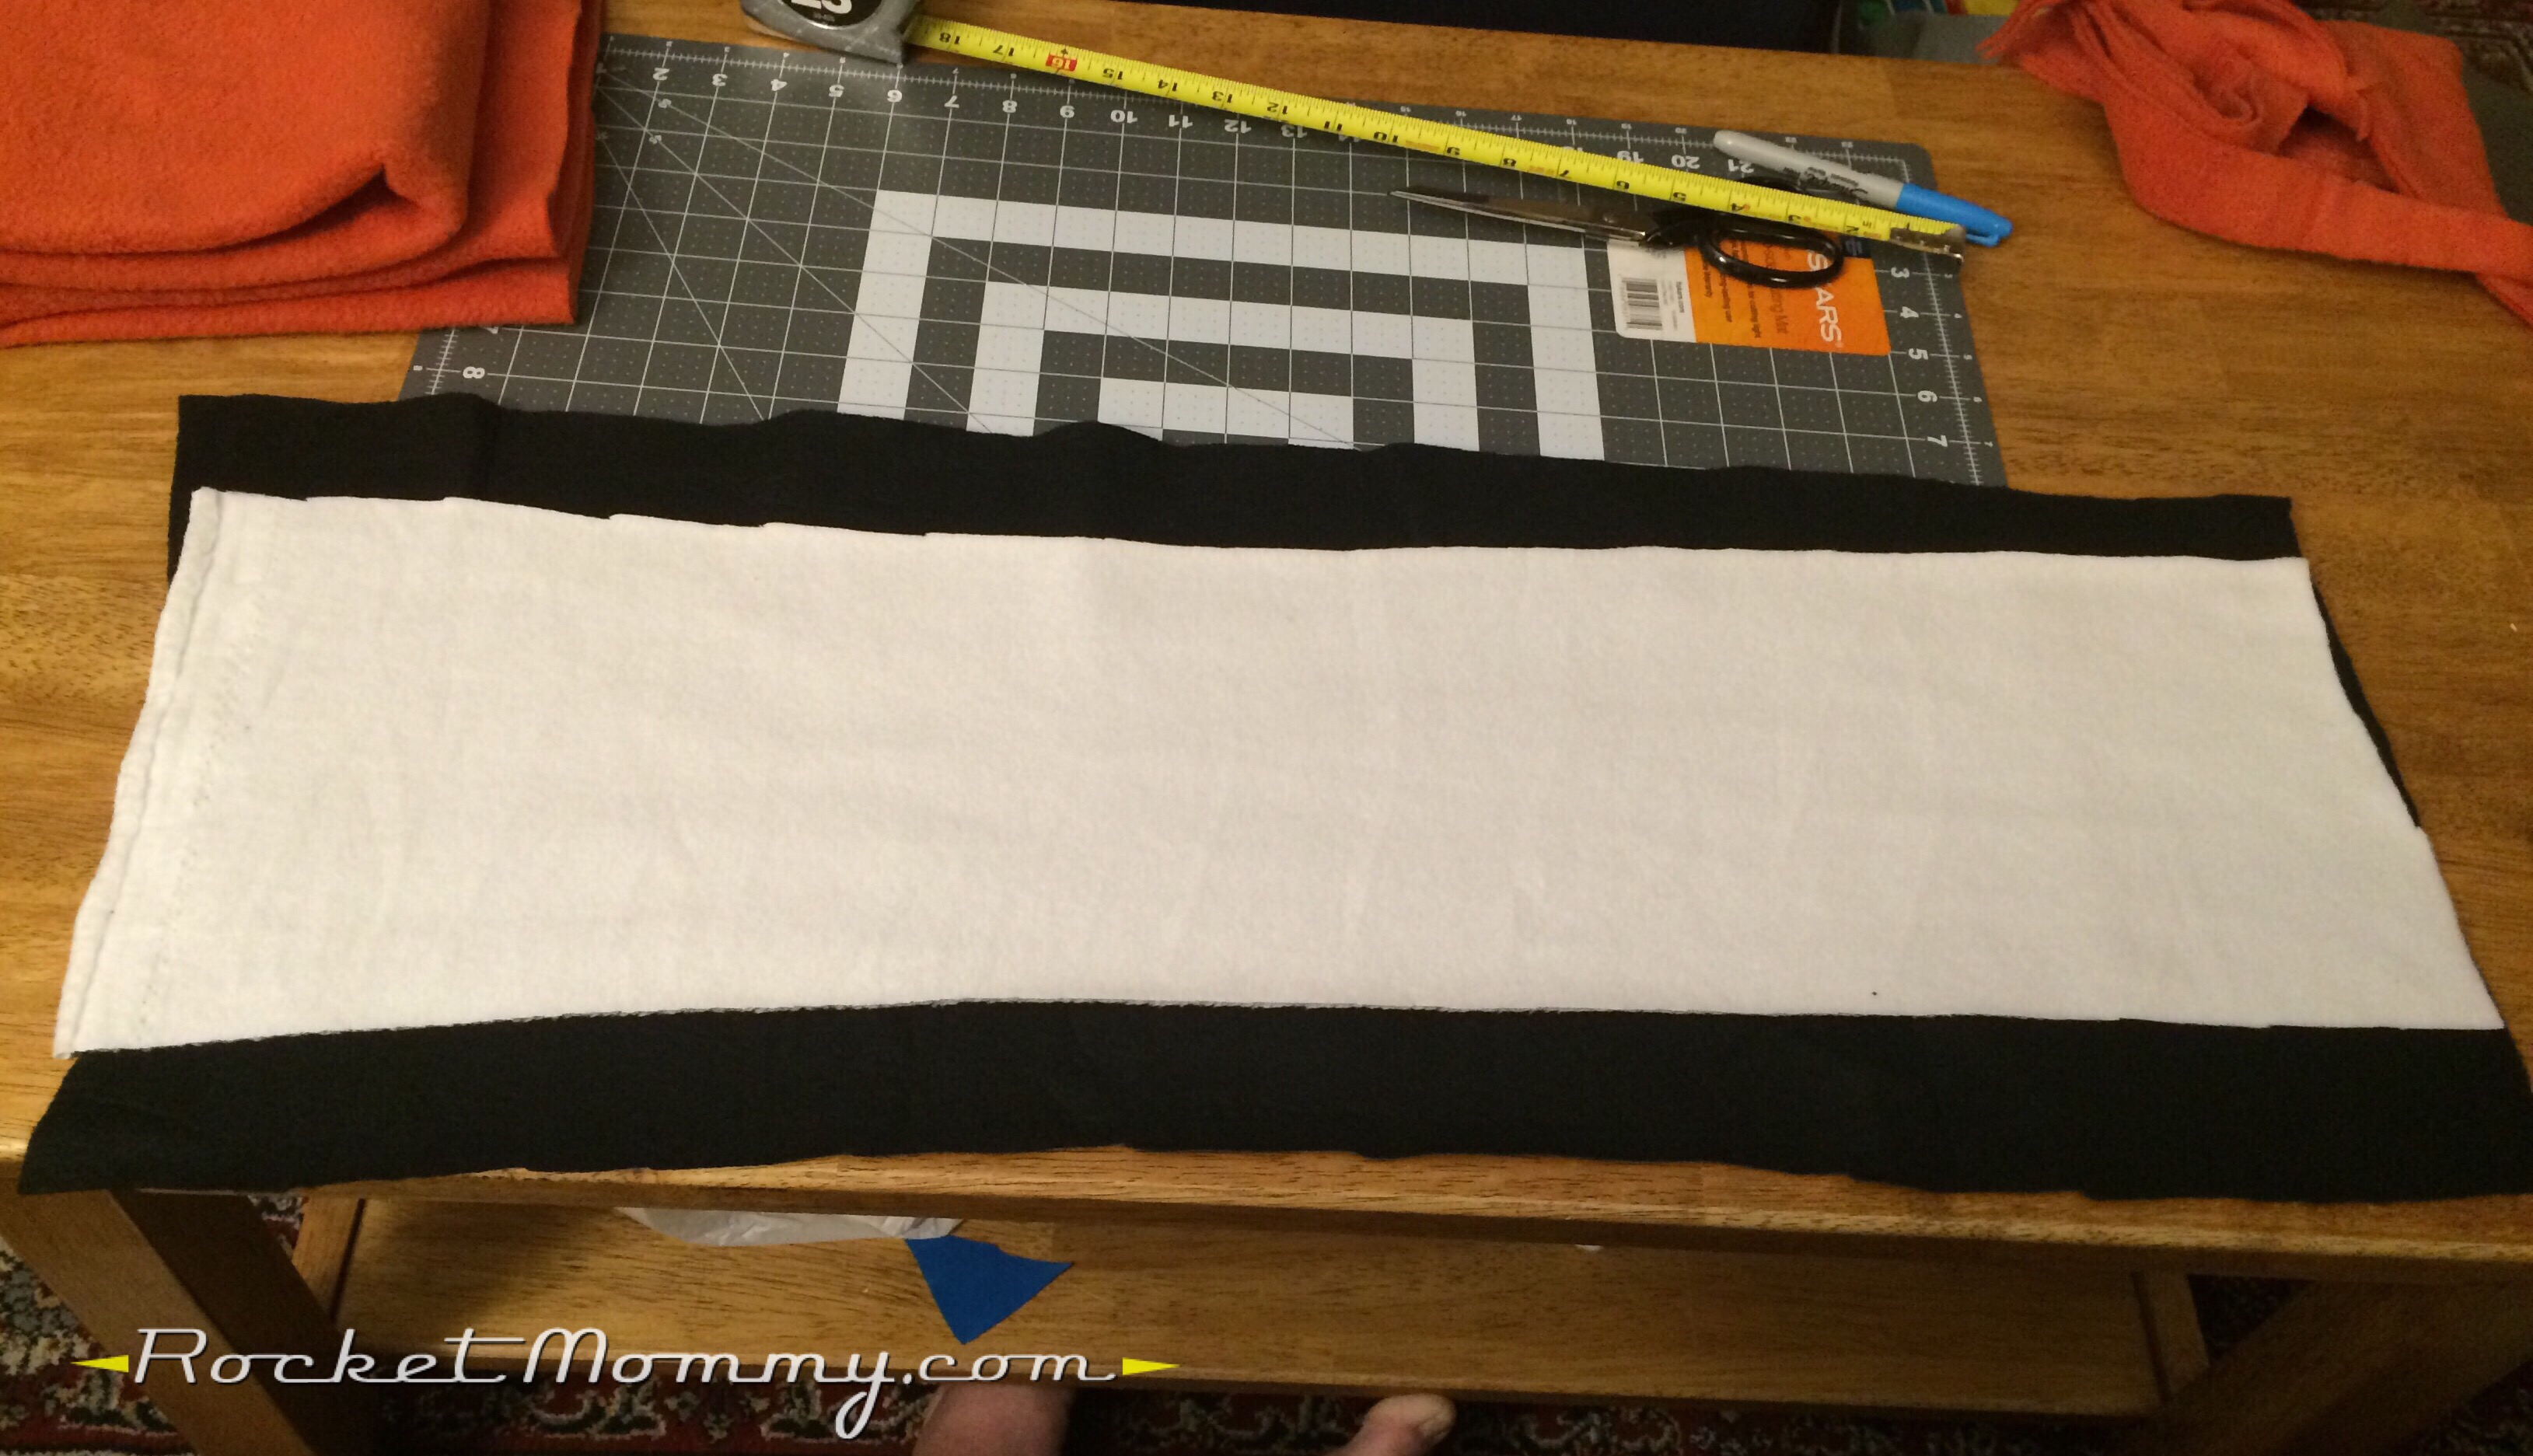
Then we’re going to do the same with the black fleece, but we’re going to make each one about 4″ wider than the white stripe. So there will be two 24″ black pieces, one 14″, one 12″.
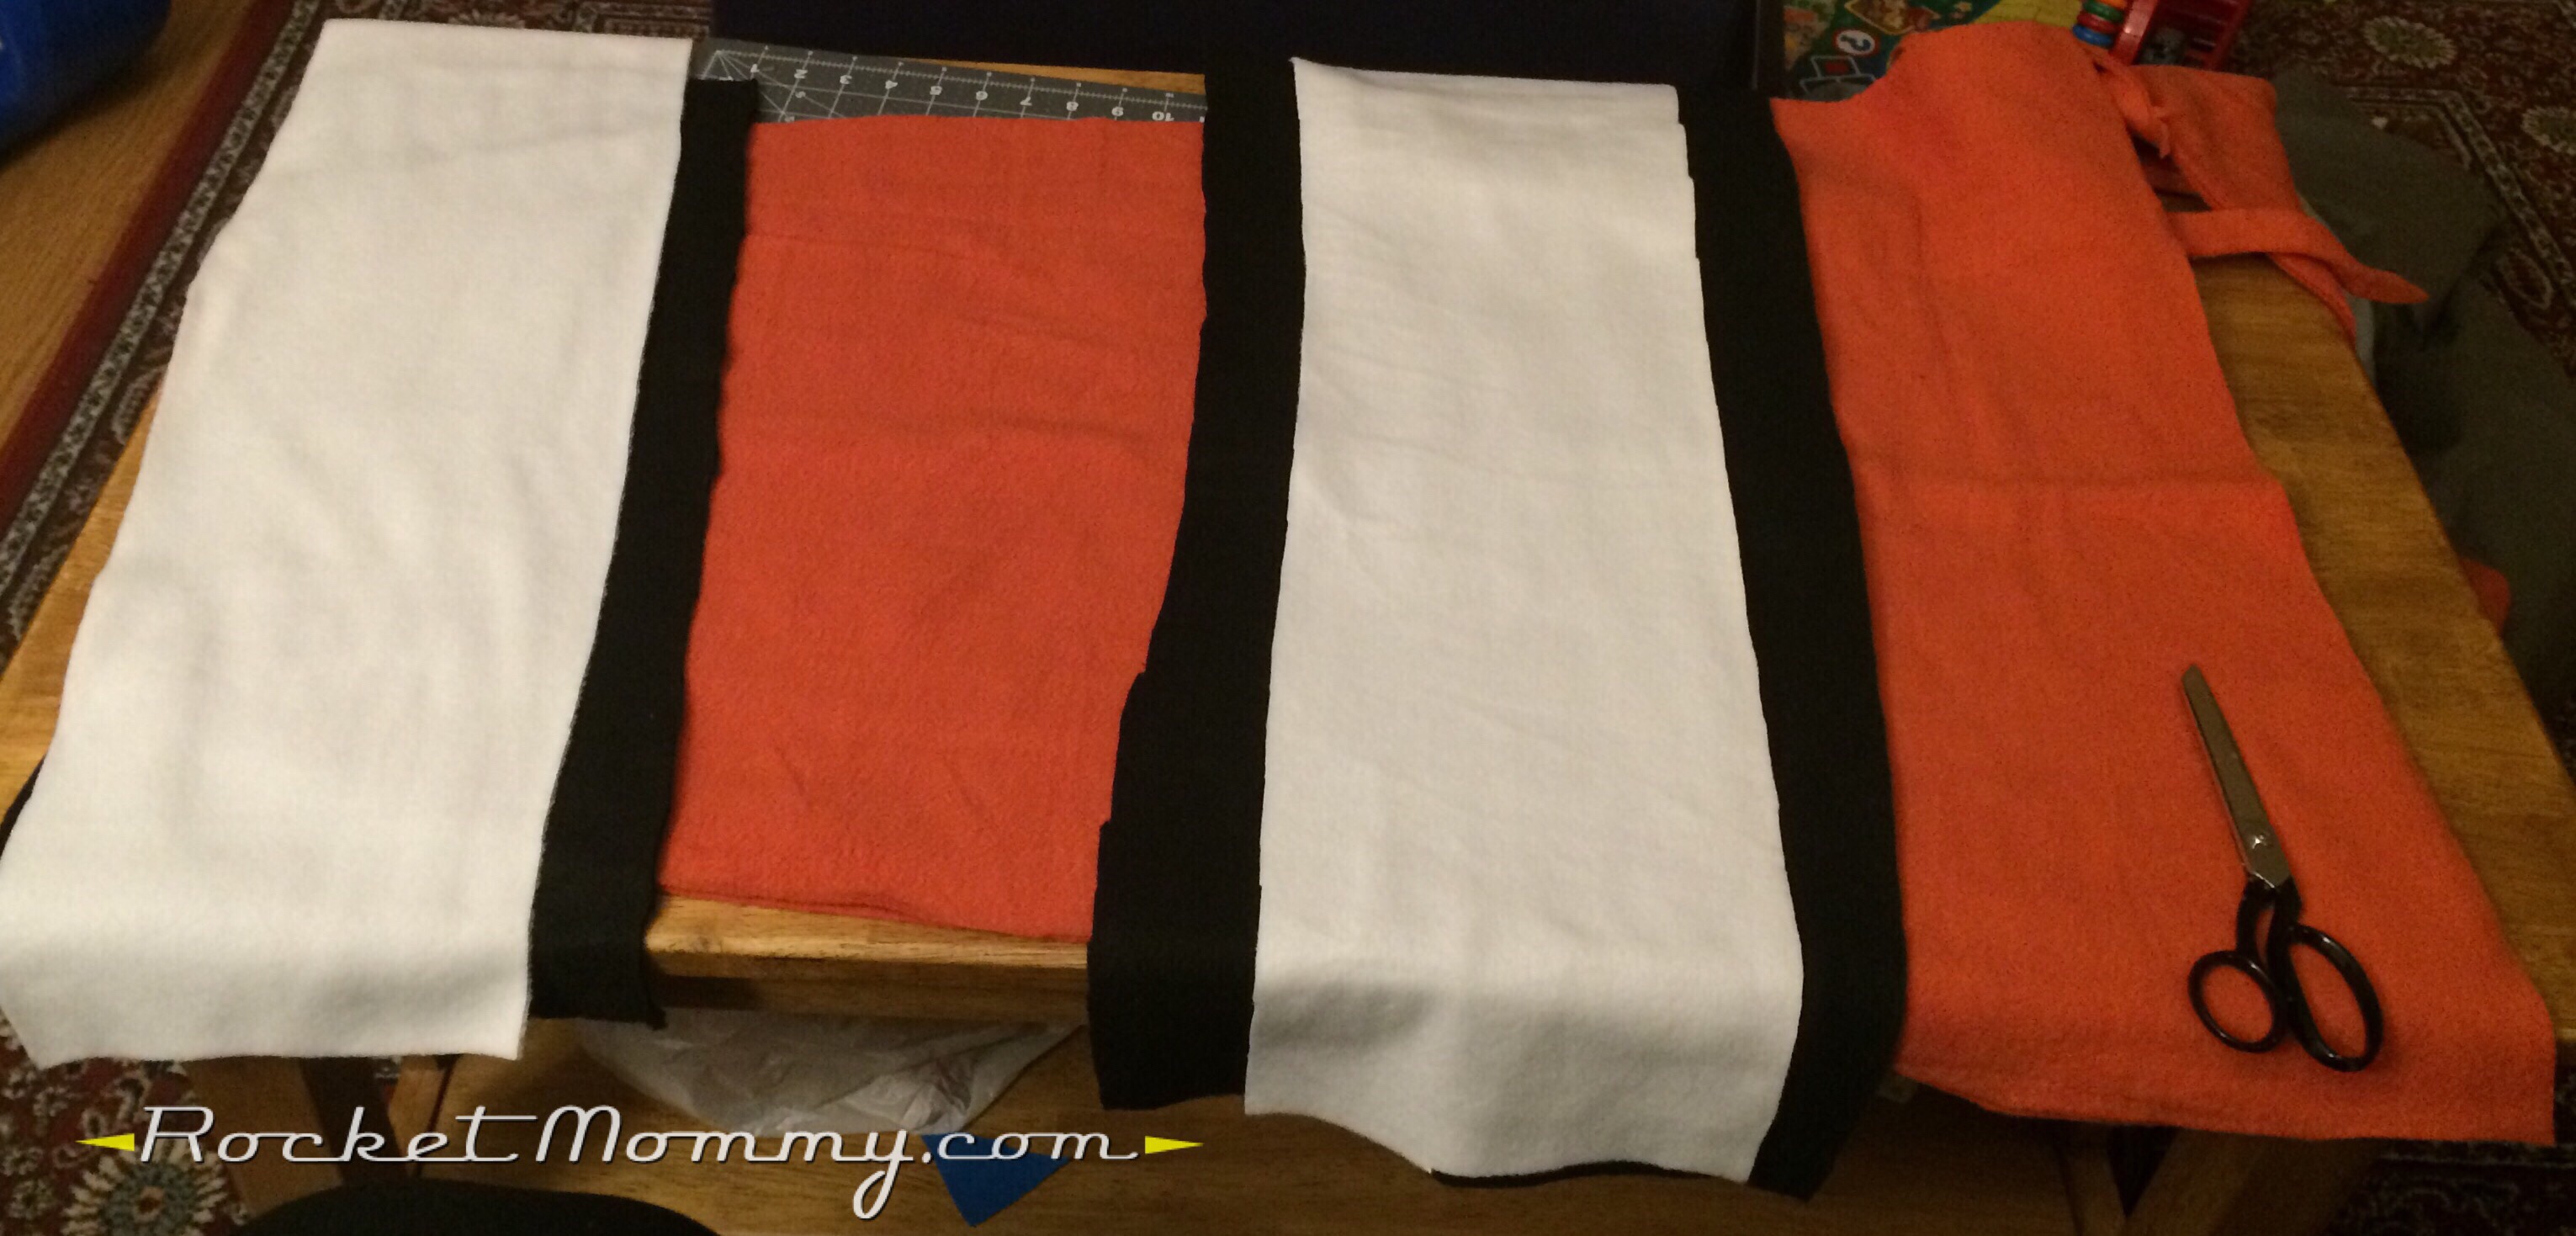
Take a second to lay your stripes out on the orange fabric and see how you feel about the width and placement. You’re going to trim the stripes in the next step, so this should give you a sense for how much you can cut.
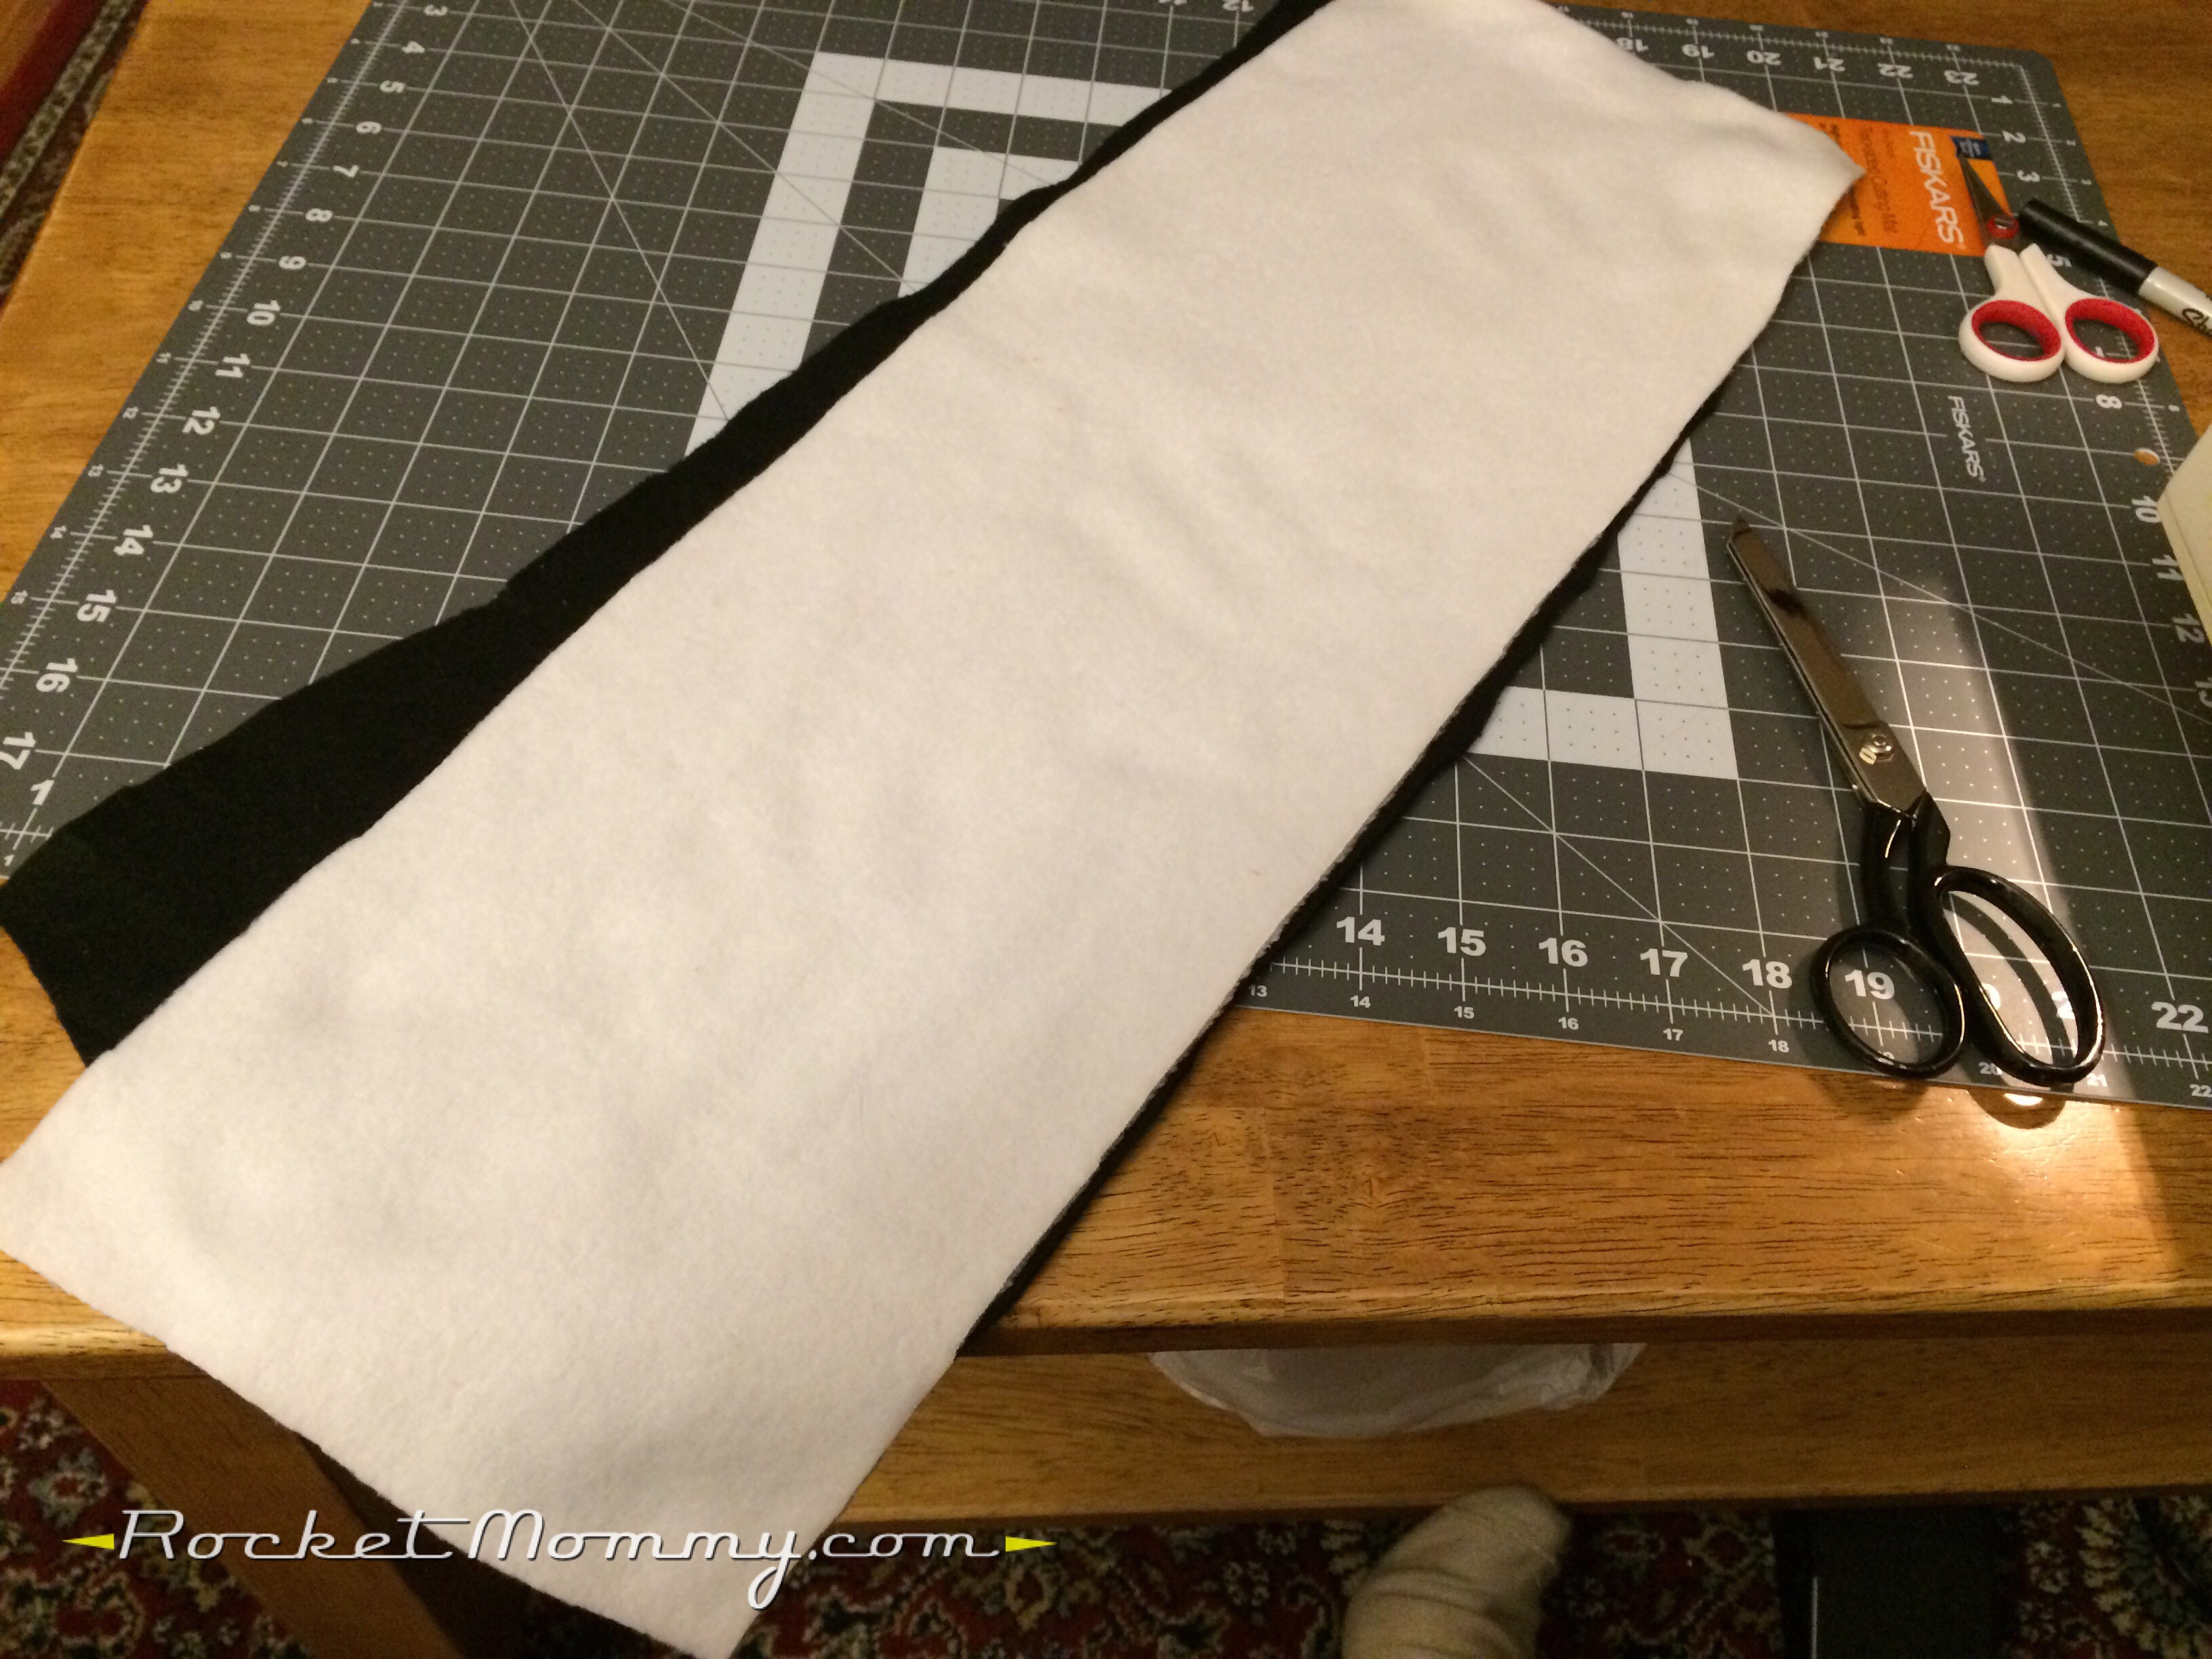
Line up one edge of the white with the black.
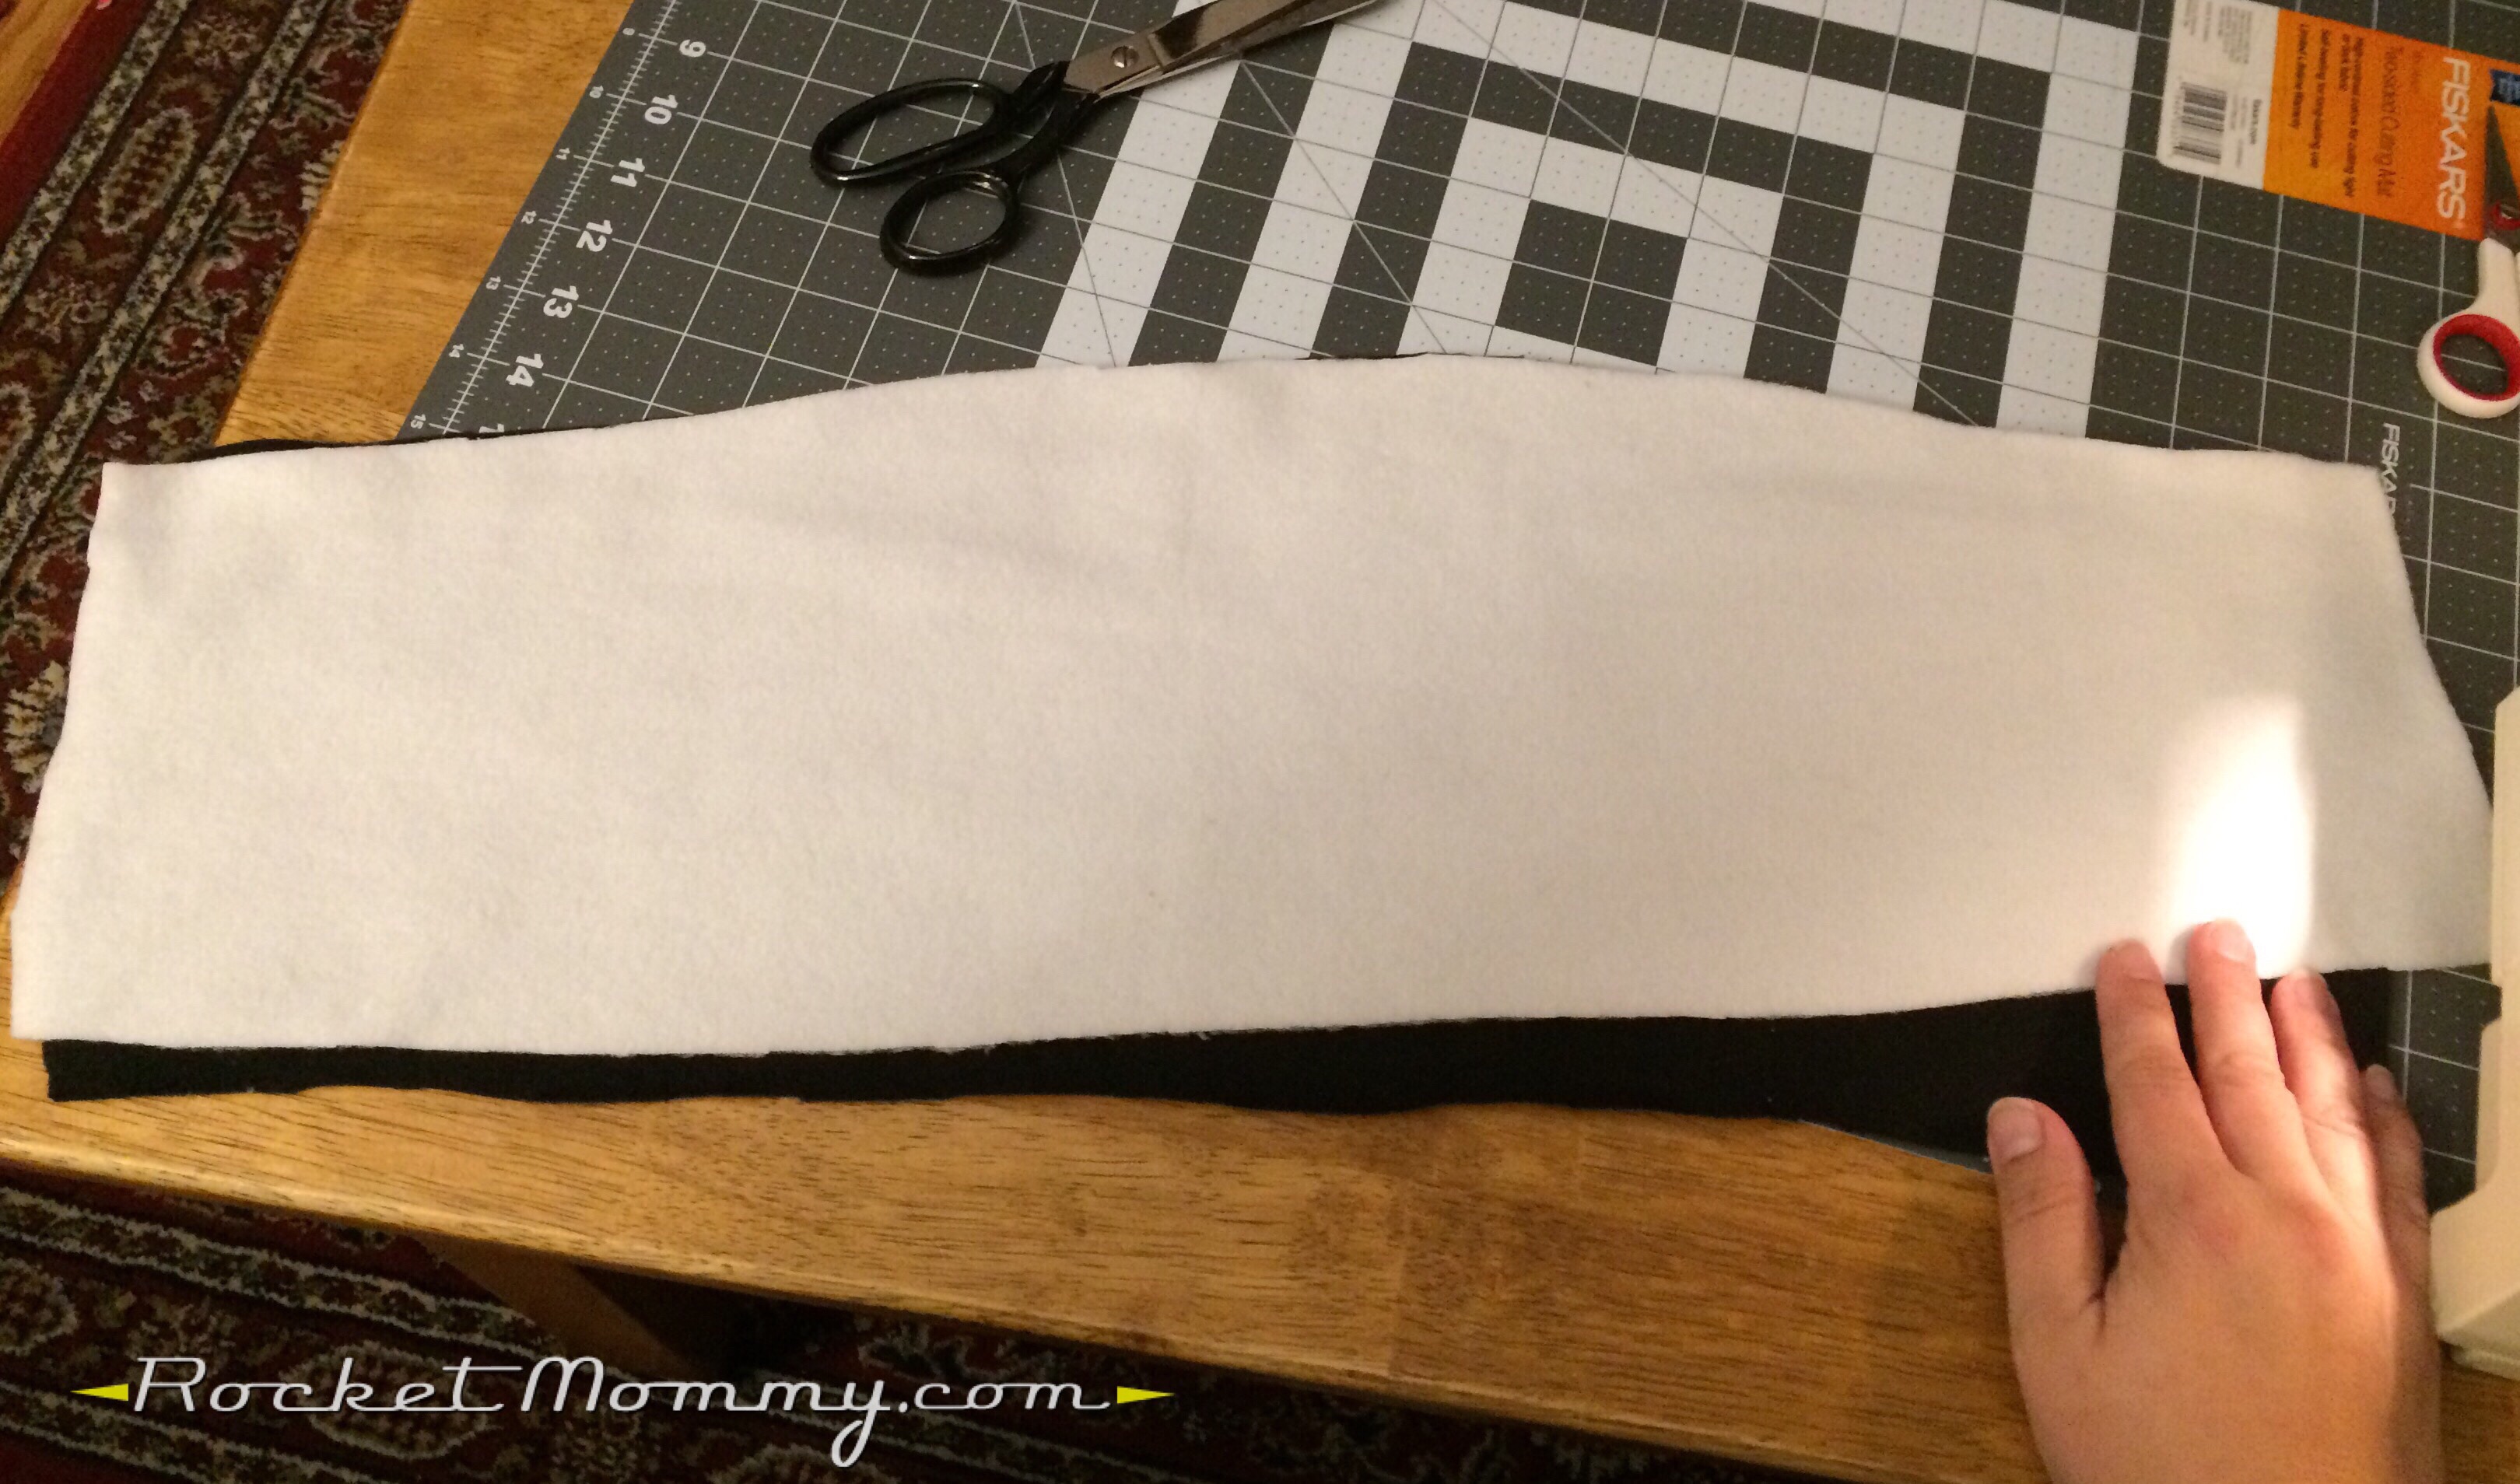
The clownfish stripes have a gentle curve to them, so we’re going to cut that edge so that it has a big, sloping convex curve to it. You can draw this out first to make sure it’s perfect, but I just went ahead and cut.
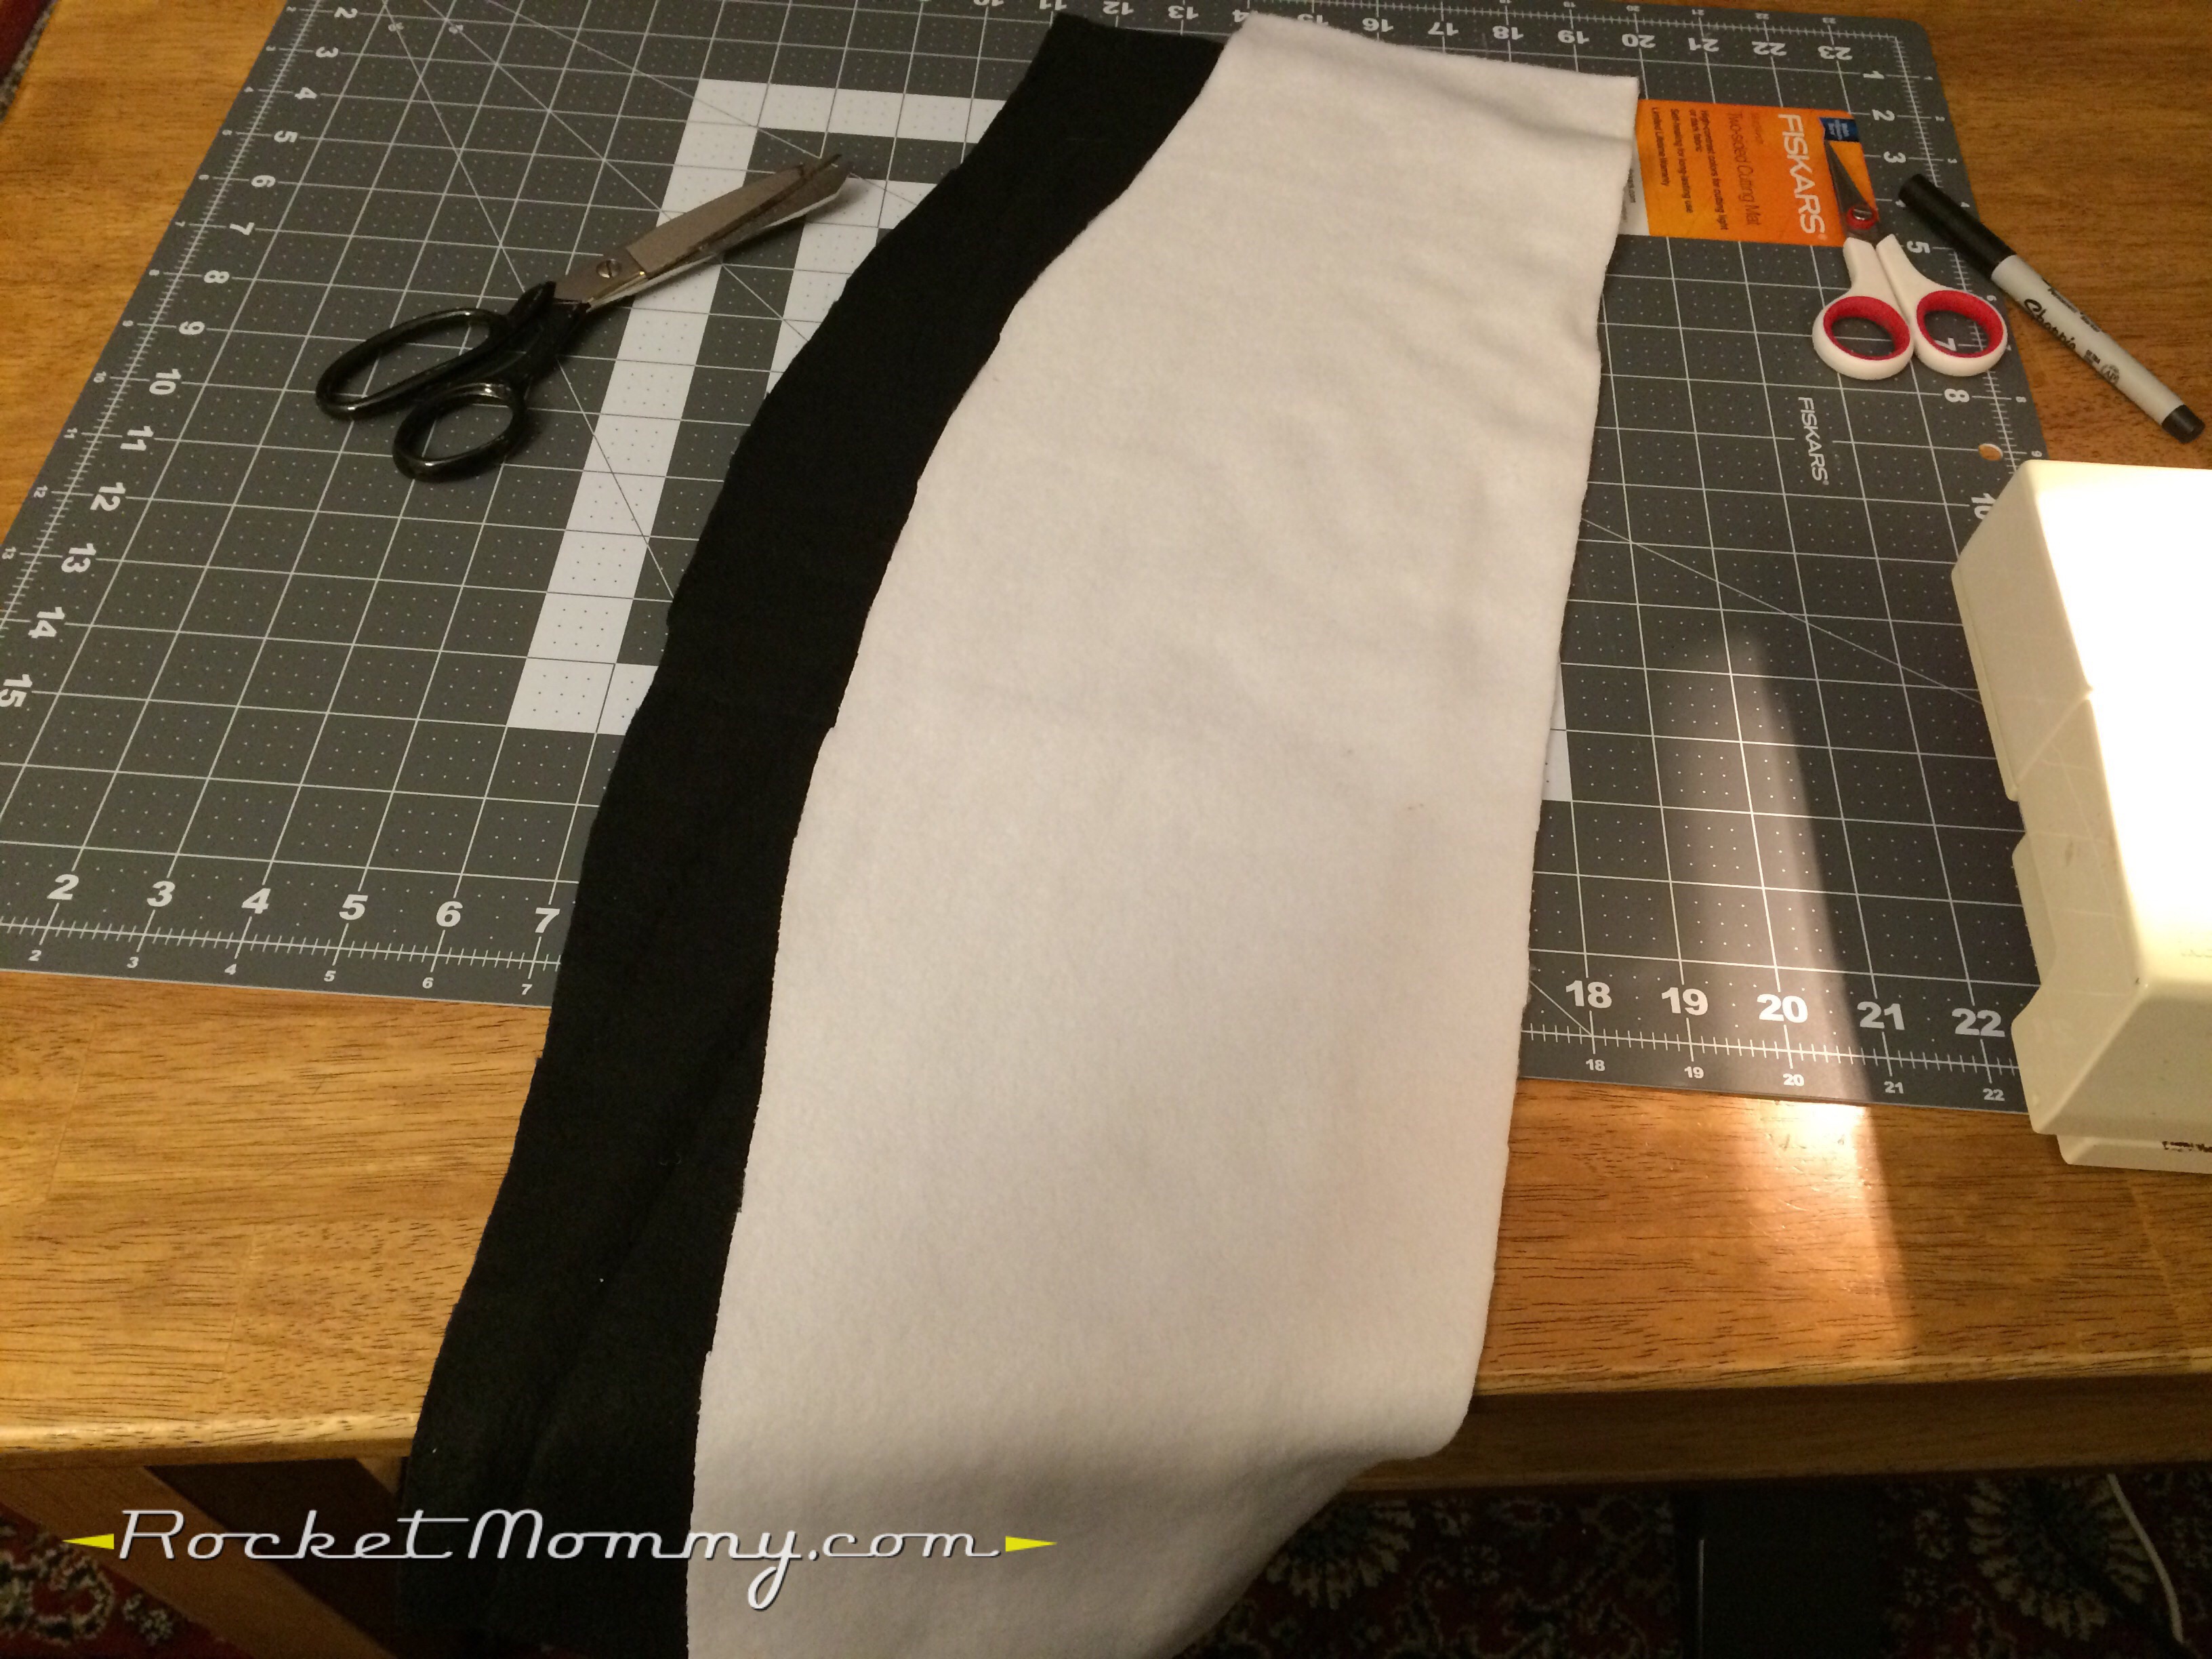
Now let’s see if I can explain this correctly. Move the white piece so that there’s DOUBLE the amount of black fabric visible than what you’ll want in the finished product. So those black stripes that are going to be on either side of the white stripe? The black part on the left in this photo is twice as big as the black stripe should be.
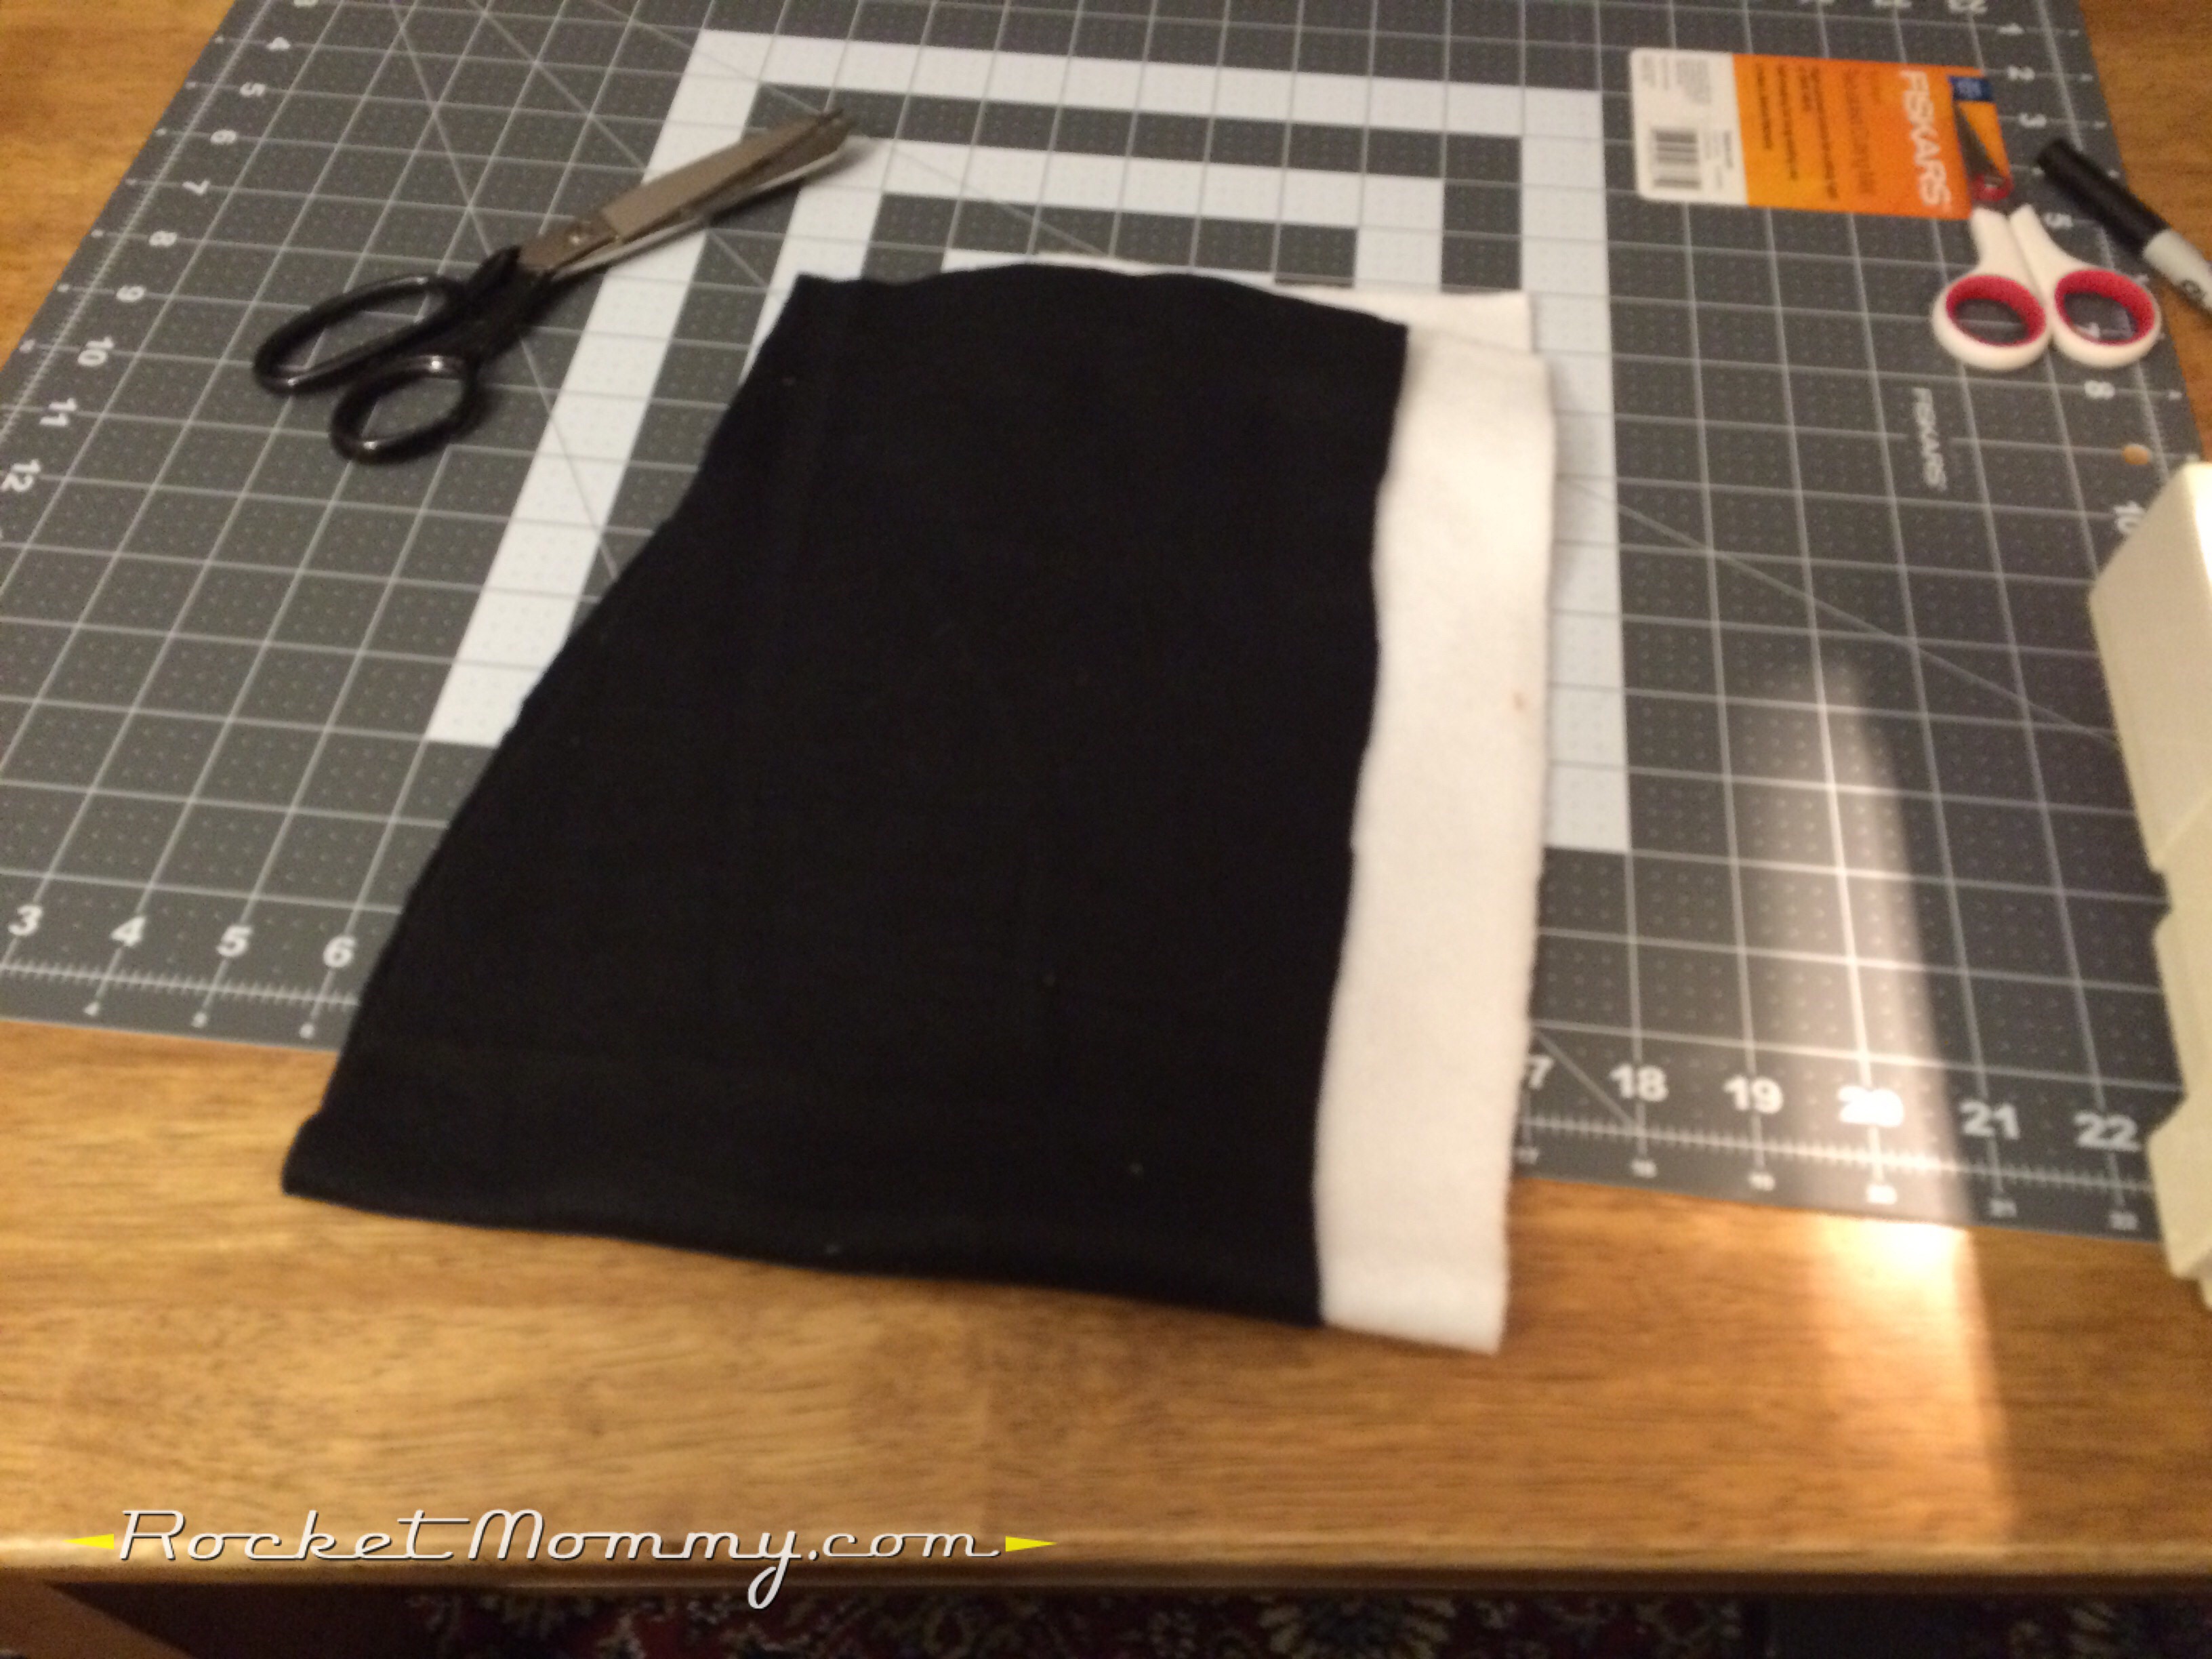
Ugh, sorry for the blurry pic. Take the piece you were just working with and fold it in half, keeping everything lined up, and you’ll see the white fabric sticking out on the right side.
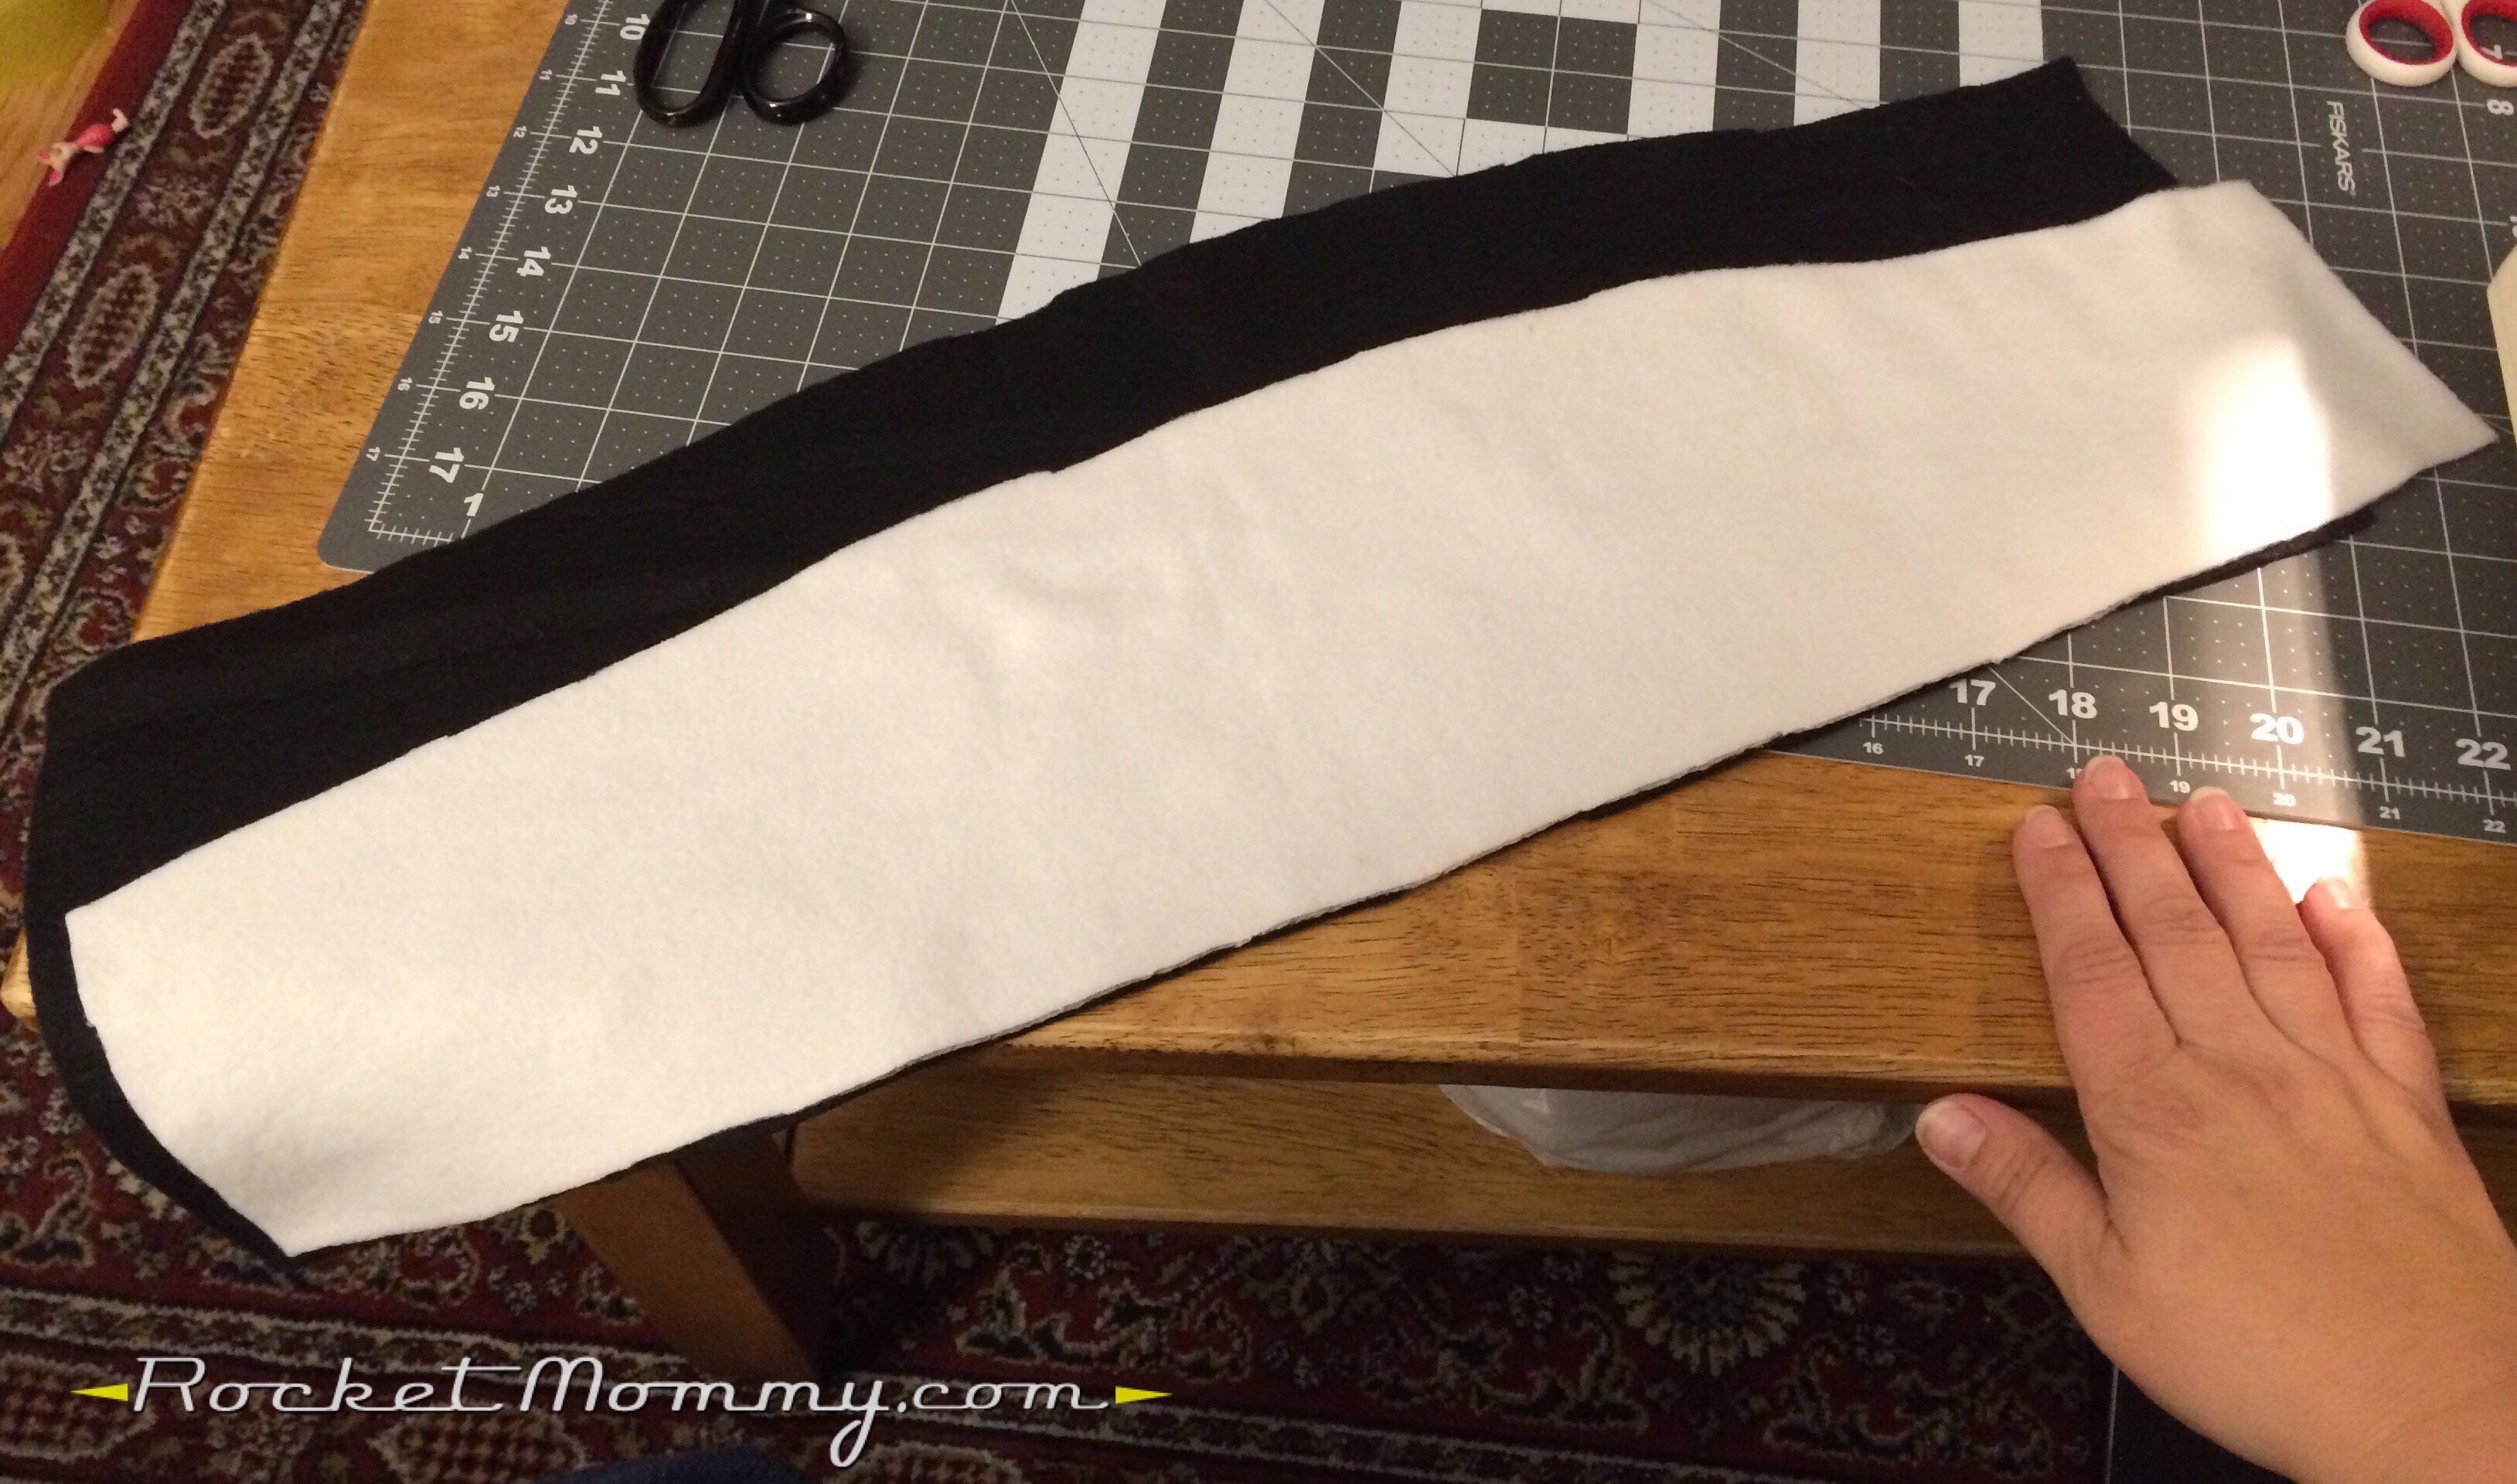
Chop the white fabric off so the black and white fabric are aligned on that right side.
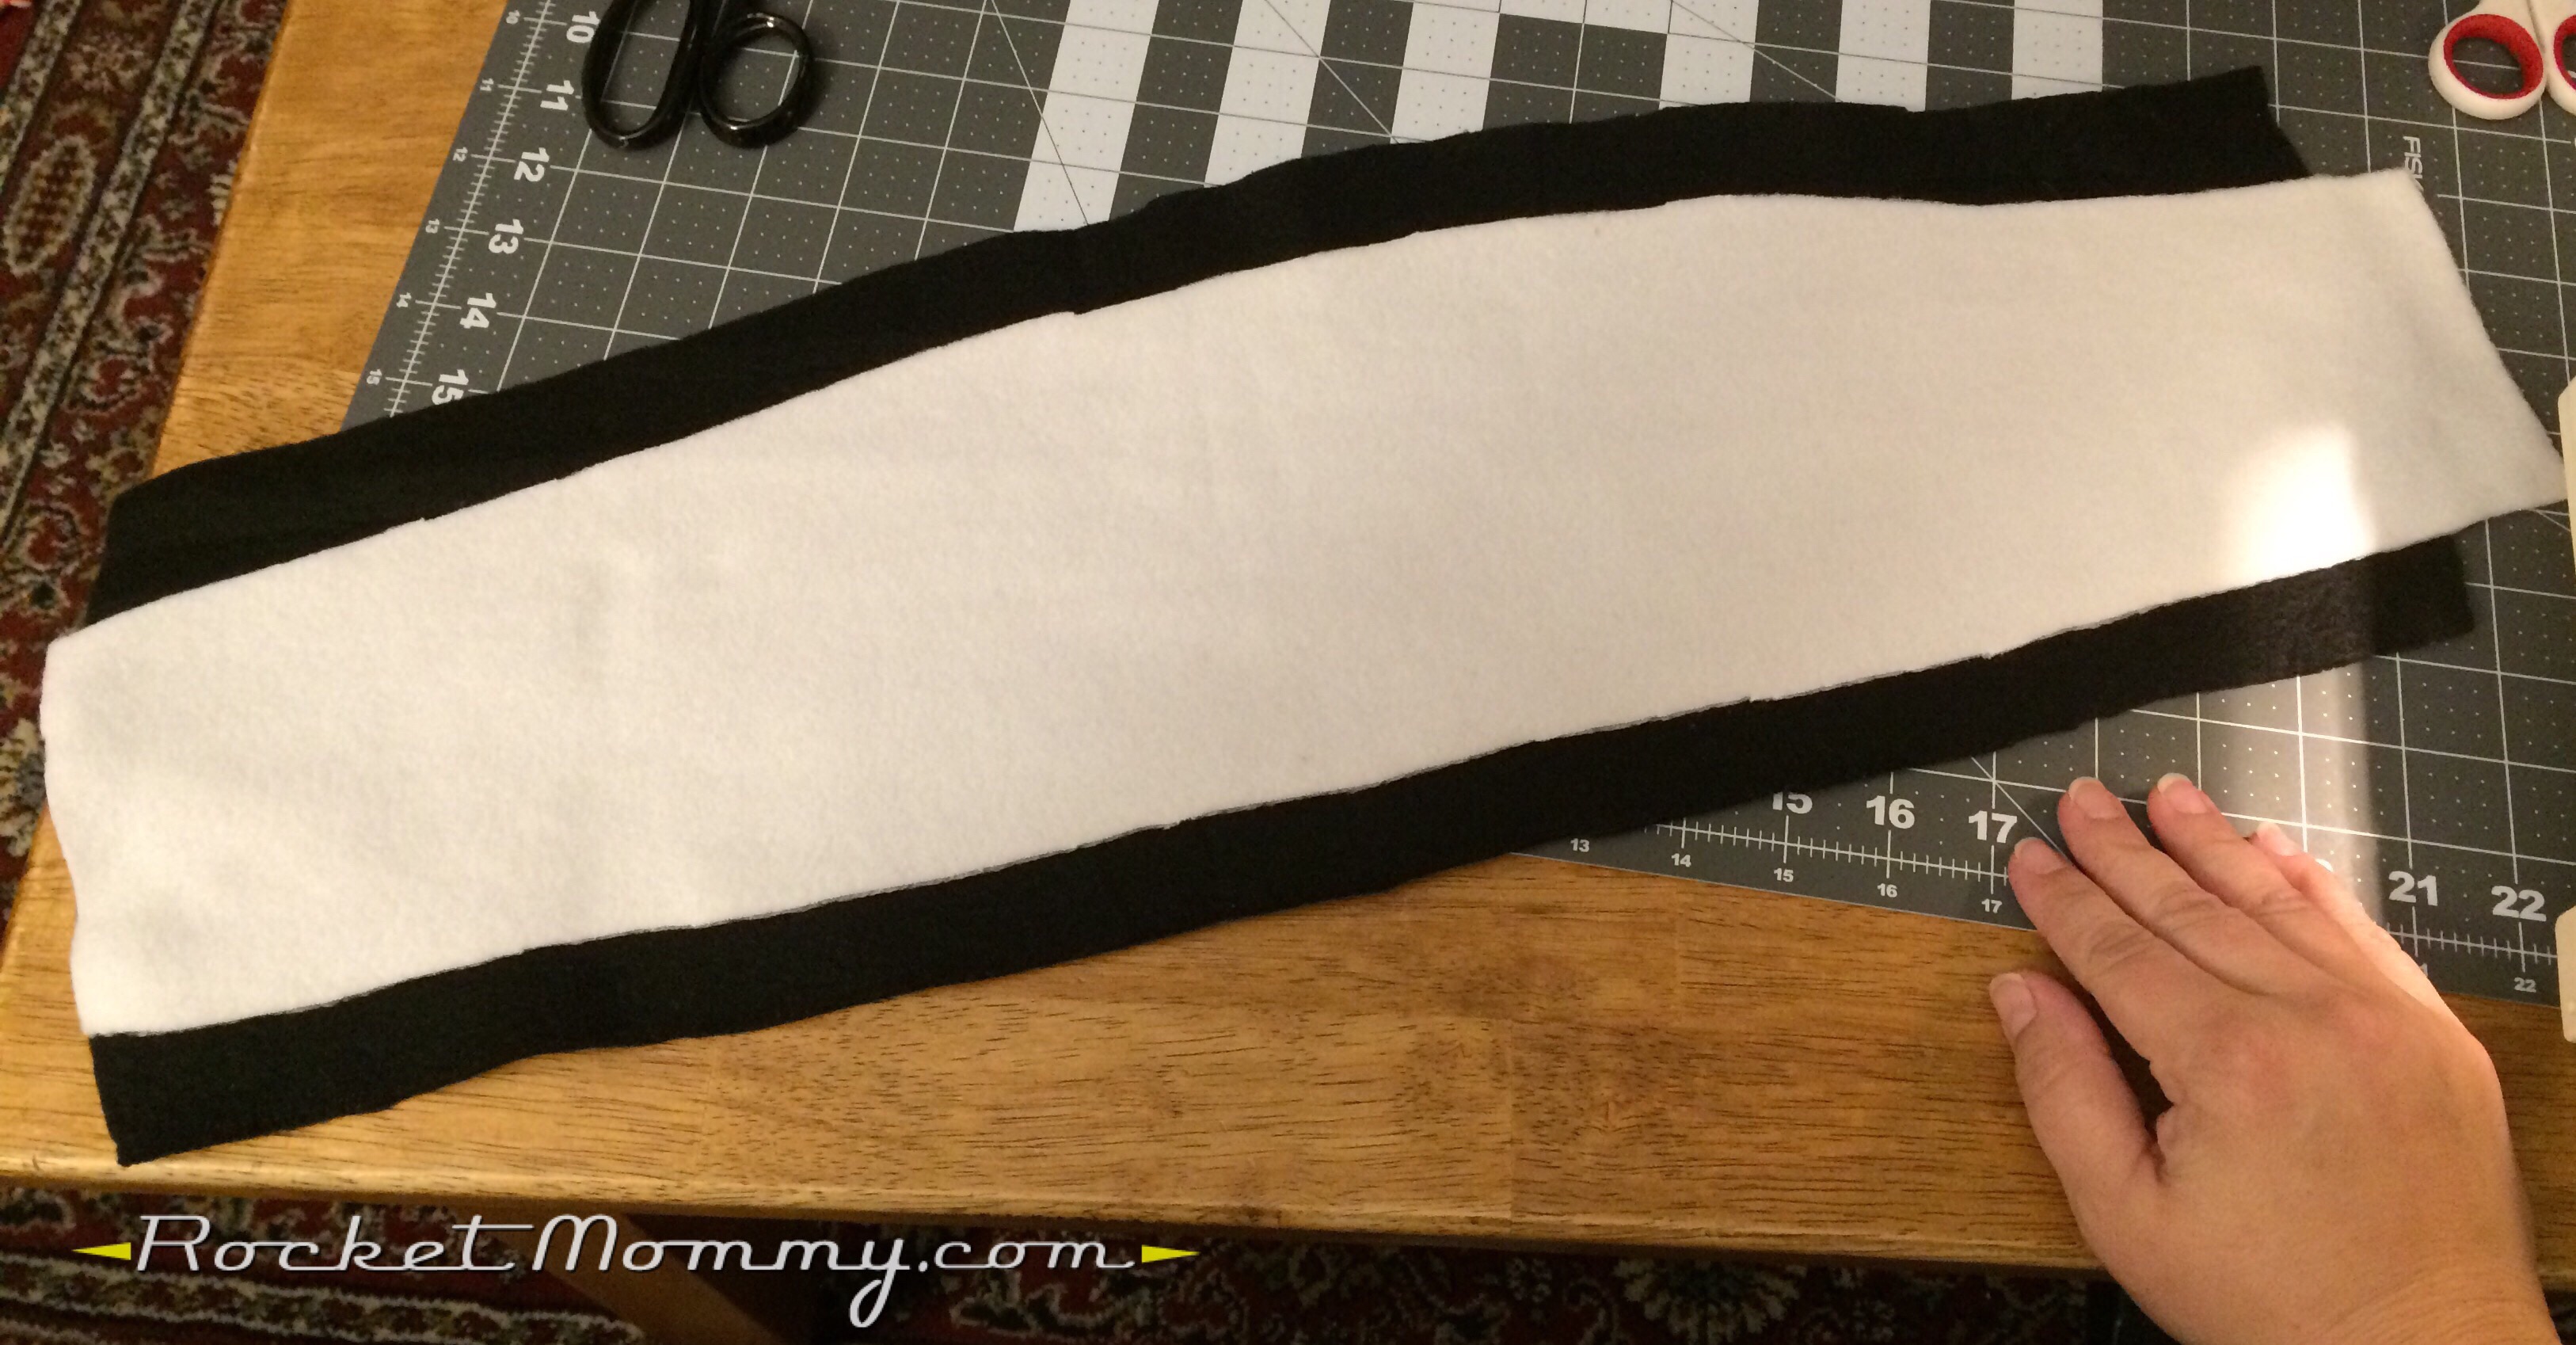
Then take that white fabric and center it on the black. The black stripes should be the width you wanted on either side.
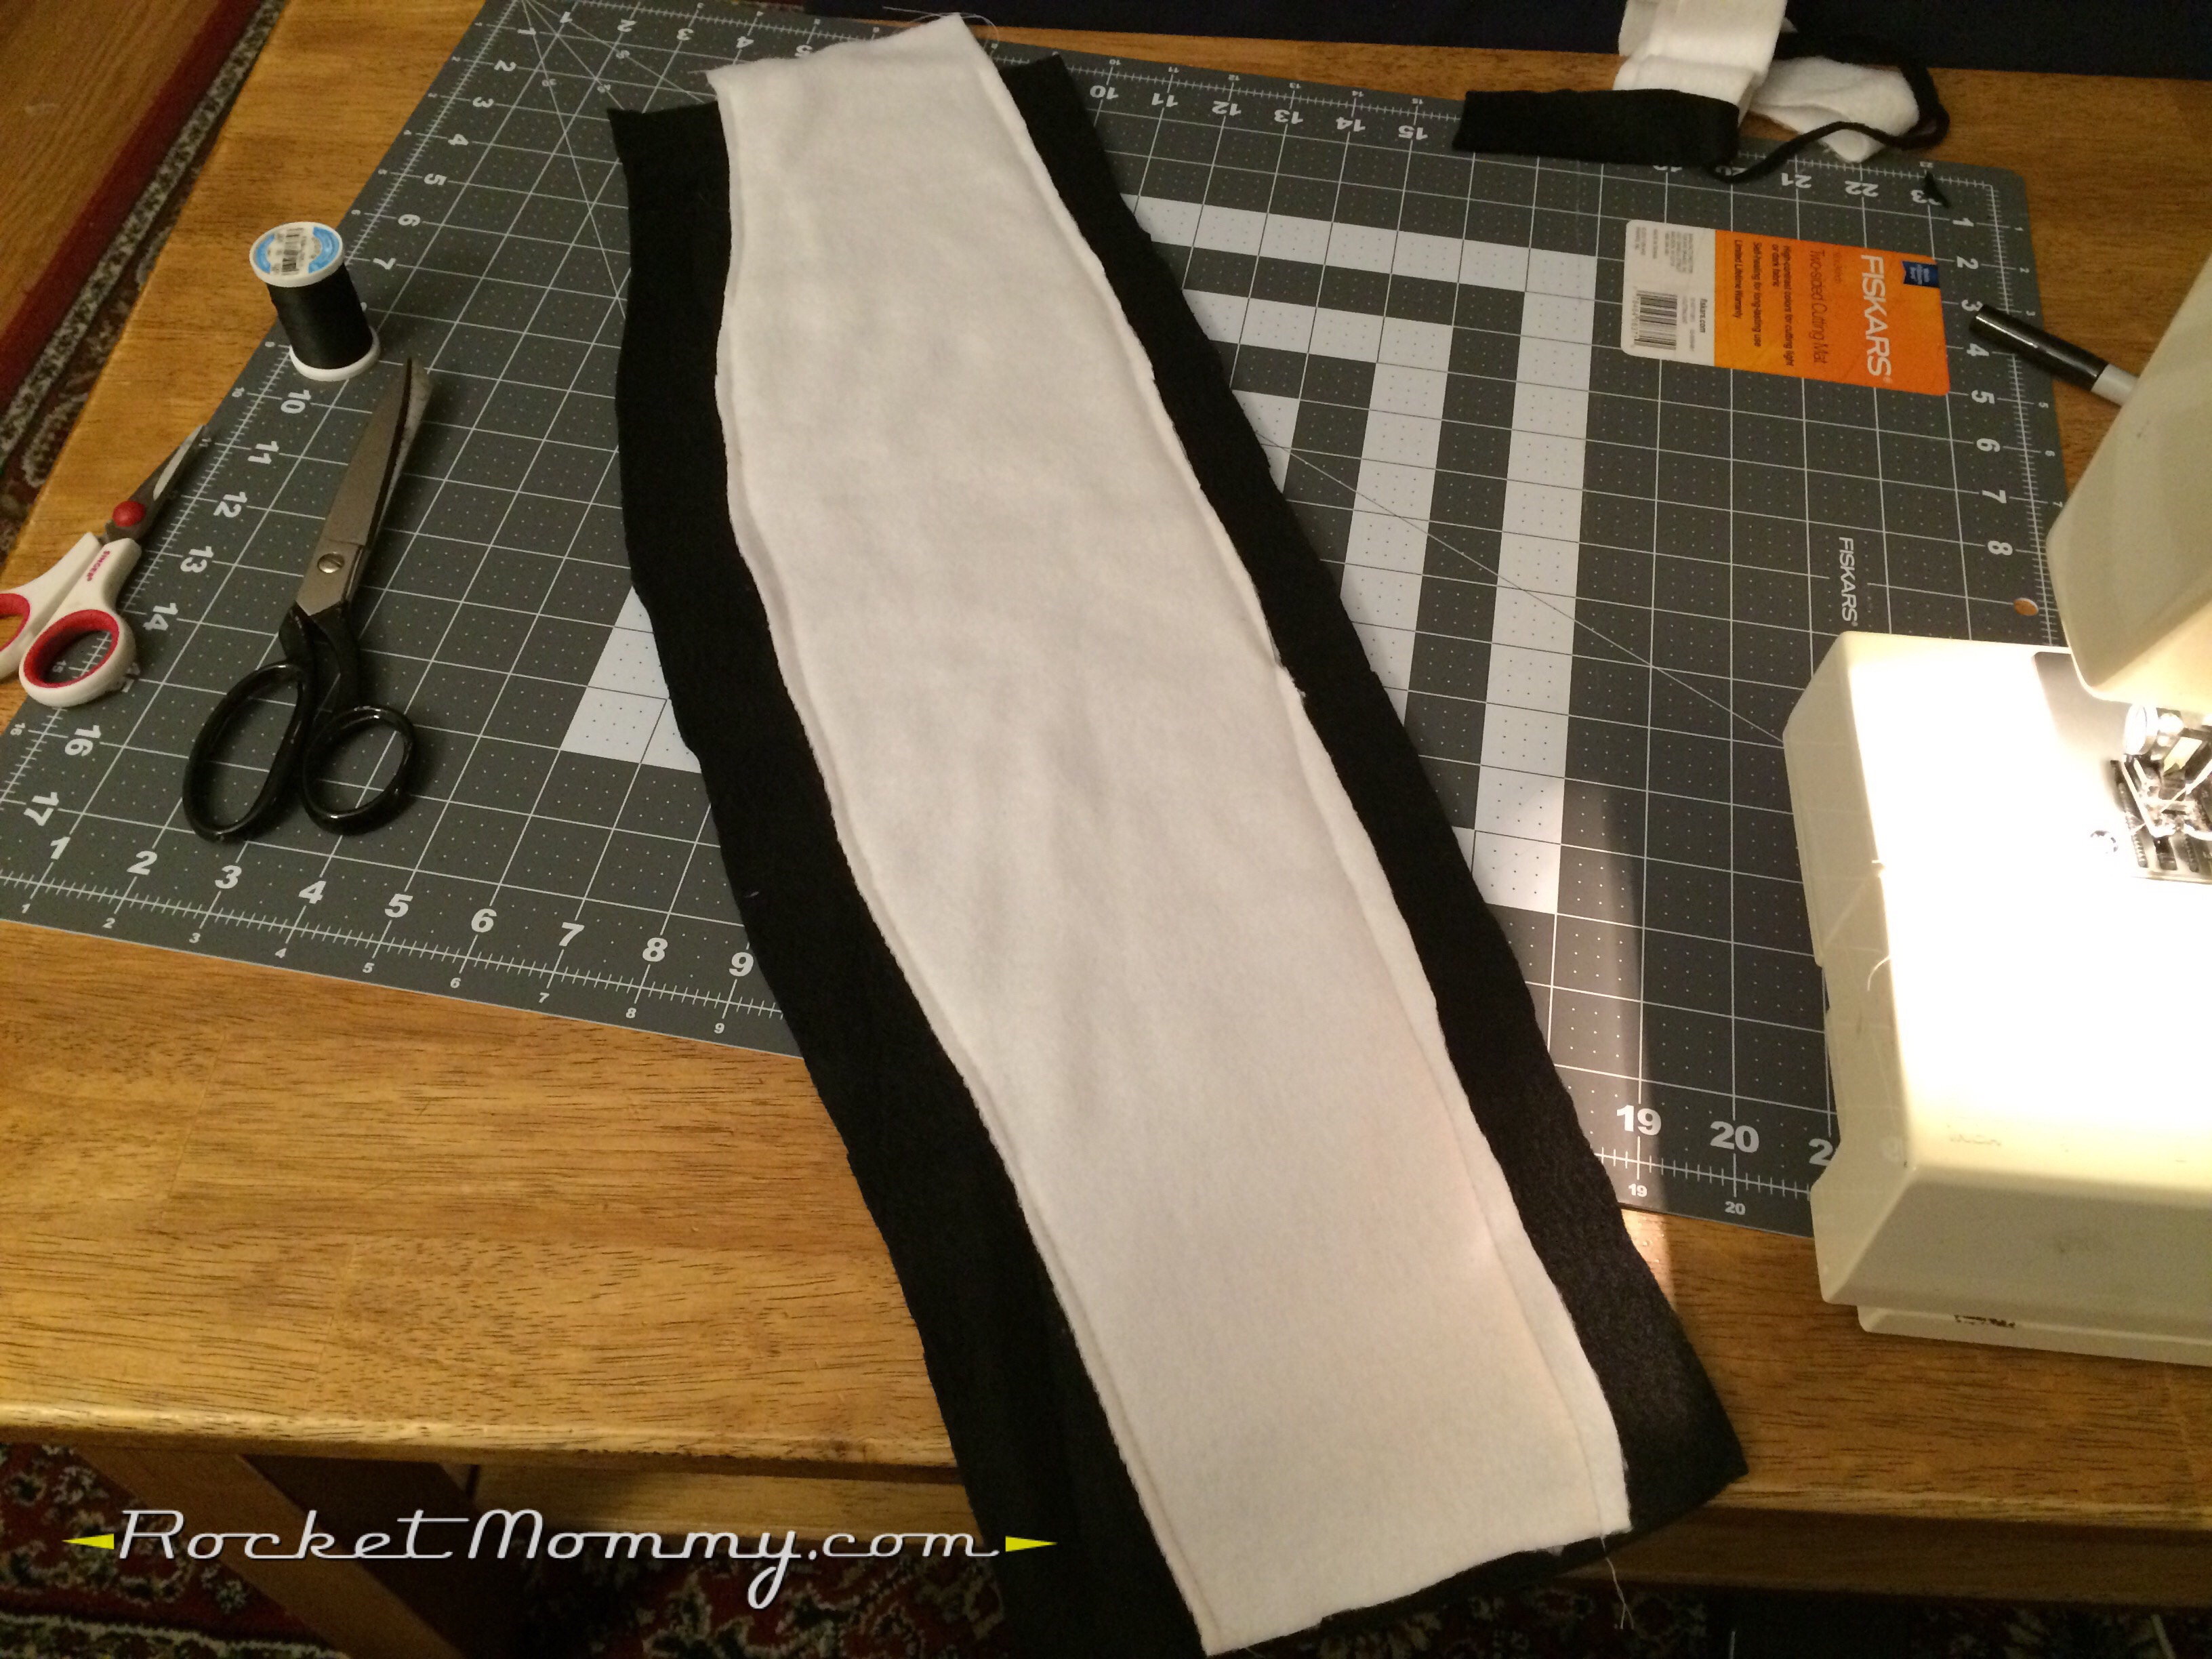
Time to get the sewing machine involved! We’re going to sew the white piece down to the black piece. I just used a straight stitch and tried to keep it about 1/4″ from the edge, but I can’t sew a straight line to save my life, so it kind of wobbles between 1/2″ and 1/4″. Oh well.
Got it? Great! Now repeat all those same steps with the other black and white pieces so you have a second stripe.
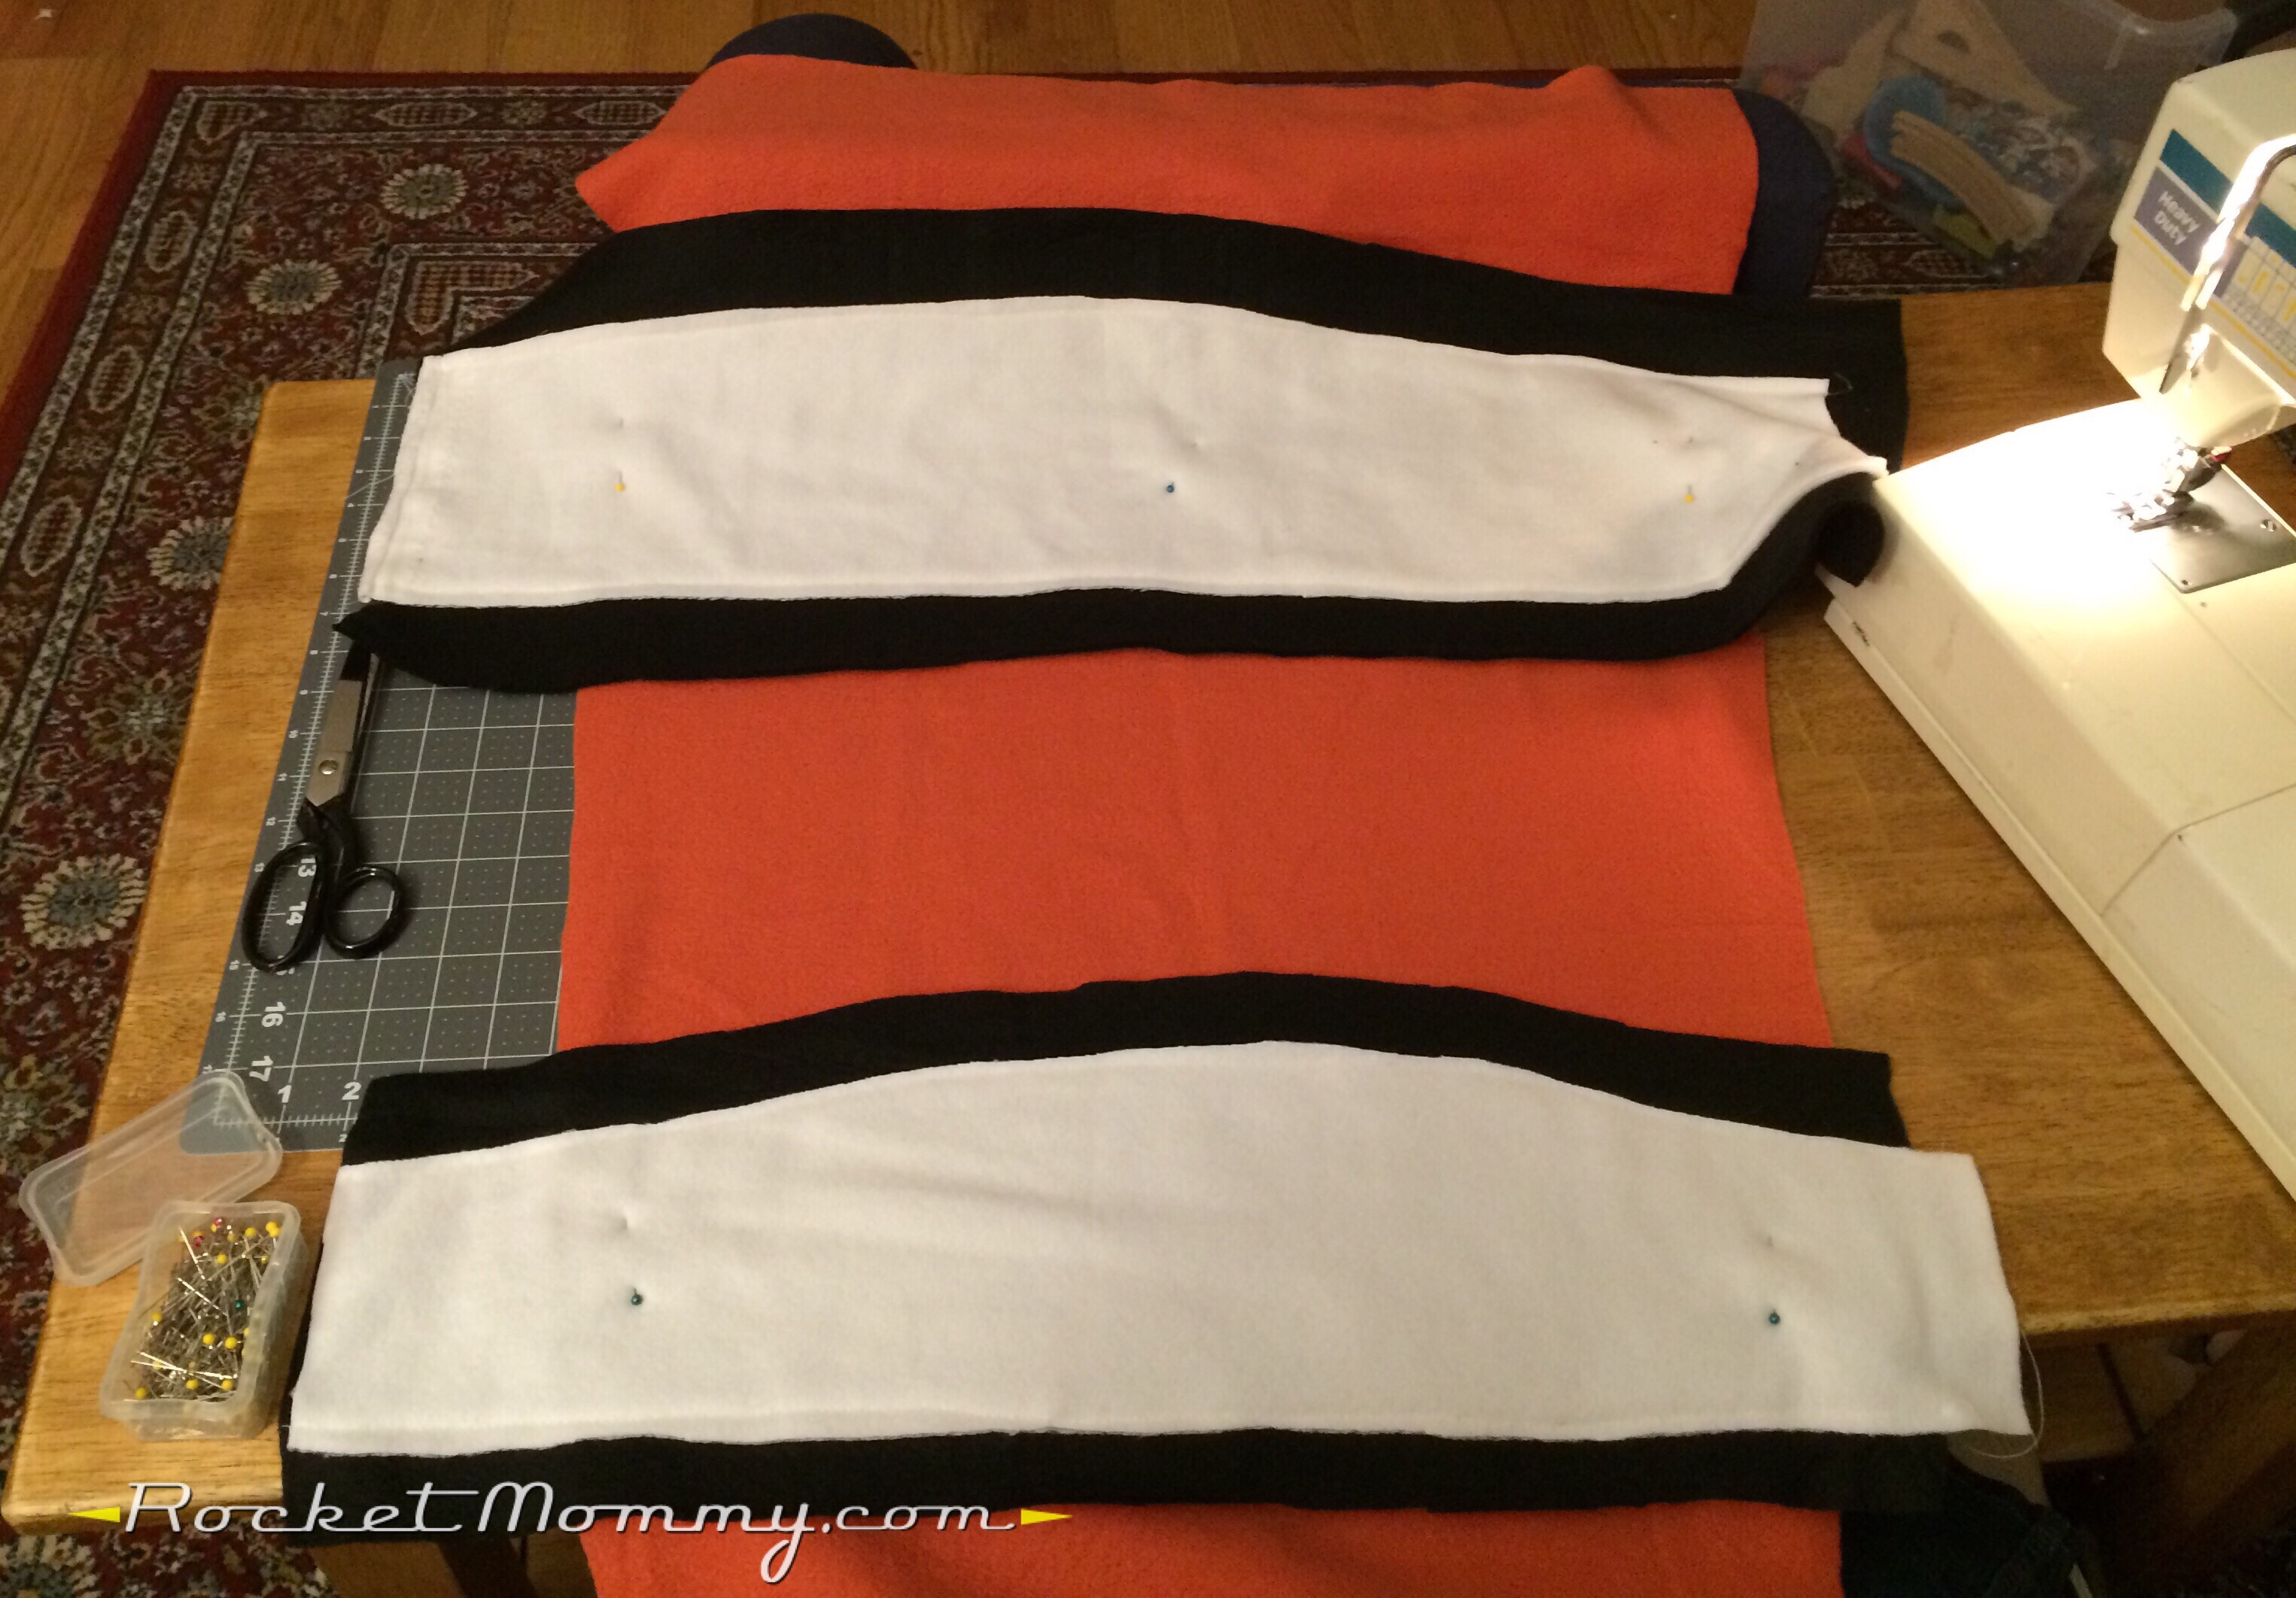
Lay your stripes back out on the top piece of orange fleece and pin them in place.
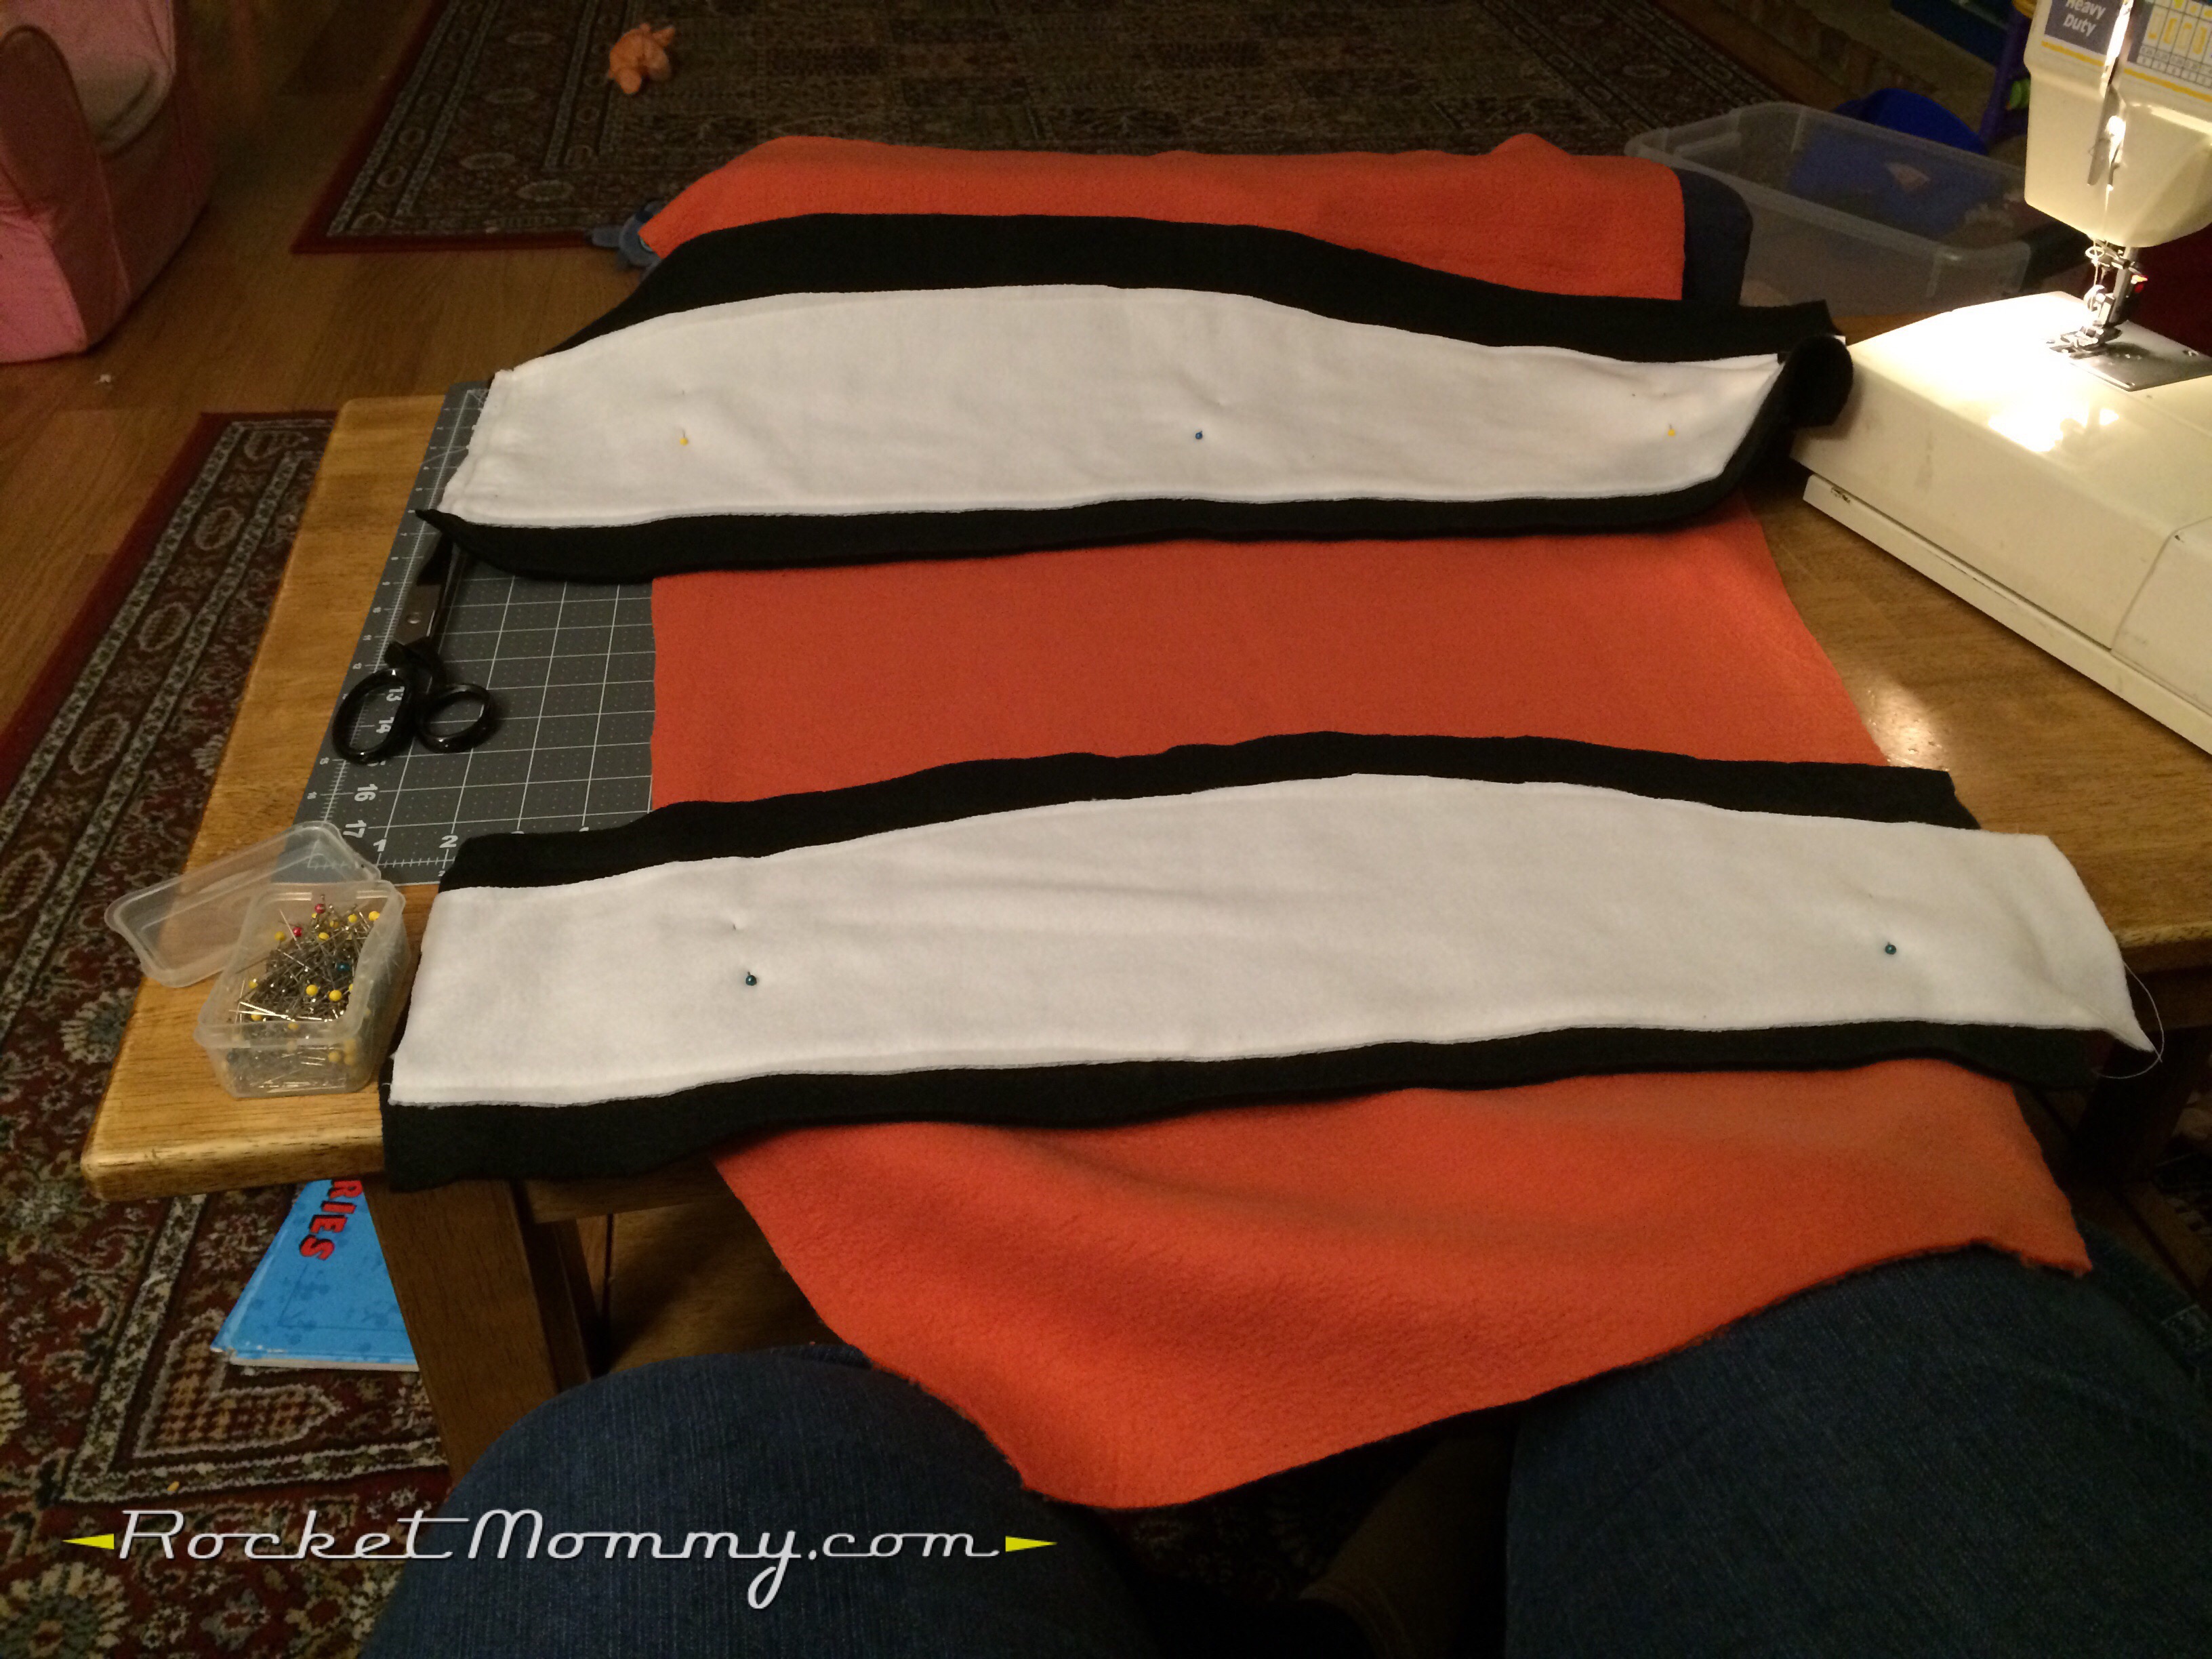
Then go ahead and stitch them down just like you did with the white stripes.
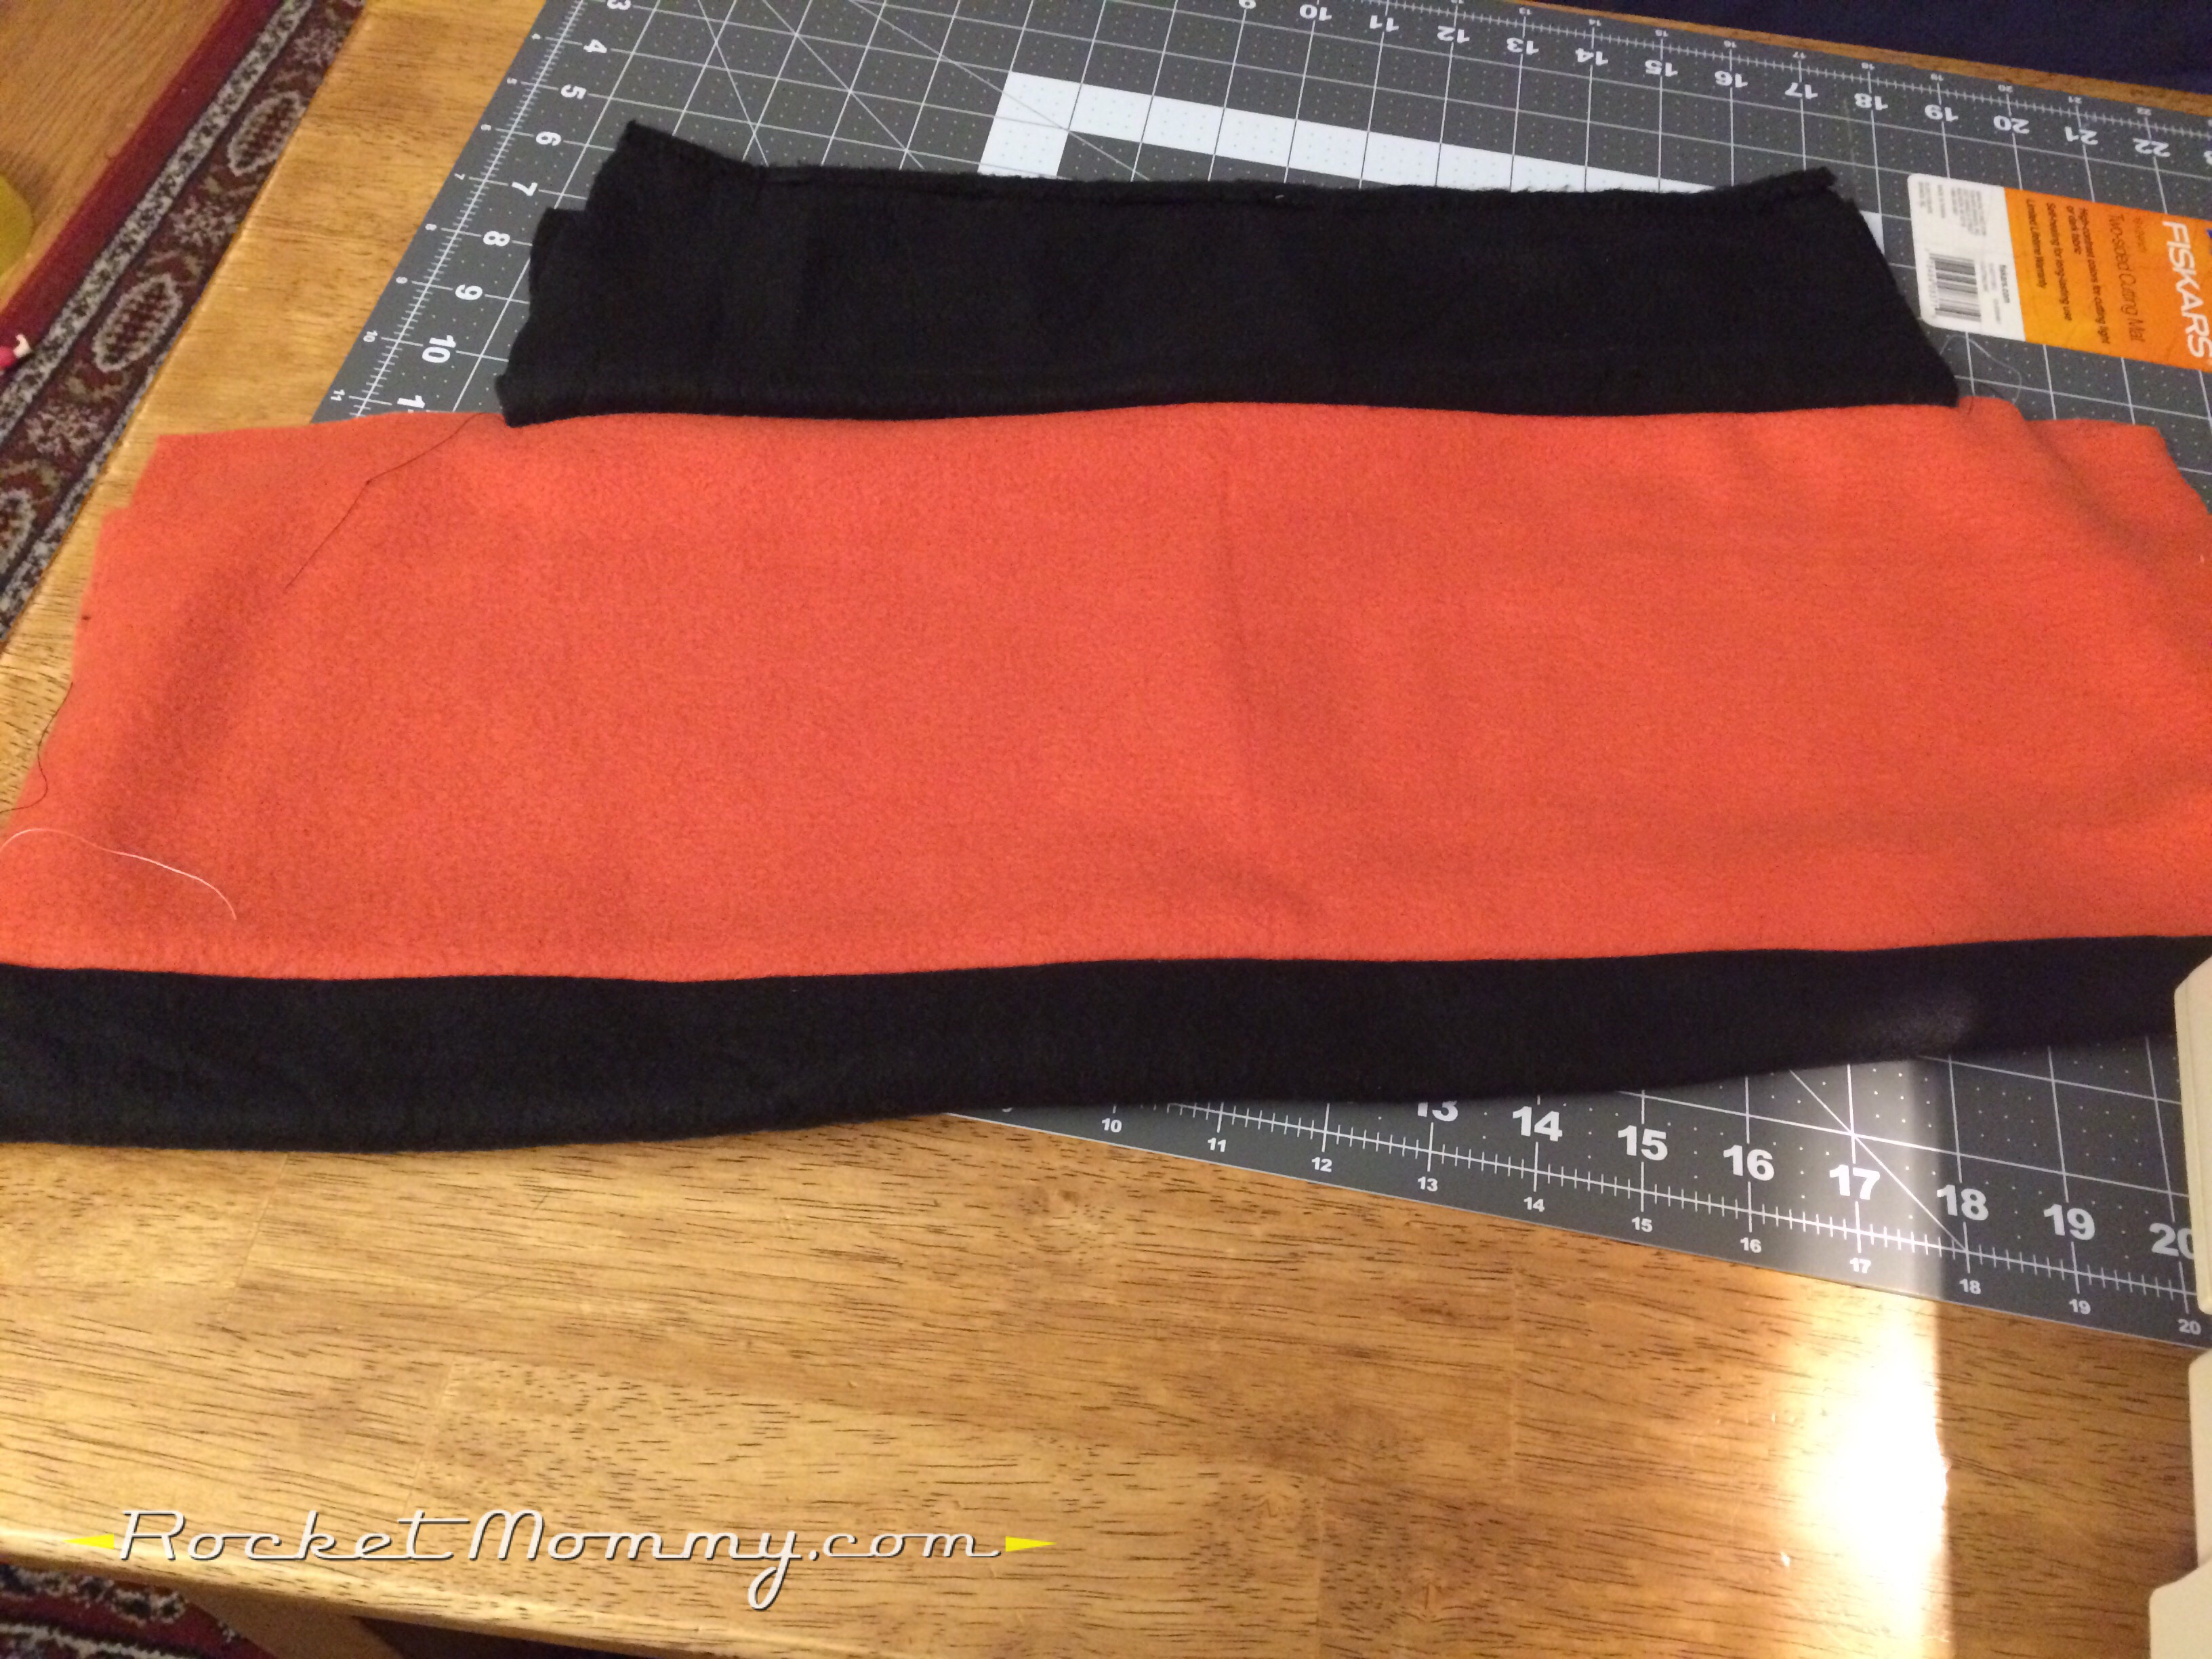
Ok. It’s time for the tail. And I really have to apologize, because my tail is a total mess, and I considered making another tail just so I could show you how to do it, but ain’t nobody got time for that, so let’s just work with what we have and try to listen to what I’m saying instead of relying on the visual.
The finished tail for this blanket is going to be about 12″ wide at the top, 12″ long, and 18″ wide at the bottom. It will have a black stripe at the top and the bottom. If you bought plenty of orange fabric, cut two trapezoidal pieces of it that are the aforementioned size. You can then appliqué the black stripes on top of it like you did with the rest of the body.
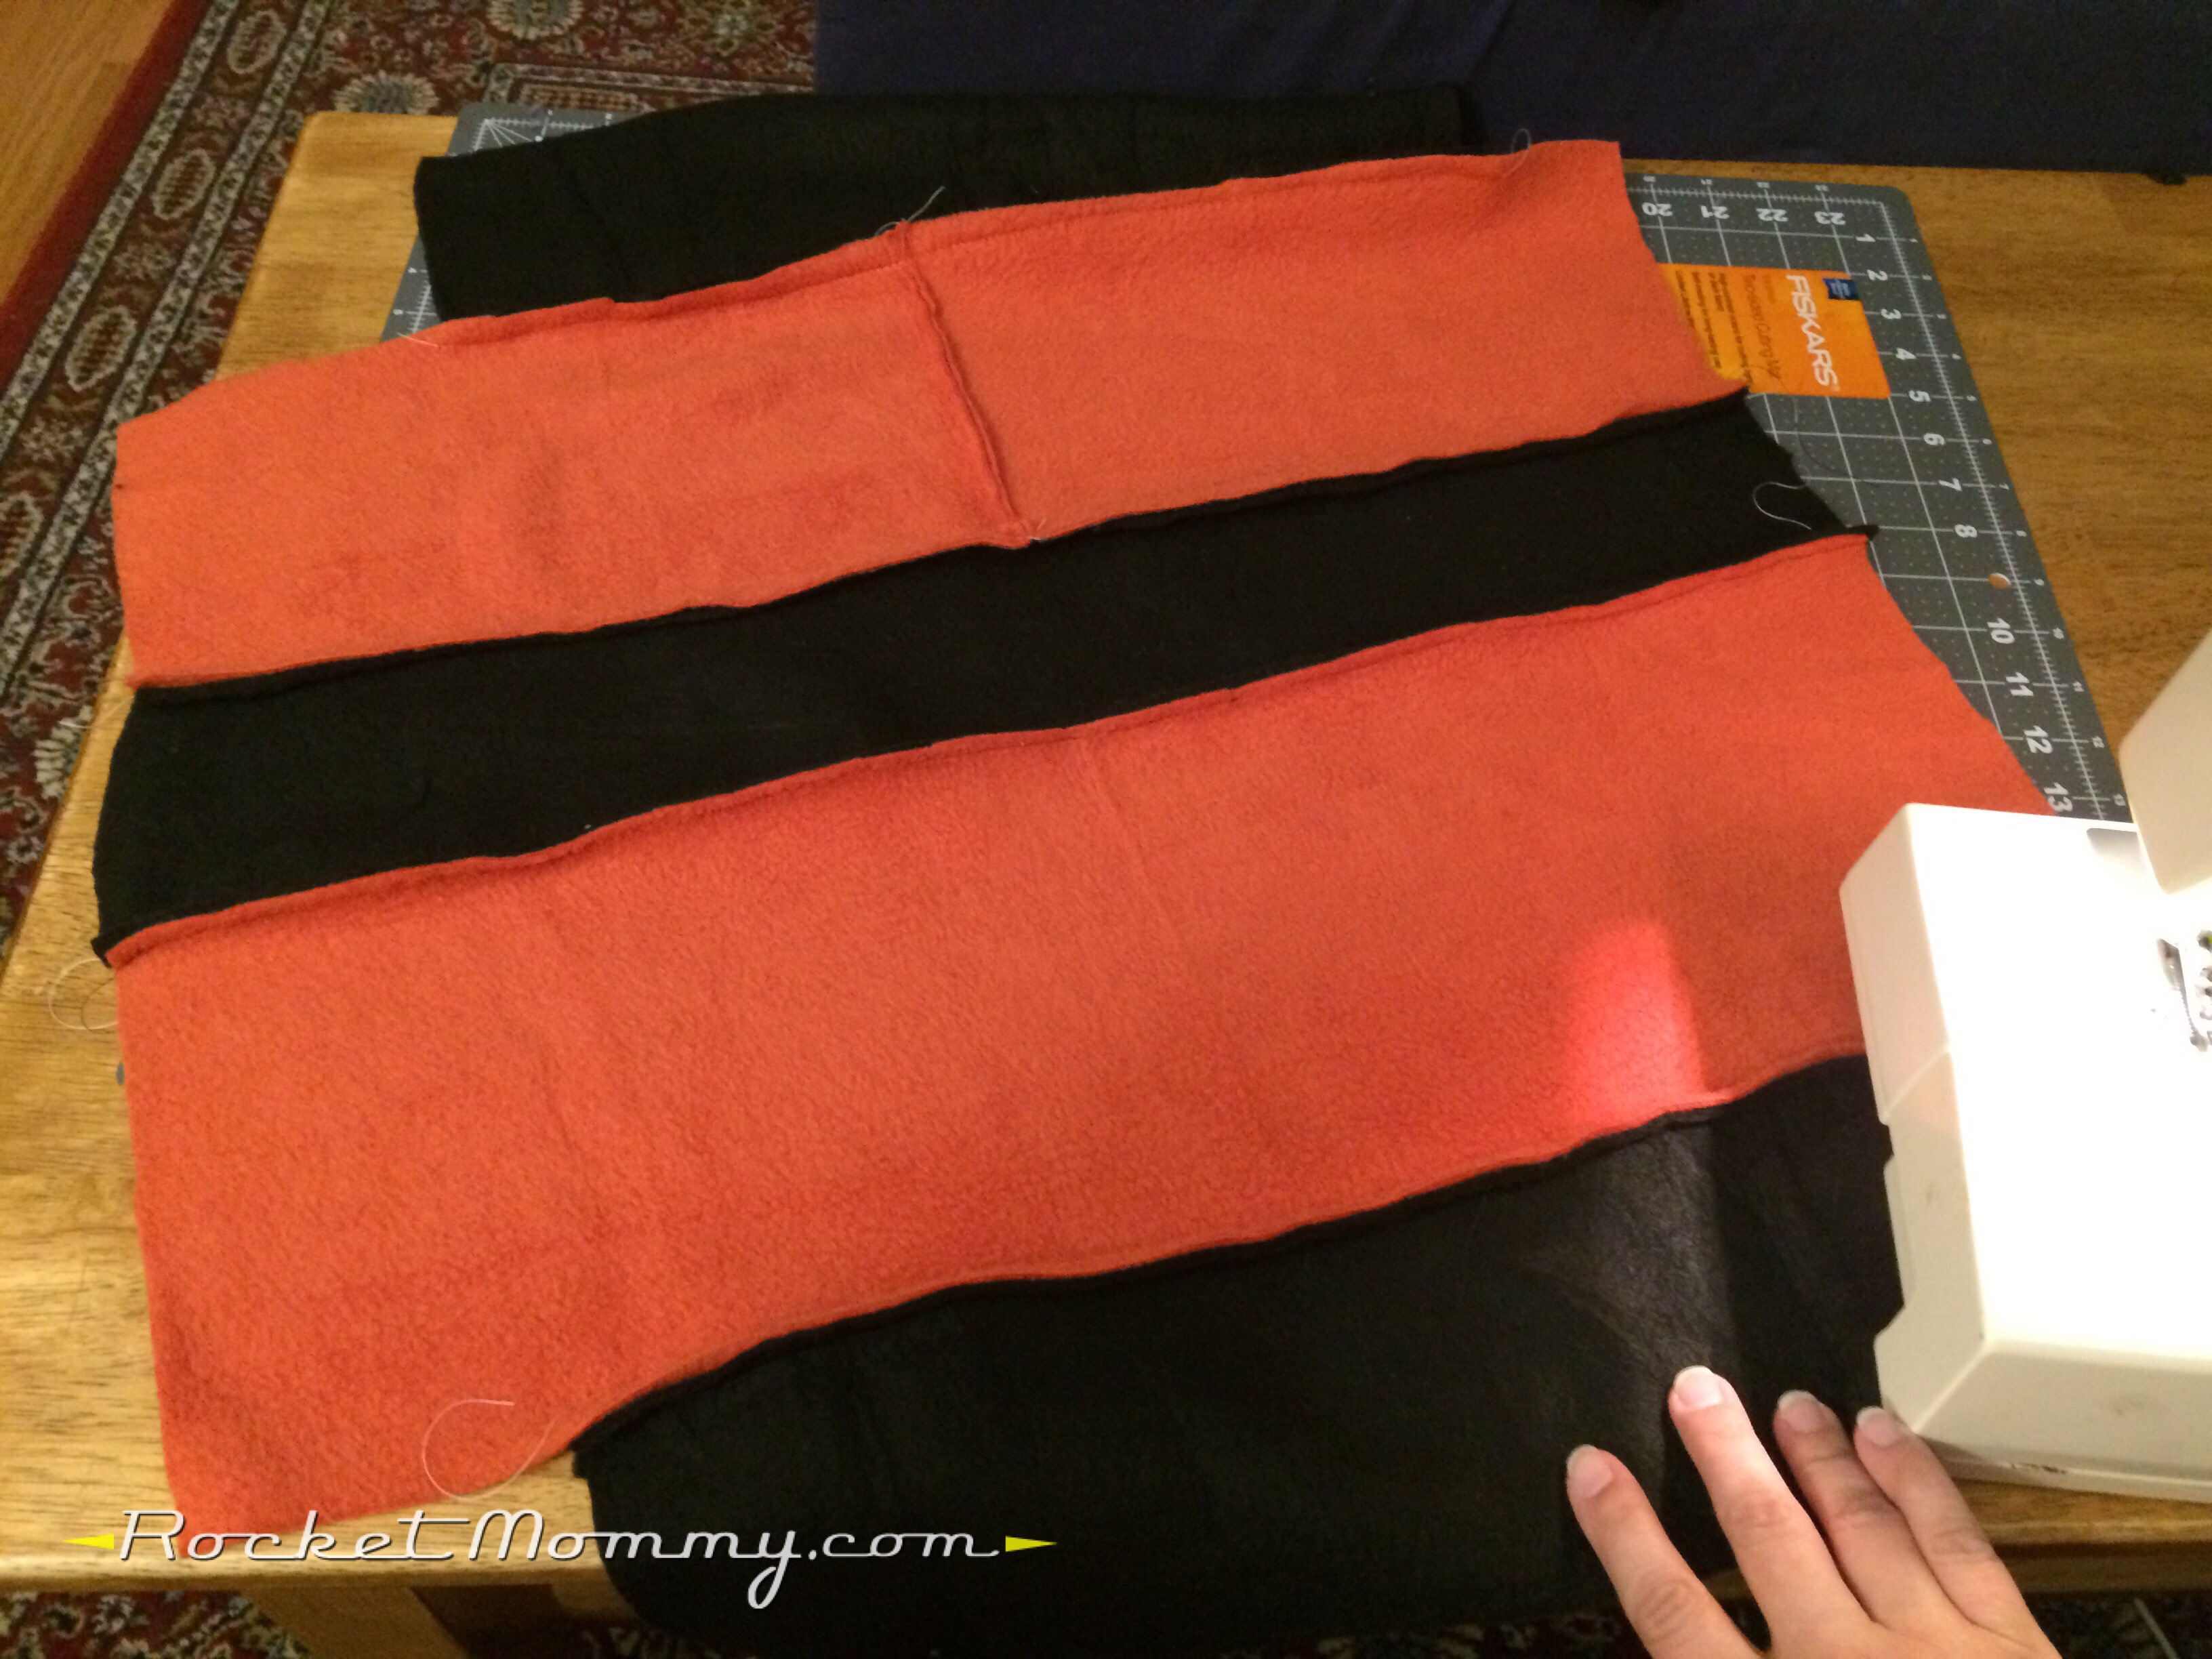
If, however, you didn’t have enough, sew whatever scraps you have together until you have a piece like the one shown above.
Since I made my tail all one piece instead of the two pieces I usually do for my mermaid blankets, I had to attach it differently than I normally do. If you cut yours as two pieces, you can follow the usual instructions.
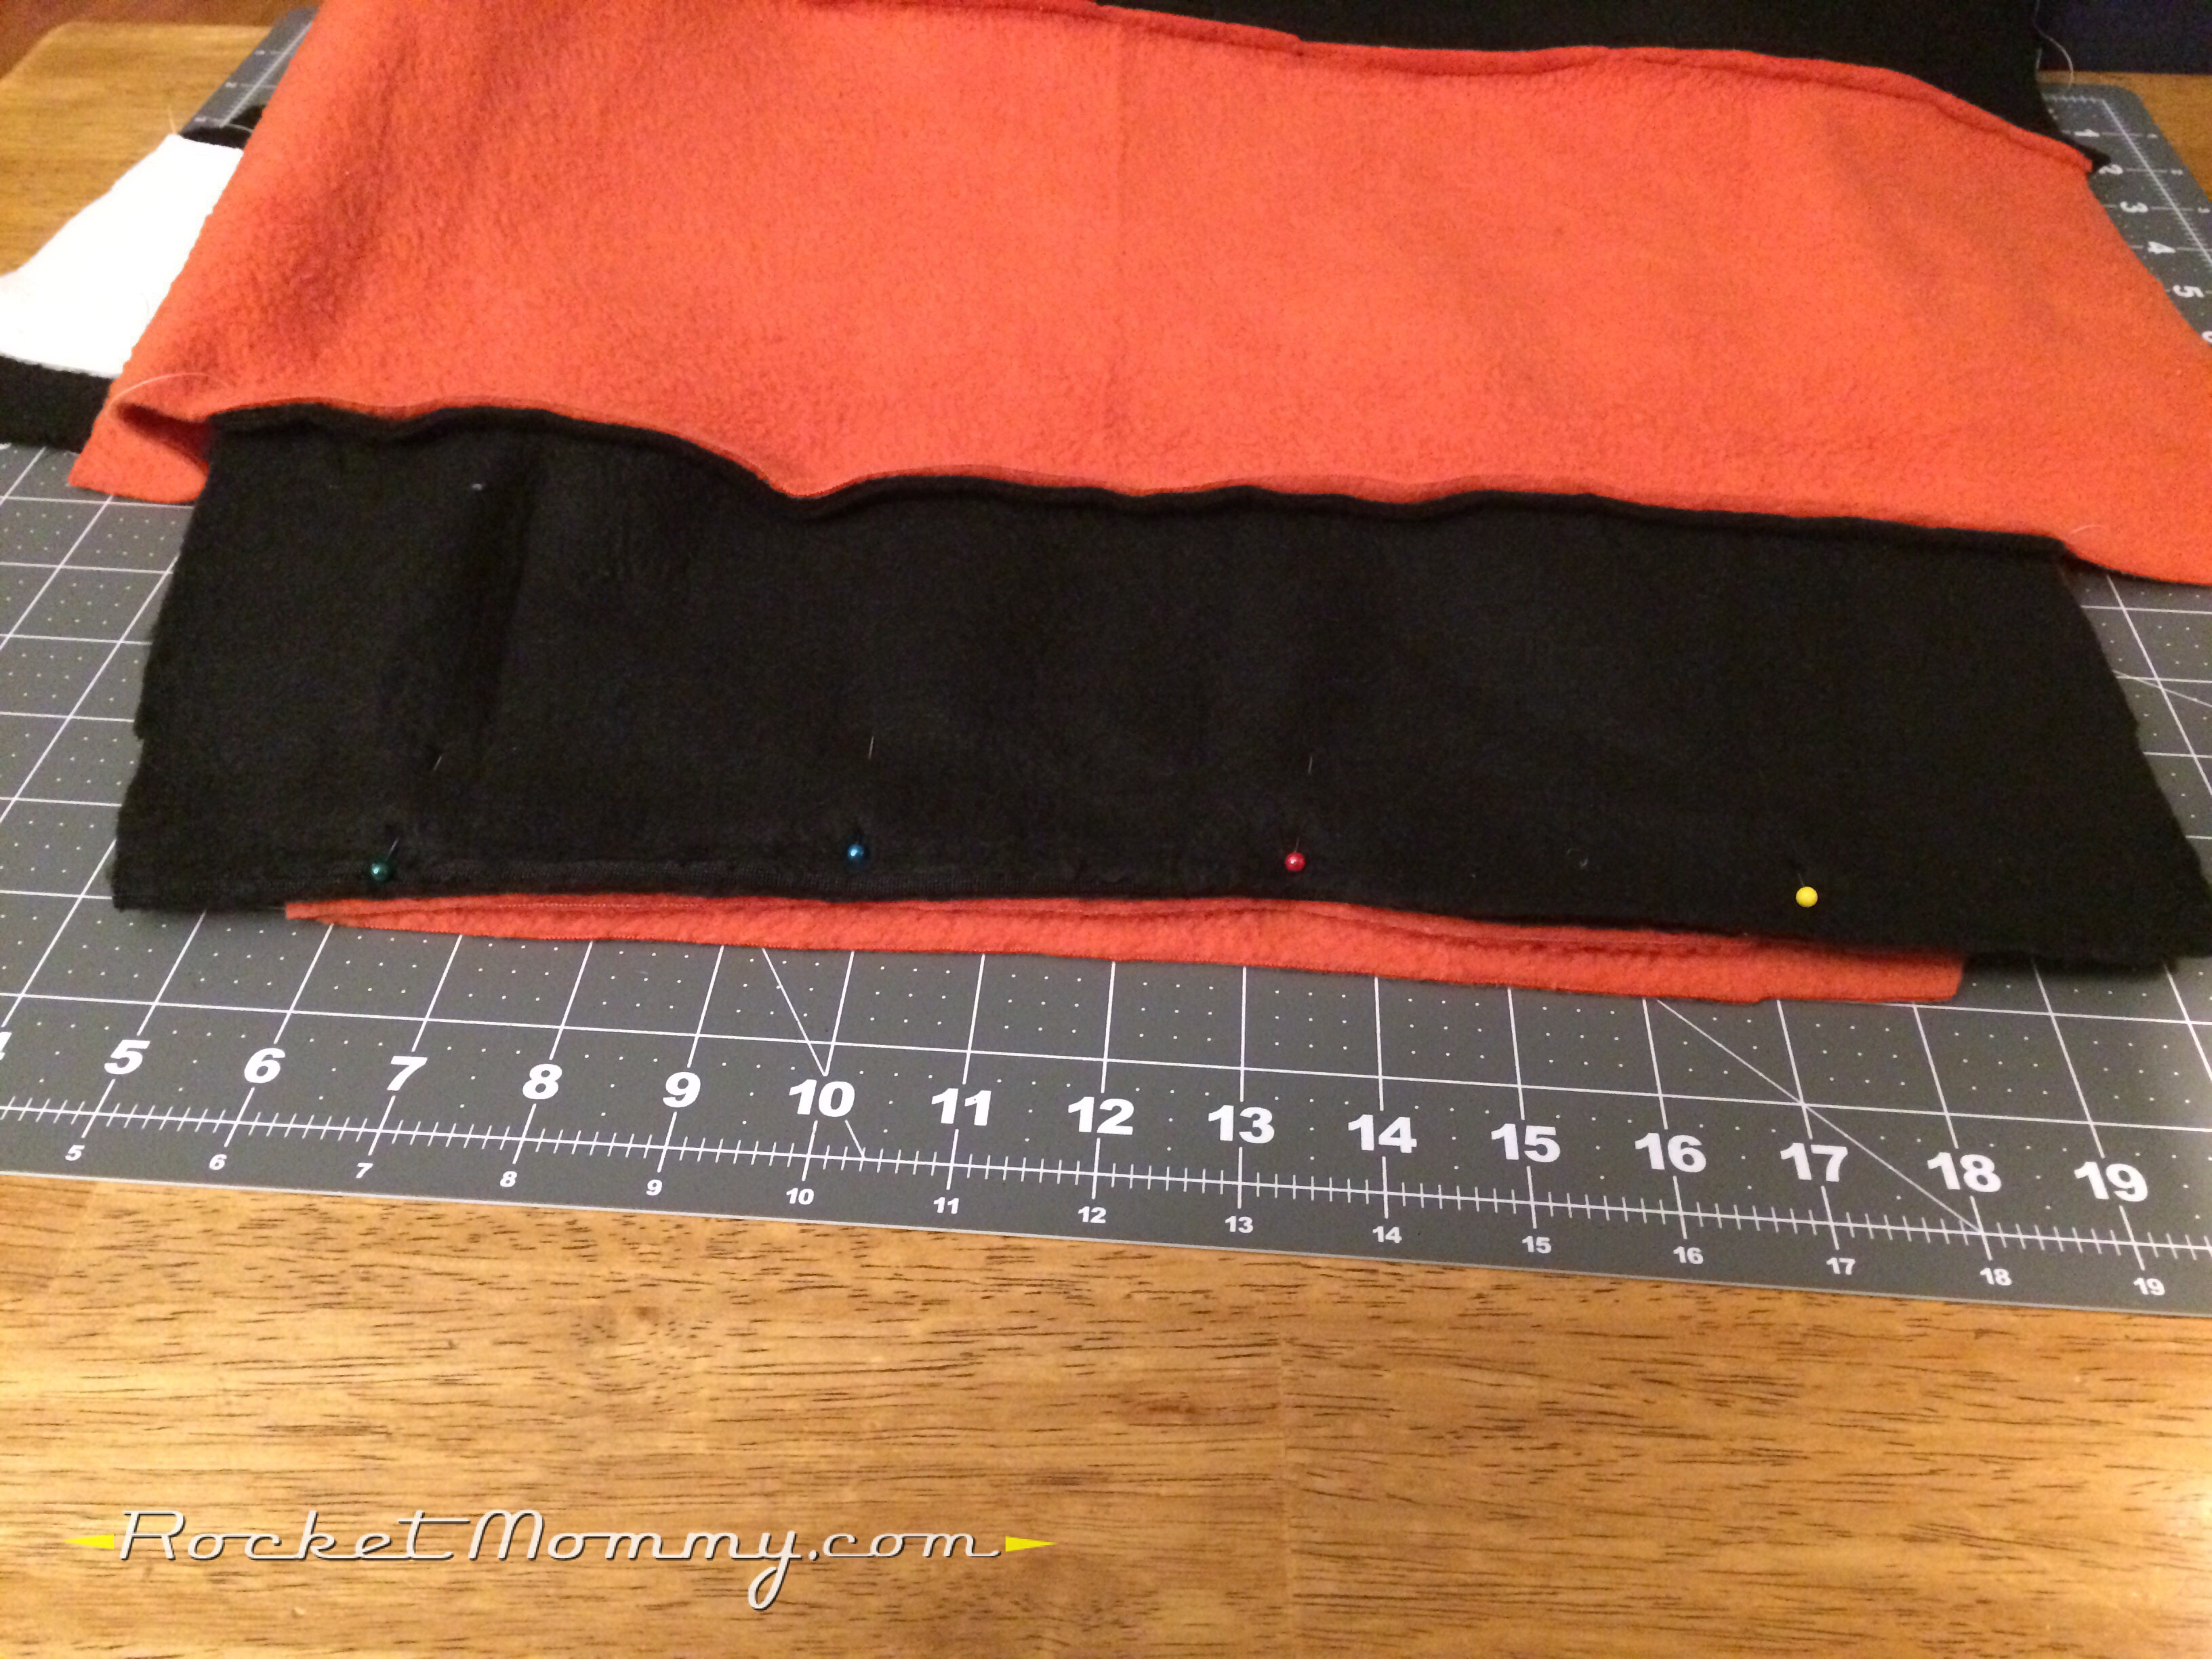
How I had to do it: I laid one piece of the body out and pinned one edge of the tail to that piece of the body.
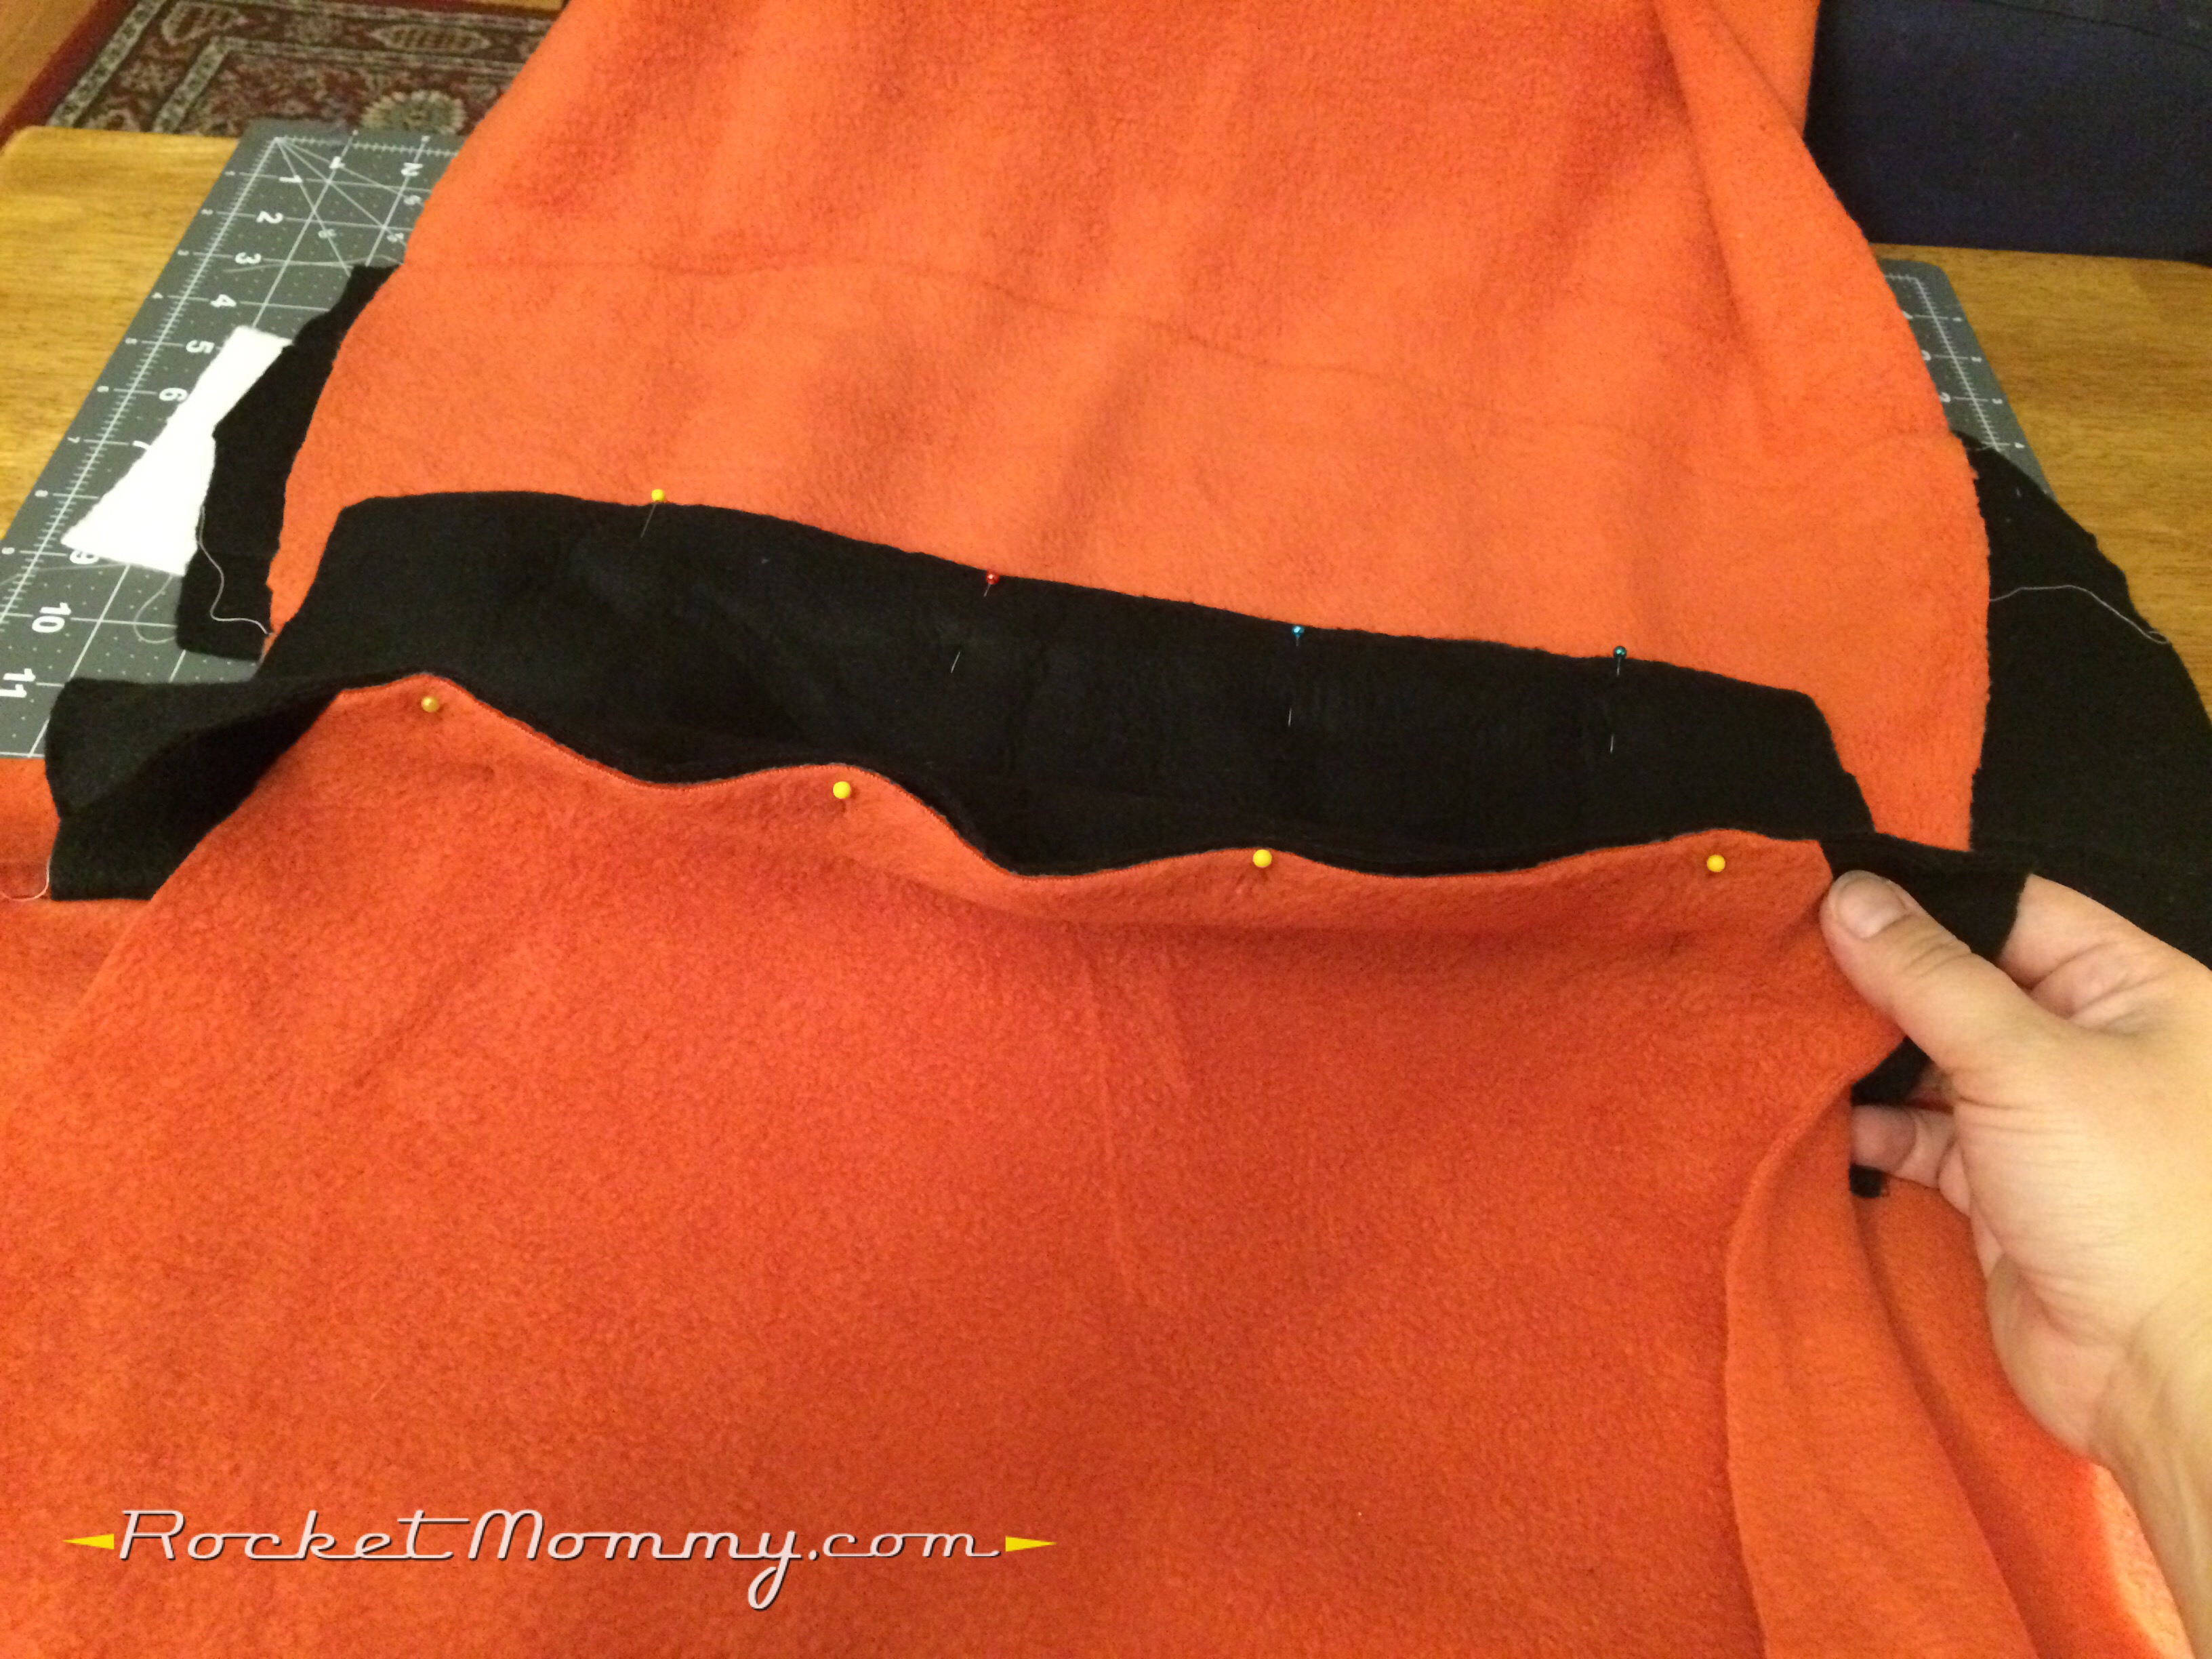
Then I pinned the other side, leaving the tail sandwiched in the middle with all of its seams on the same side as the pinned seams.
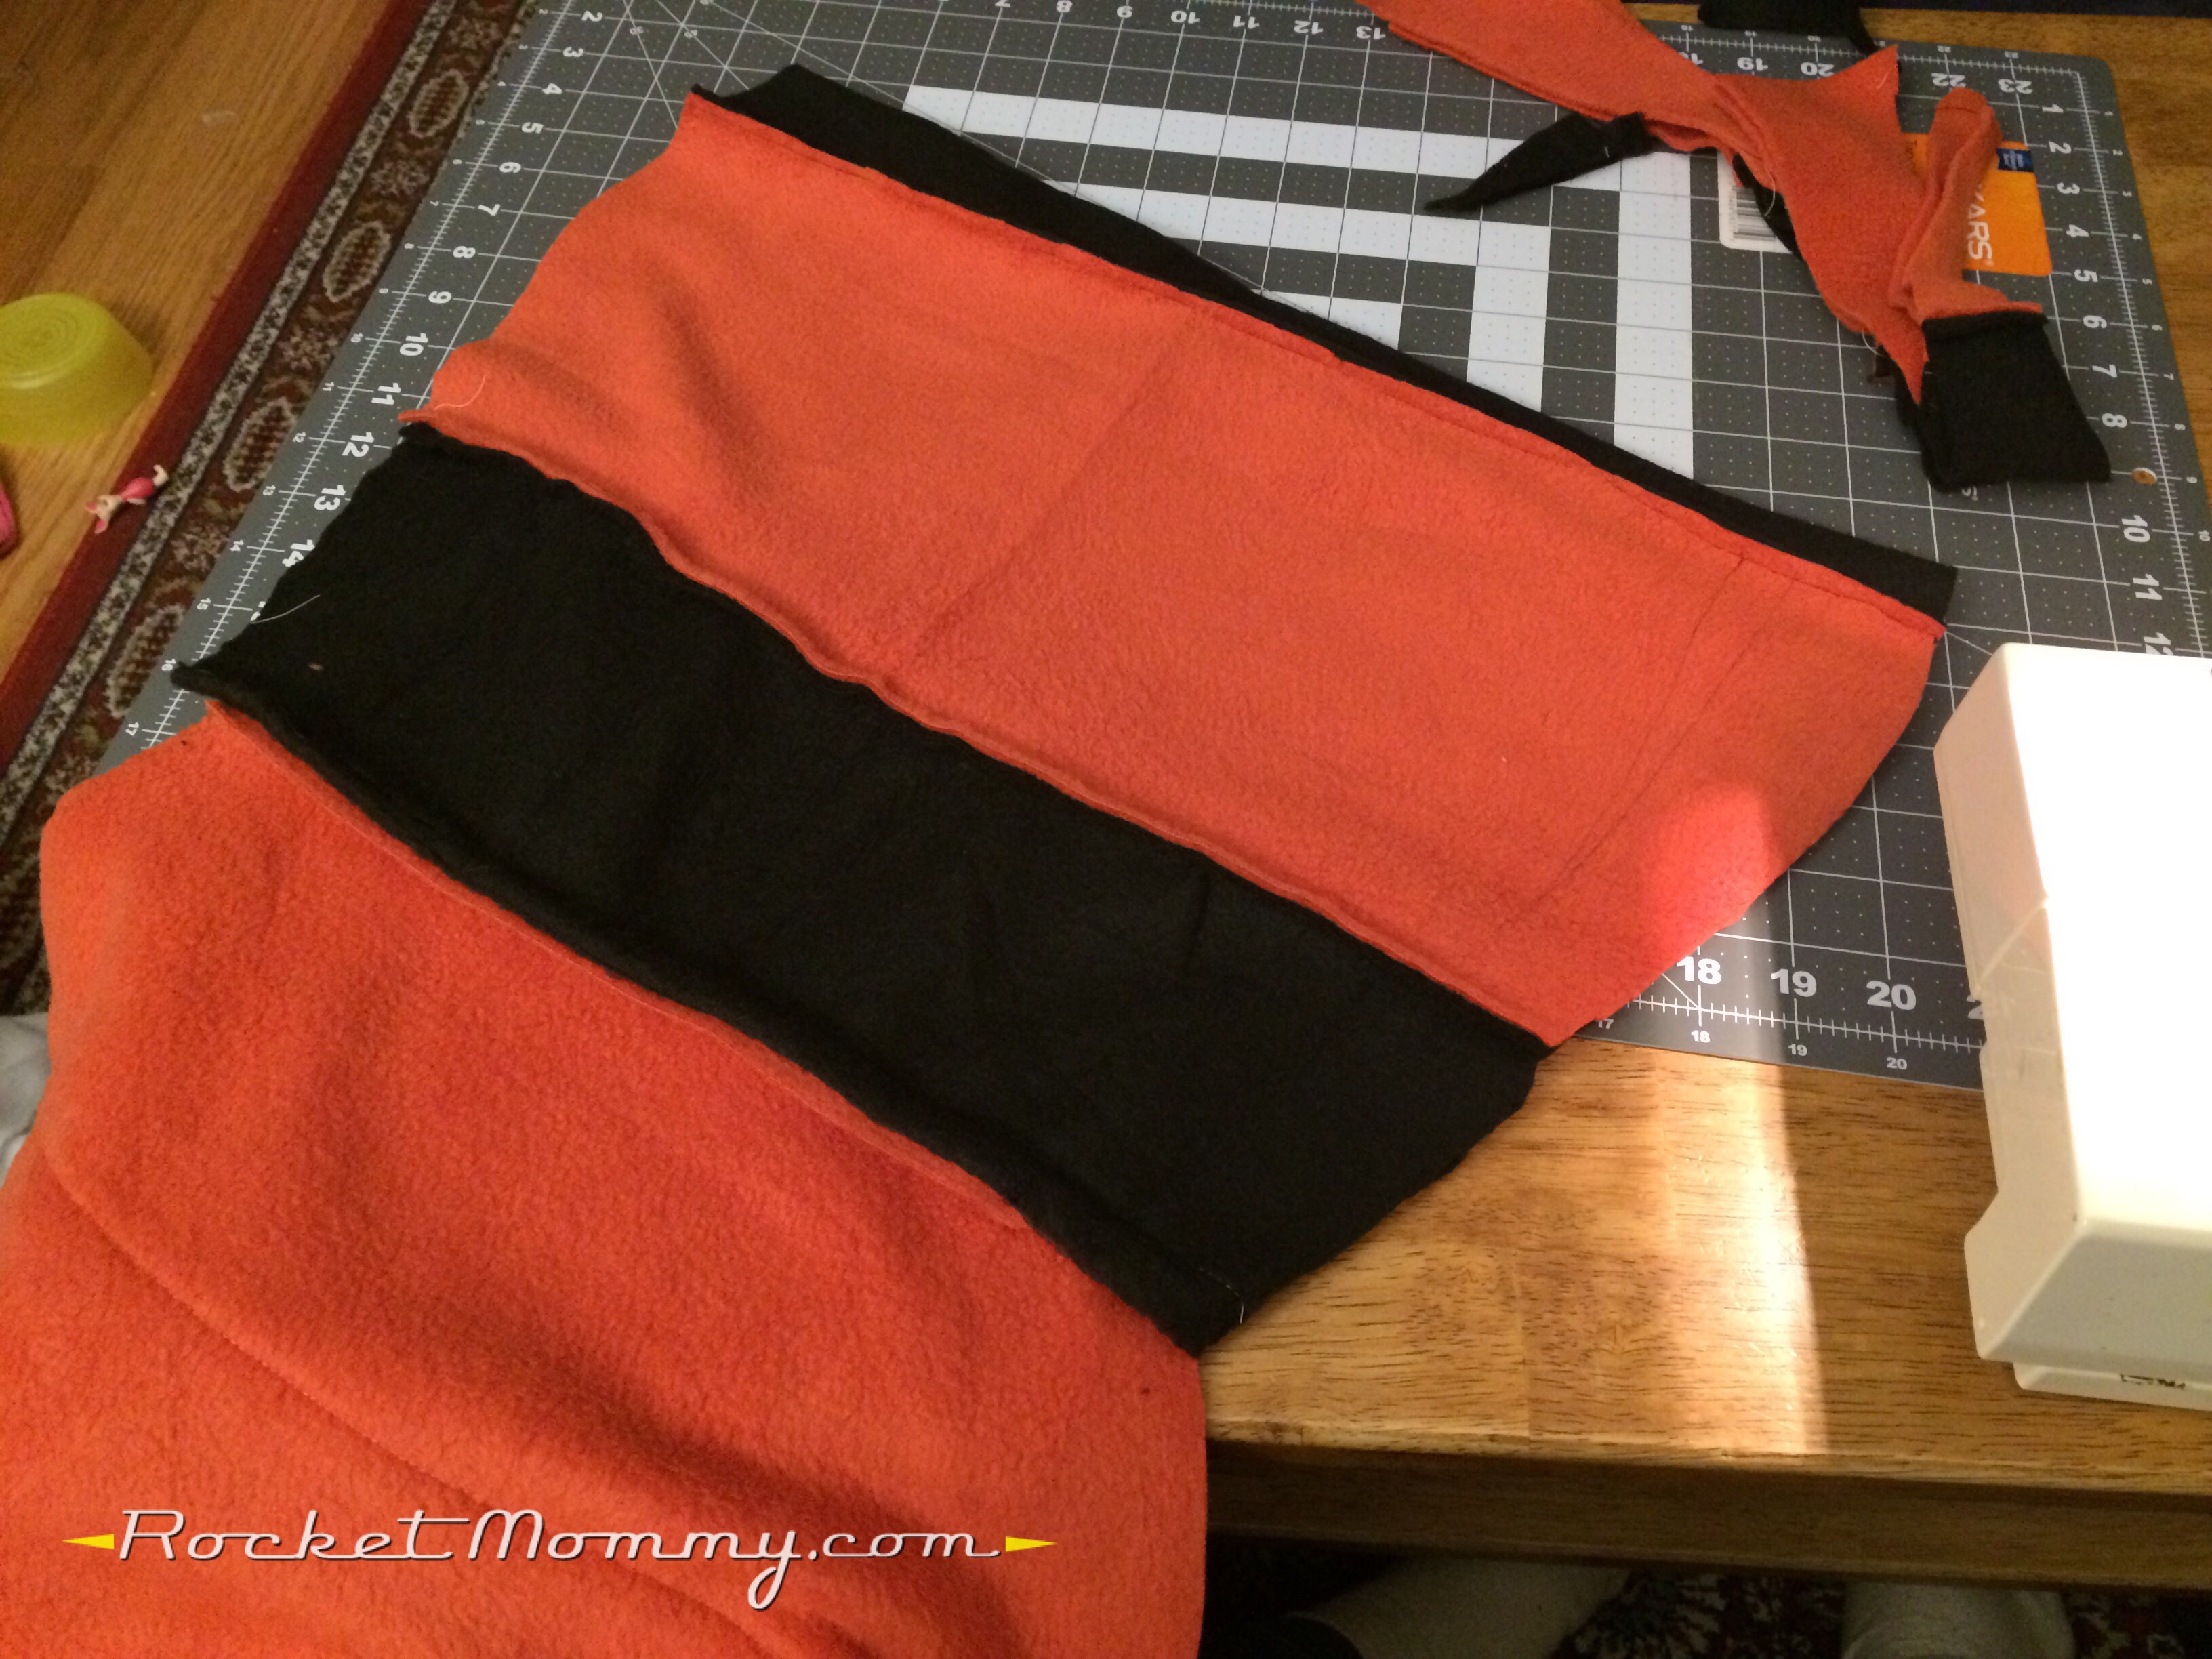
Then I stitched along each pinned seam and trimmed the tail so it was the right size.
If you’ve managed to make it this far, the rest is pretty simple.
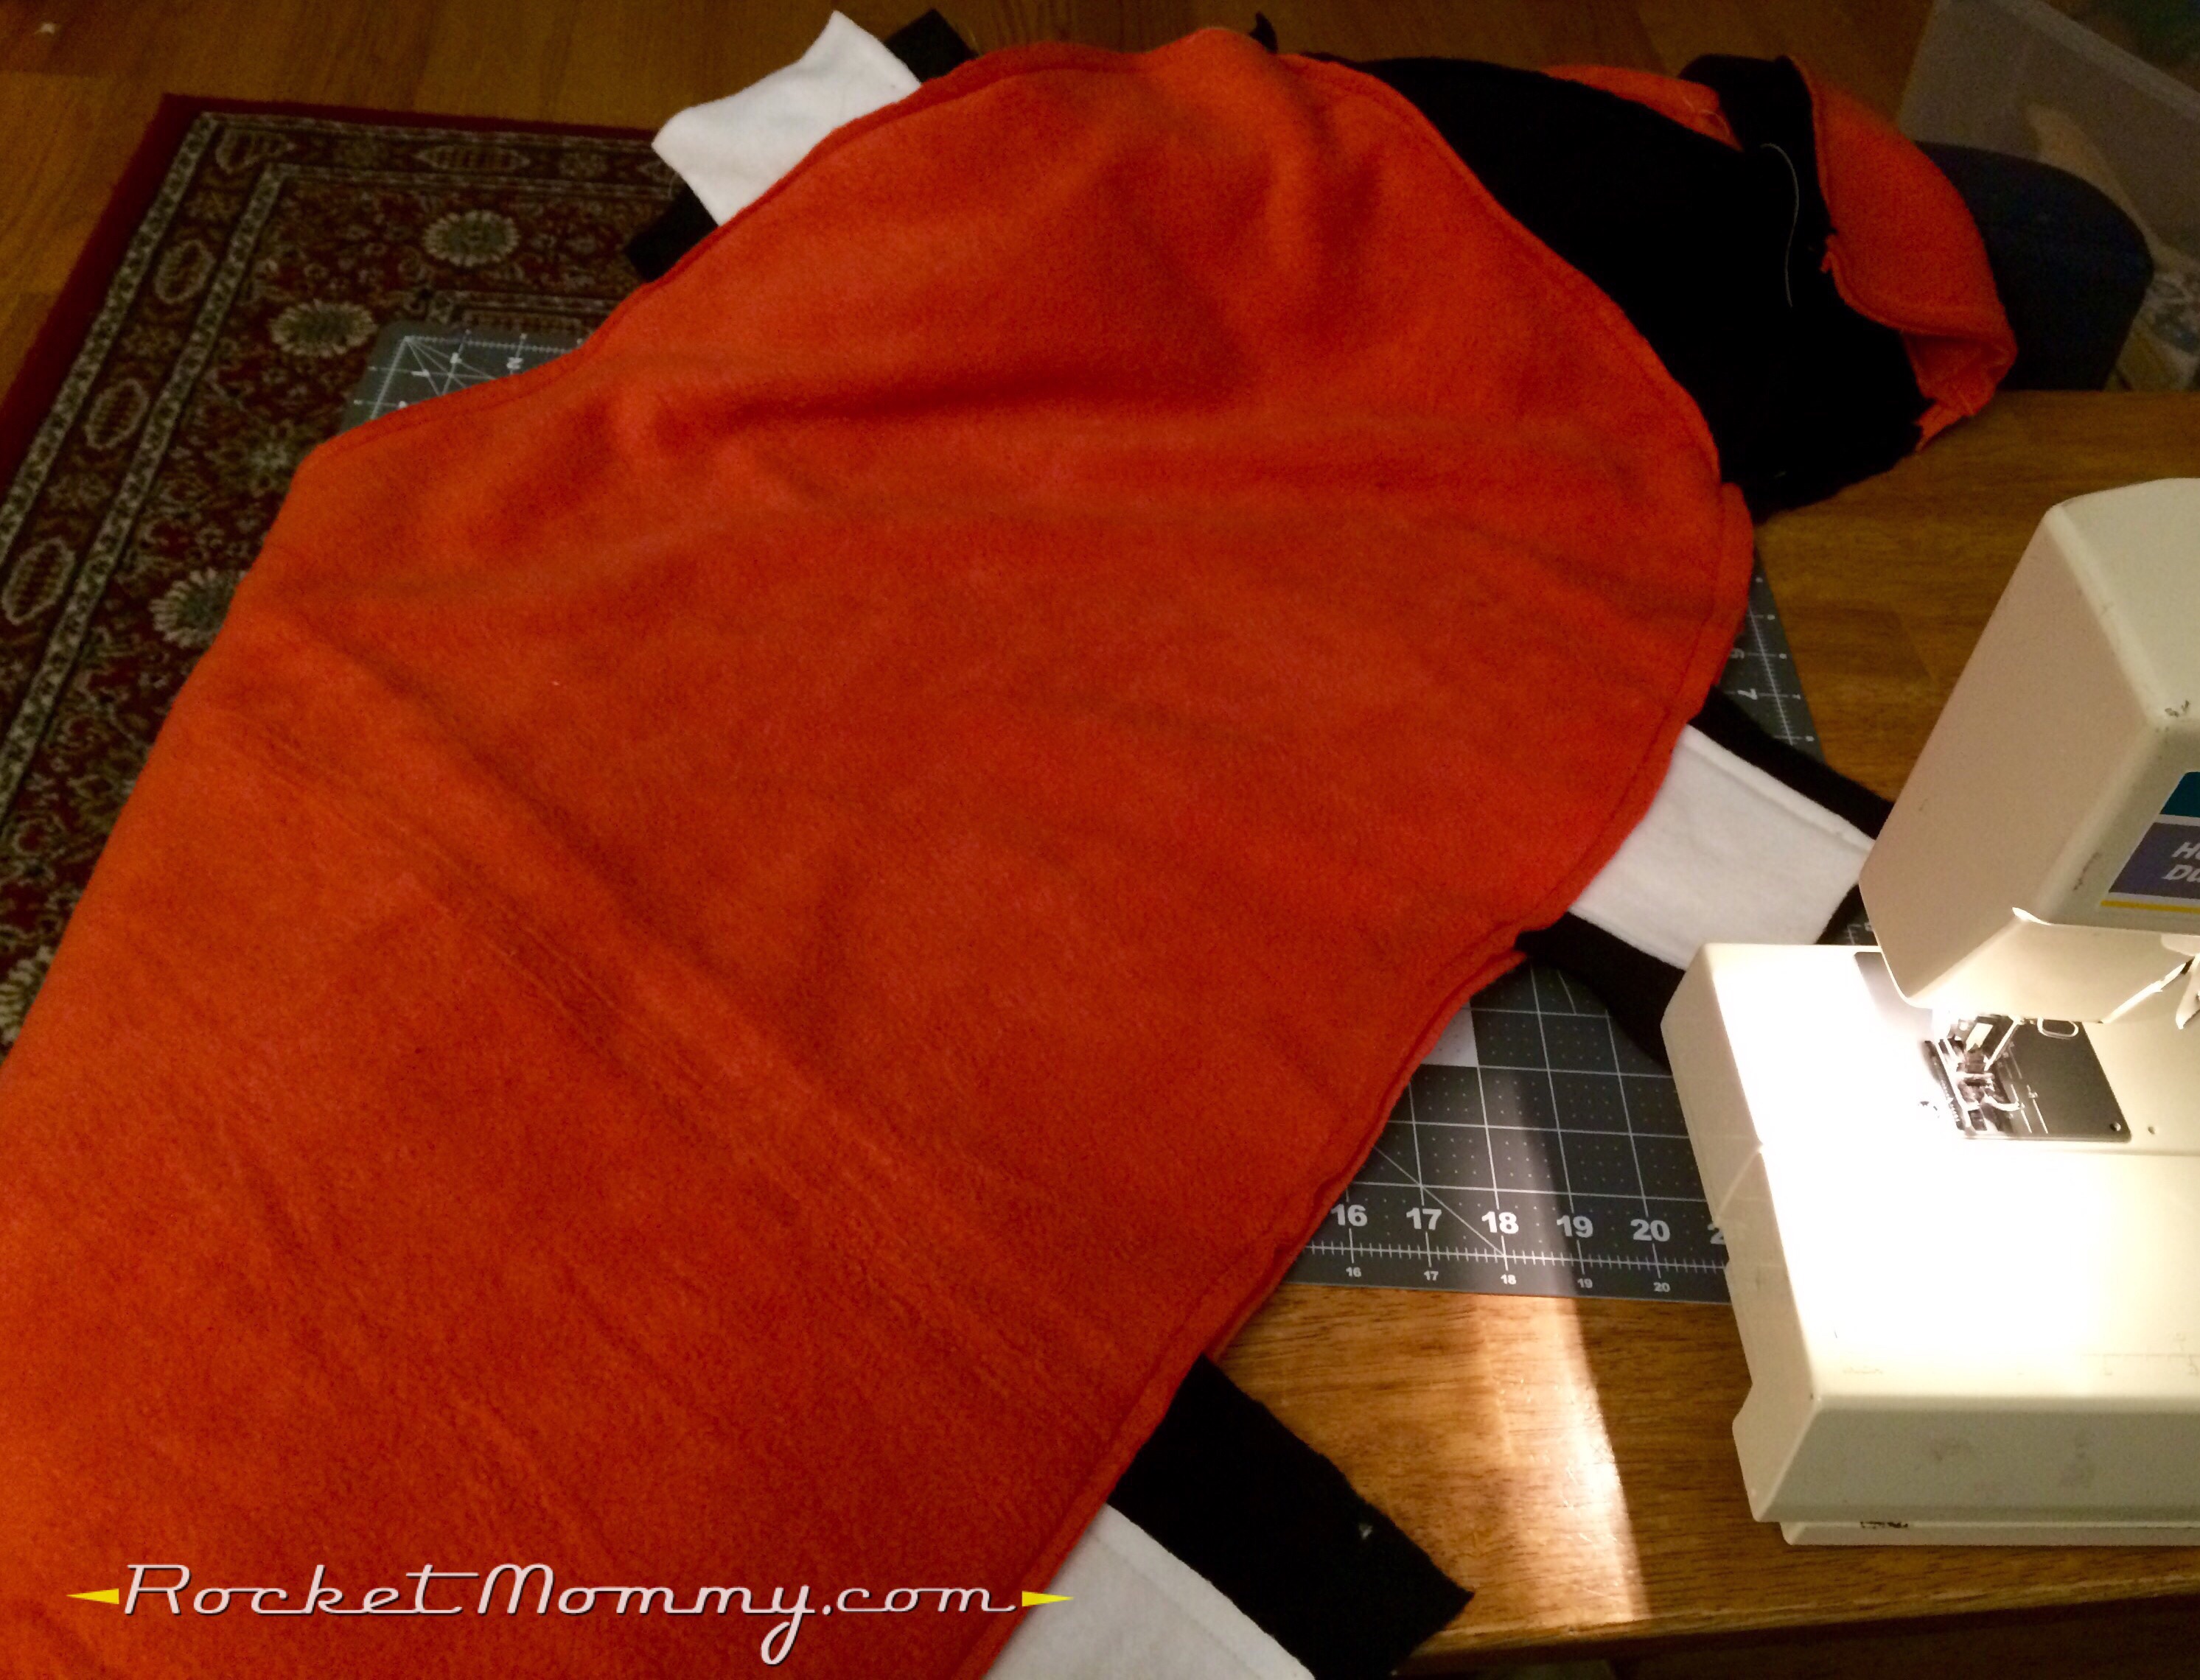
Stitch down both edges of the blanket, from the waist to the tip of the tail (or vice versa, it doesn’t matter which way you go). You can see that I still have excess stripe hanging out of both seams. Go ahead and trim that off.
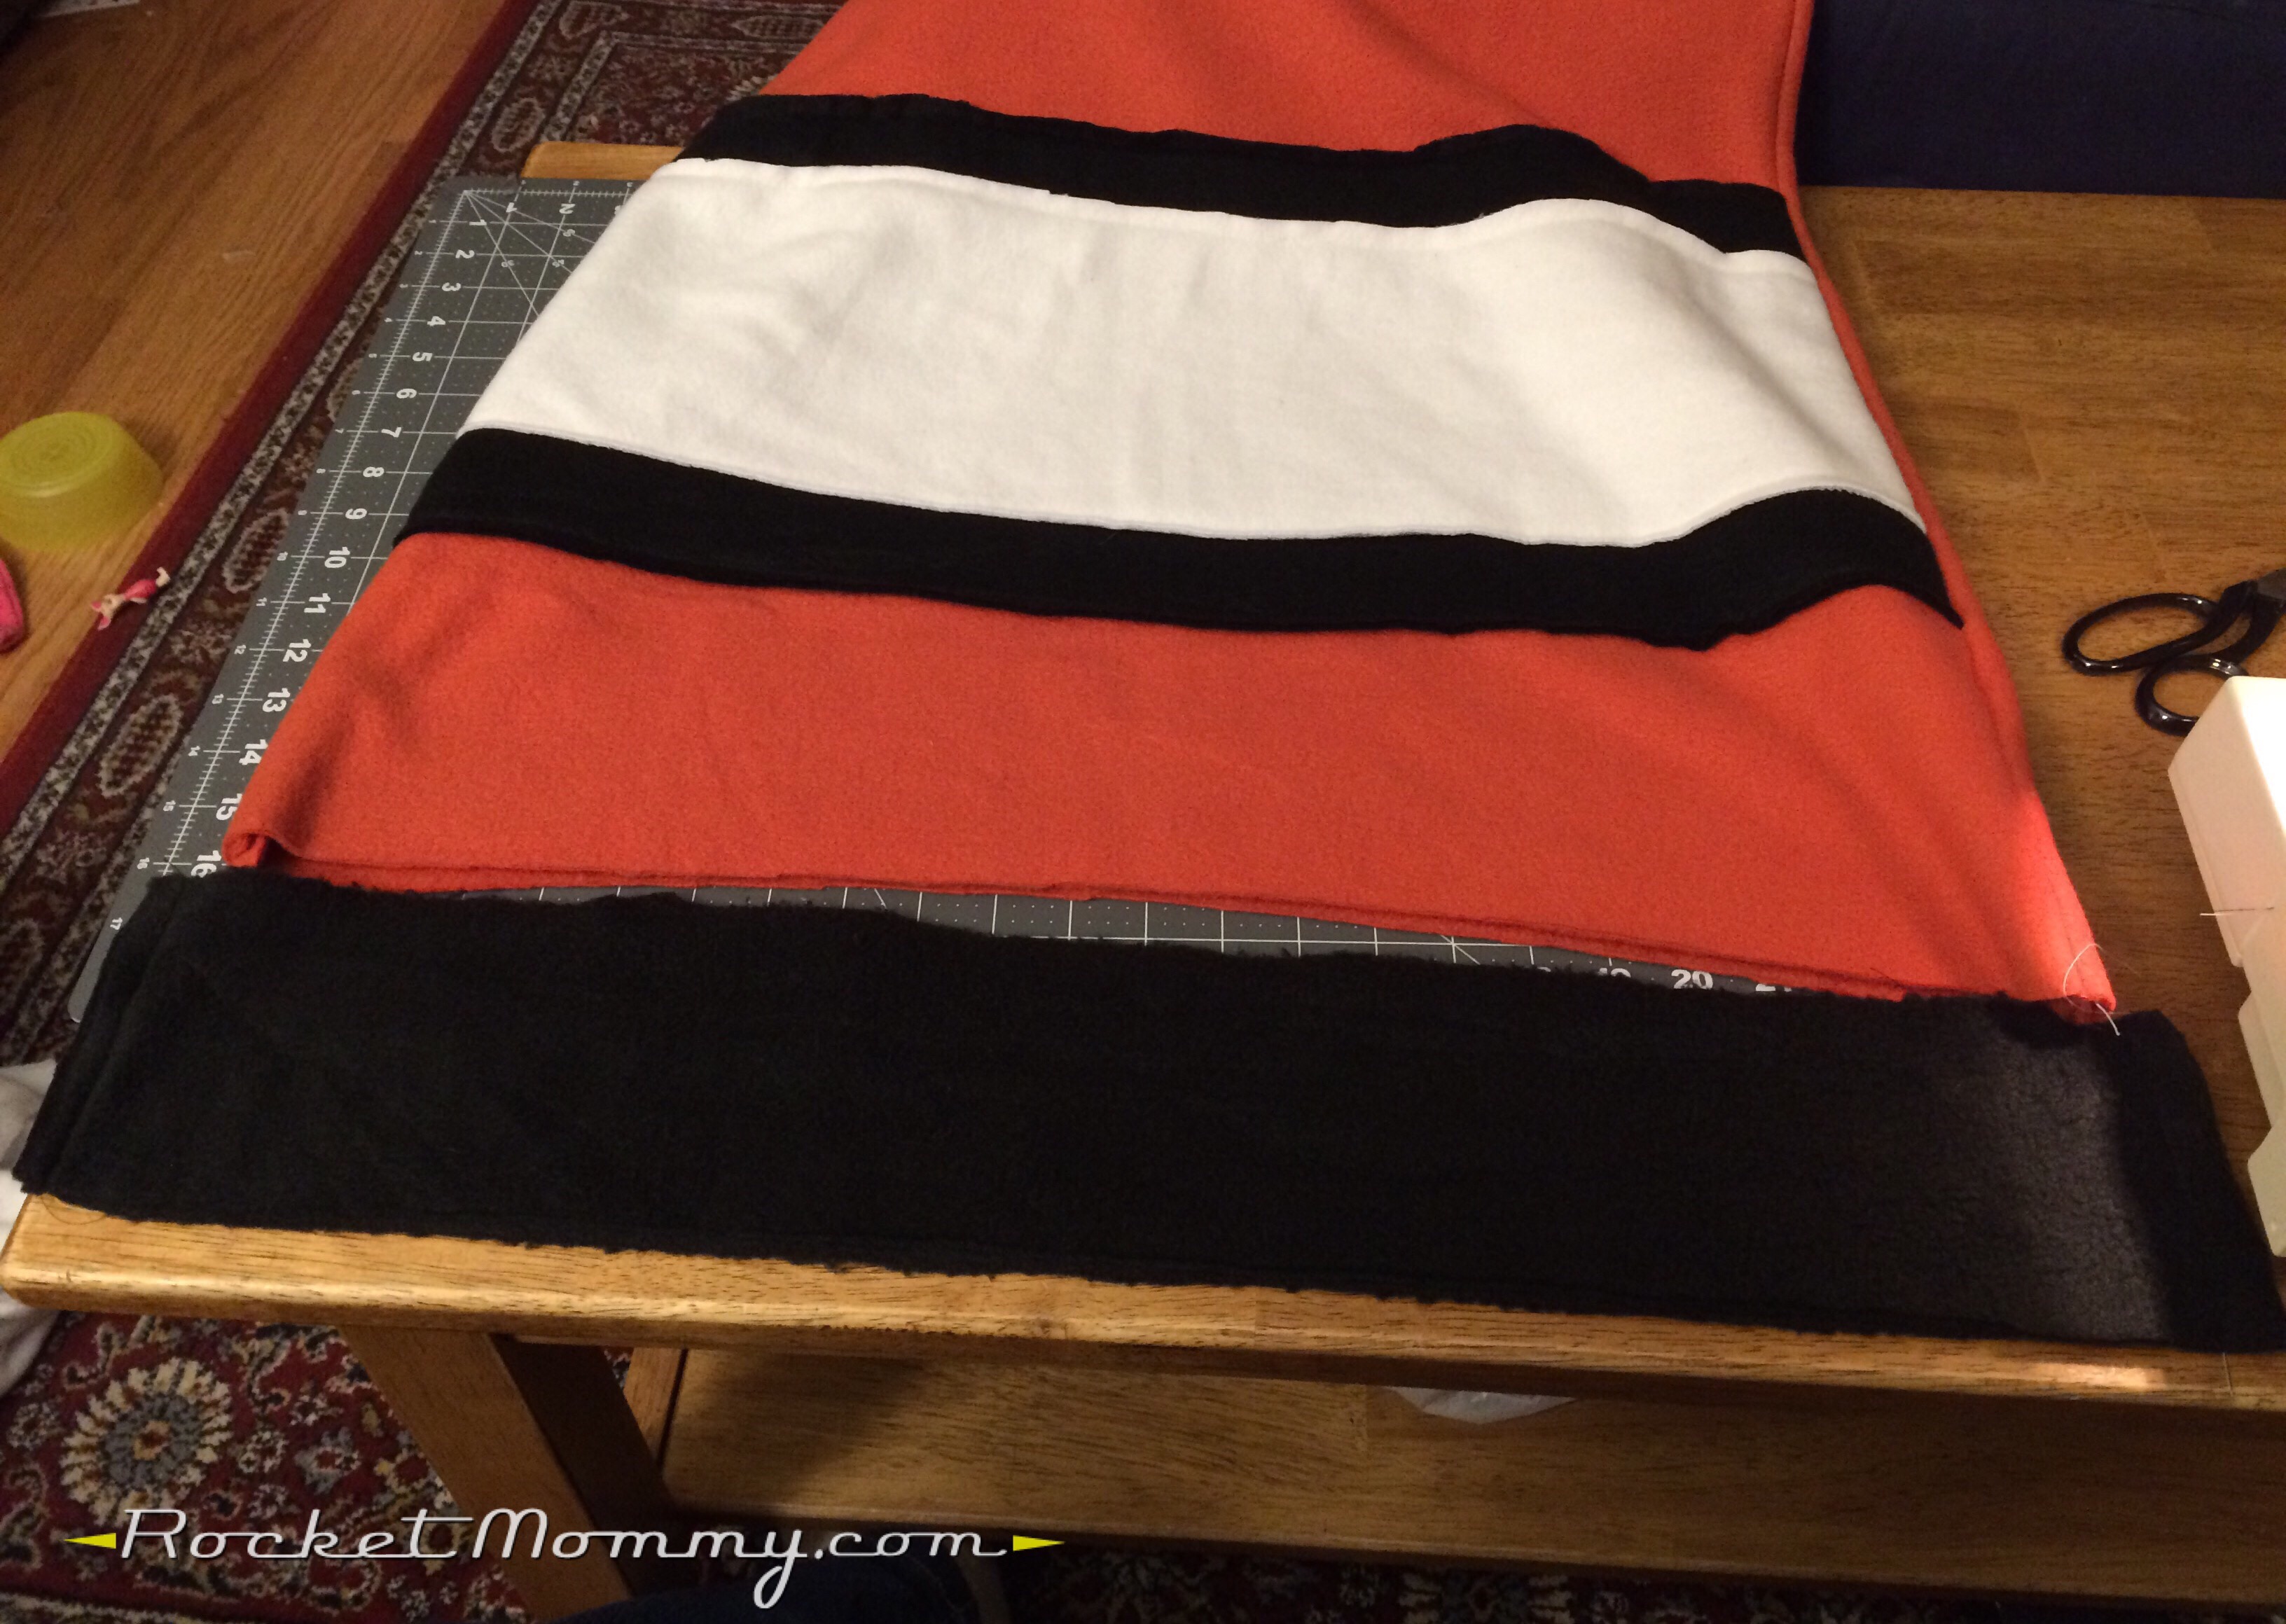
I like to add a waistband to my blankets, but if you’ve had enough, you can turn the top edge down on the inside and hem the top. If you’d rather have a waistband, the instructions are the same as the original tutorial. Cut a strip of fabric that’s 48″ long and about 6″ wide and sew the ends together to make a loop. Fold it so the seam is on the inside and the band is about 3″ wide, and put the blanket (right side out!) inside the loop and line up the edges. Sew all three layers together all the way around the loop and flip the waistband up.
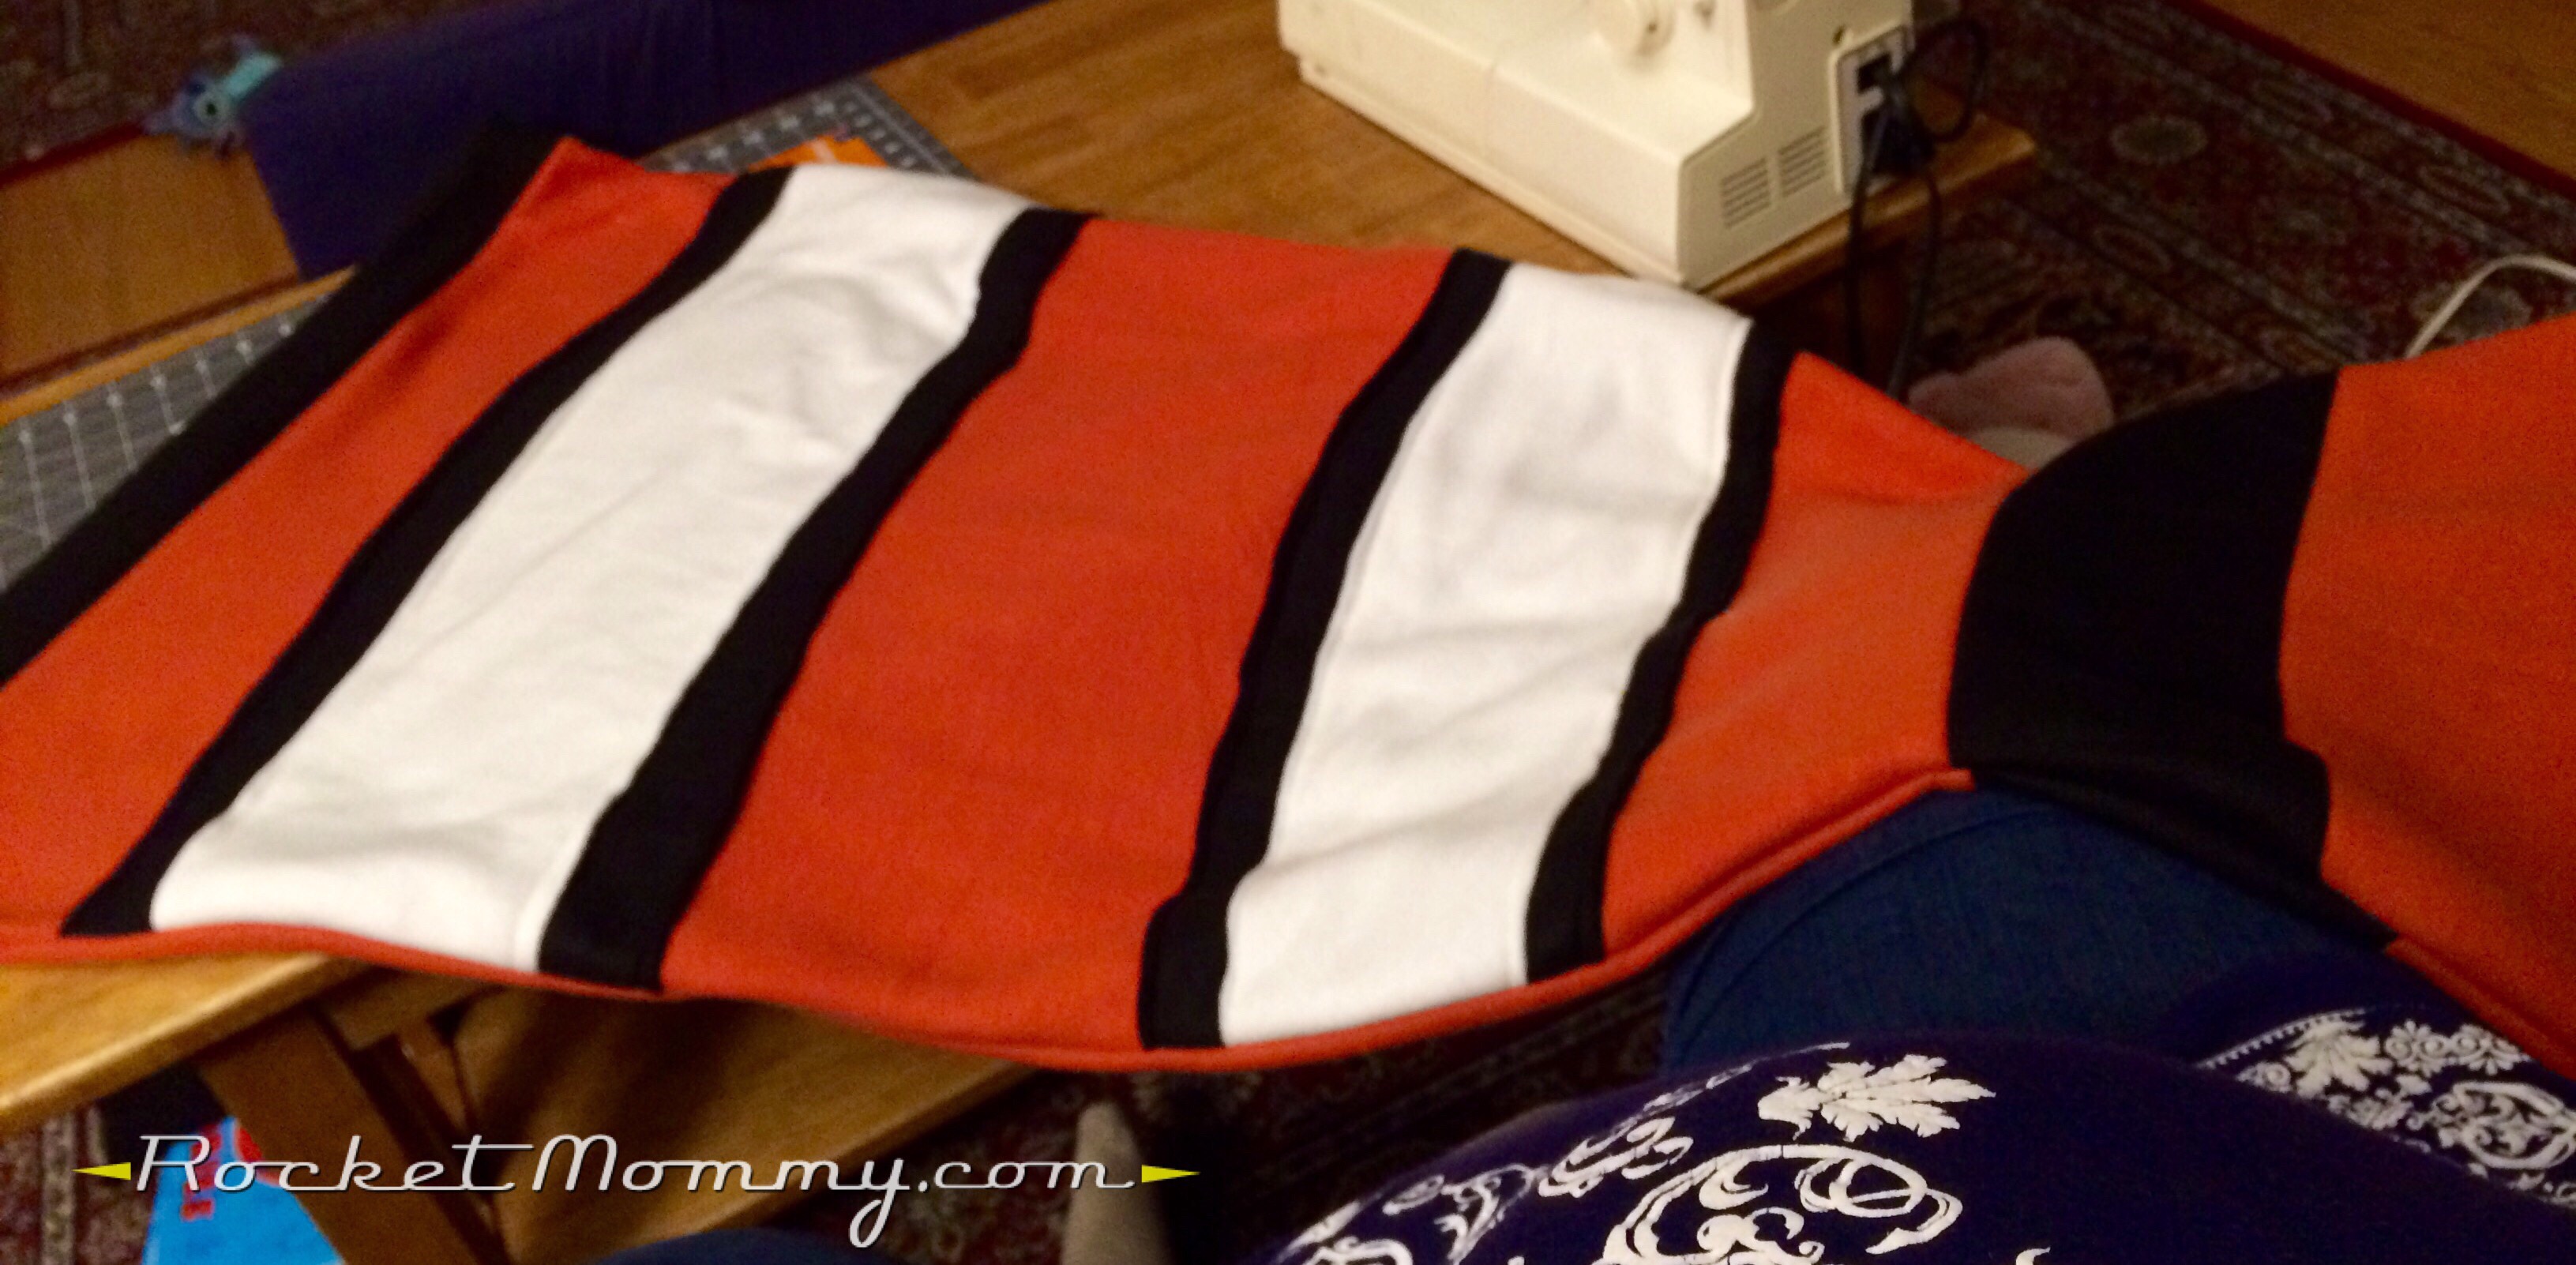
That’s it! You’re finished with your Nemo blanket! Ready to make Dory next? Tune in tomorrow!
It’s so freaking cute once a kid snuggles up in it. Really.

And I’ll keep you all posted as to whether or not these work to keep unruly toddlers in their seats at the movie theater ;).

One thought on ““Finding Dory” Blankets Tutorial, Part 1 (Nemo) – Taking the mermaid blanket to the next level!”
Comments are closed.