
I’ve got a huge backlog of projects that are half-finished and need to become blog posts very soon, but I put this little quickie craft together today and thought it was worth sharing, especially for all the kiddos out there who are really into the Angry Birds craze right now.
G has taken a huge interest in crafting with me lately, and he has been letting his imagination run wild when he asks me to create things with him. Sometimes this is adorable, and sometimes it’s a little insane, but I’m generally up for a good challenge. So after he saw the Angry Birds movie, those birds were all he could talk about, and he came up with this whole plan for an Angry Birds craft.
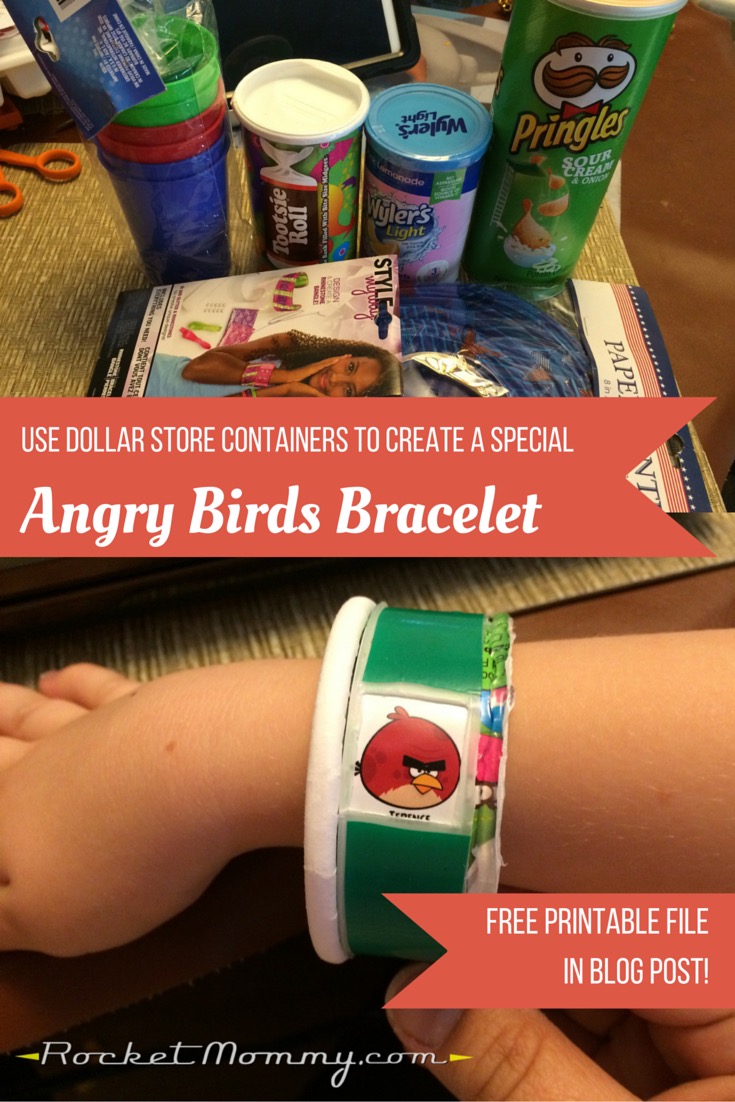
Here are the specs he gave me: he wanted a bracelet that had a screen where you could scroll through and select an Angry Bird, and then he could transform into that Angry Bird and load himself into a life-sized slingshot and fling himself into a pile of bricks. Well…dream big, little dude, but we’re not making you into a human cannonball, so let’s scale it back a bit and just focus on the bracelet.
I did a little research and found this blog post detailing how to make bangle bracelets from a Pringles can. So smart! I figured I could use that as a starting point, but G’s wrist is way smaller than mine and a Pringles can is too big. So I did one of my usual meandering trips through the dollar store, looking at everything that was even vaguely cylindrical and trying to determine if it would work. I ended up with this array of items to experiment with at home.

It just so happens that the Wyler’s Light can and the Tootsie Roll bank nest together just perfectly for the design I had in my head. And while they were still a little loose for a kid’s bracelet, they were a much more manageable size than the Pringles can.
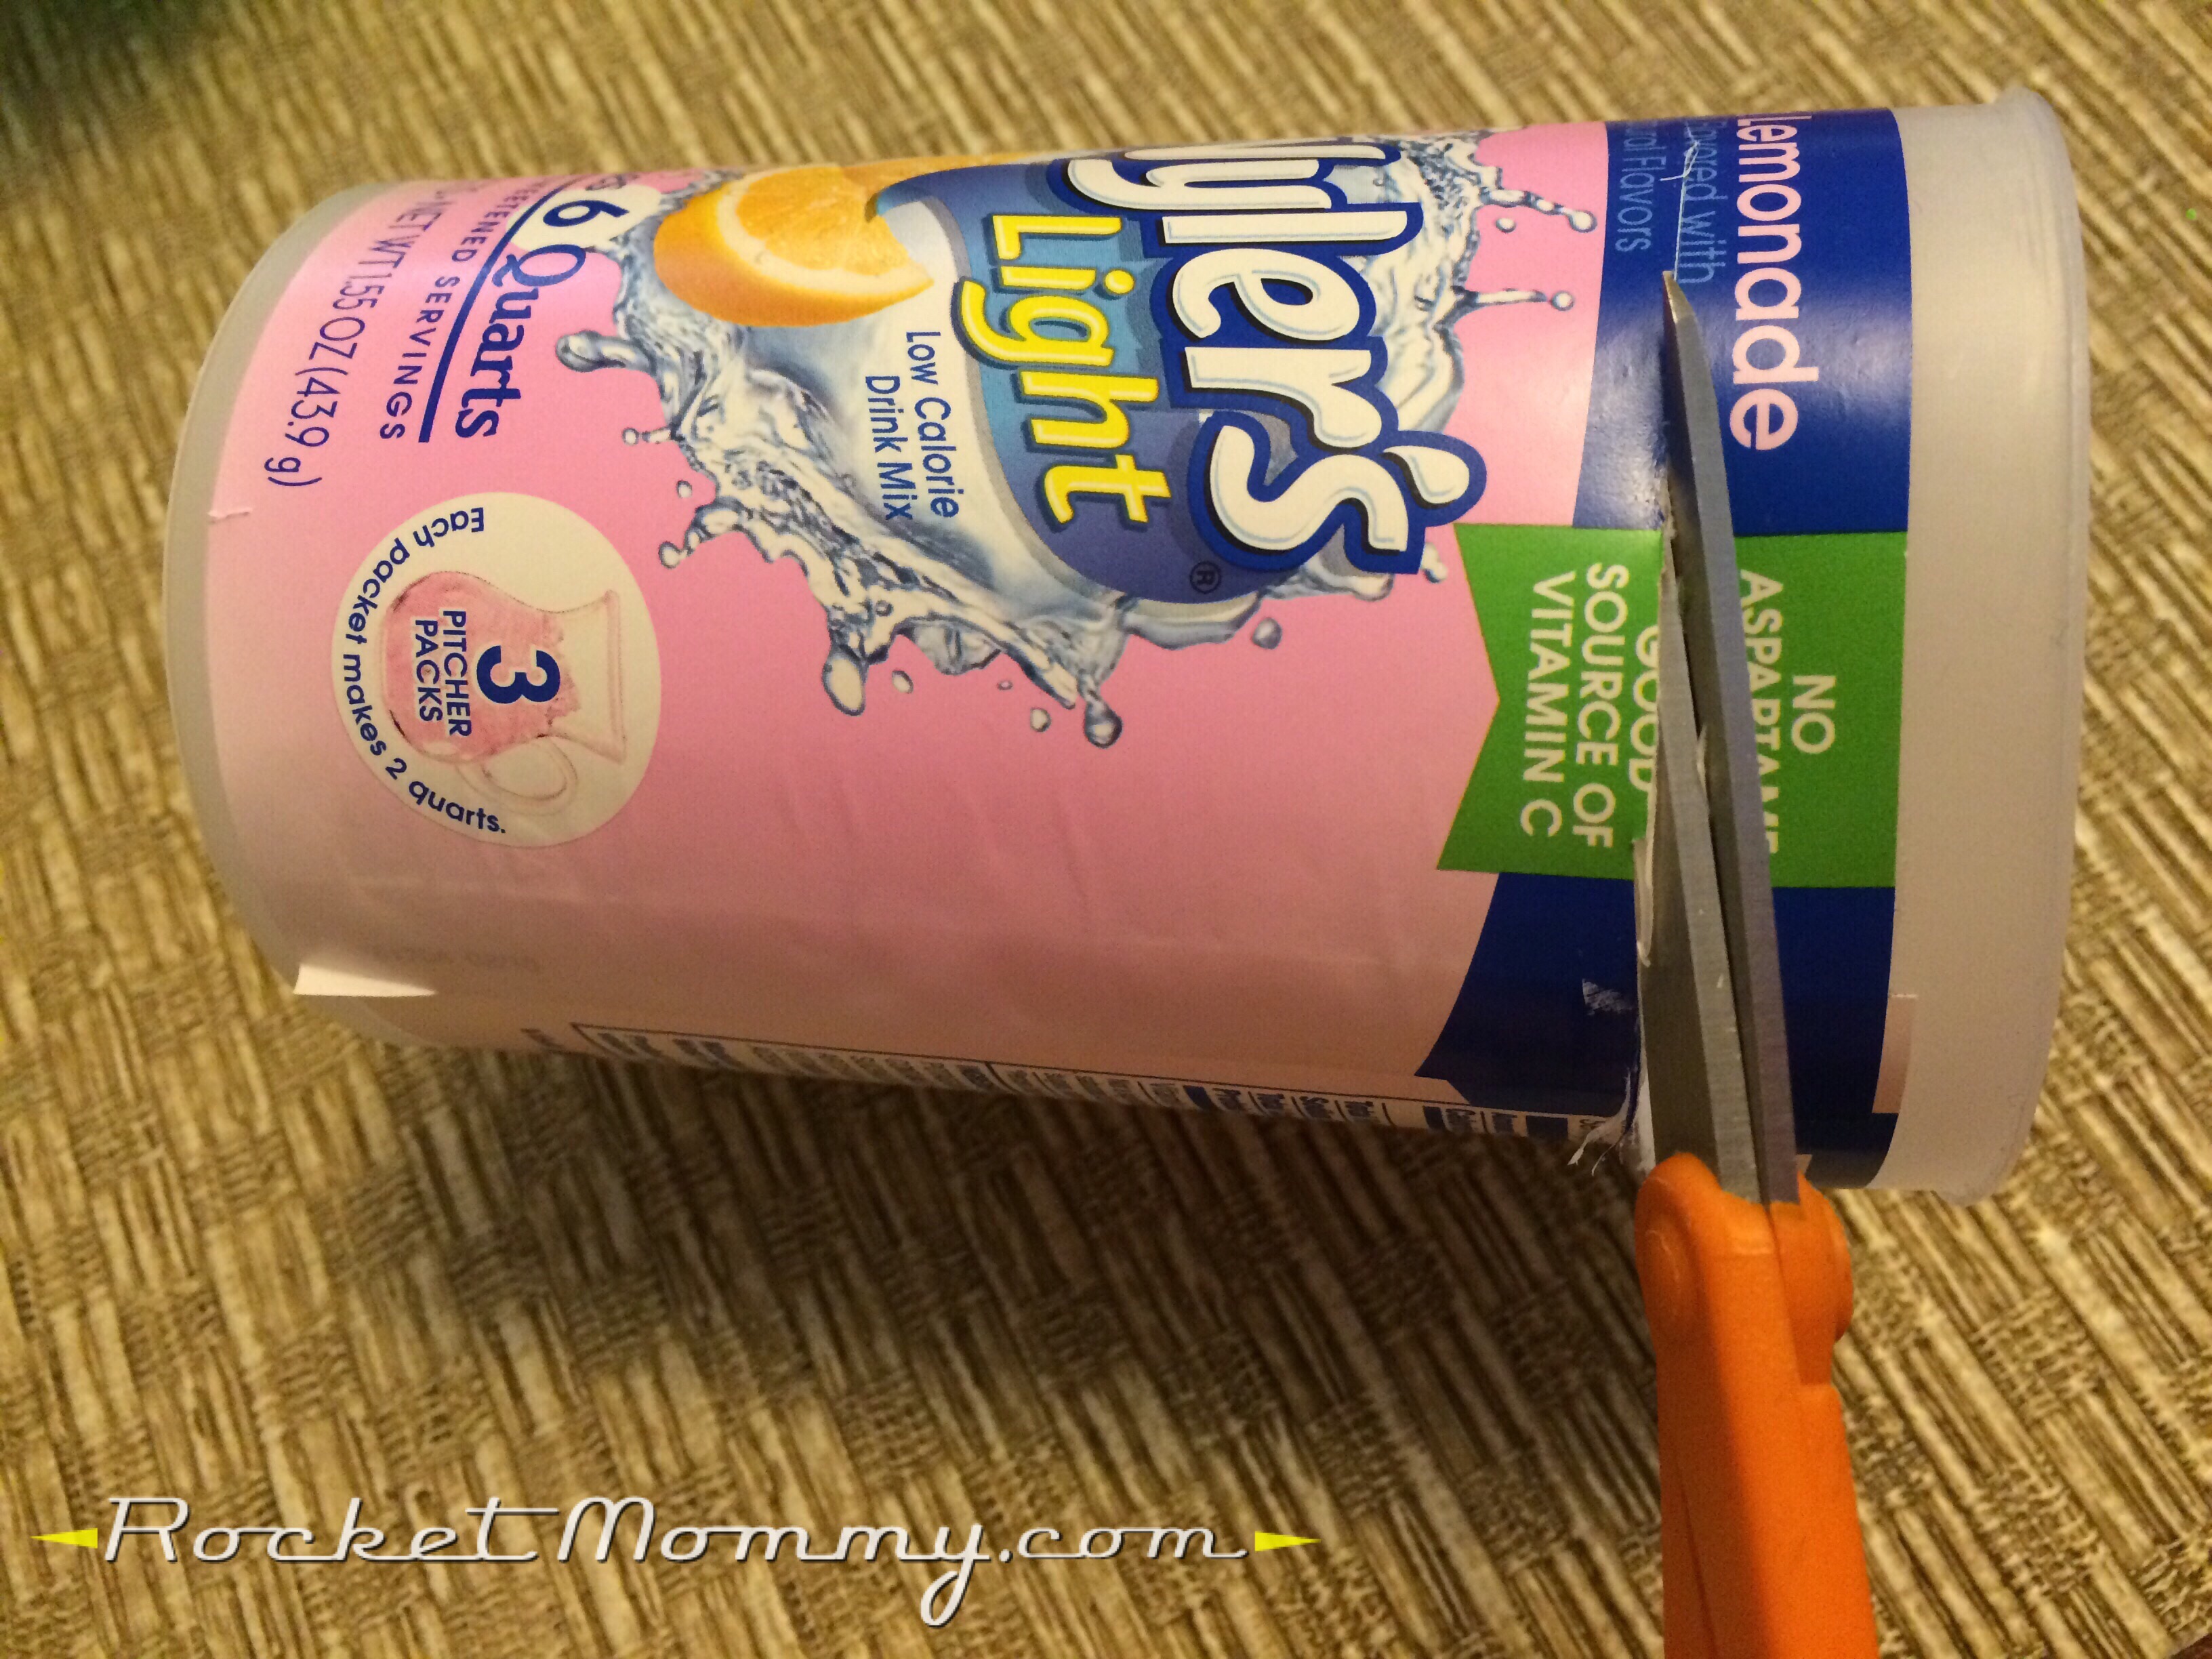
I started by measuring the Wyler’s container with a roll of electrical tape so I could cut it to the right width – 3/4″.
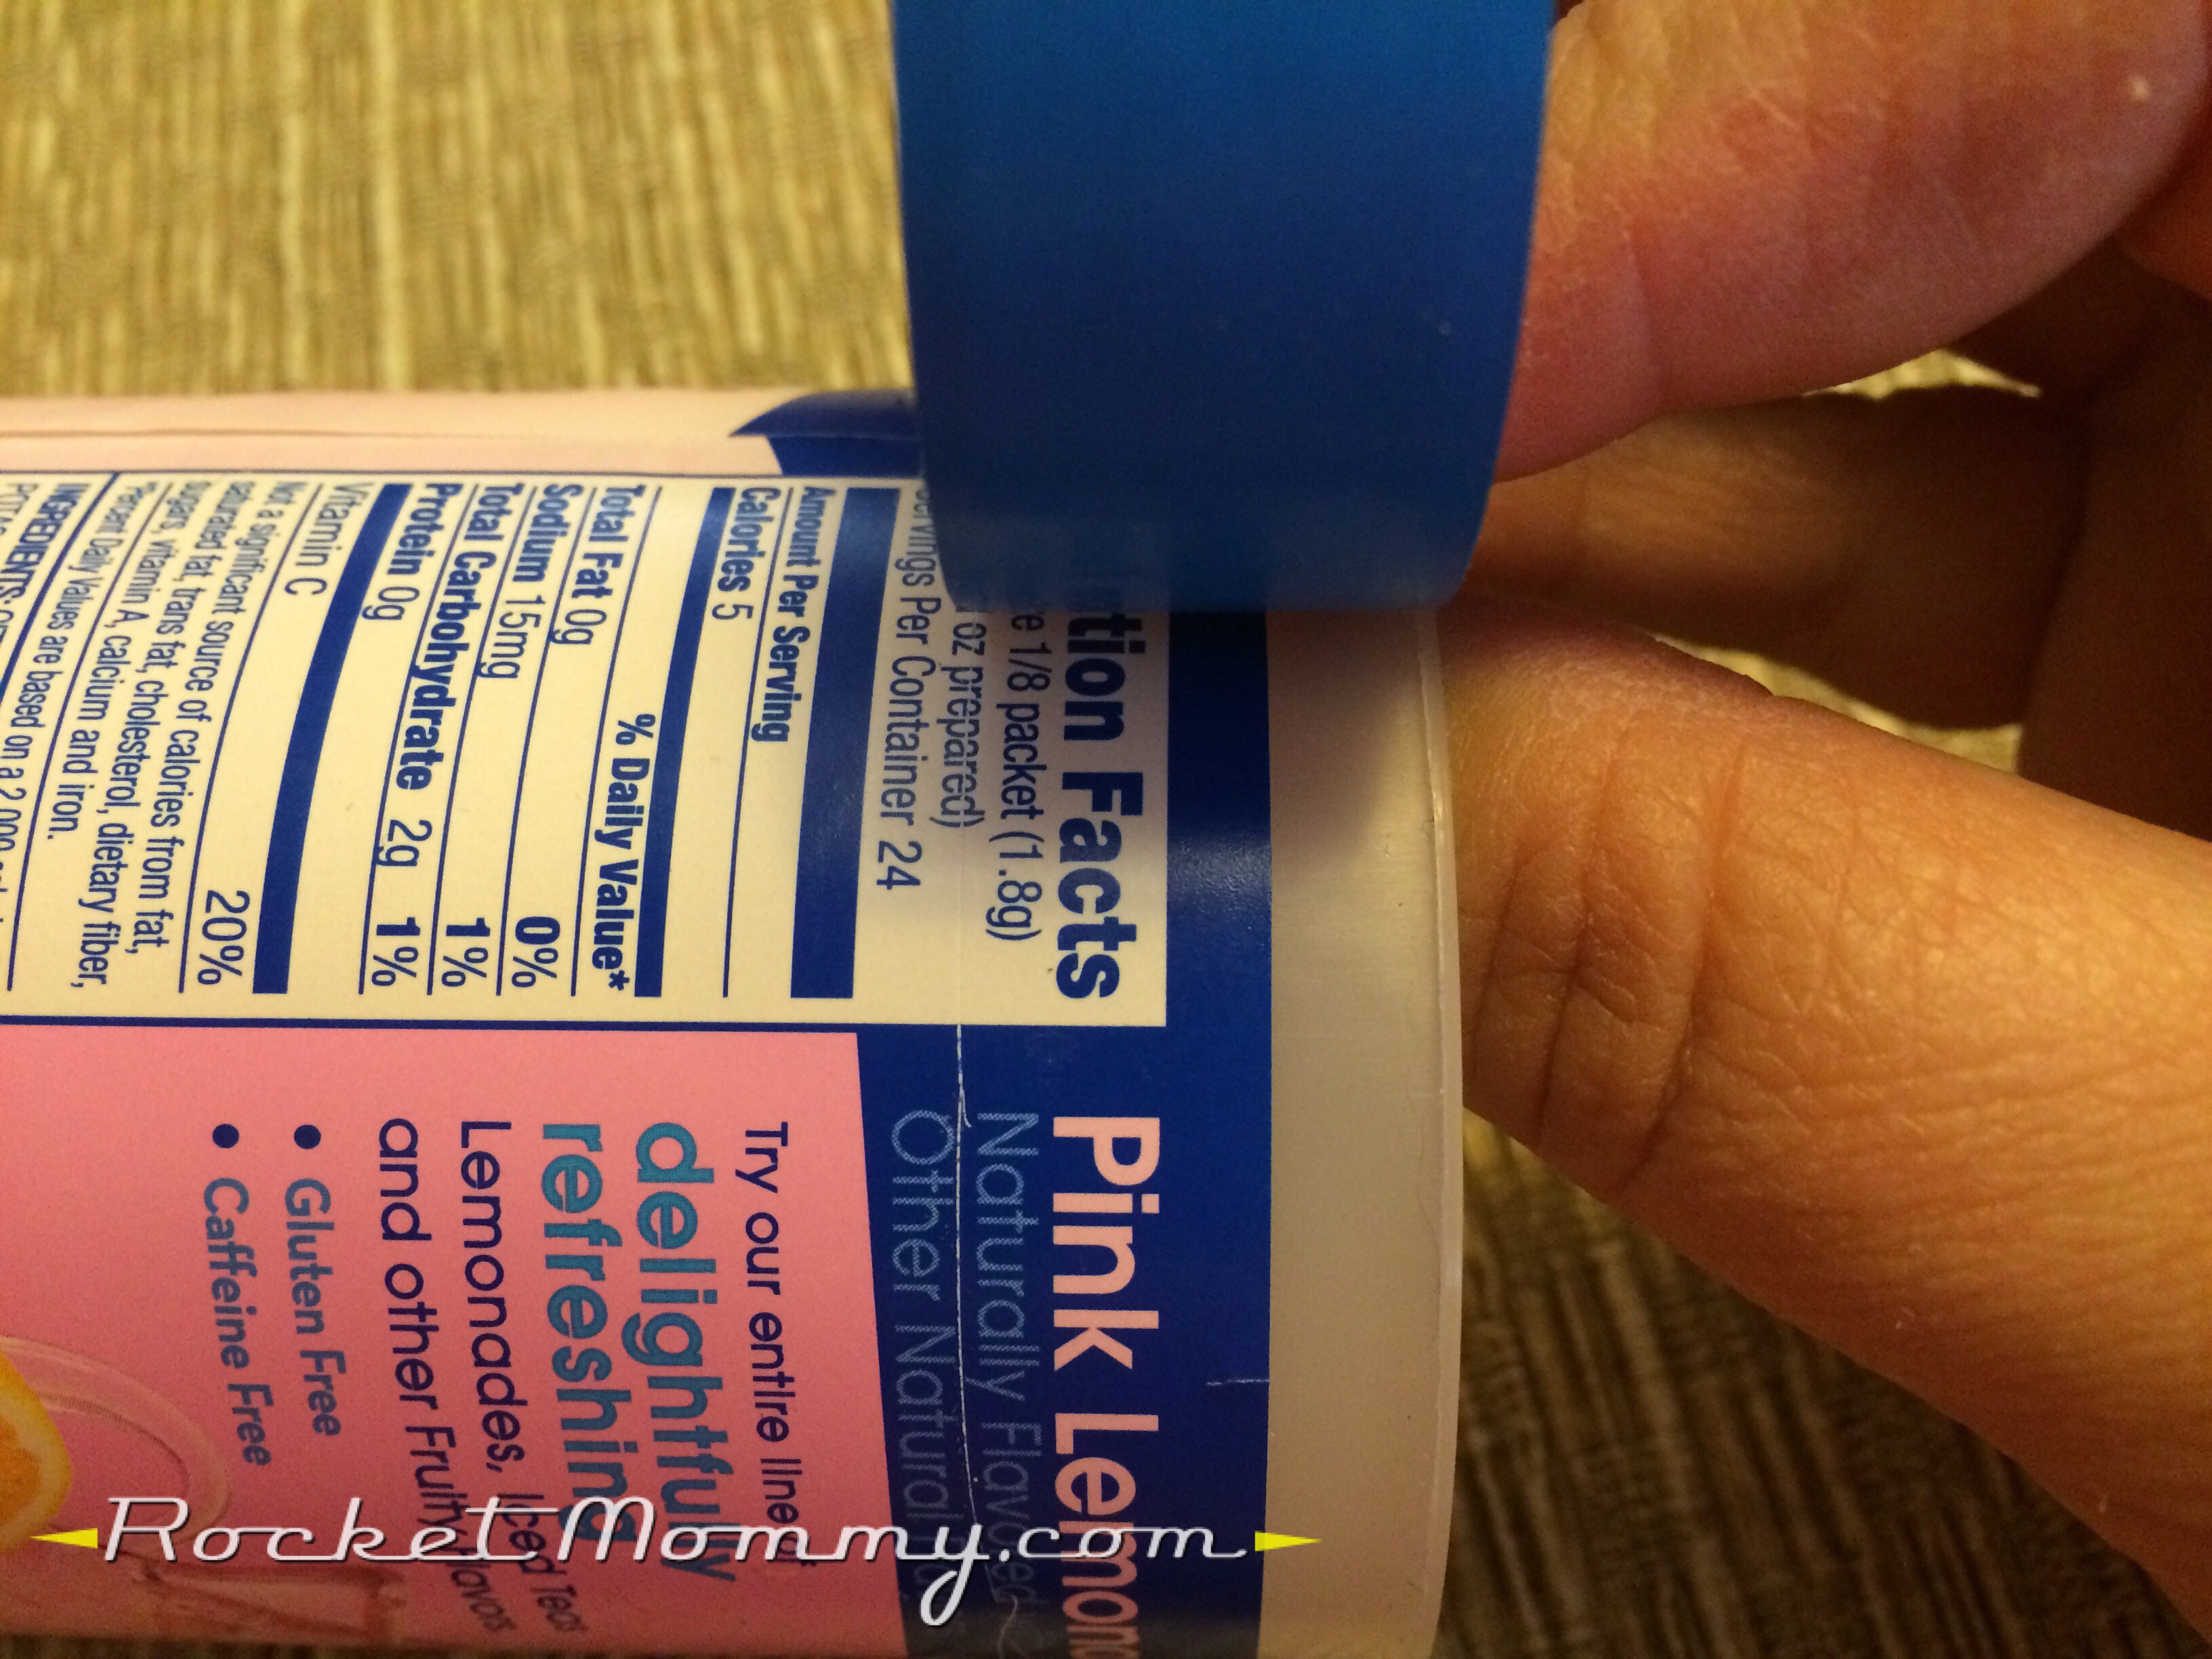
It’s made of thin, flexible plastic, and it cut very easily with scissors. I like using scissors over knives when possible – I feel like it gives me much more control.
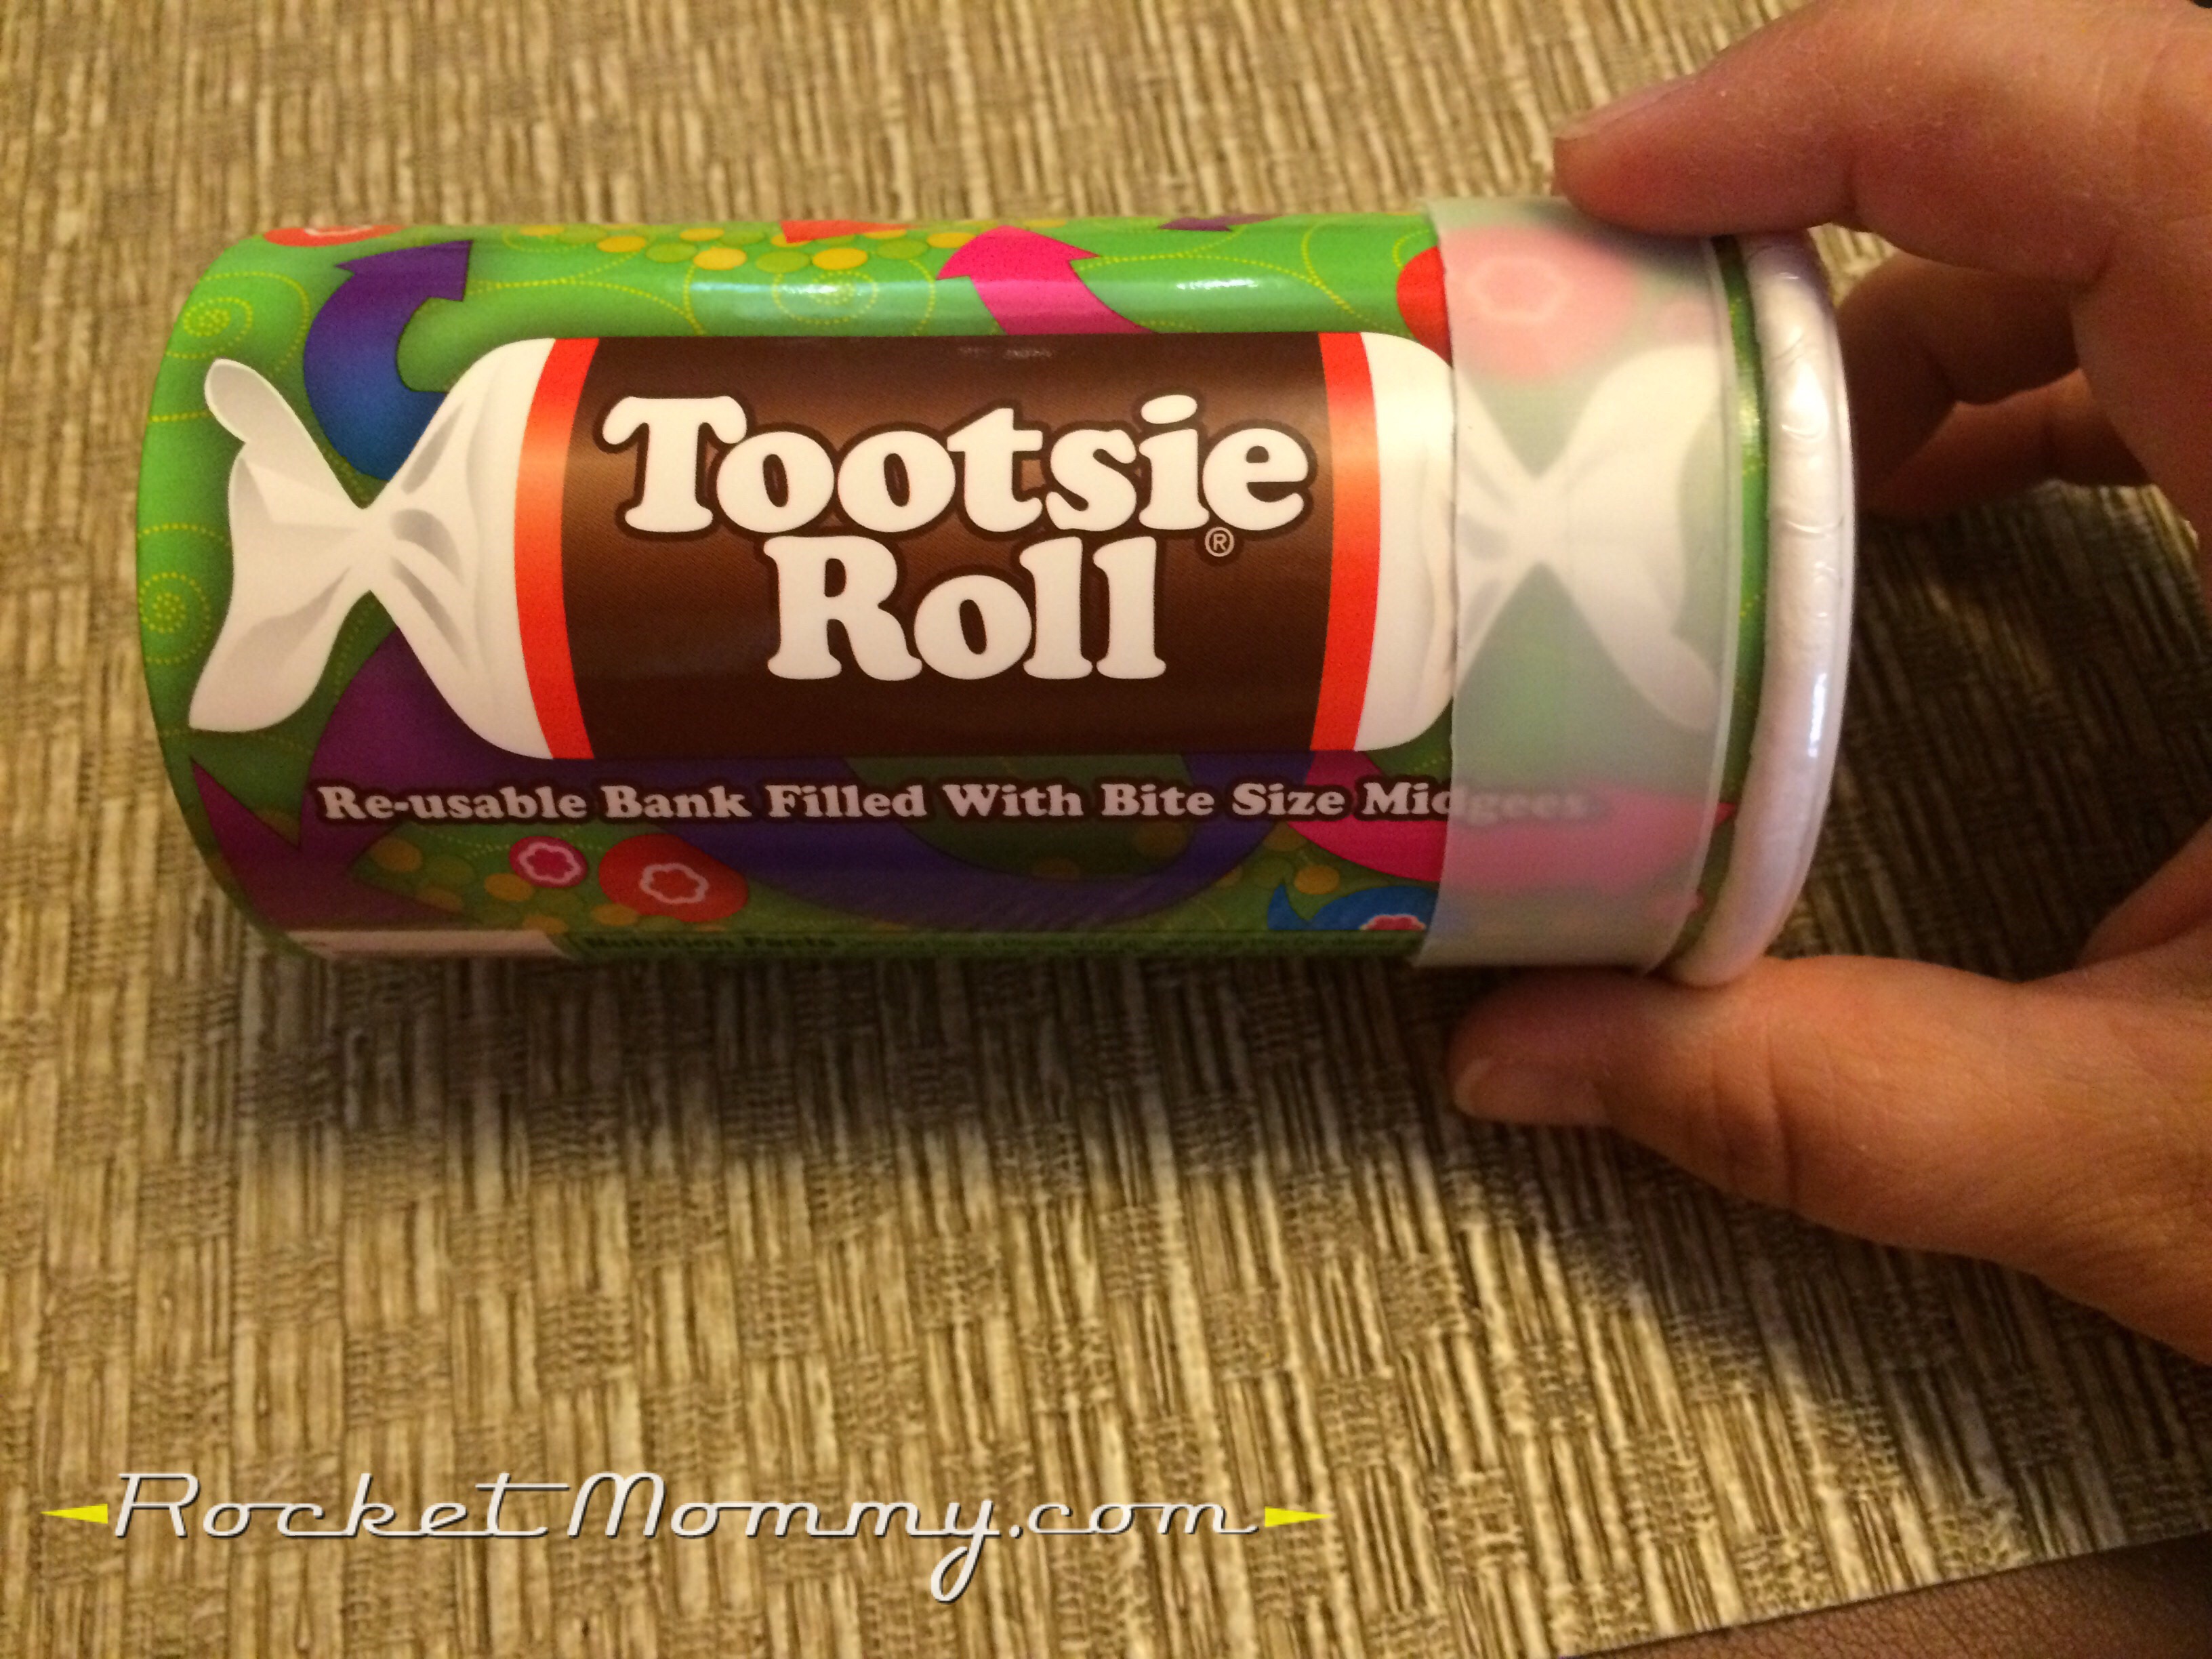
Next, I slid that ring on to the Tootsie Roll bank, making sure it would fit snugly but still have the ability to spin.
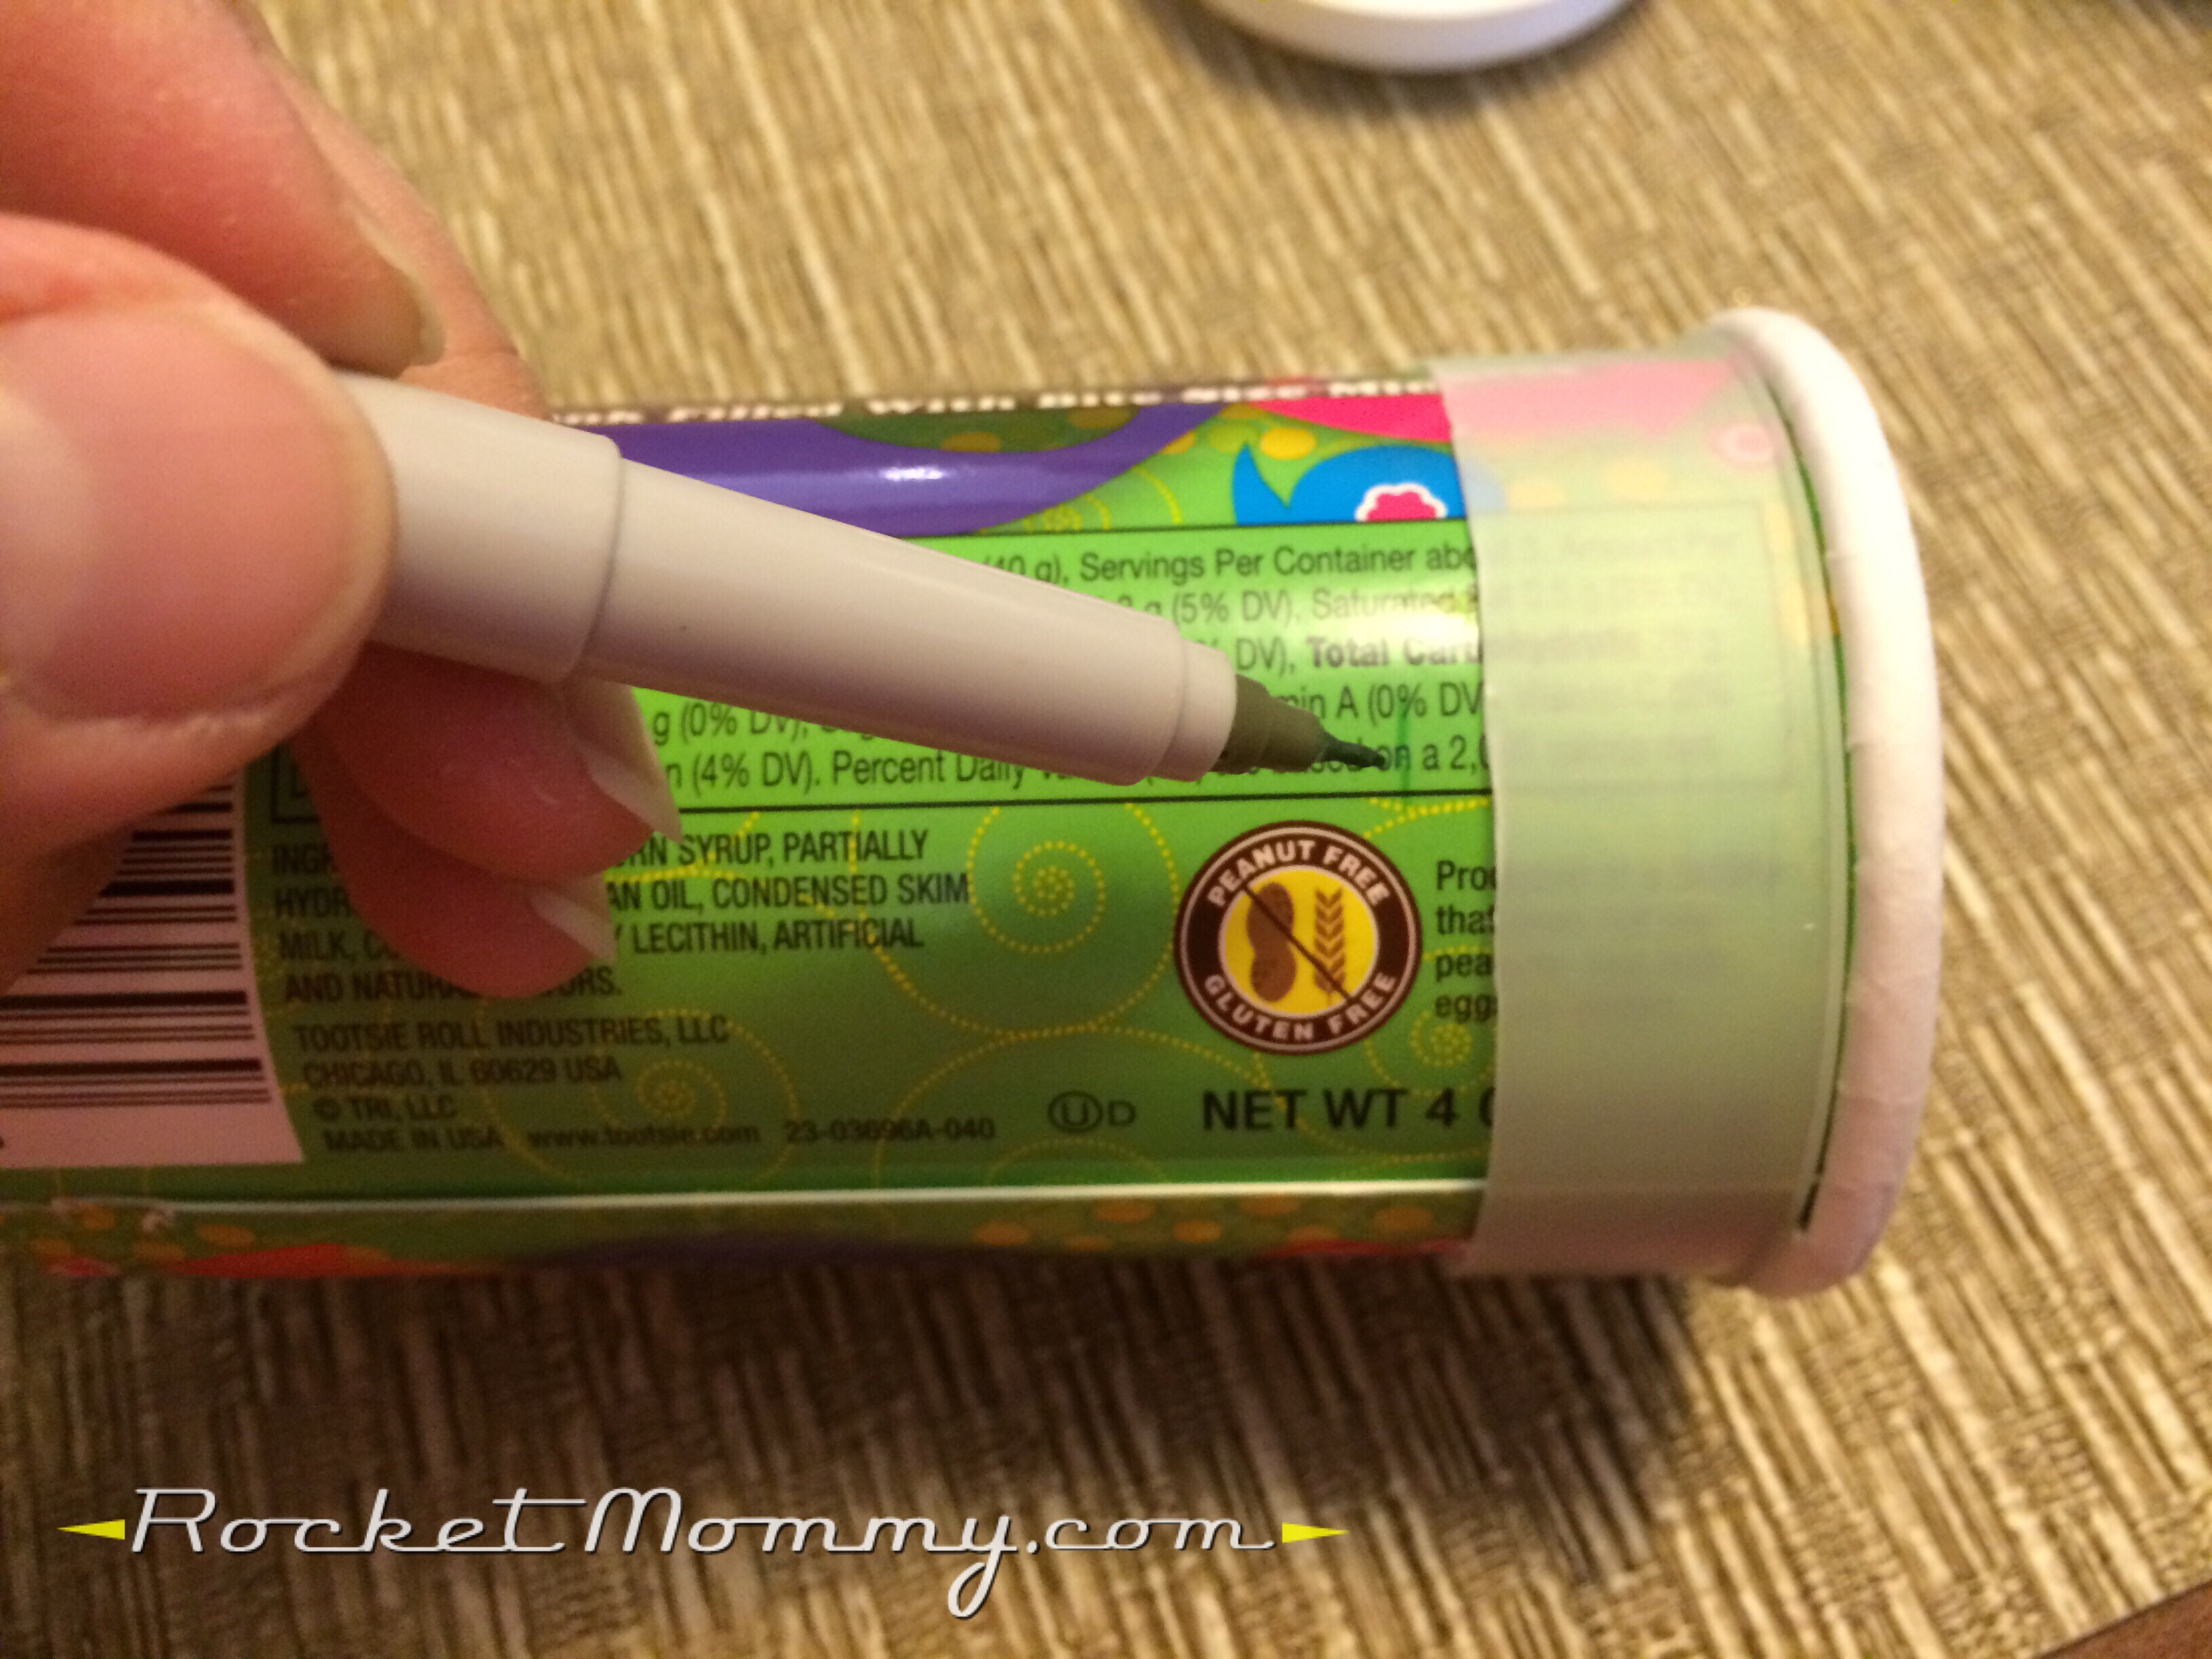
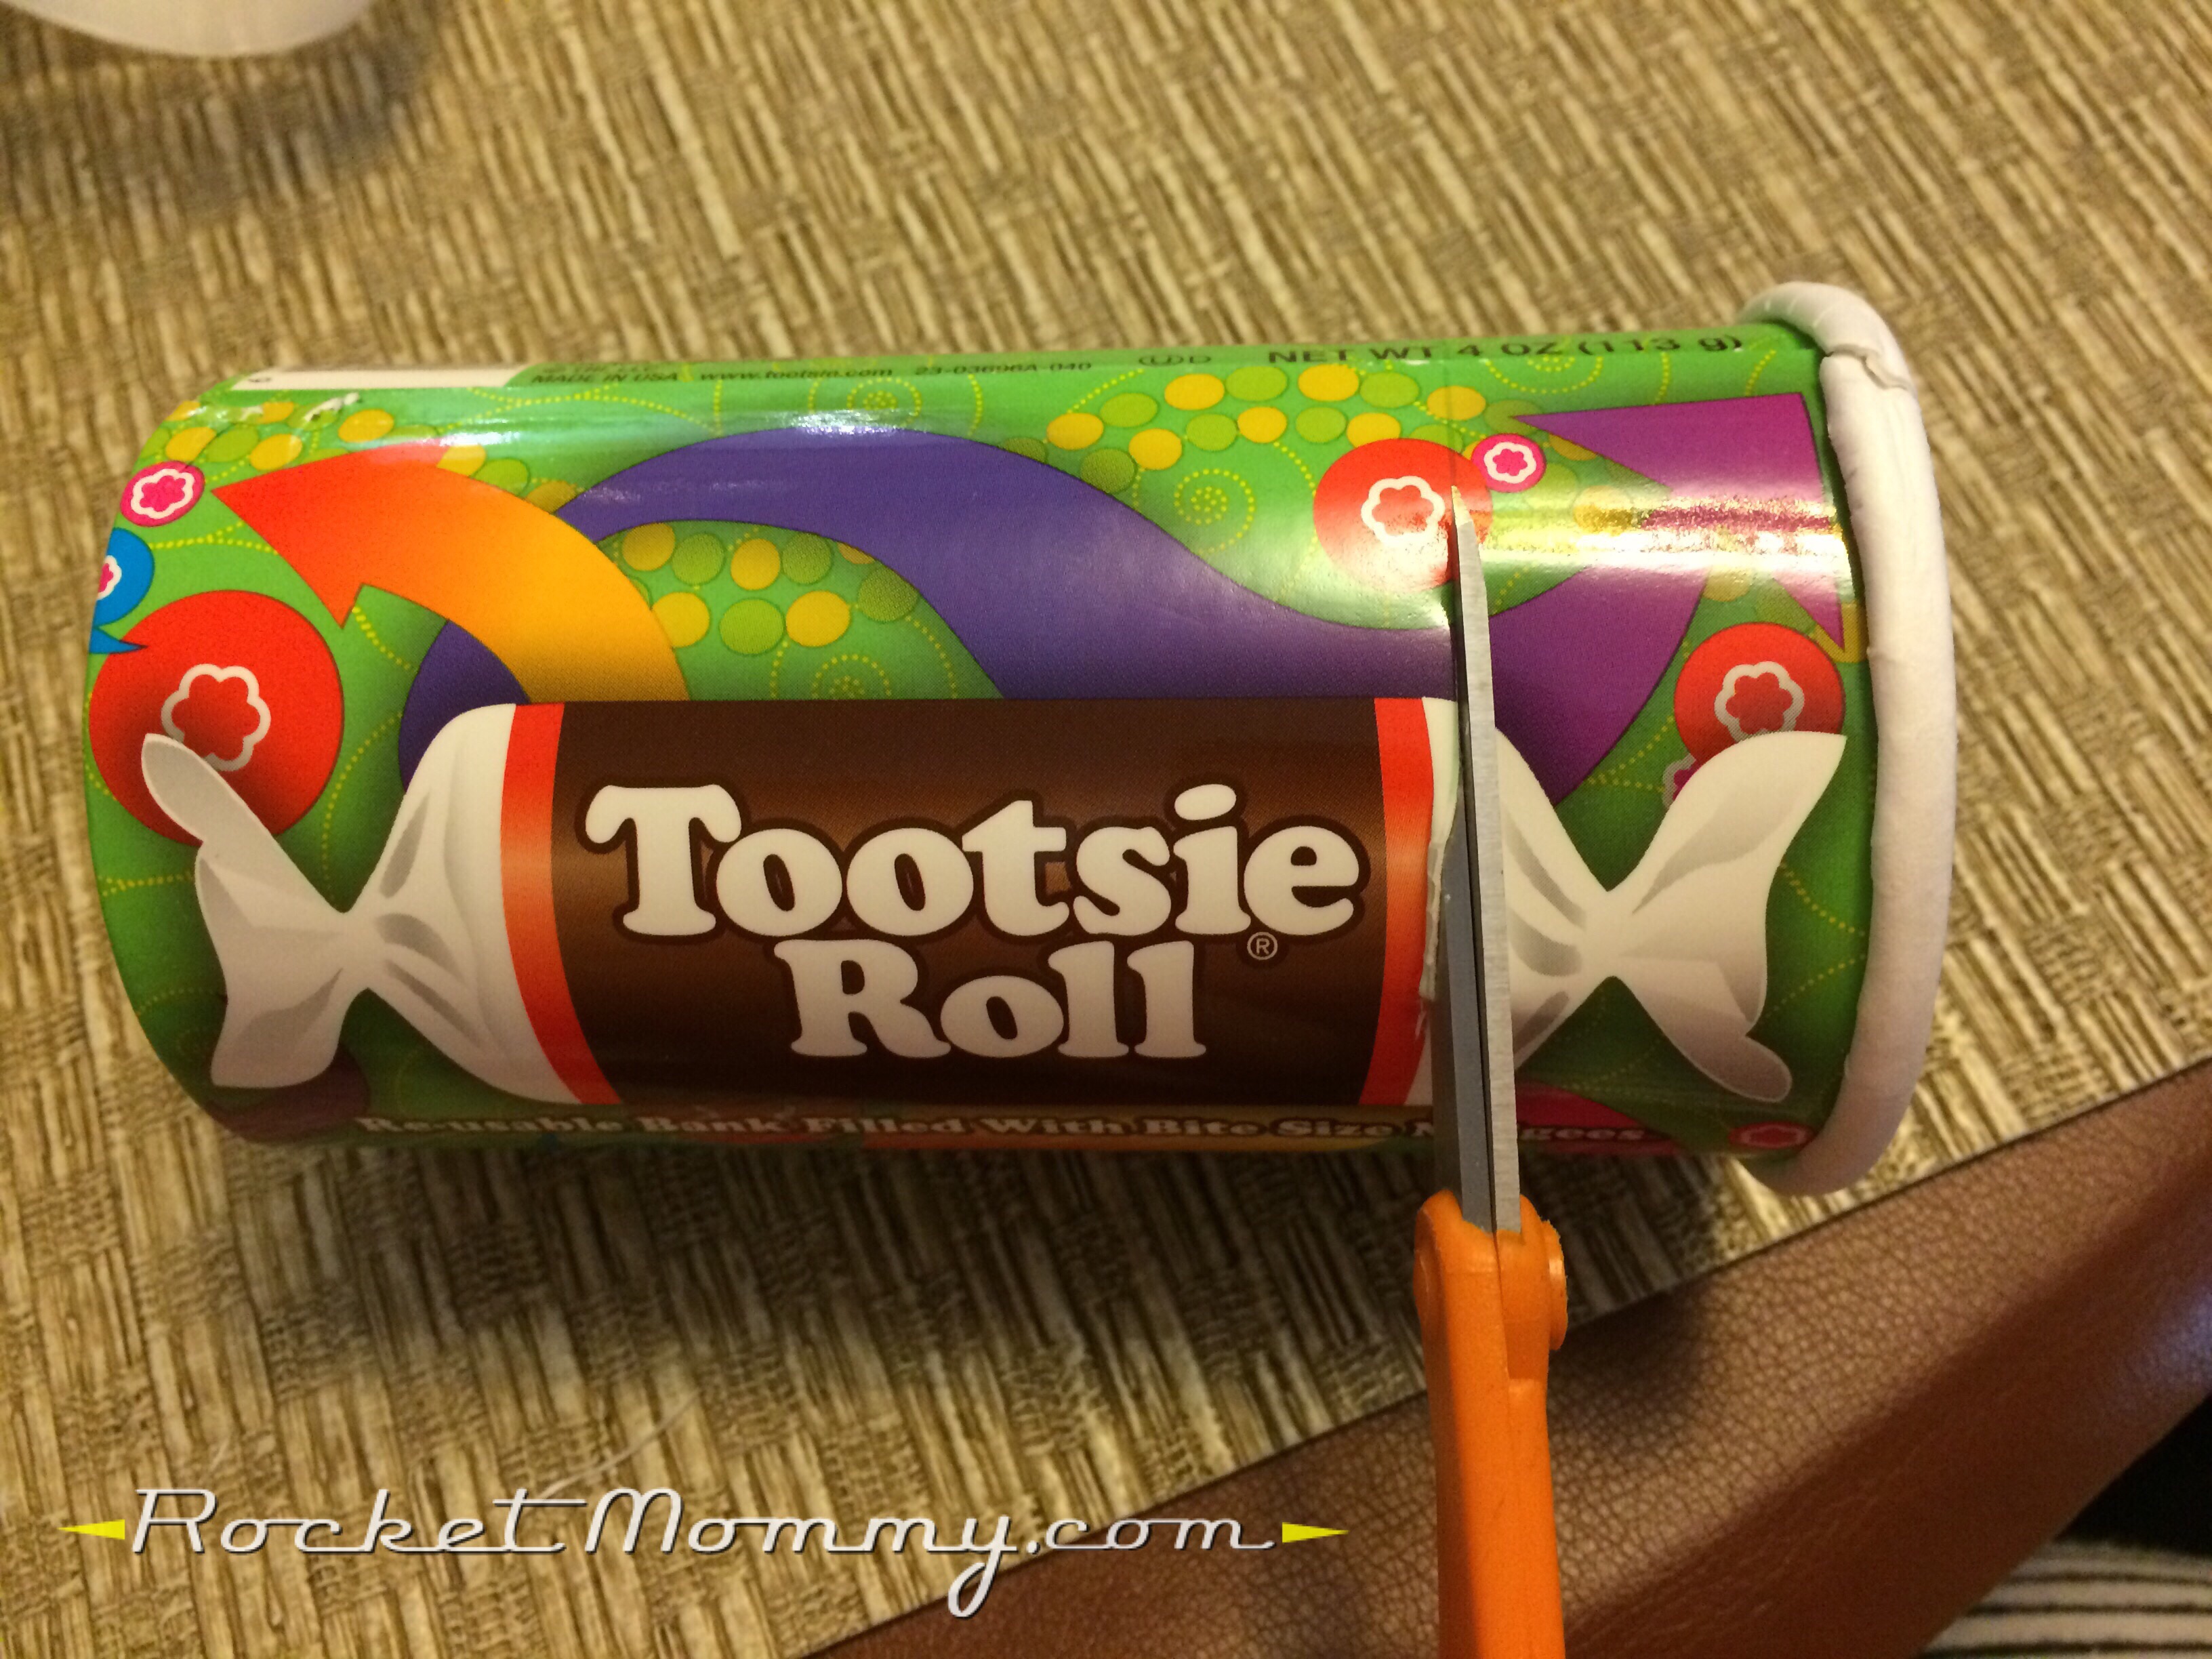
From there, I marked where I wanted to cut the bank, which was about 1/4″ from the edge of the plastic ring.
The Tootsie Roll bank is cardboard, which I was also able to cut easily with scissors. Yay!
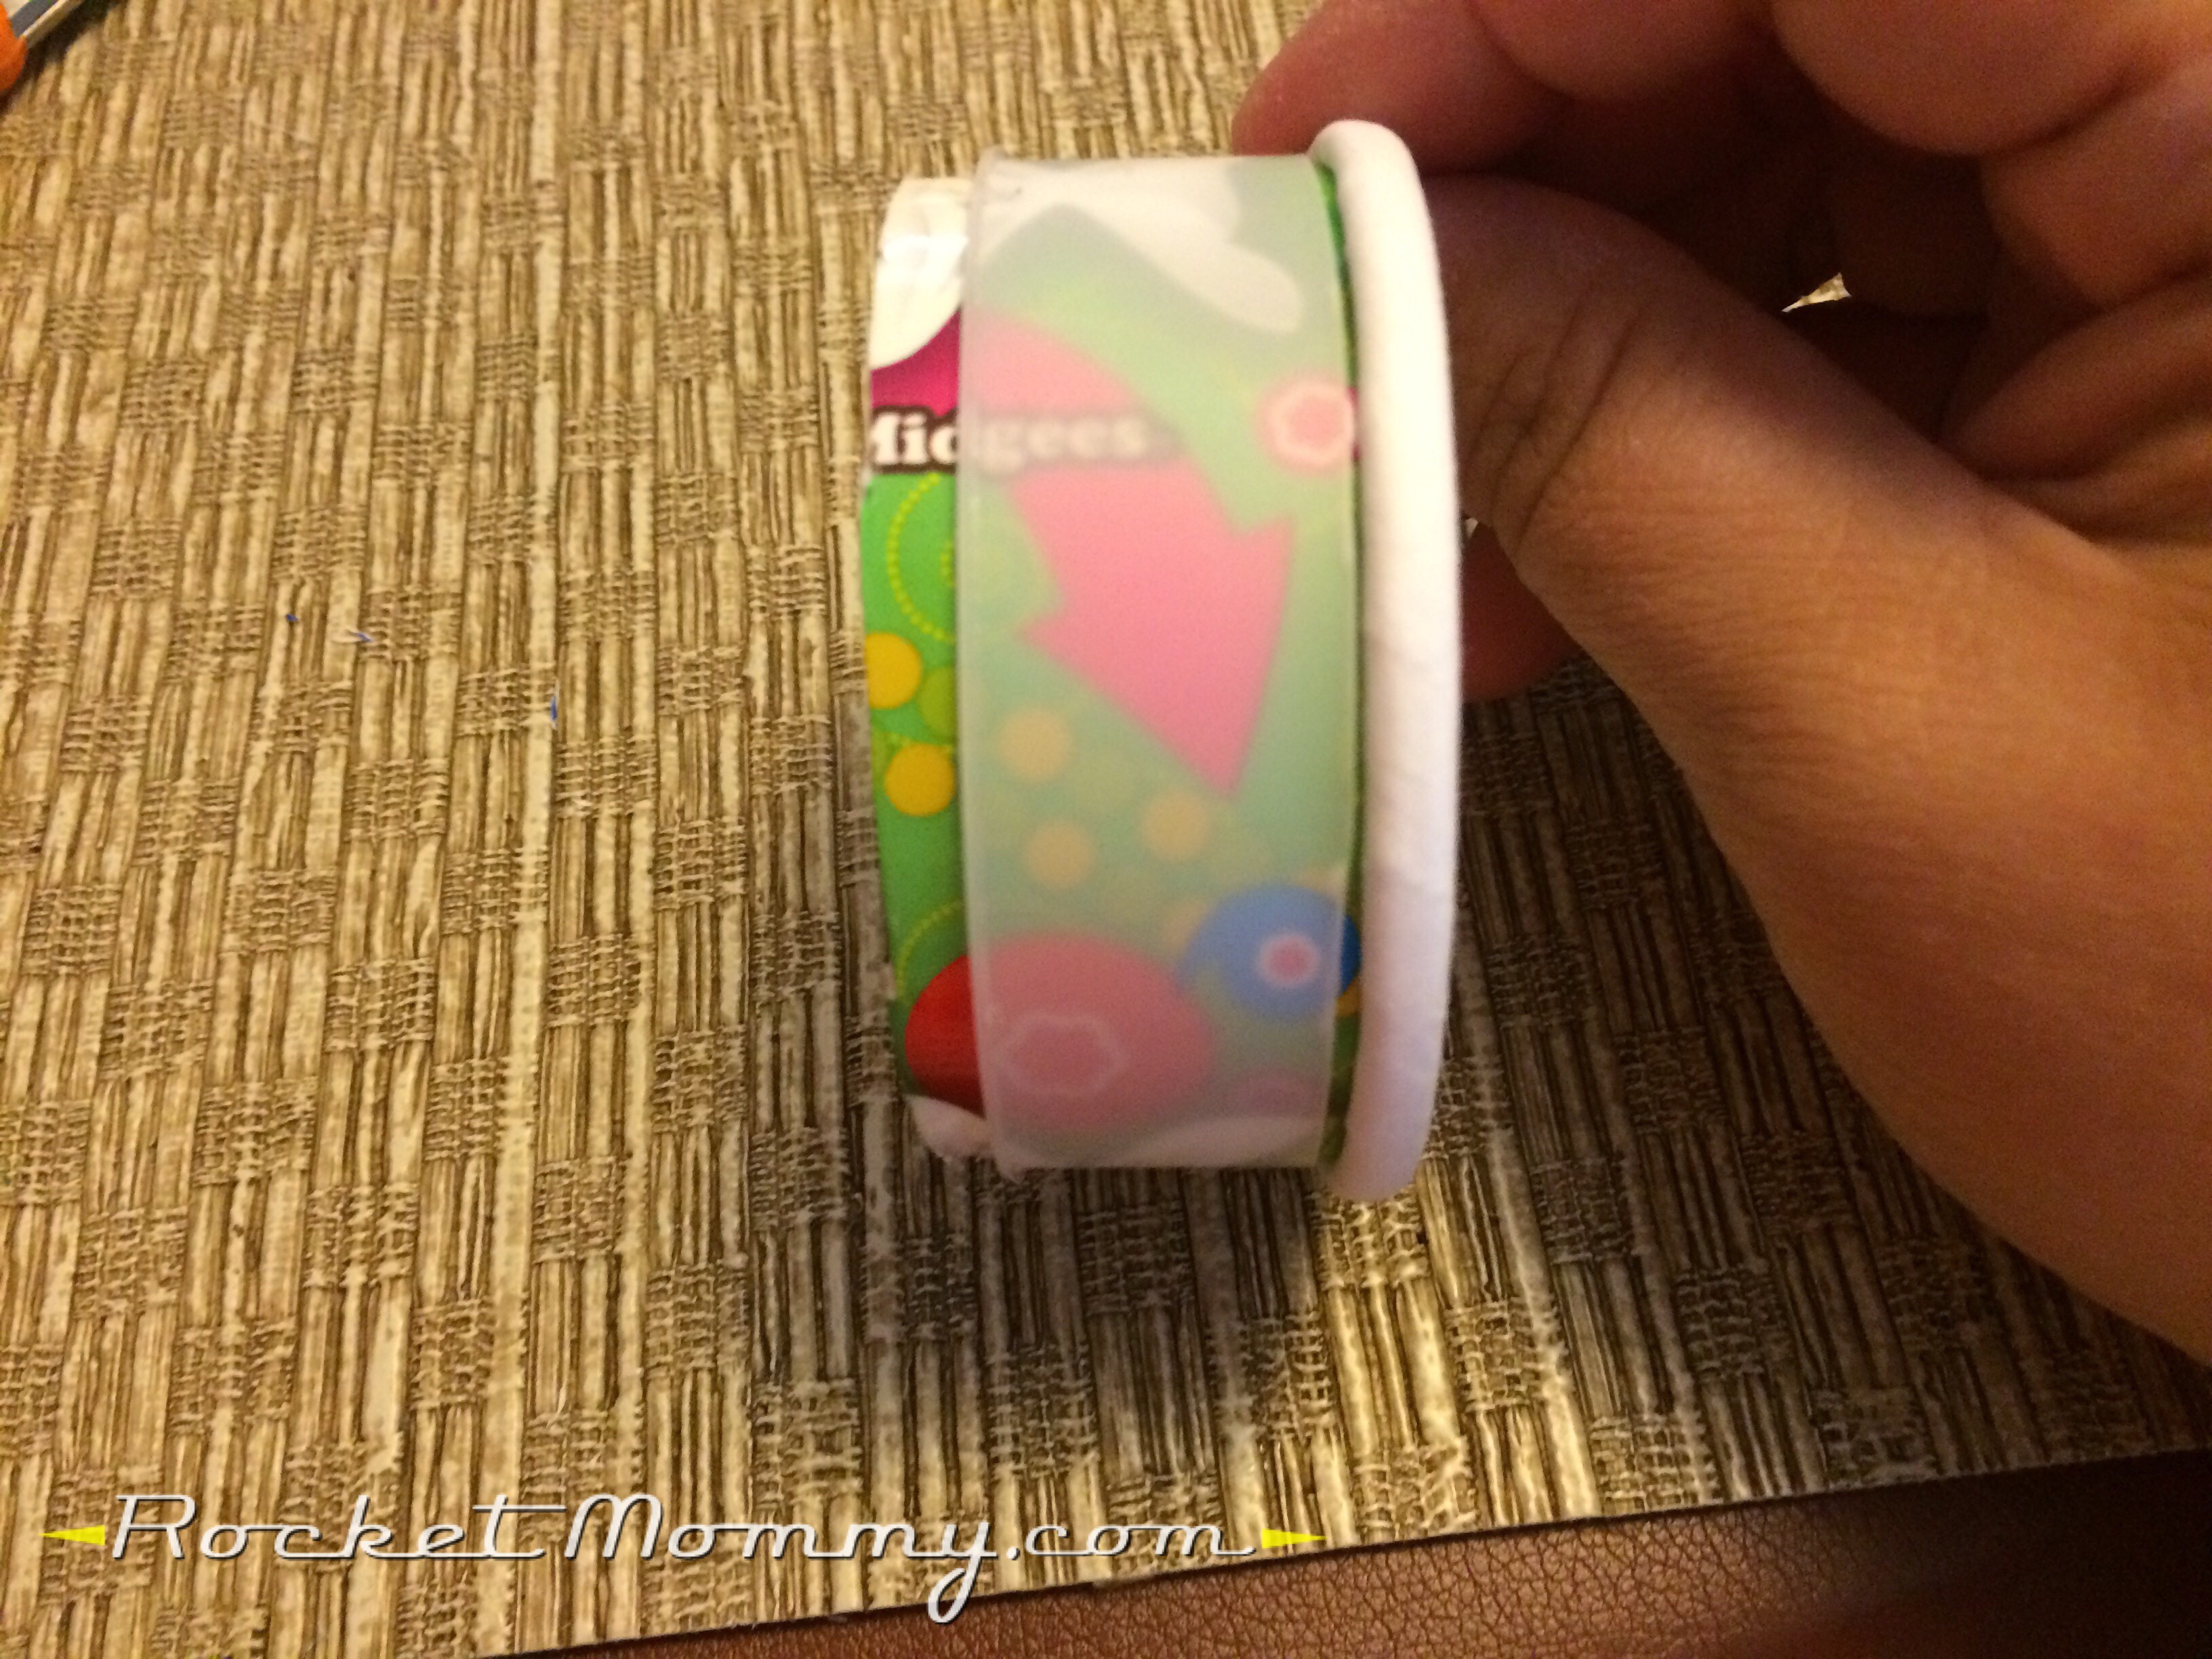
When that’s done, it should look like this:
Now, the next part was a pain for me, because it involved finding pictures of all the Angry Birds, then laying them out in Illustrator, trying to space it all out just right, and printing it out on sticker paper. But for you, should you wish to attempt this nonsense, this part is easy, because you can just click here and download the file I made. And if you don’t have sticker paper, you can just print it on regular paper and tape or glue it down. The stickers just save a step.
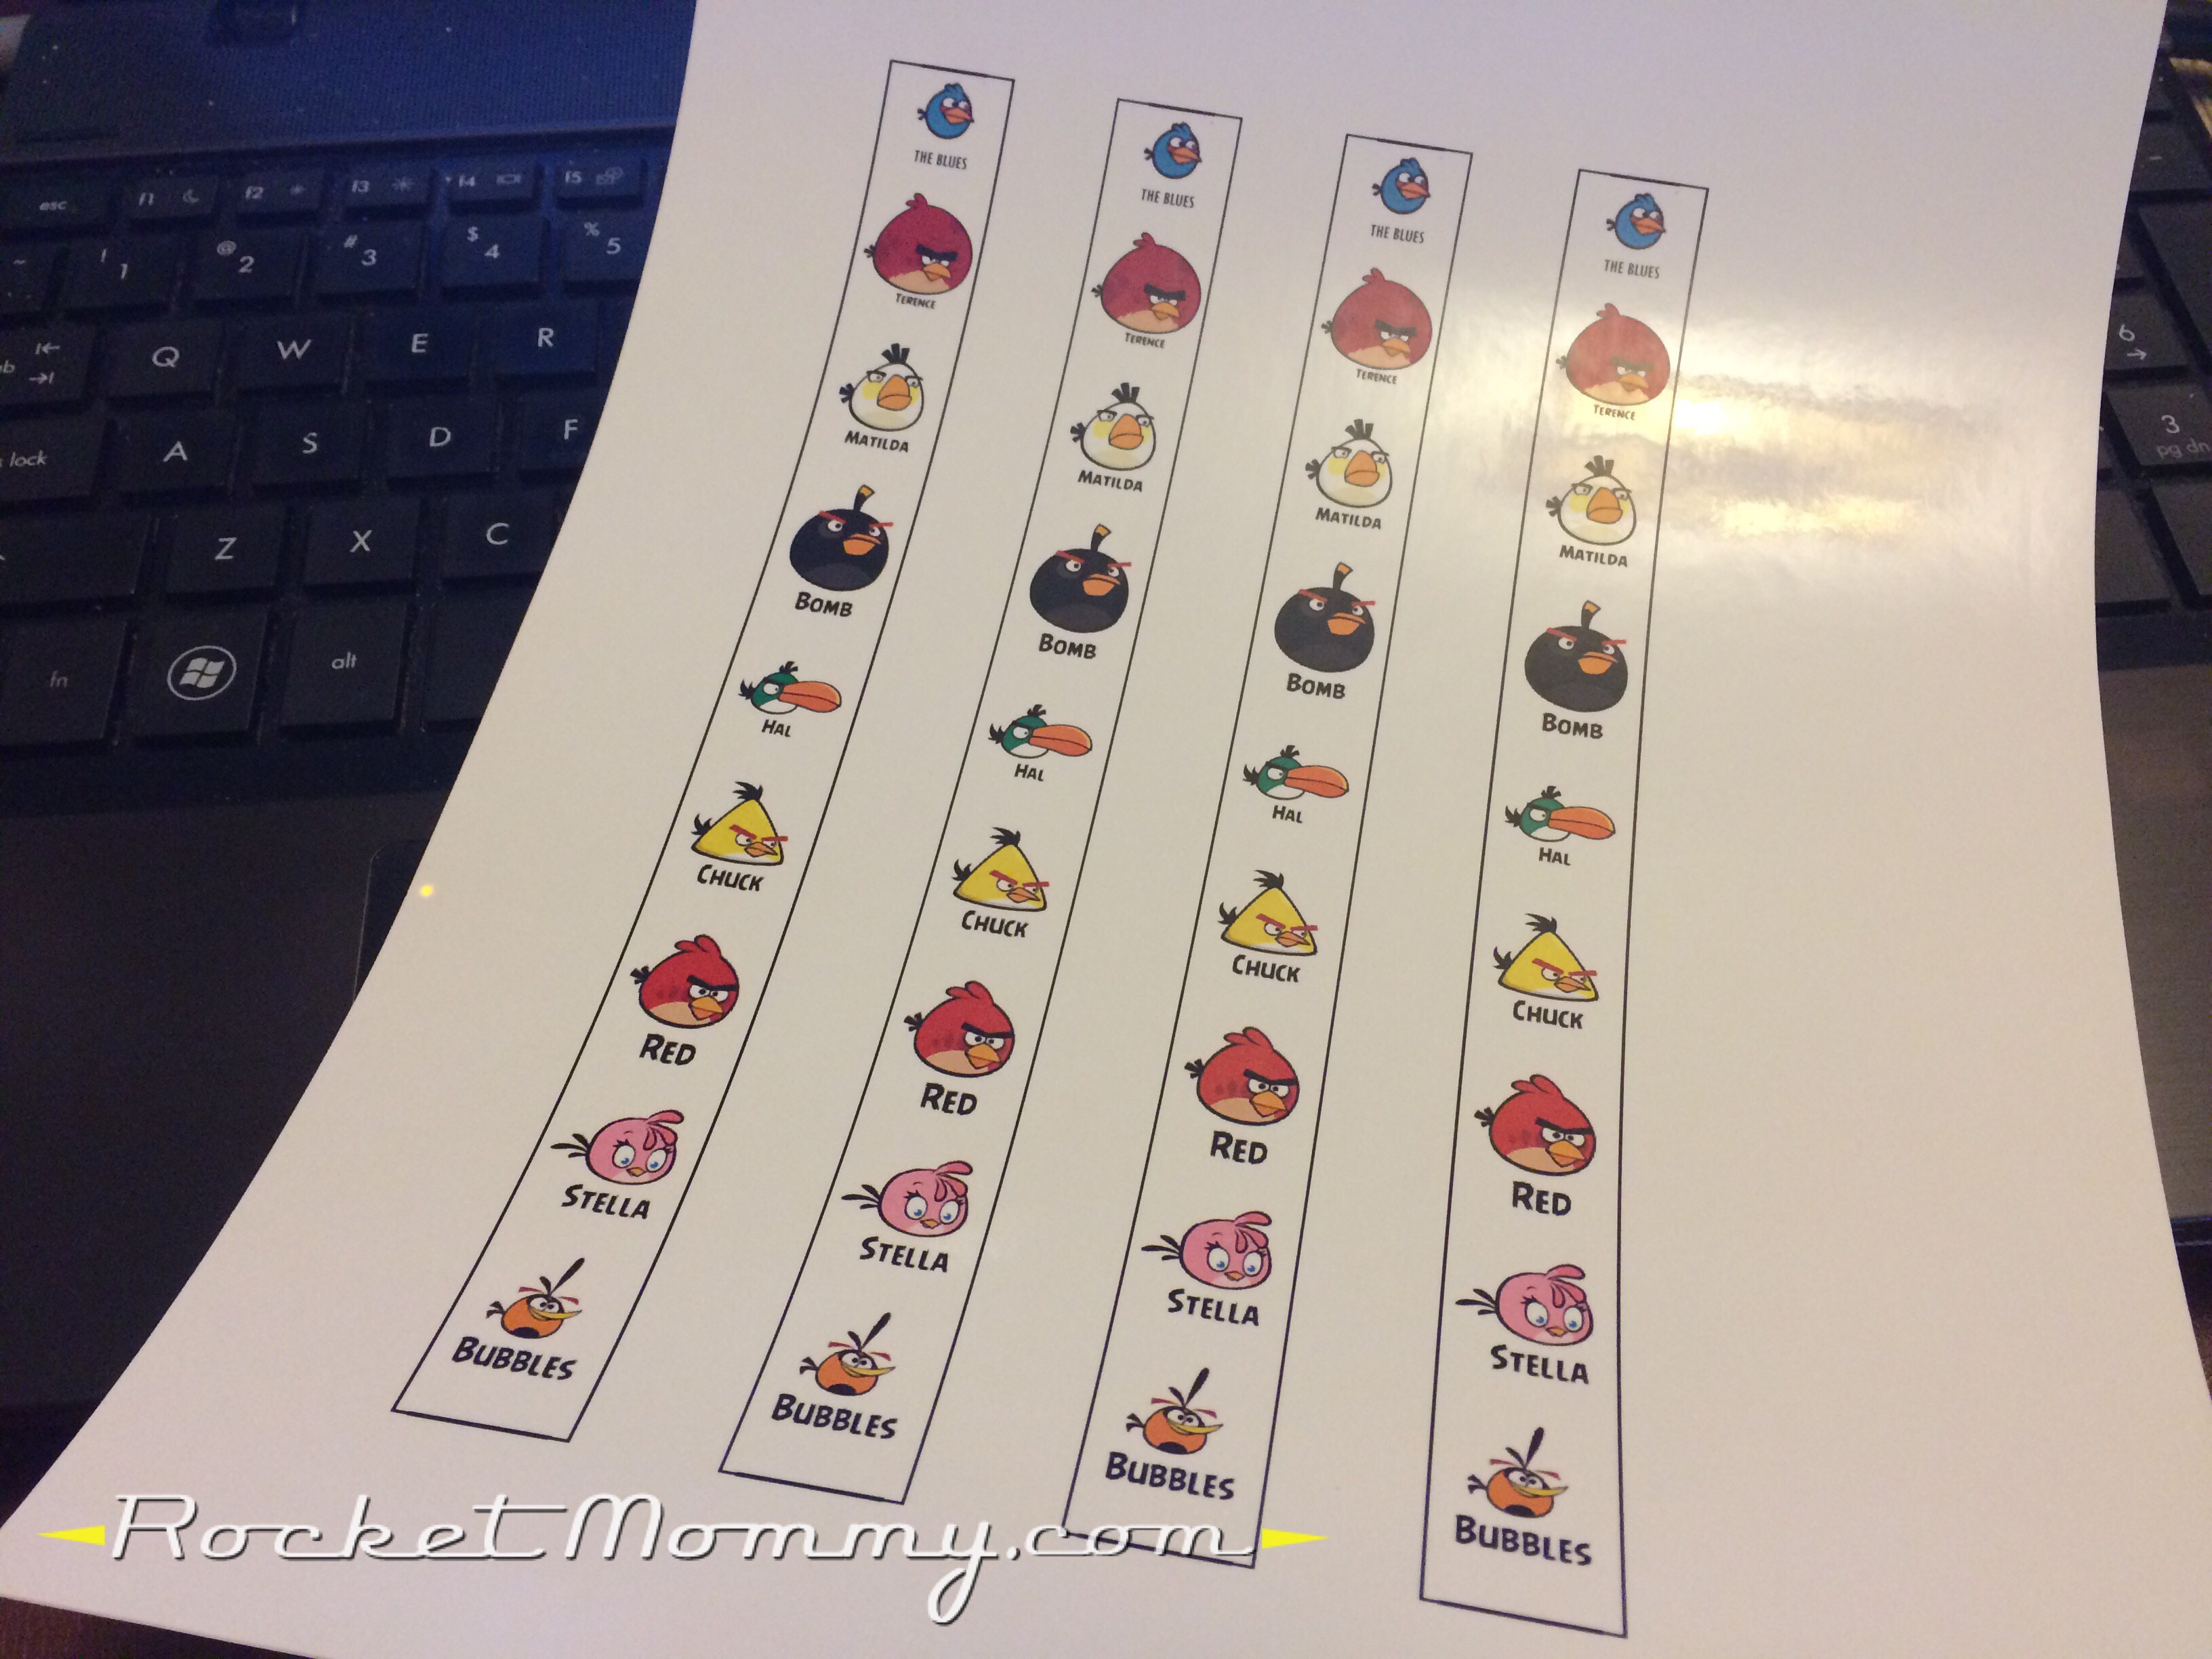
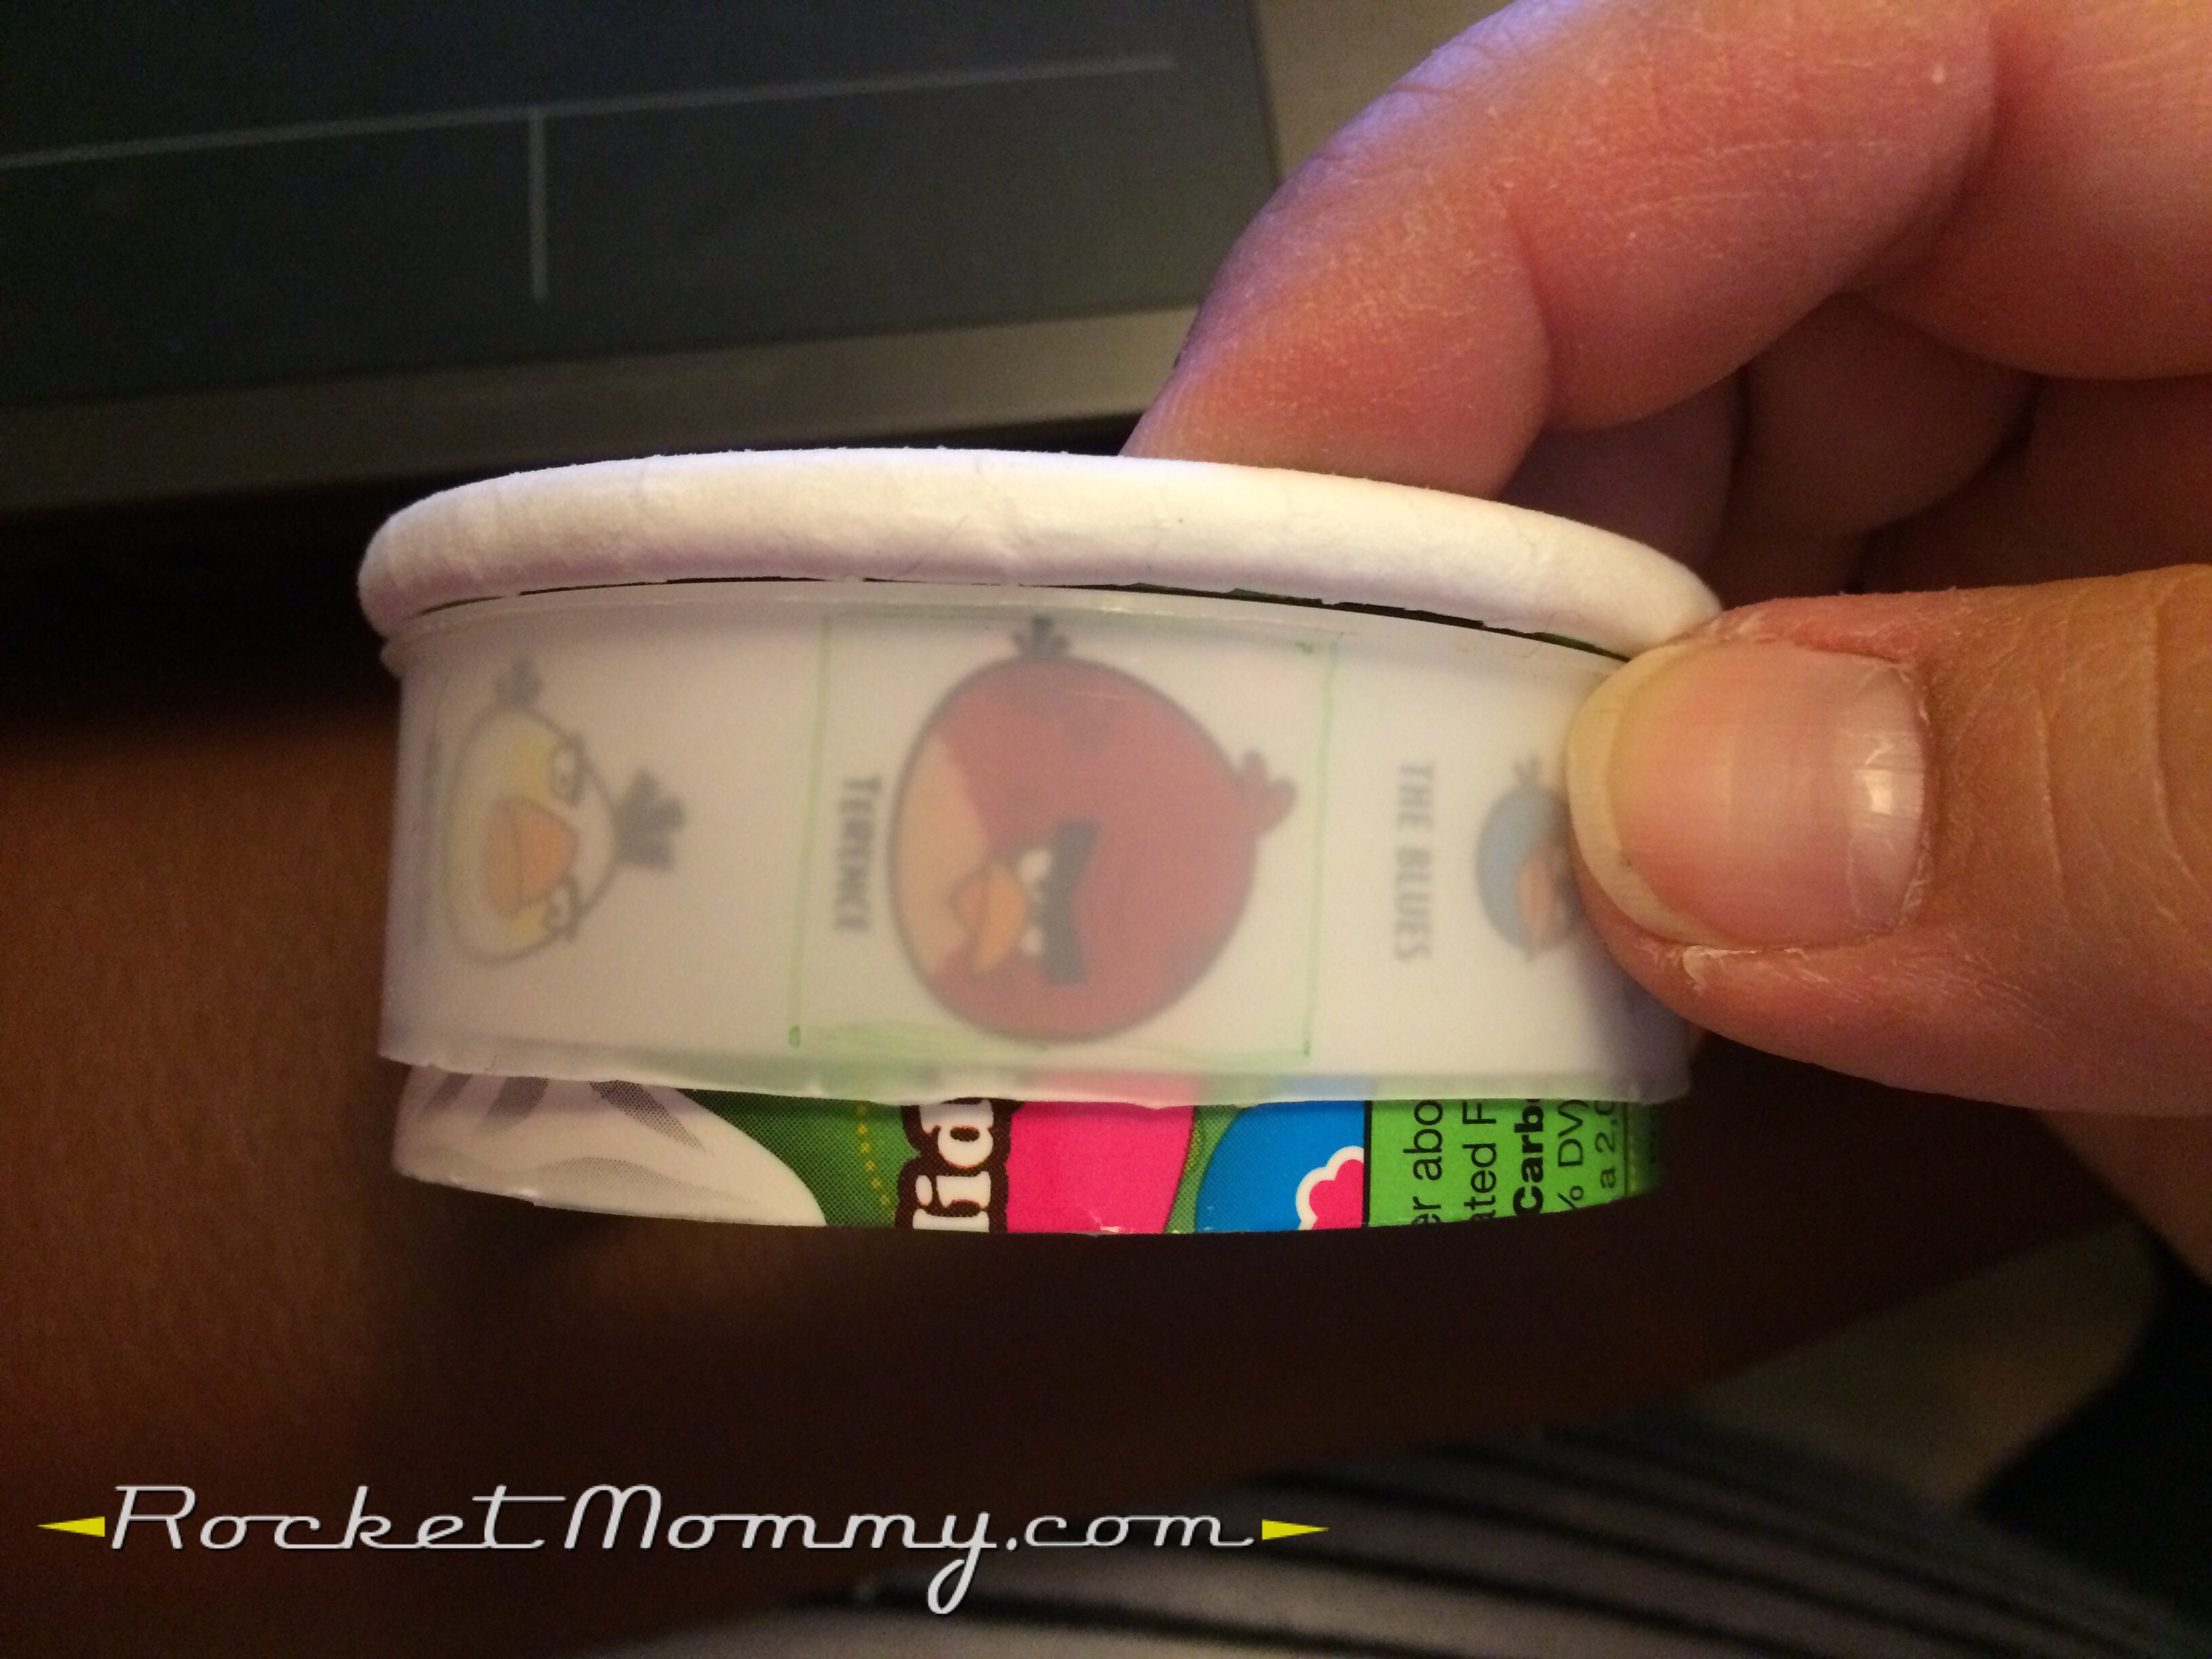
I made a few of them, just in case I messed up, or in case I suddenly had to field two more requests for Angry Birds bracelets from the little ones (happens all.the.time). I cut along the black lines and stuck it on the cardboard piece, aligning it with the thick white edge.
Then I slipped the plastic ring back on over the sticker, making sure it could still rotate when it was in place. I picked the biggest bird and drew a square around it on the plastic.
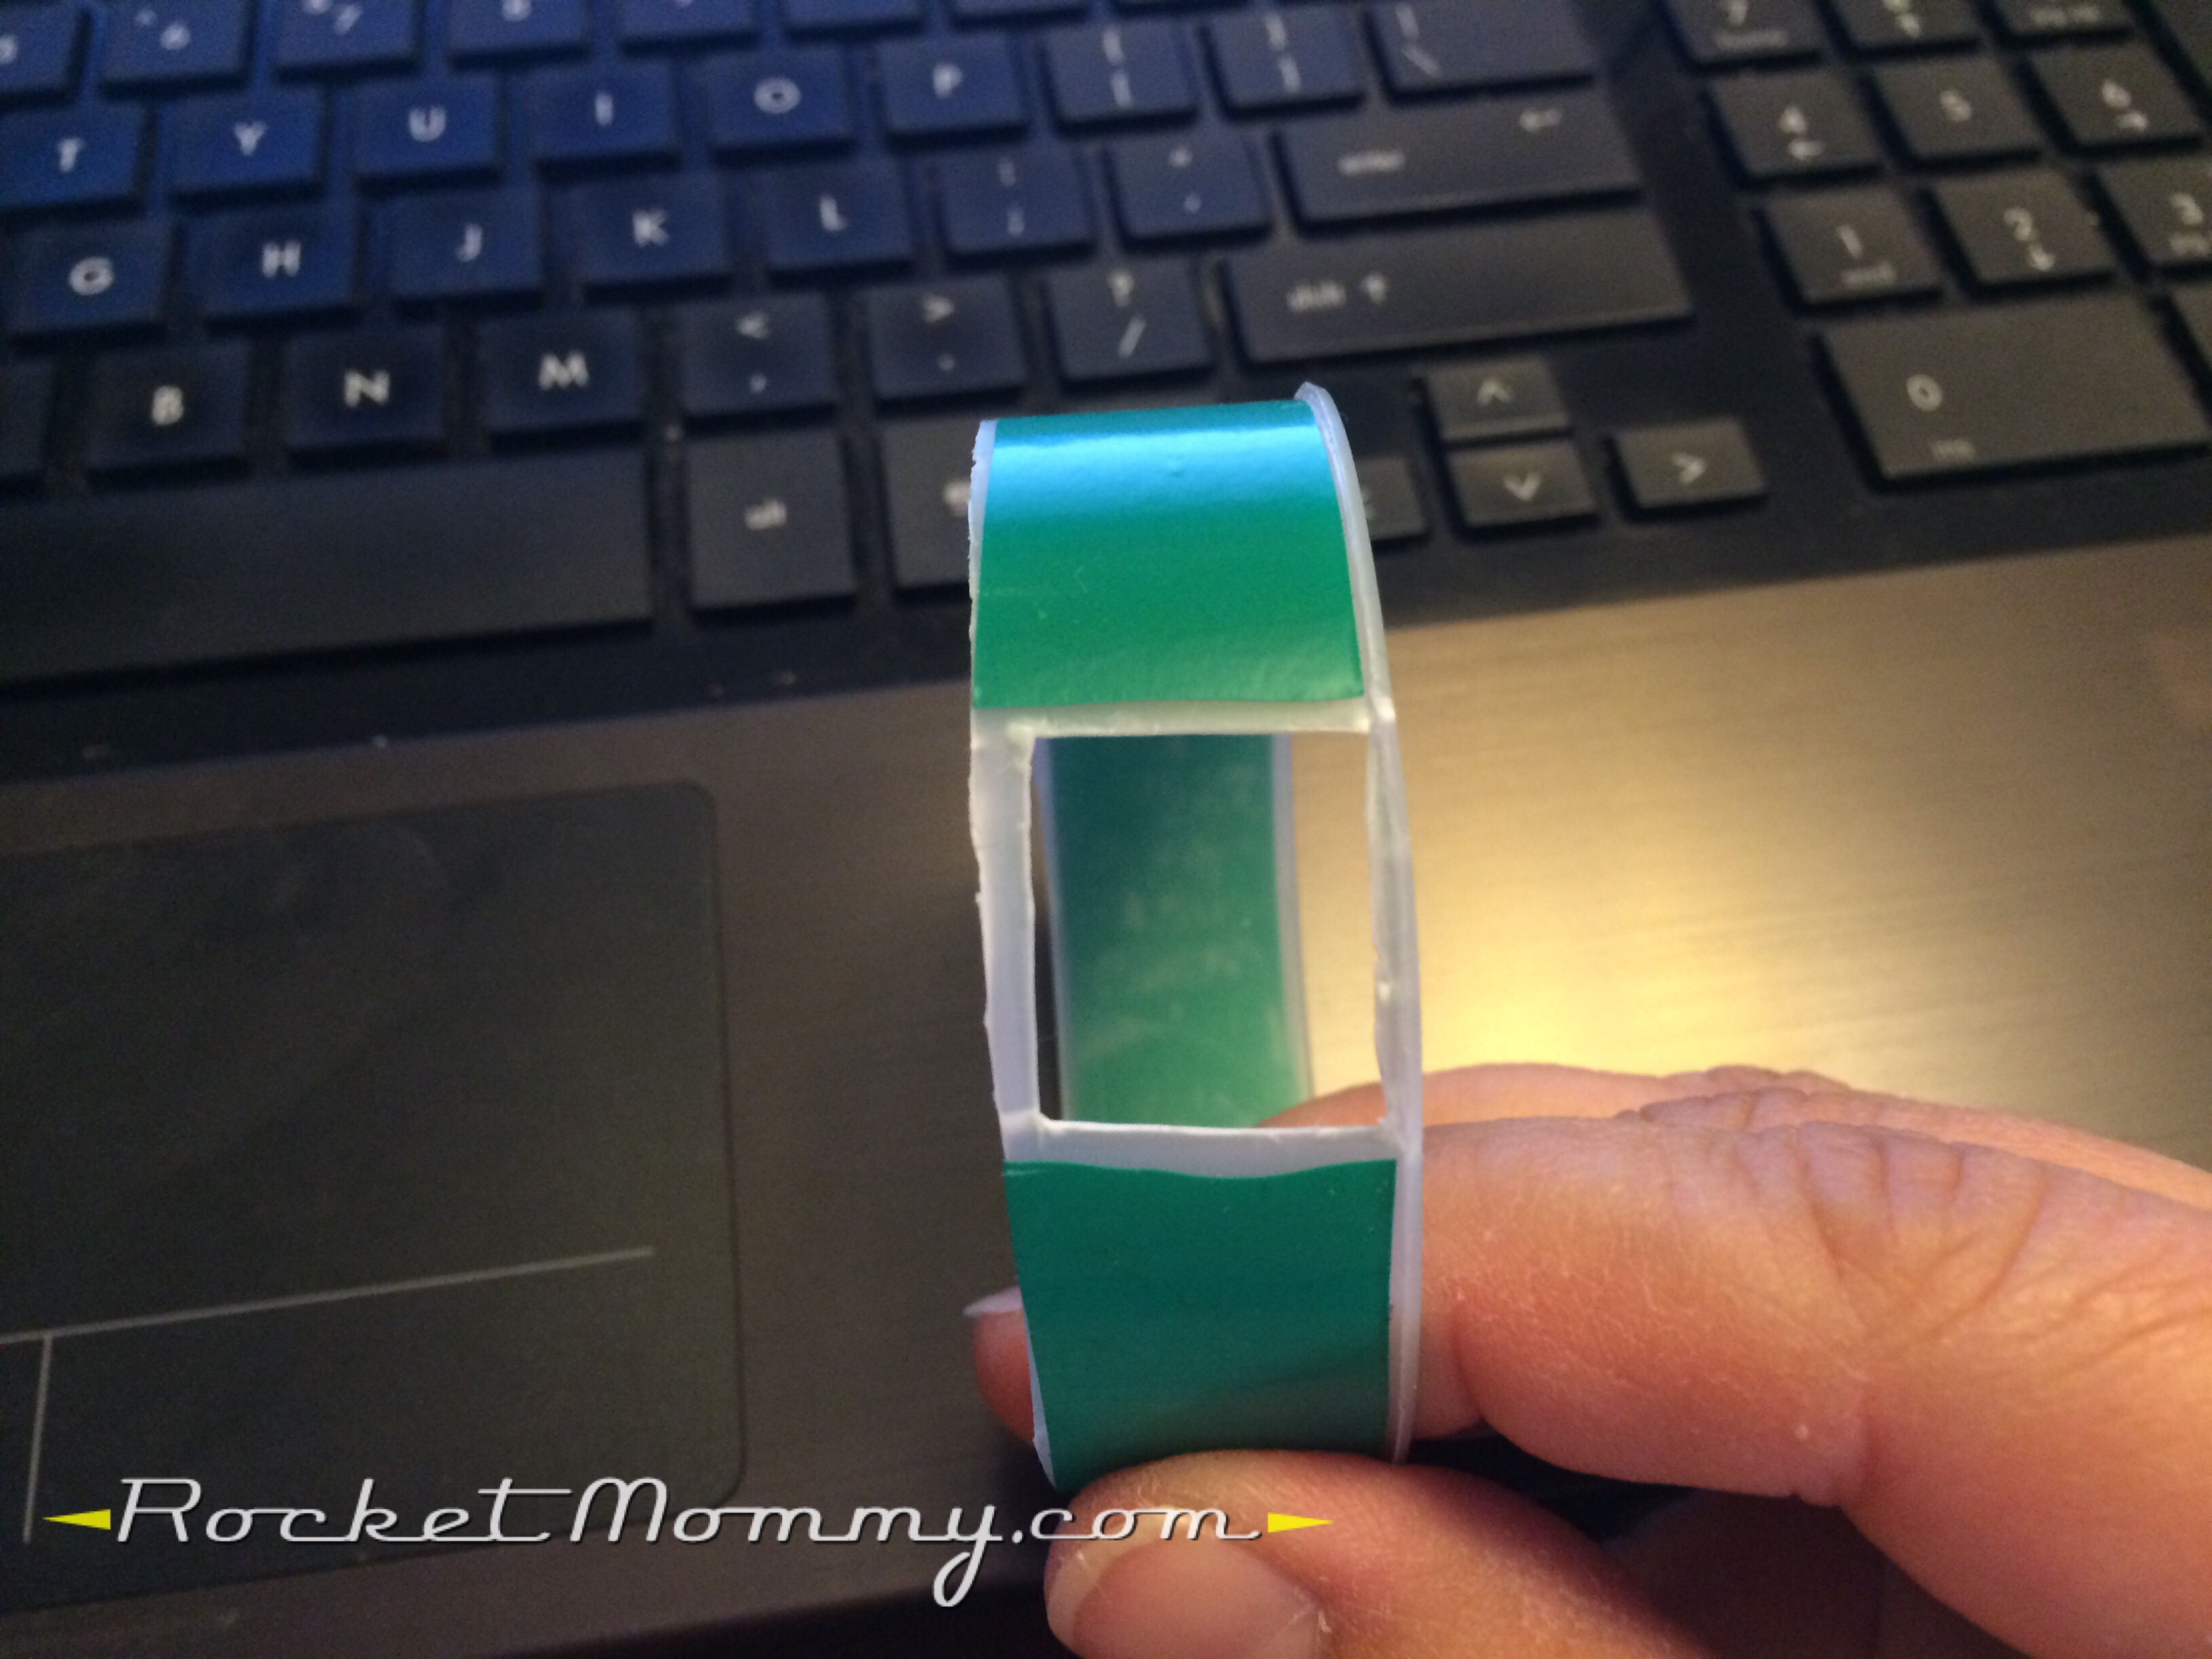
I carefully cut along the lines I’d drawn with scissors, leaving an open square. Then I took electrical tape and used one strip to cover the rest of the plastic strip. I’m cringing over how choppy and crooked it looks in this photo, but it worked.
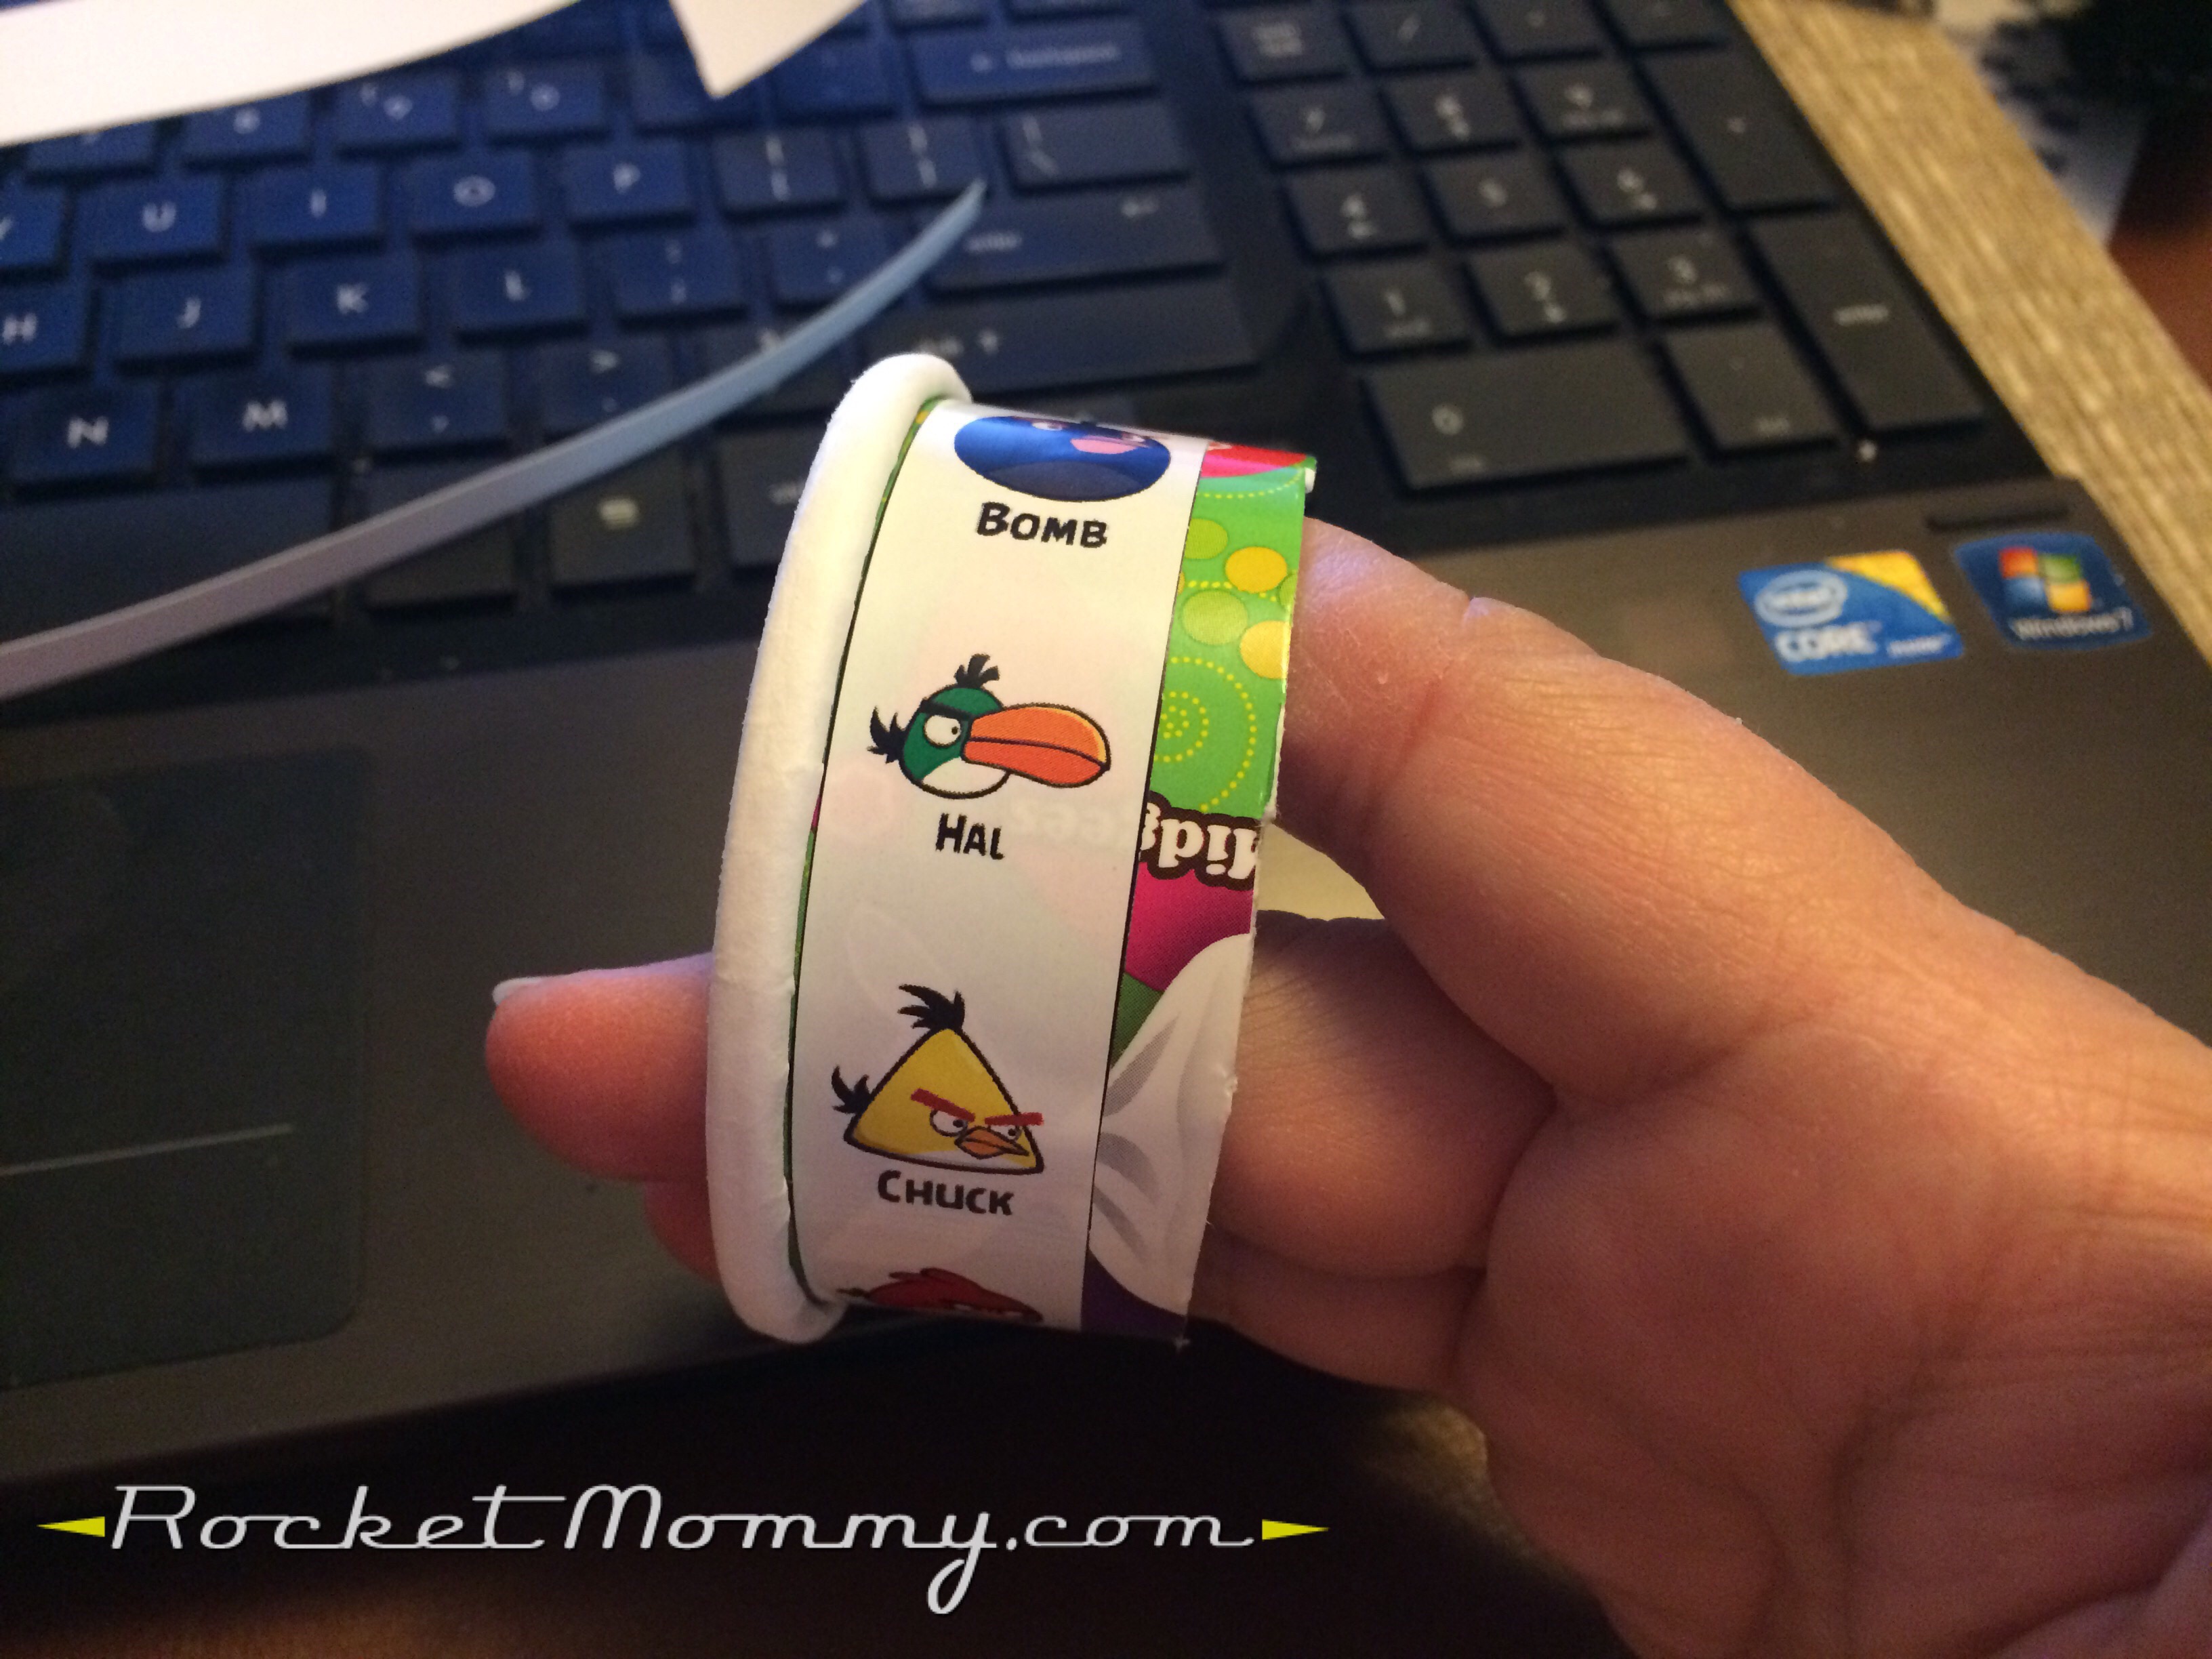
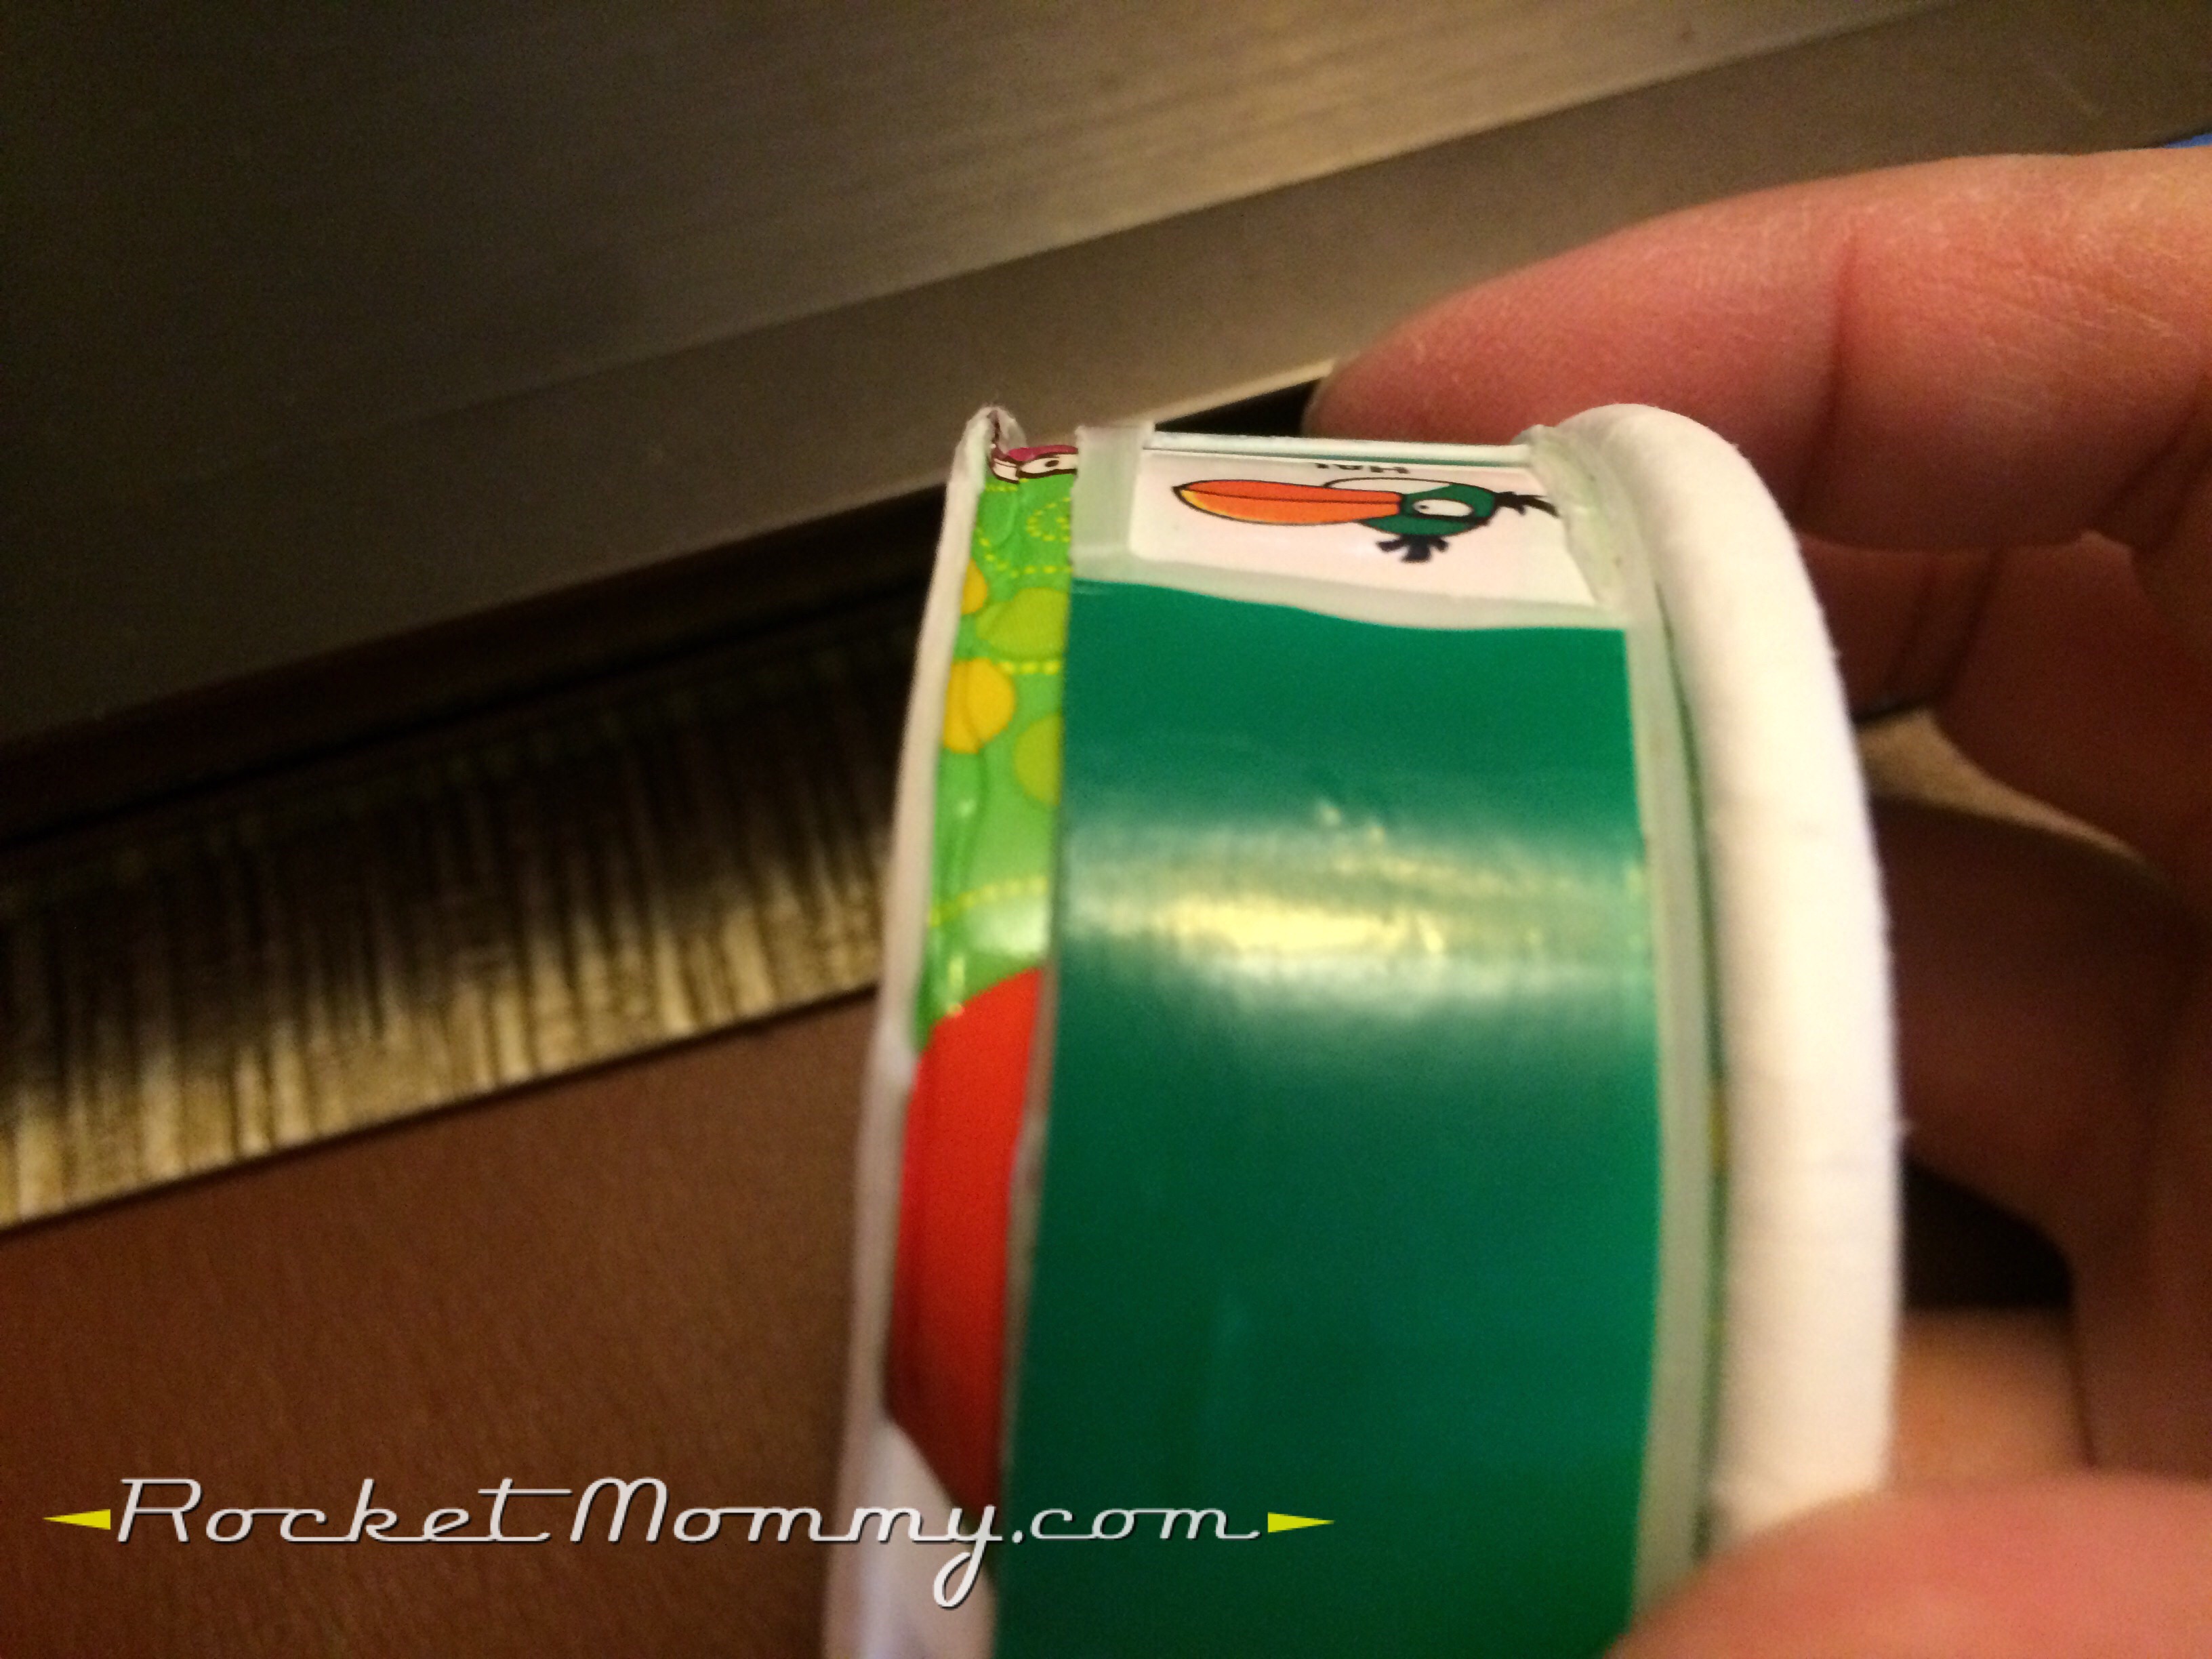
Slip the plastic back on the cardboard, and voila! Now you’ve got a “screen” that will let them “select” one of the Angry Birds. All that’s left is finishing that other edge of the cardboard ring. You can see in the photo below that I tried to bend the edge so it would roll over onto itself like the lip of the bank does.
Right. Well, the Tootsie Roll people have some complex machinery that makes that tight little cardboard roll happen, and that just wasn’t going to work for me. The best I could do was that little curled edge, and at this point G just wanted to wear his bracelet already, so I whipped out the glue gun and ran a little bead of glue inside that curled cardboard. I let it cool a bit, then ran a fingernail between the glue and the plastic ring to make sure nothing was stuck. It’s not a very good looking finish, and if I can steal it back from him I’ll probably go back and hit it with a little white acrylic paint to cover all the funky colors, but it works to keep the bracelet pieces together.
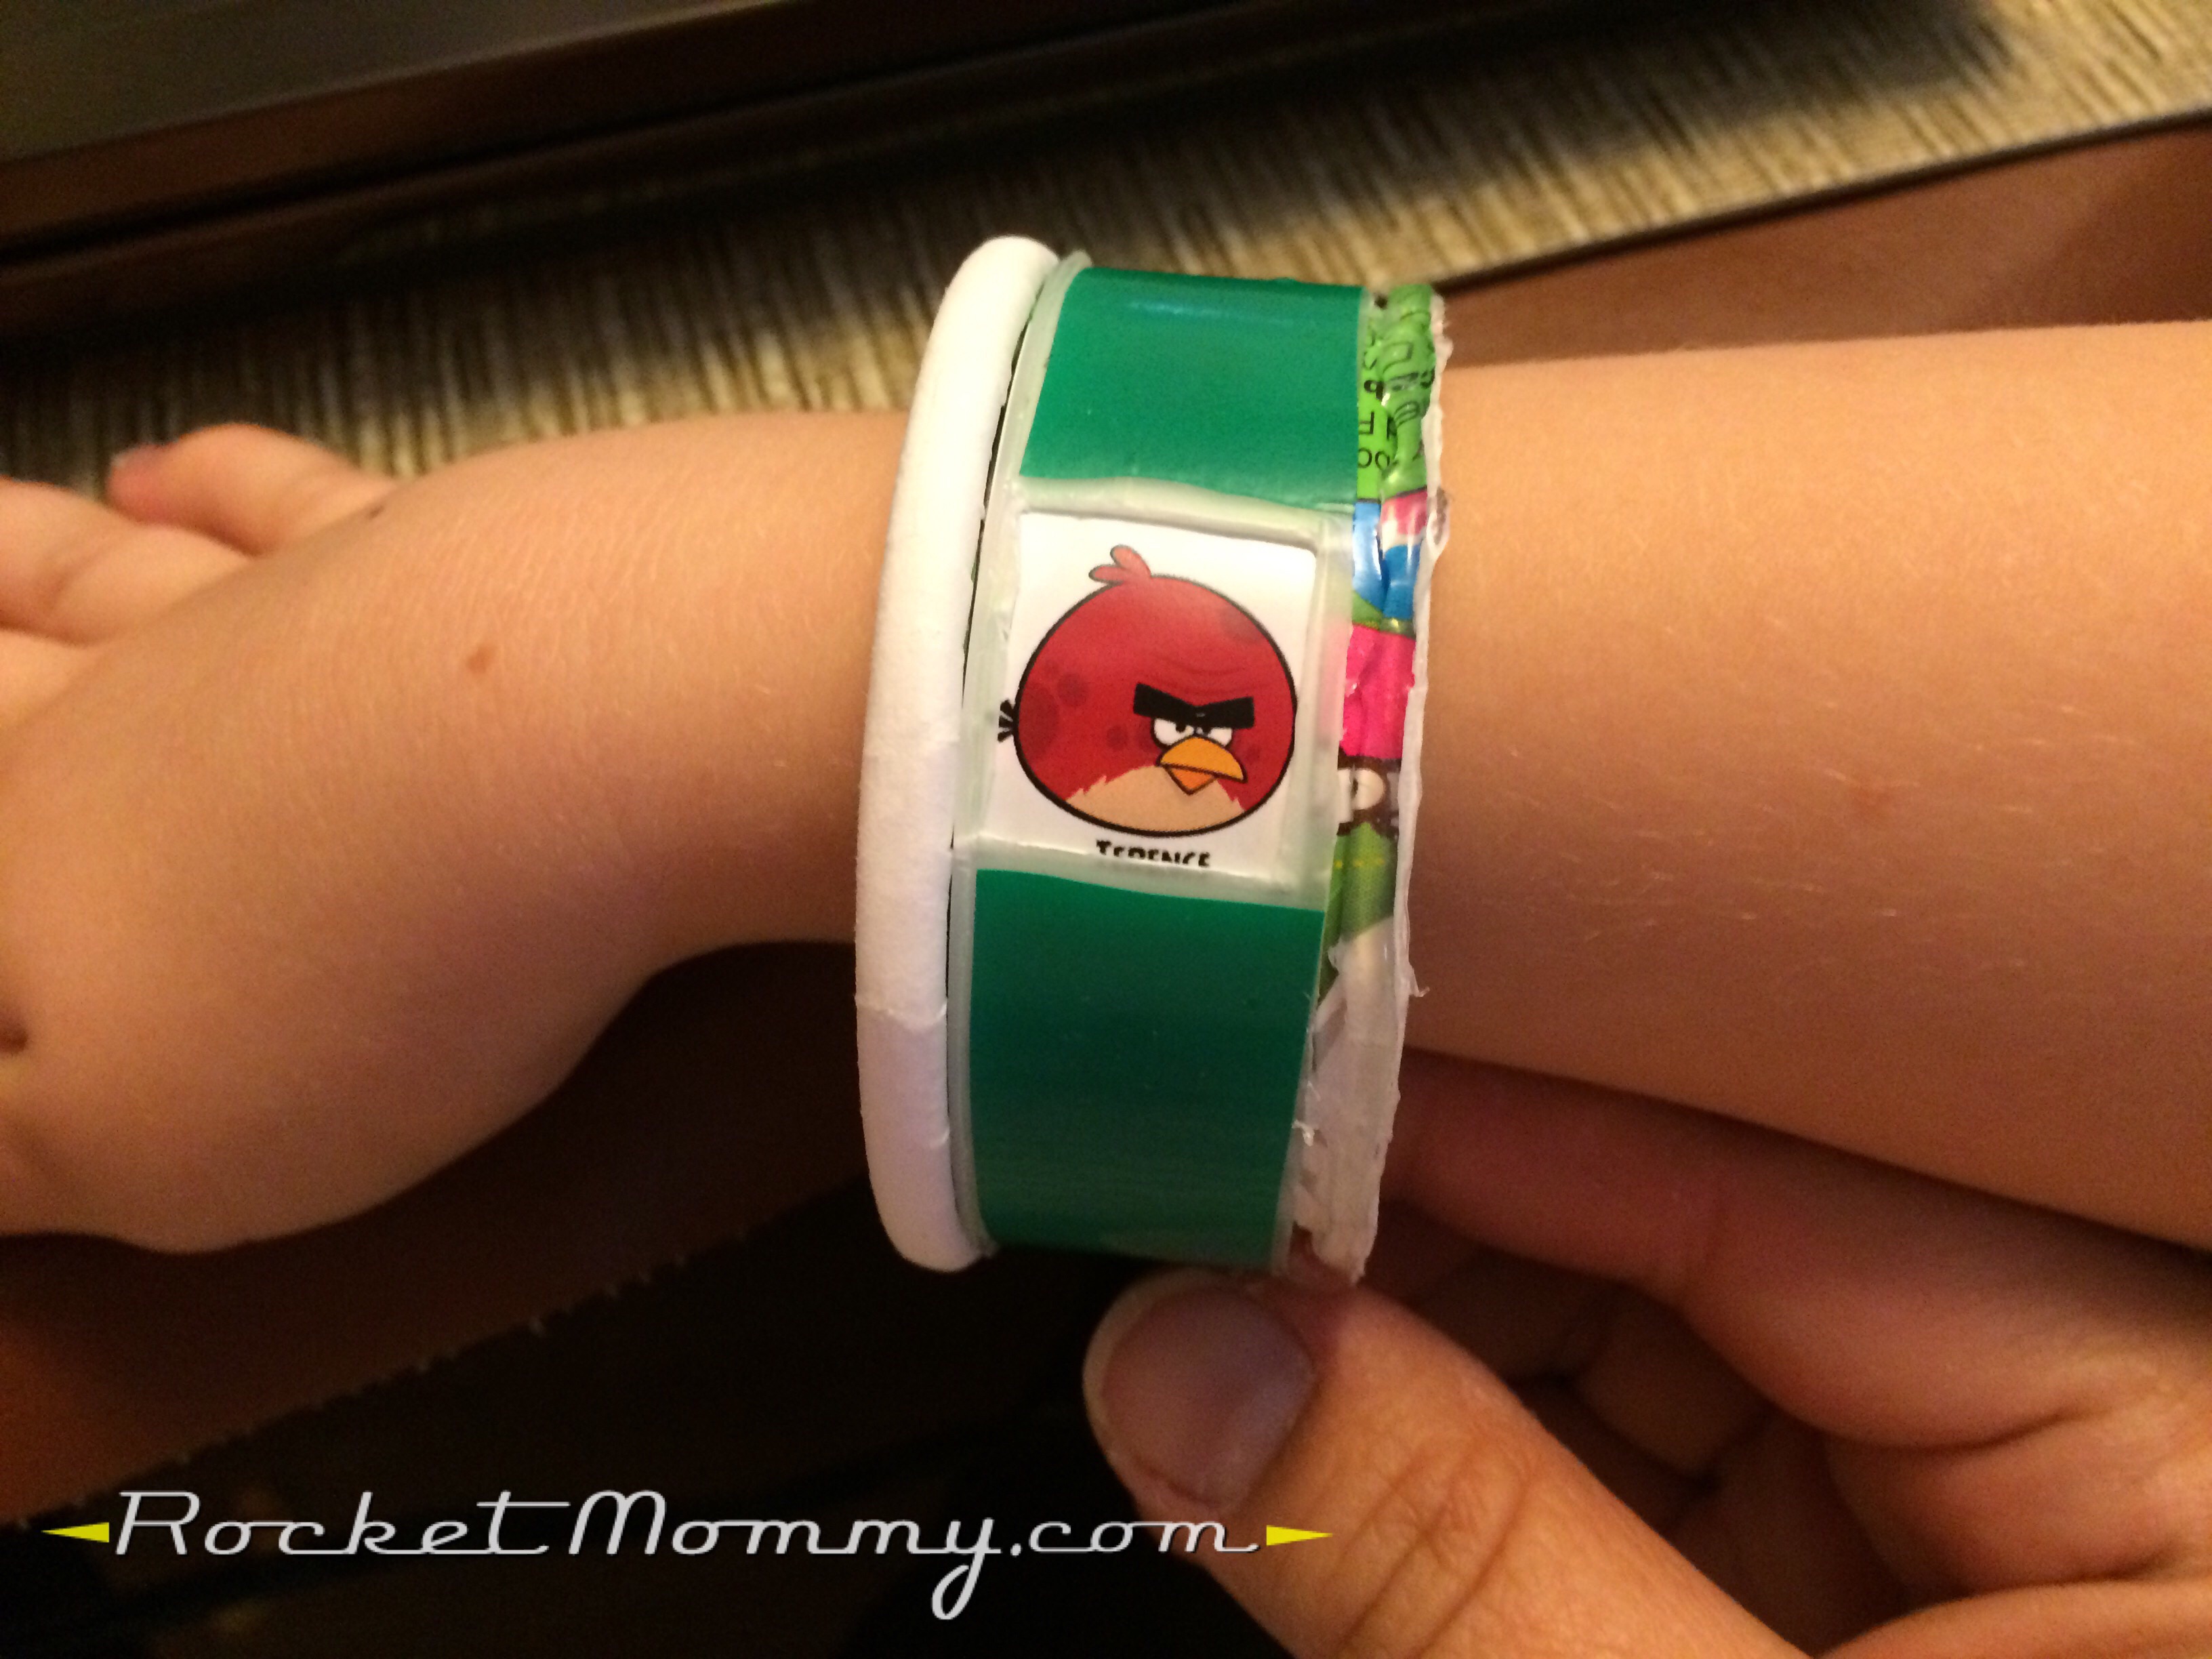
G was thrilled and couldn’t wait to show it off to Daddy when he got home. And I was pretty pleased that I was able to listen to him, talk out some of the ideas, let him know what the limitations were, and then make it happen. That’s a great feeling! I hope that the more he sees me do things like this, the more inspired he is to create things on his own from his imagination.
Best view in the town !