
Moving backwards through our birthday party history, let’s take a look at our big double first birthday and third birthday party. Now, most parents I know recognize that their baby’s first birthday is a pretty big deal, and after surviving our first year with twins + a two year old, we were definitely ready to celebrate!
For most of G’s second year, he was obsessed with the movie Dumbo. I put it on once when I was juggling all three fussy kids, and he was mesmerized by it. We probably watched Dumbo thirty, maybe forty times over the course of that year. So when I started planning this party, it was going to be a Dumbo party, but it ended up evolving into a more generic circus-themed birthday party.
Feel free to check out my pinboard for this party here.
The first major project I tackled was the invitations. Now, you should know that I LOVE designing invitations. I’ve done it a lot, I even used to do it for other people in the gap between when I designed a billion things for our wedding and when I had G. And these were so much fun to create! I put together an illustration of a circus tent (and then figure out how to cut it up so it opened like this).
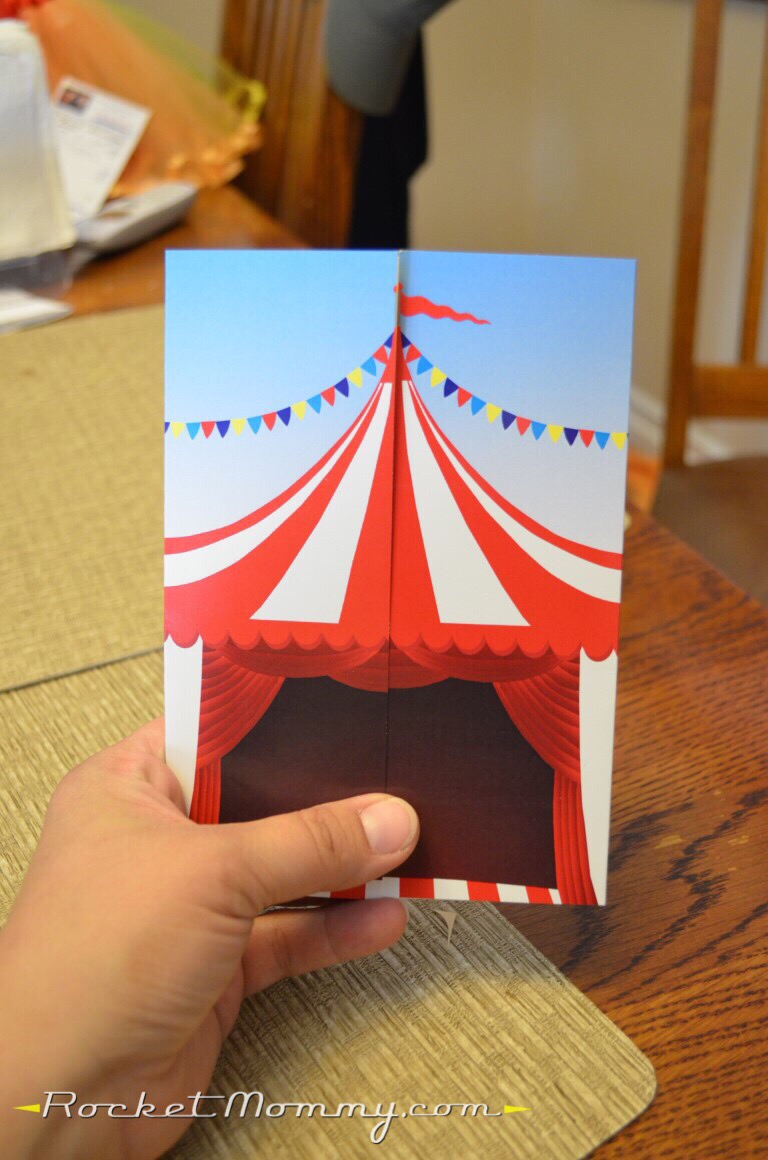
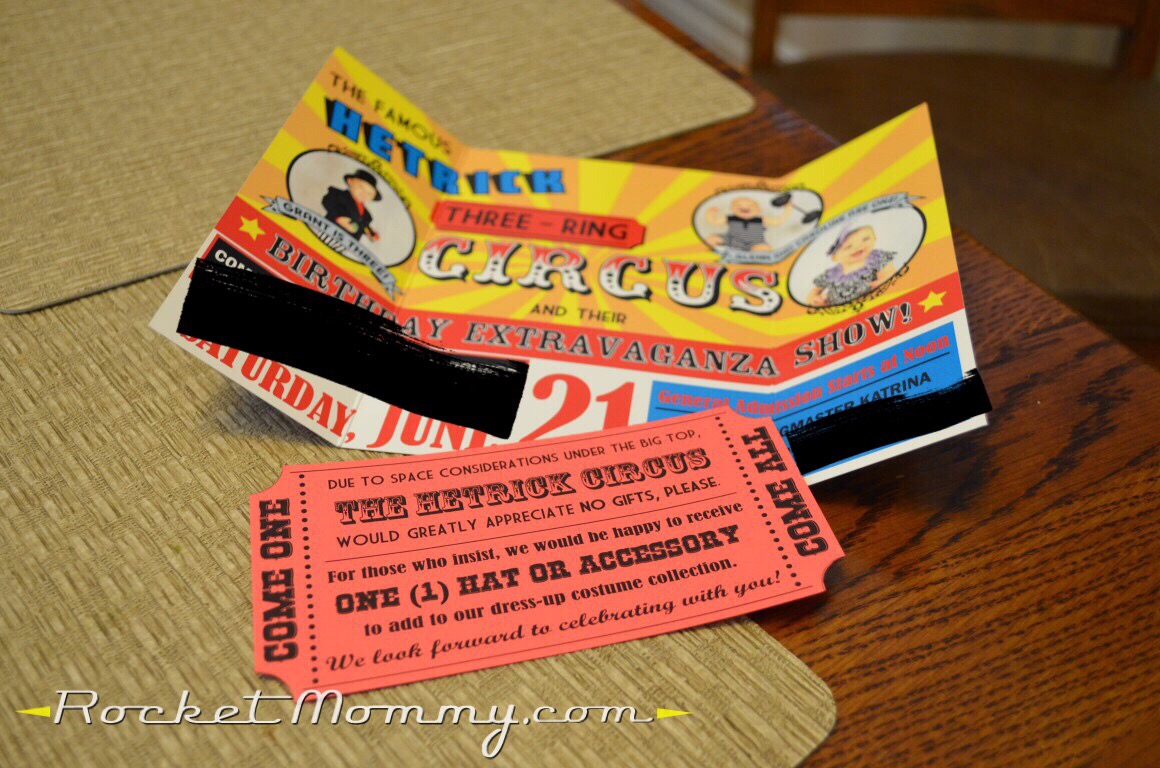
And the inside? I did a ridiculous photo shoot with the kids in some makeshift costumes and props, and with the results, I put together this vintage-esque circus poster.

I also added this insert to the invitations, and I recognize that there are probably plenty of you out there who find it immeasurably tacky to request anything in the way of gifts from your guests, but…well, we had a LOT of people invited to this thing, and I’ve seen how gifts and toys can get out of hand at a big party, especially a first birthday. With three birthdays being celebrated at once, I really didn’t want anyone to feel like they needed to bring a gift for each of the kids, nor did we have room for it if everyone did!
This really worked out great, and if the guests were annoyed by it, no one brought it to my attention. The kids have an insanely awesome dress-up collection, furnished primarily by this party.
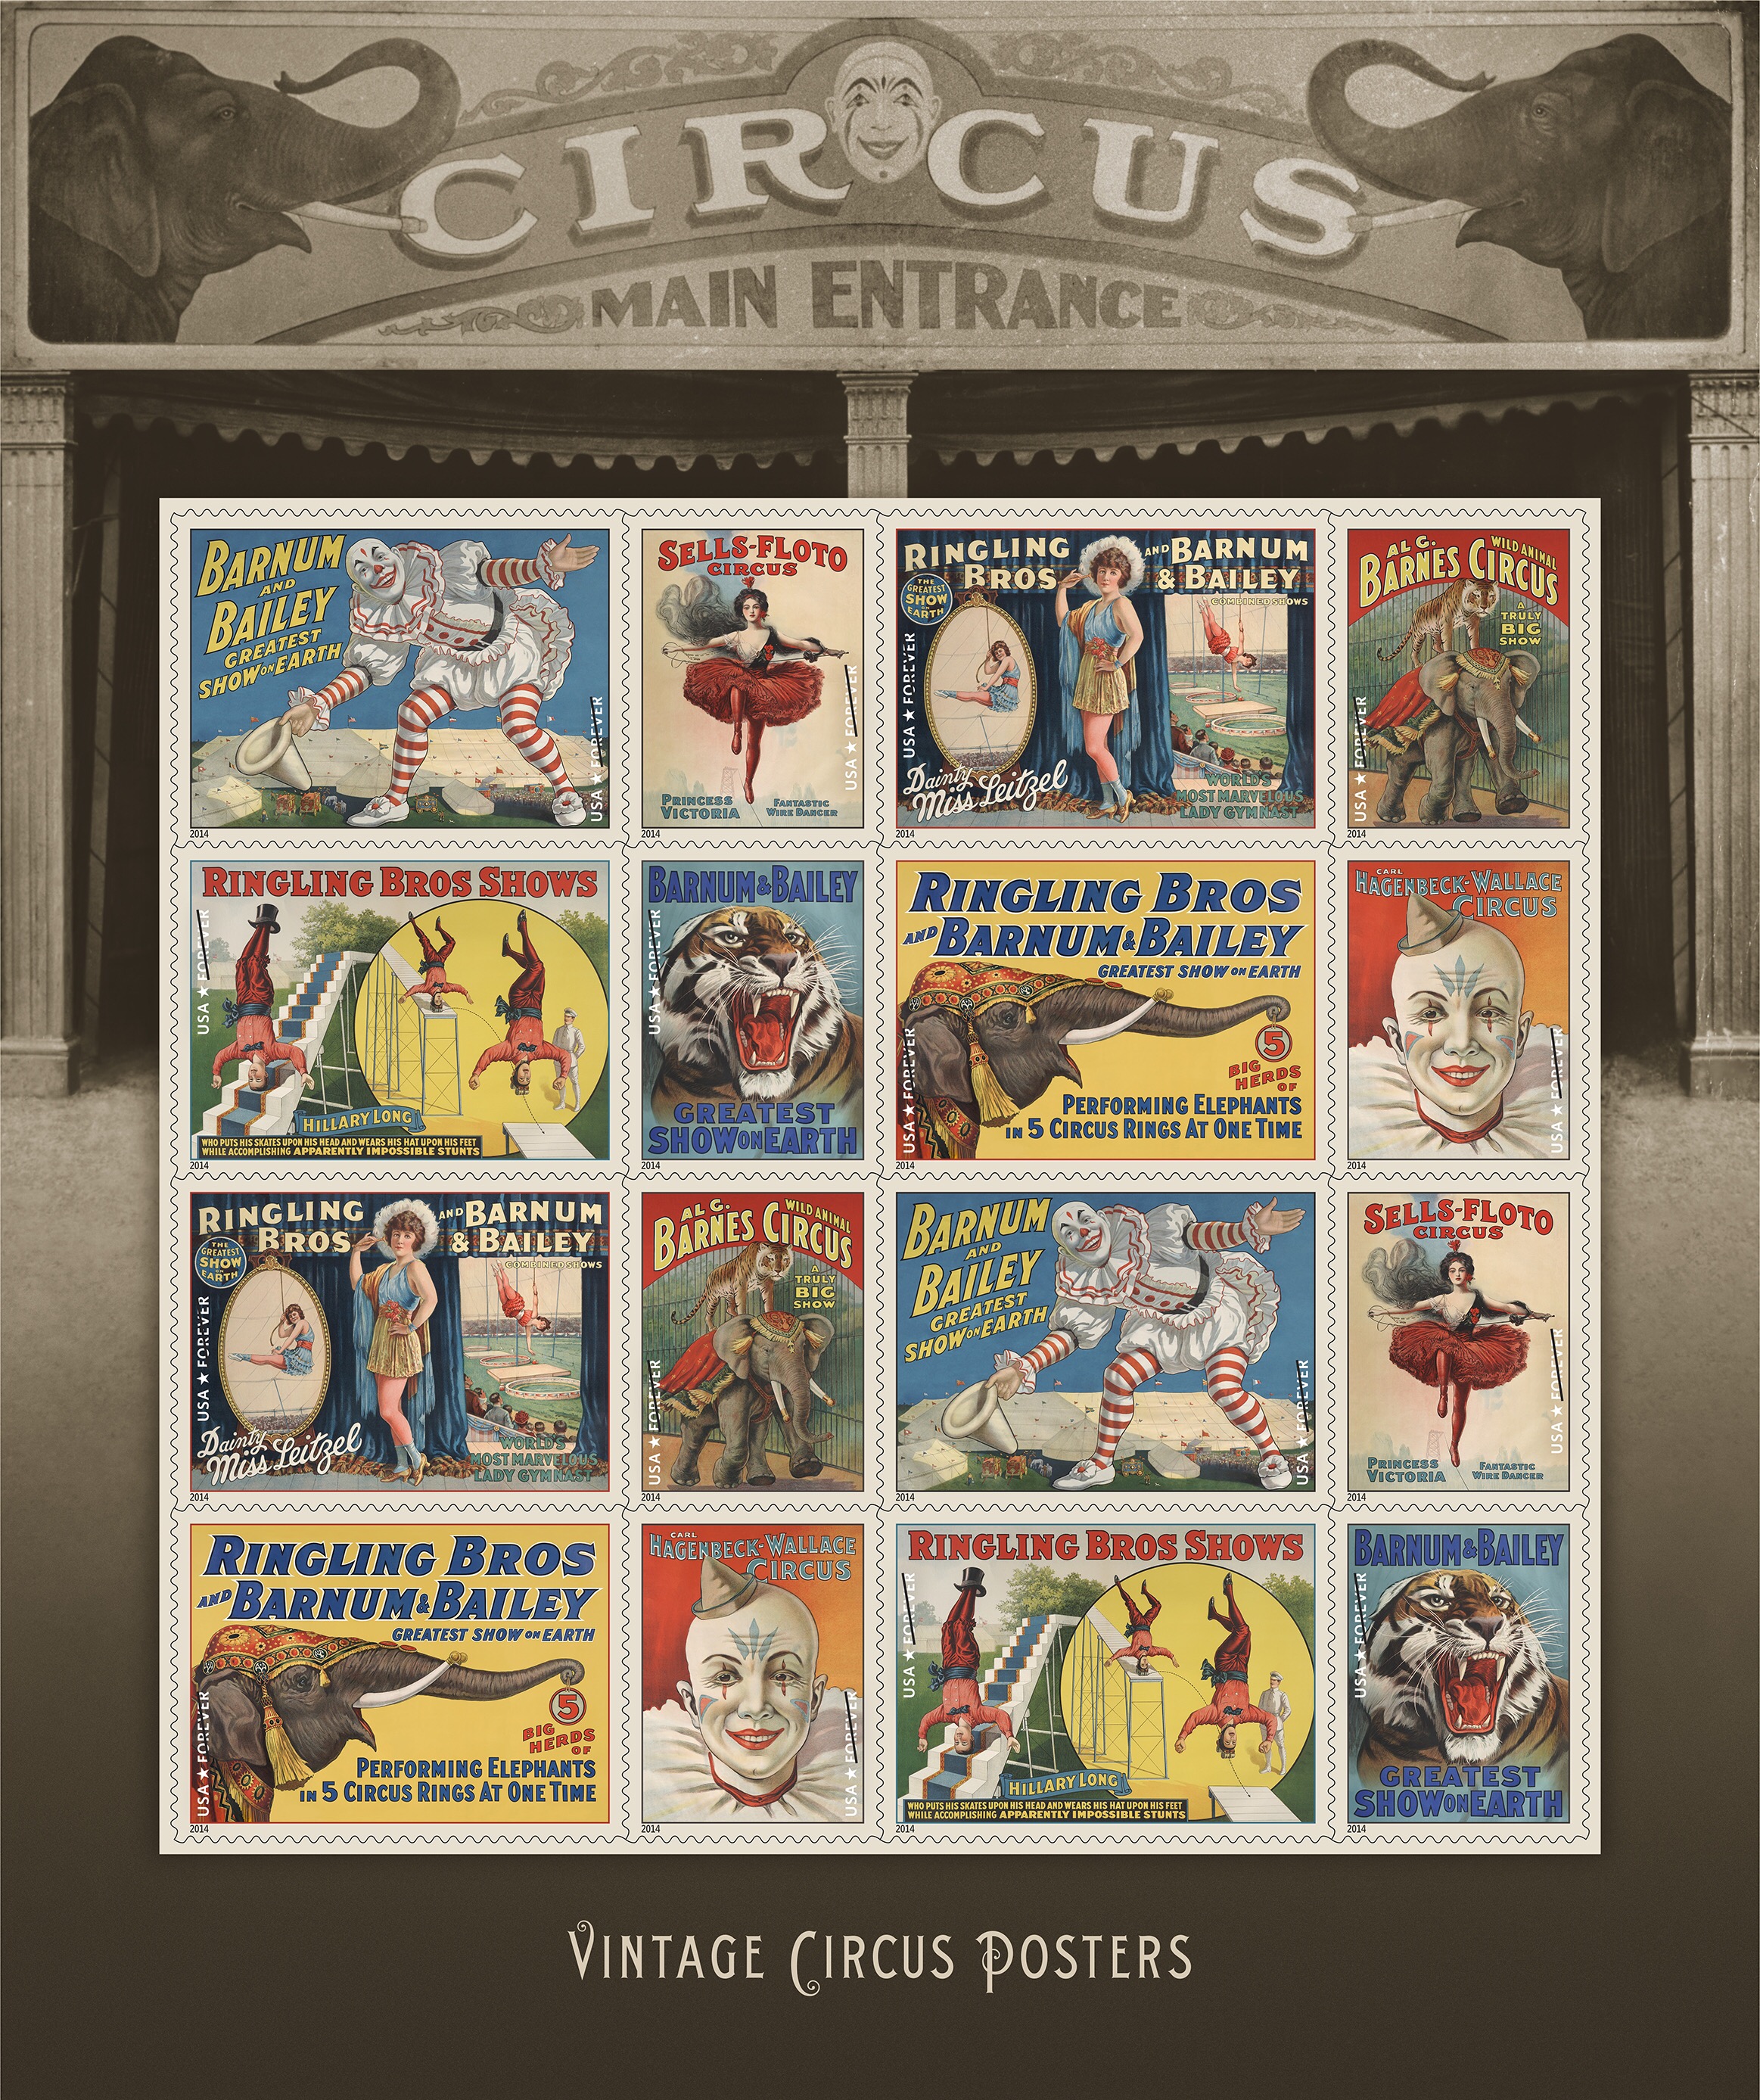
The best finishing touch on these invitations was the stamp. As luck would have it, the USPS released a sheet of vintage circus poster stamps right as I was getting these invitations ready to print. They couldn’t have been more perfect!
Now, on to the rest of the party.
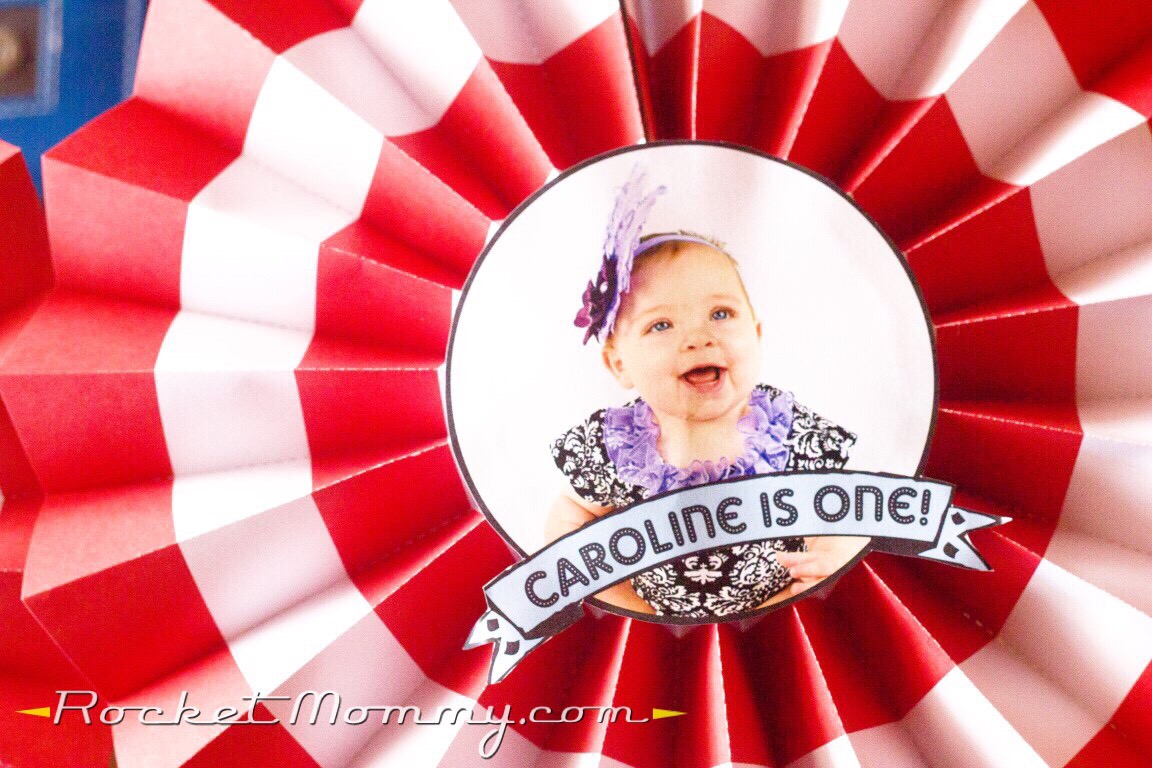
To try and give the overall look some focus, I gave each kid a color – G was green, g was blue, and C was red, and I tried to keep the rest of it to black and white or red and white stripes. And because I am ridiculous and will take pretty much any excuse to wear a costume, I went ahead and made us some coordinating outfits.
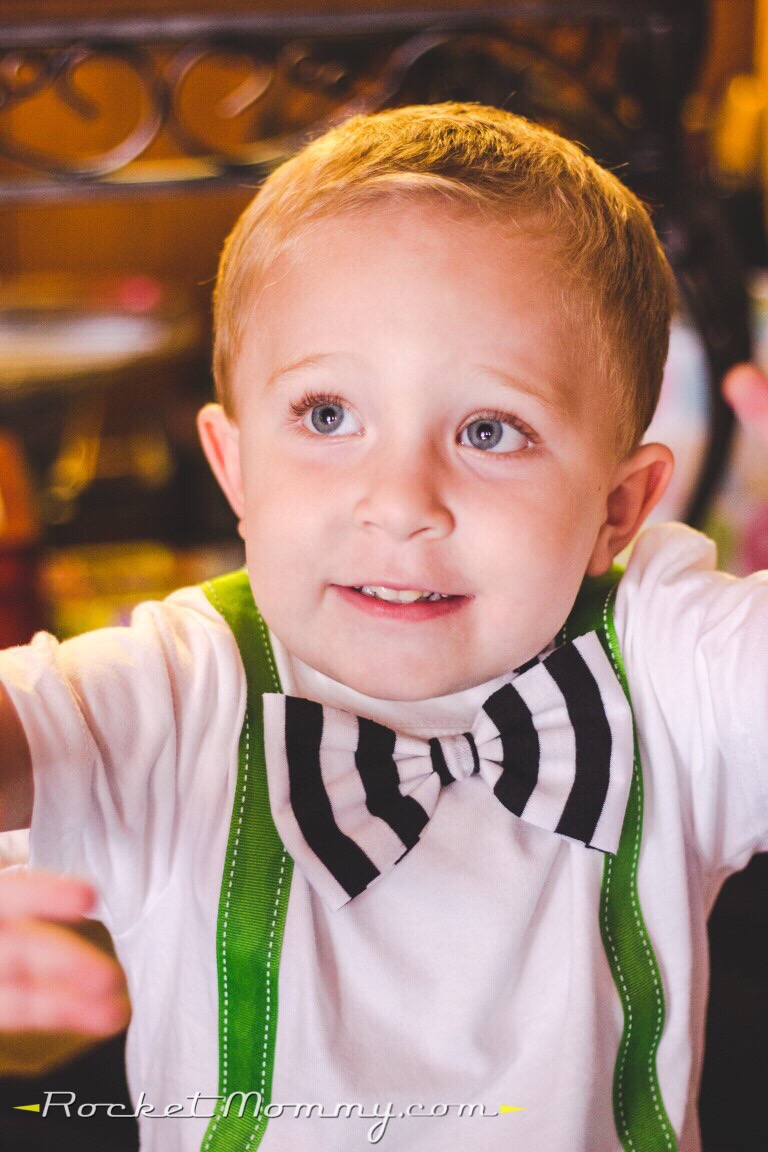
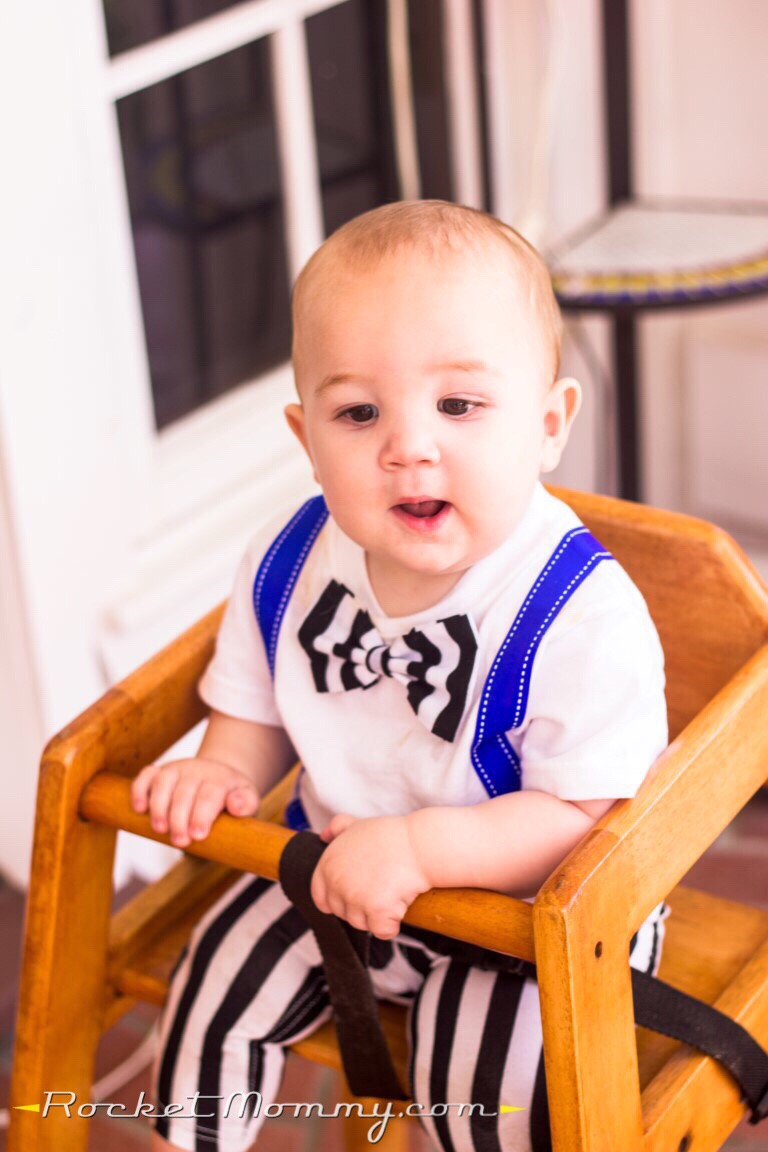
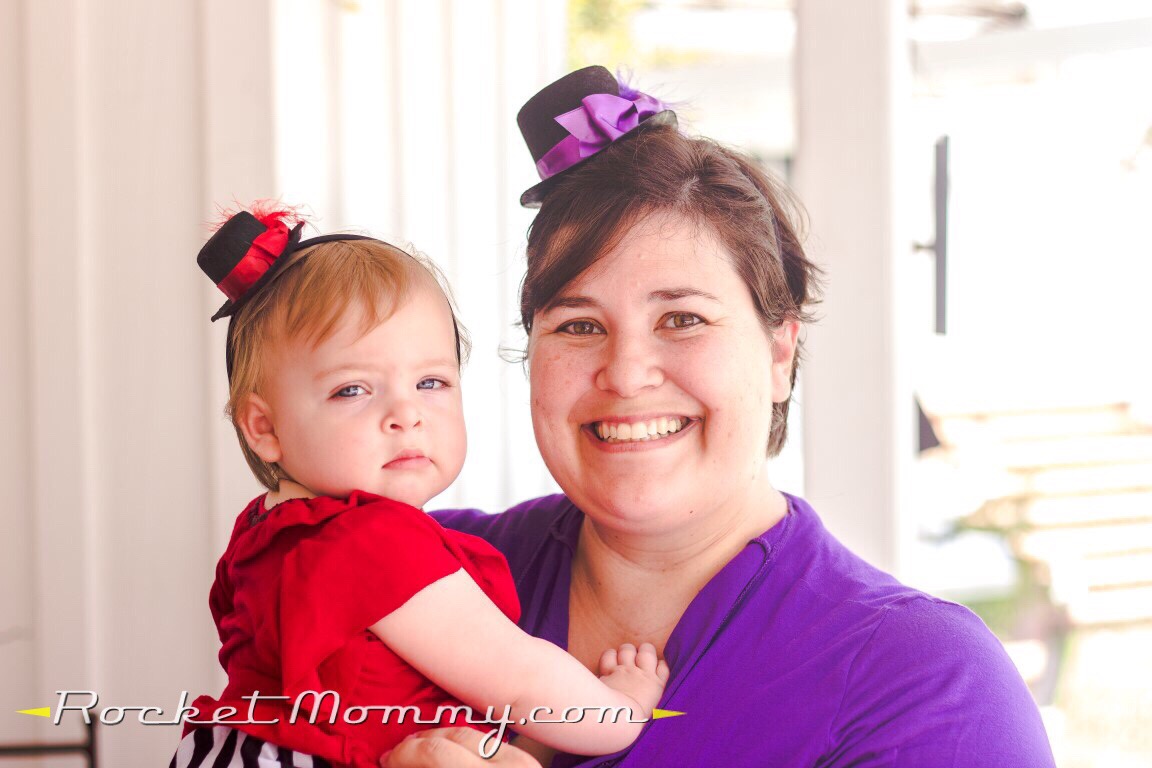
They actually sold those crazy striped pants at Target, if you can believe that, so I grabbed a pair for each of the boys, and I made dresses for me and C. I made C’s little red shrug, and then I happened to find one just like it in my size in purple, straight off the clearance rack at Ross! The boys’ shirts were decorated with ribbon to look like suspenders and sewn-on bow ties.
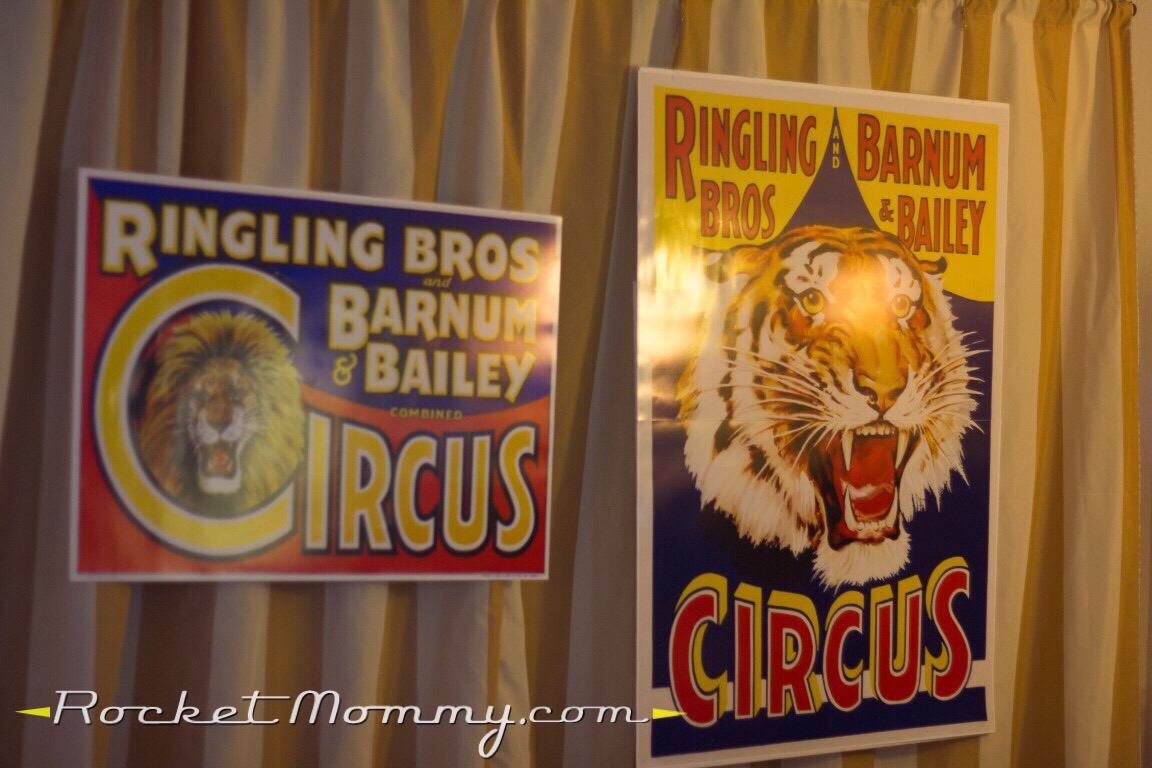
For this party, I set up a DIY photo booth. It was not exactly a simple task, but I managed to make it work. At some point soon, I’ll write up a detailed post about how I did it, and I’ll link it back here. I sewed this backdrop curtain using some clearance fabric, and I blew up some vintage posters that I found online and had them printed at Sam’s, then stuck them down to some foamboard and suspended them with fishing line.
Oh. And we had an elephant.
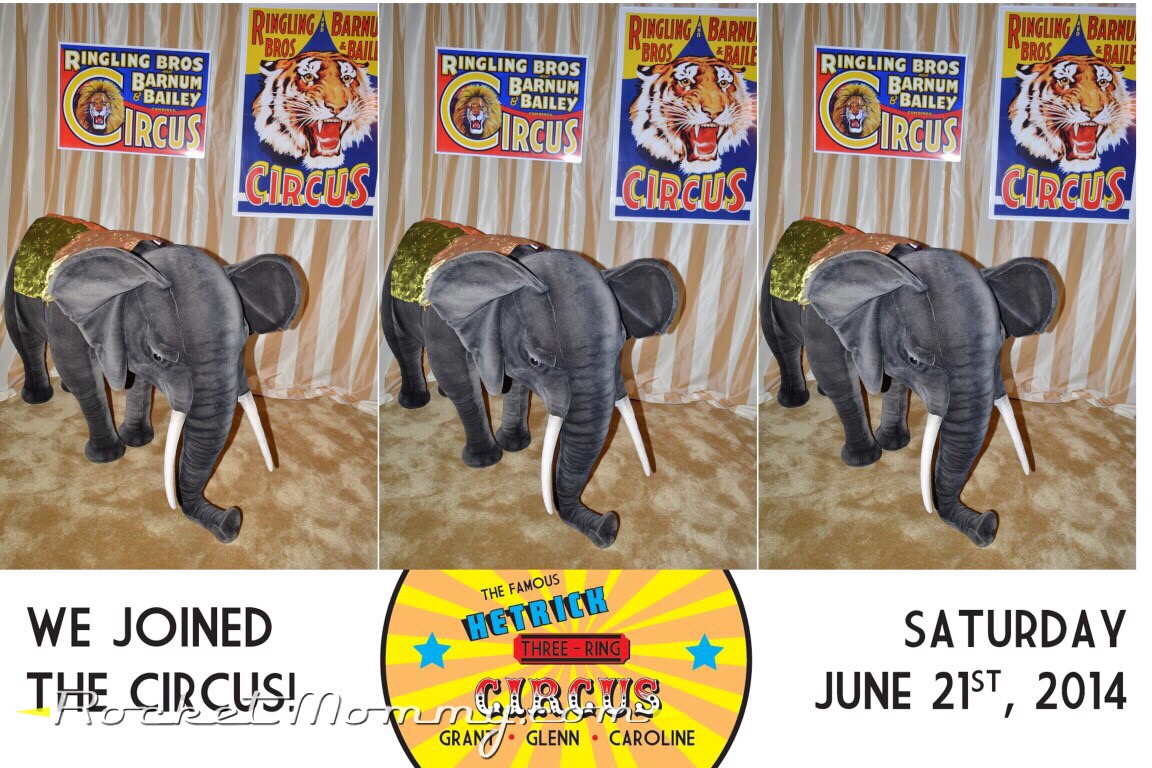
I found this fabulous creature on Craigslist – he retails for about $800, and someone was selling him for $75. $75!!! Such a bargain! So for $75, plus the cost of gas to drive about 180 miles round trip, plus the wear and tear on my psyche from driving 180 miles round trip in one day with three kids, I became the proud new owner of a gigantic elephant. He even has a steel interior frame to make him weight bearing, so the little ones could ride him in their photobooth pictures.
I thought it would be really awesome to have a light-up old-style marquee sign, and I found plenty of tutorials on how to make them. I took some tips from a few different blogs and created this out of foamboard and cardstock.

I already had the string lights just hanging out in the garage waiting for a project (I bought them on clearance at Target a few years back), so this was perfect. I picked a circus-like font that I liked, blew up the letters to the size I needed, printed them out on my printer (I had to tape a zillion sheets together), and cut them out. From there, I traced them on the foamboard, cut them out with a utility knife, marked where all the lights would go on each letter, and spray painted them red.
Most of the tutorials I saw involved painting whatever material you wanted to use for the edges, but I have a huge collection of colored cardstock from my stationery design days, and this metallic cardstock in Antique Gold was just right. I cut it into strips, scored about a 1/2″ edge on each strip so I could have a little tab to attach it to the back of the letter, and snipped it periodically so it would bend and follow the contours of the letters. I held it all in place with tape while I worked, then went back and hit it with a ton of hot glue so it would stay put. The lights were a little annoying to put in because I had to unscrew all of them, jam the sockets through the spots I scored in the foamboard, and then screw them all back in. And since I didn’t want to do any makeshift electrical work and cut the strands apart, once I put the lights in, there were pairs of letters connected to each other, which made it a giant pain to transport and store and hang. But in the end, it looked pretty darn cool.
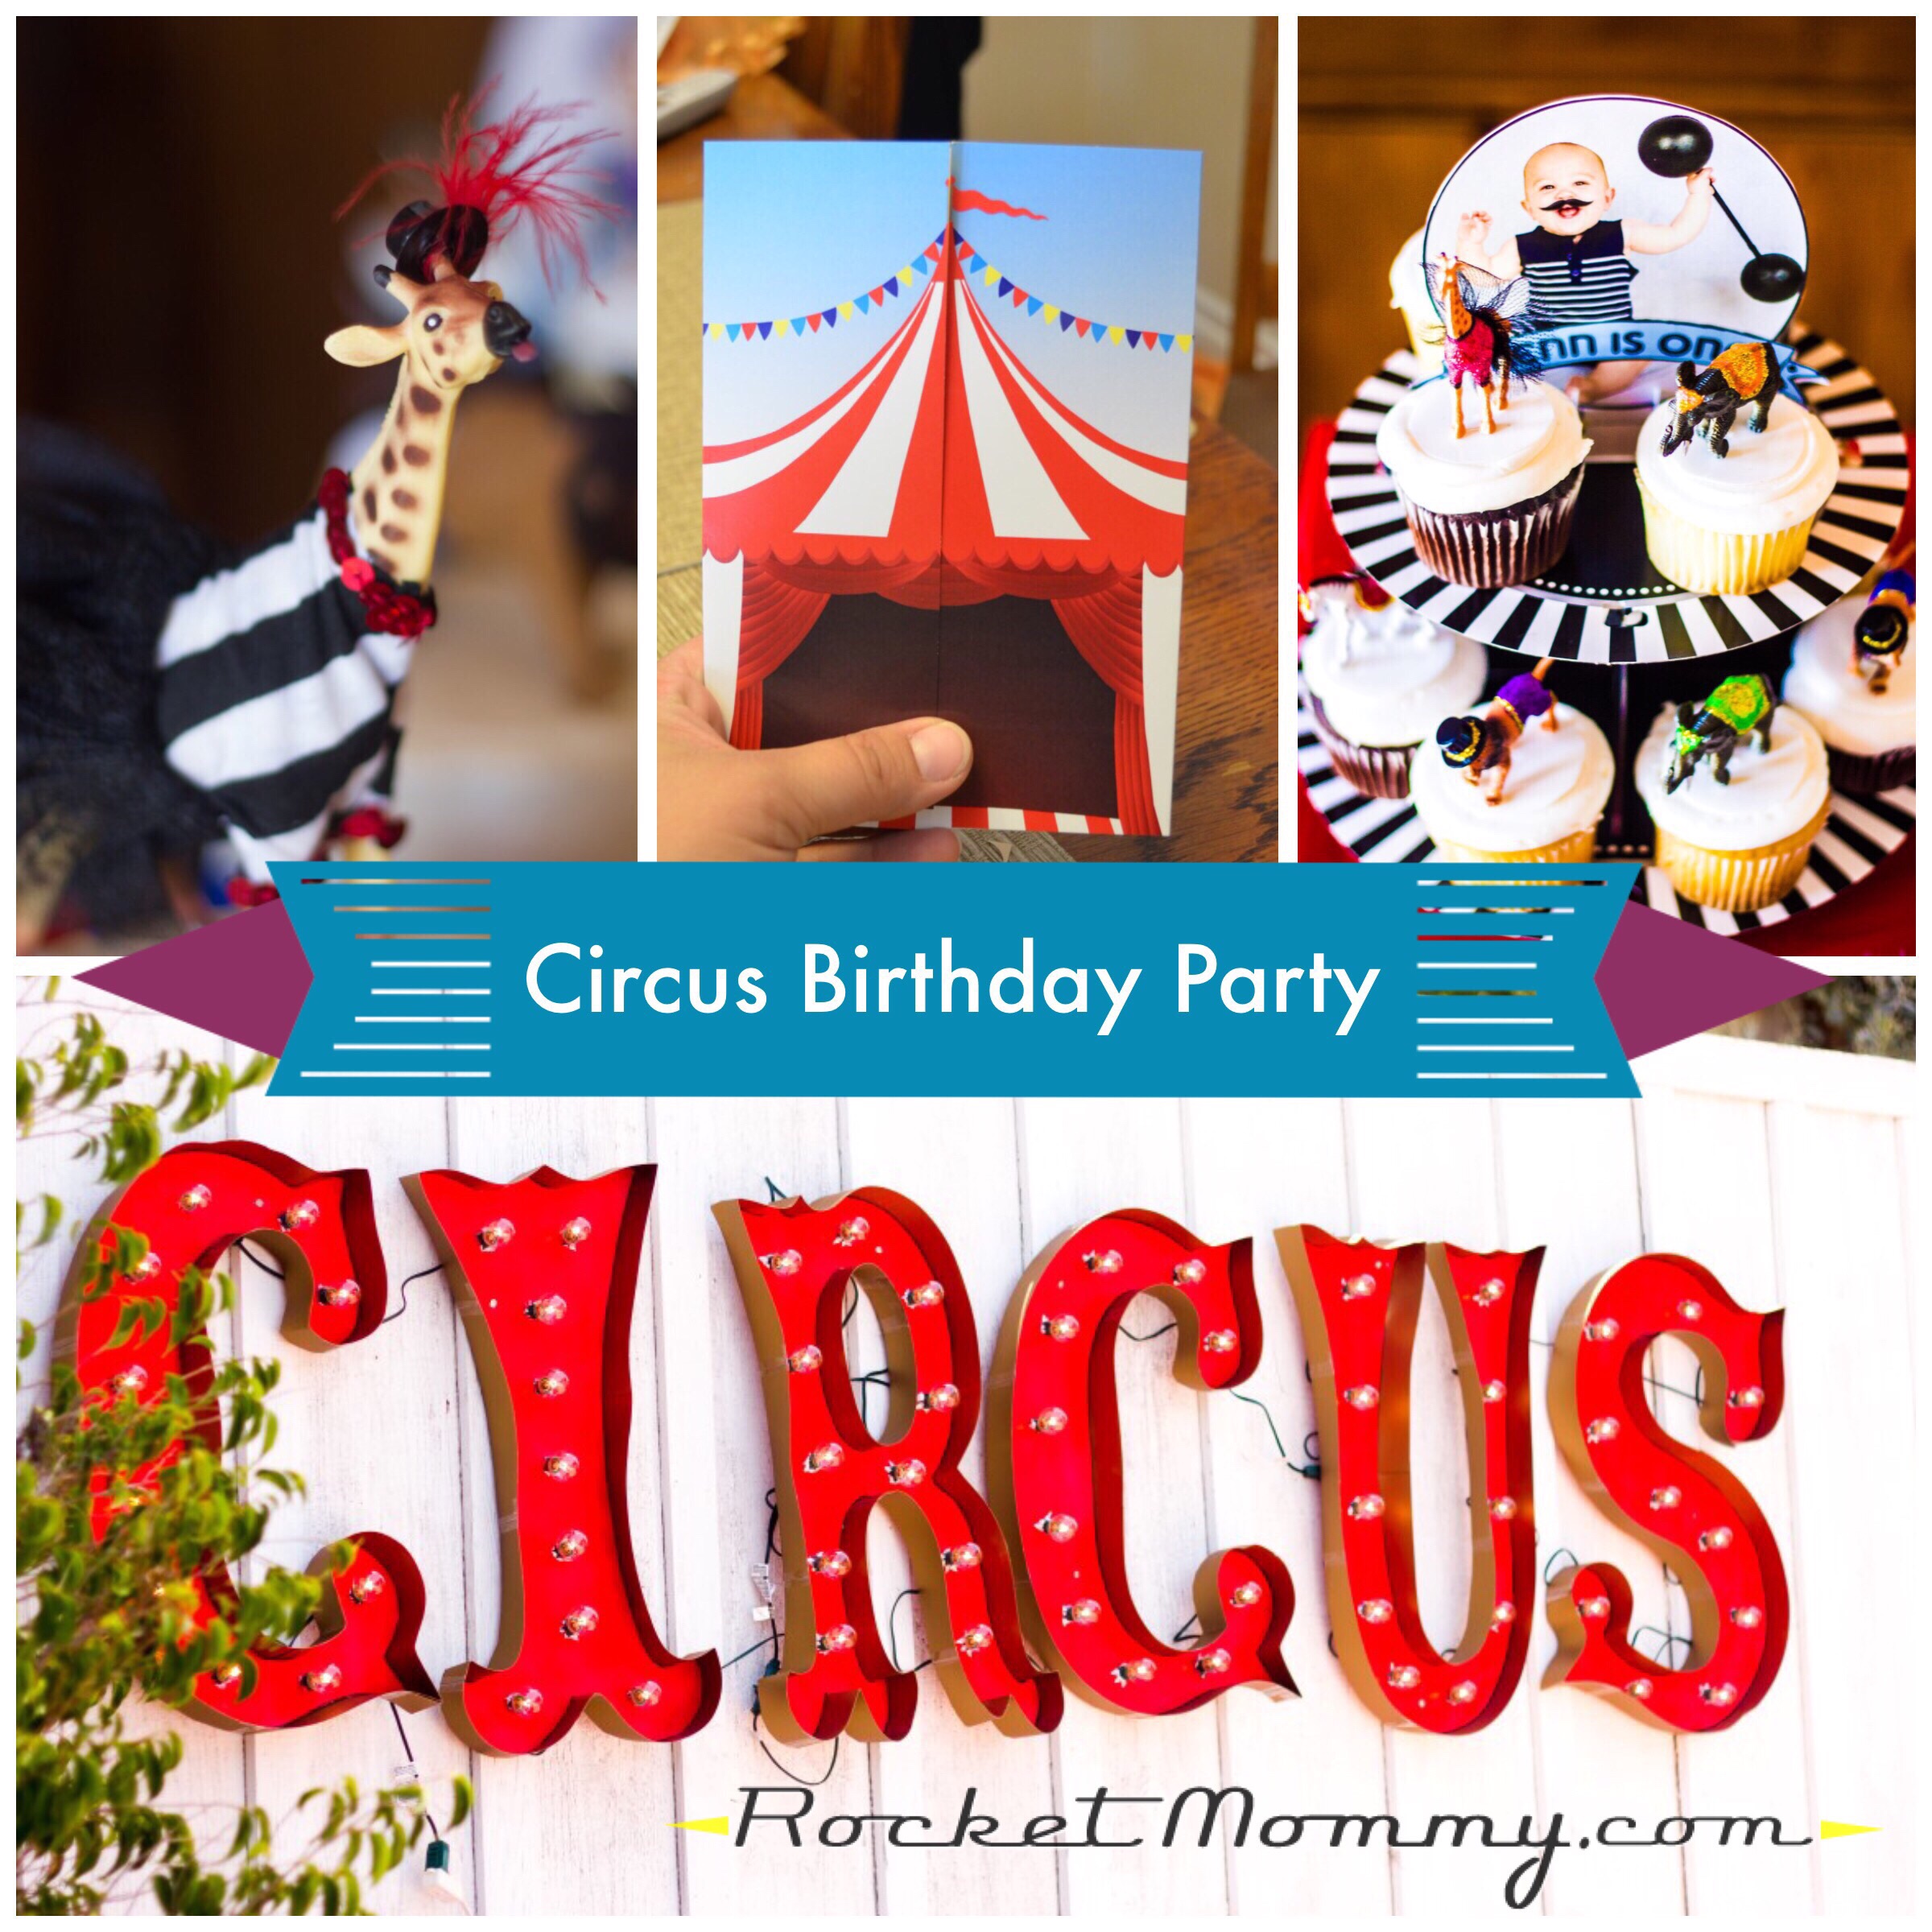
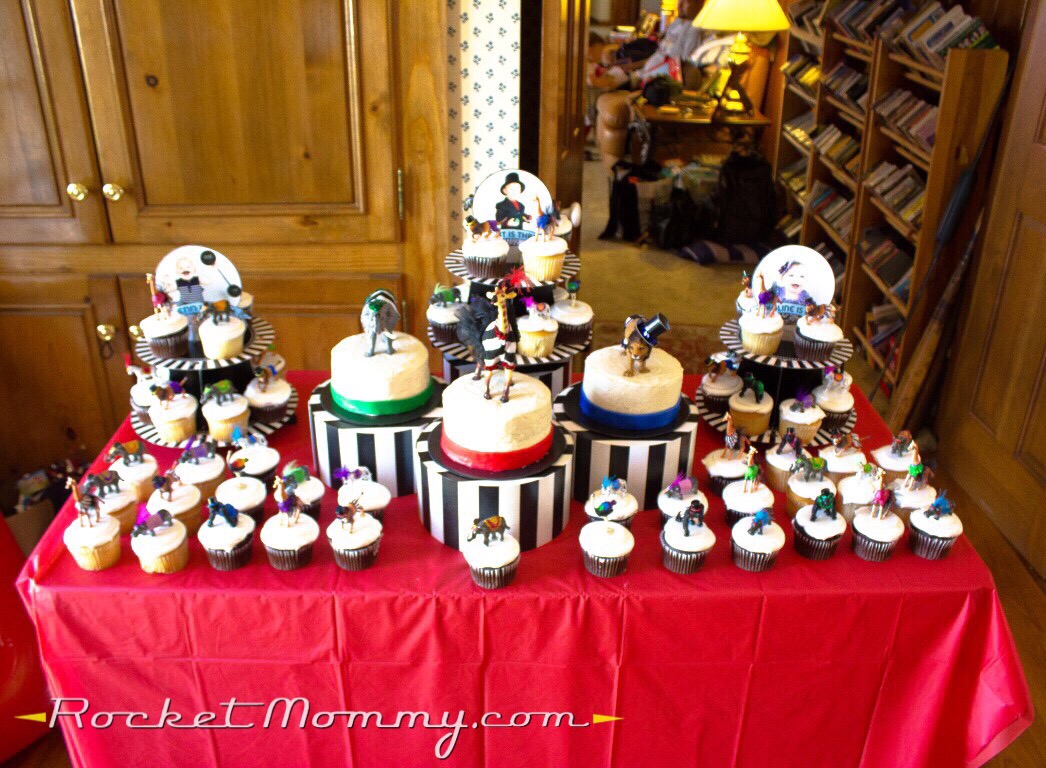
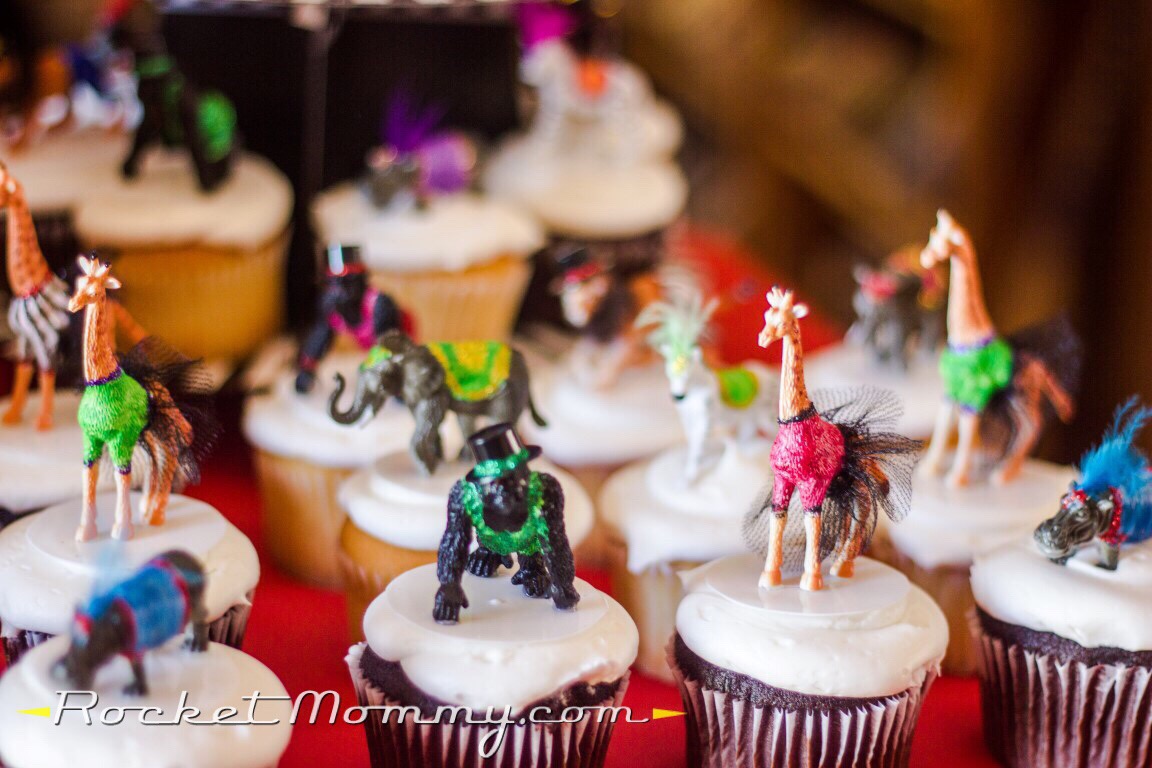
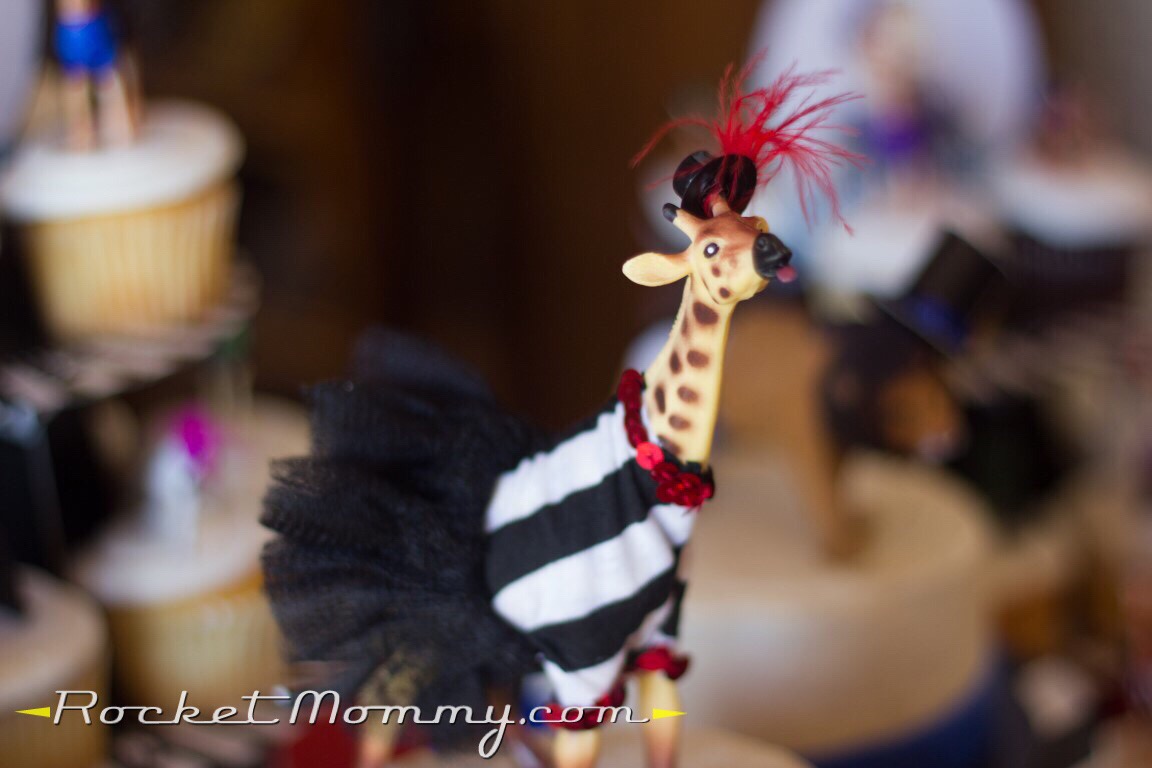
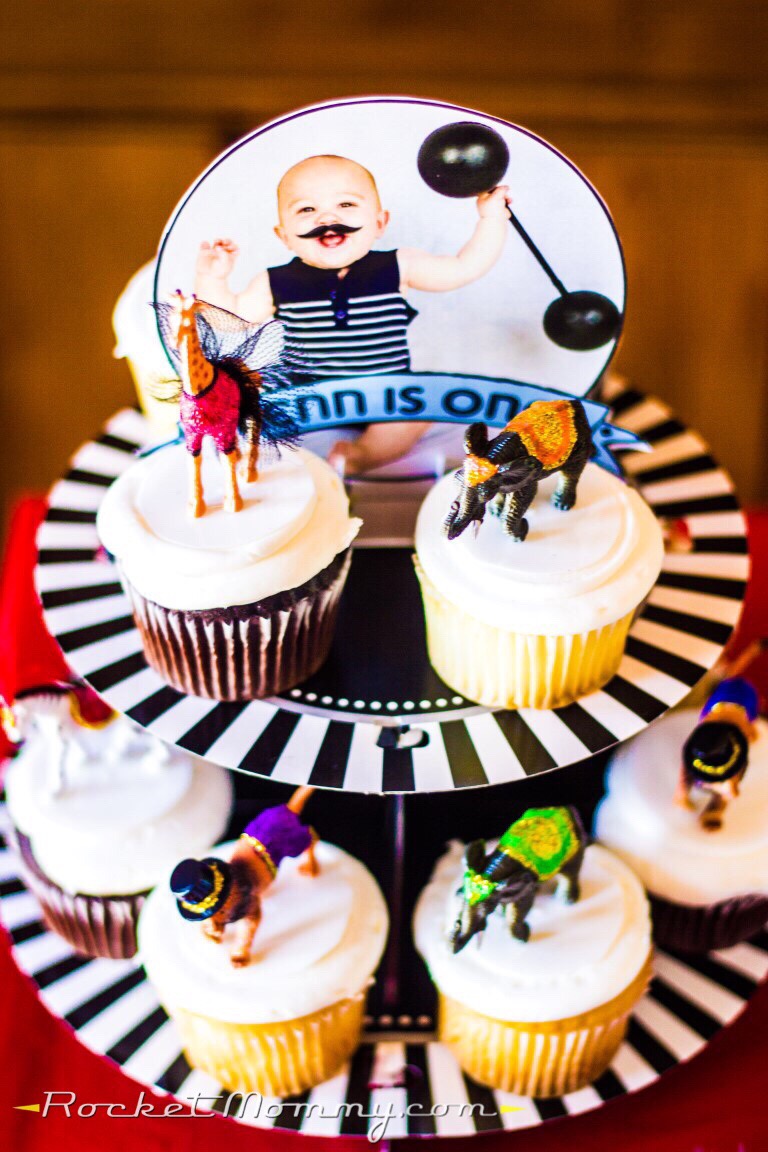
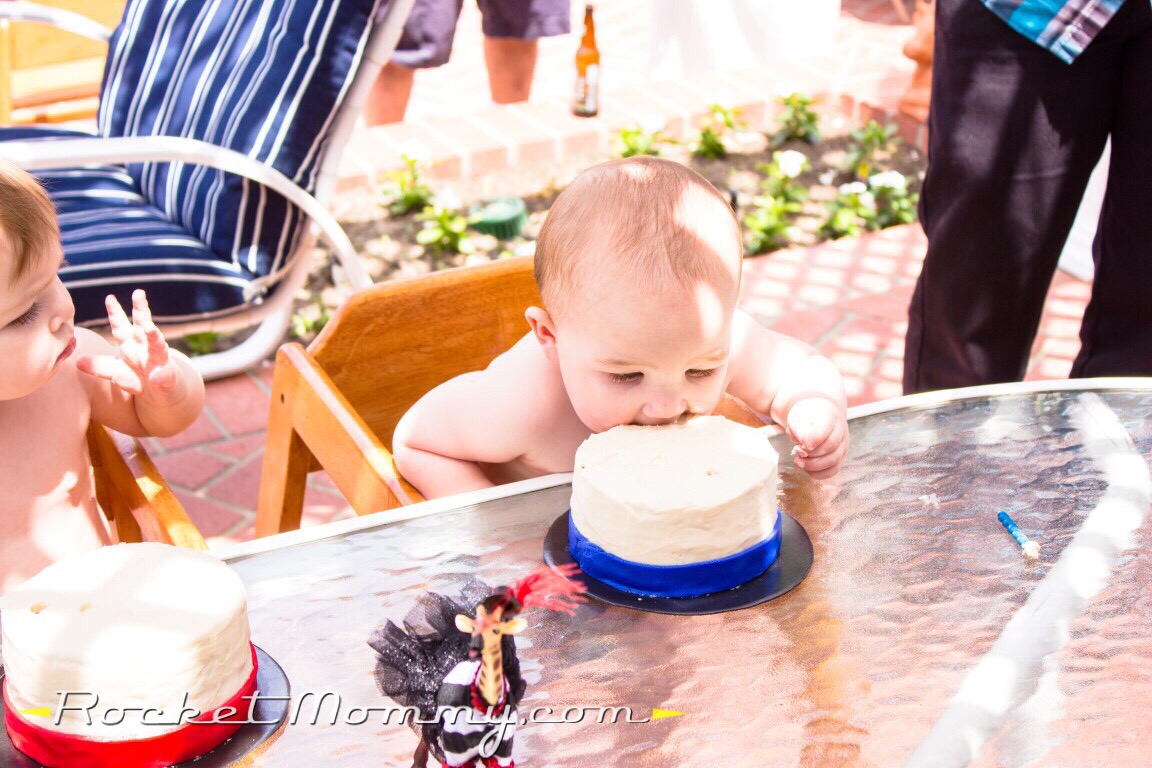
The other huge project that I poured a lot of time and energy into was our cake display. I bought an assortment of little plastic animals off of Amazon and decorated them all with paint, glitter glue, feathers, and tiny plastic top hats. It was a labor of love, and every morning my husband woke up to yet another little chorus line of sparkly gorillas or giraffes wearing tutus. I used these as cupcake toppers – I ordered cupcakes with plain white frosting from Sam’s Club and just stuck the animals on top – and I got three larger animals to go on top of the individual “smash cakes” that I made for the birthday kids. The display stands that they were on were graduation themed stands from the dollar store, and I covered up the grad hats on the top with pictures of the kids. And I had a few of these fabulous black and white striped mini hatboxes that I’d picked up and held onto a while back, so those helped give the whole display some depth.
Here’s a few more detailed shots, just because I was so proud of these silly things.

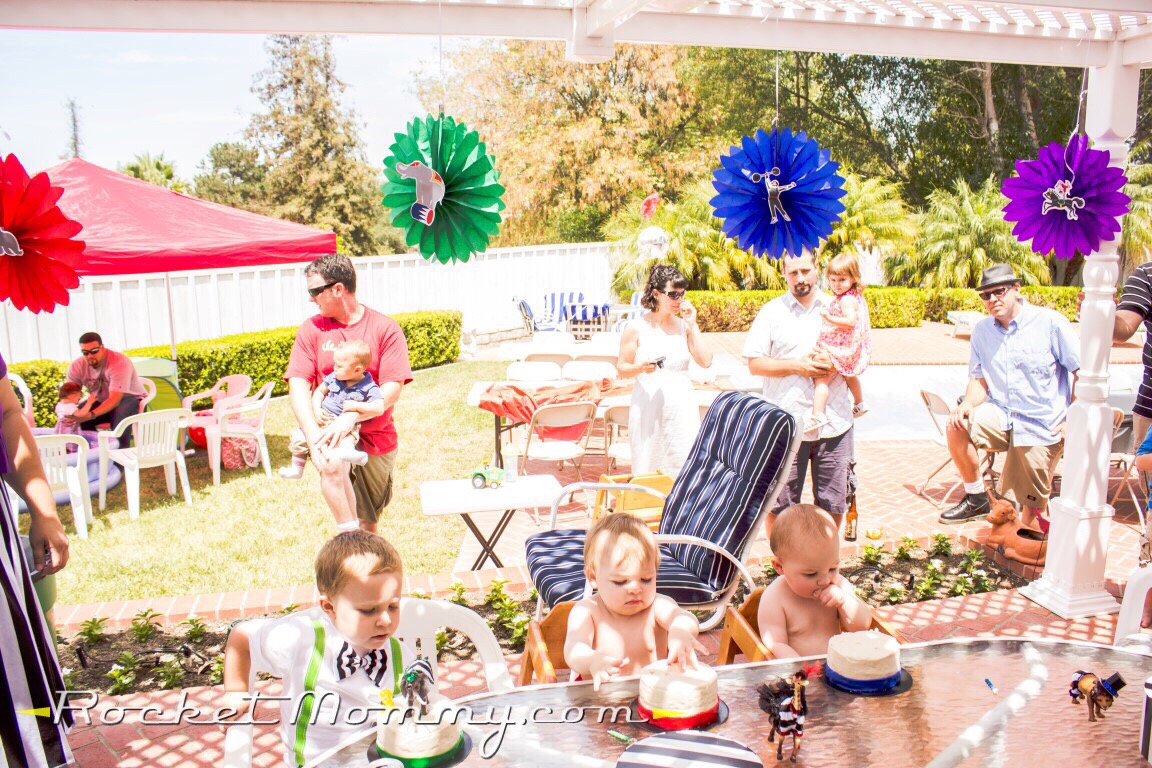
For additional decor, I bought a bunch of dollar store folded paper fan decorations that were intended for graduation and the Fourth of July, and I covered up the themed pictures on them with my own circus decorations.
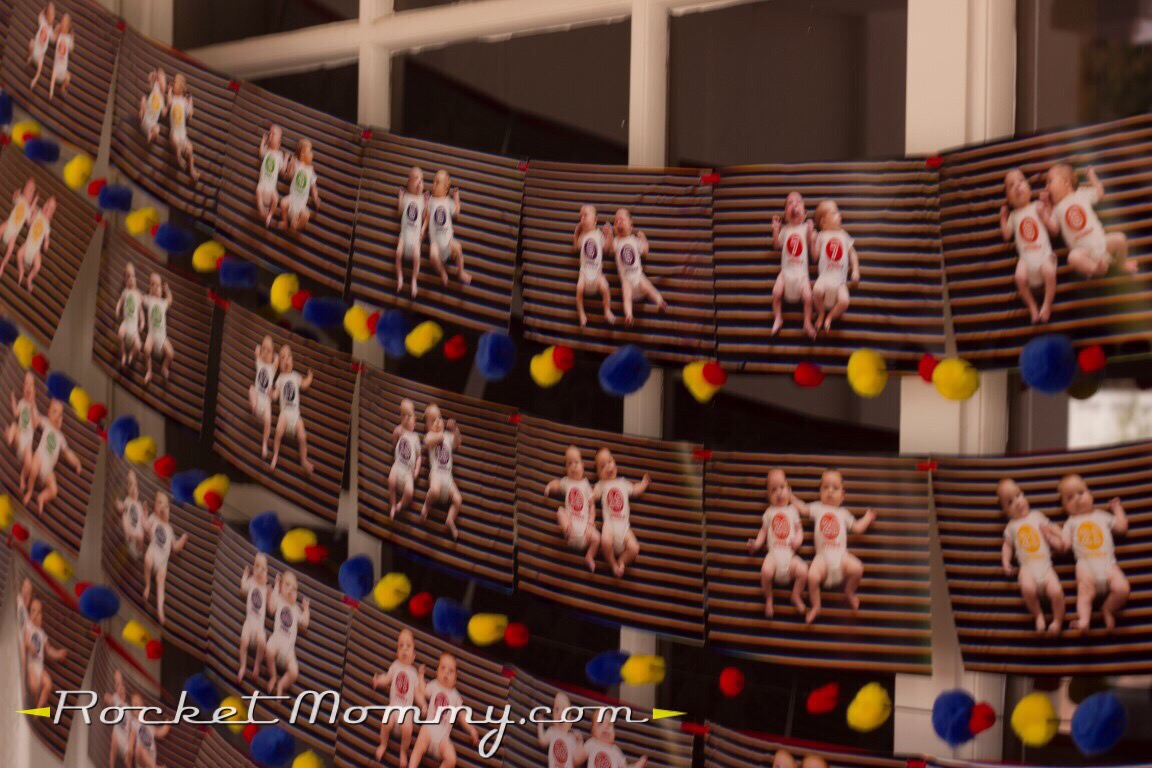
I also put together this little display of the weekly pictures I took of the twins for their first year. I did this with G too, and it was a huge hit with the guests. Doing it with two babies was so much harder!
So that was our fun and fabulous three ring circus birthday party! Thanks for checking it out!
One thought on “A Three-Ring Circus Birthday Party”
Comments are closed.