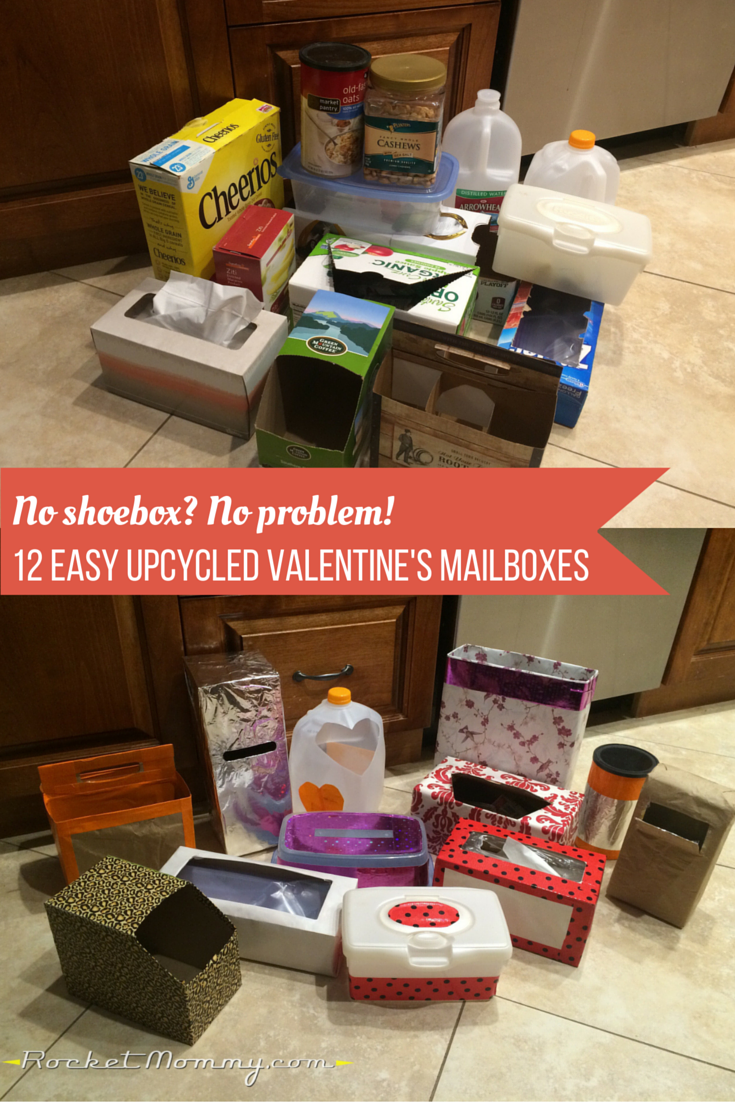
Valentine’s Day is fast approaching, and there’s a good chance that your kid has a crafty little homework assignment this week – decorate a box to keep your cards in for Valentine’s Day. Now, this is the exact sort of homework that crazy crafters like me would LOVE to be forced to do, but alas, our preschool does this as a project in their classrooms, so we don’t get to do it as a project at home. But since so many other people are stuck trying to figure this out, I thought I’d toss together a few quick and easy versions of “mailboxes” that you can make using just whatever you already have in the house. So if you don’t keep a stockpile of shoeboxes and you don’t own wrapping paper for any and all occasions, you can still participate and send your kid off to school with something cute. And when I say “quick and easy,” I’m promise I’m not lying to you. I made all twelve of these in less than two hours with three kids trying to “help” the whole time, haha.
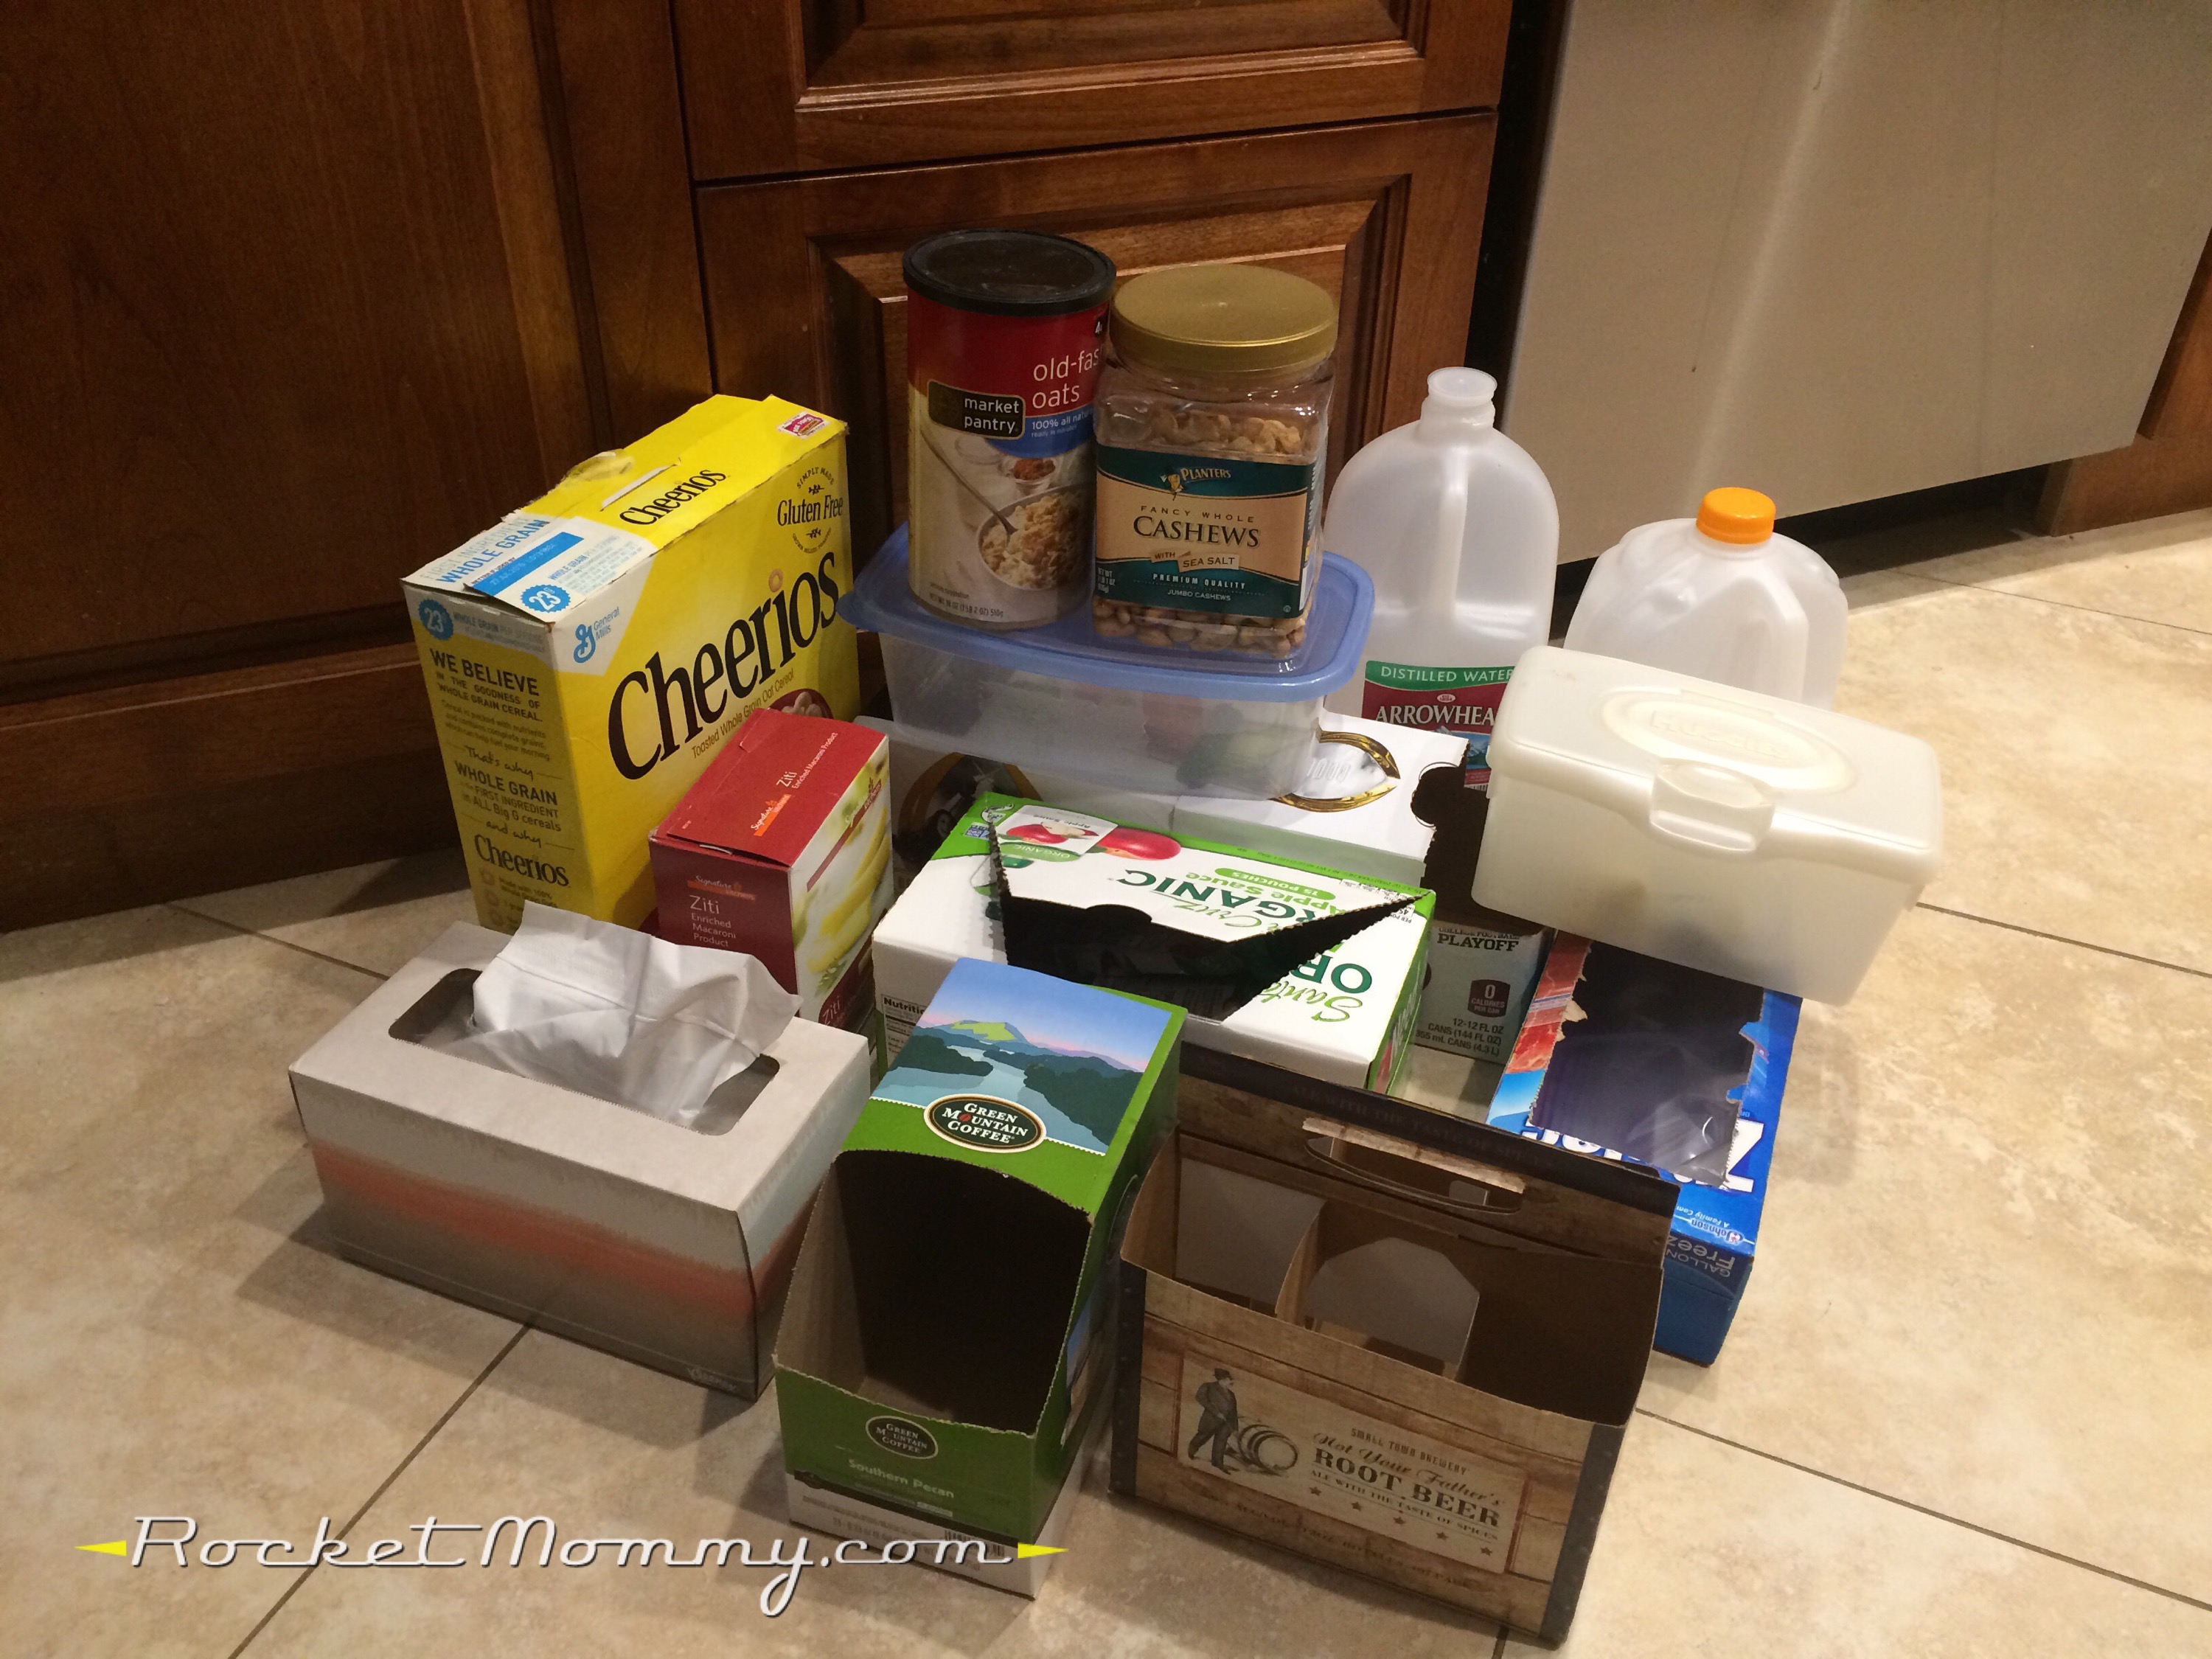
I rummaged around in my cabinets and garage for a couple minutes and came up with this odd assortment of containers, each of which could easily be repurposed into a Valentine’s mailbox.
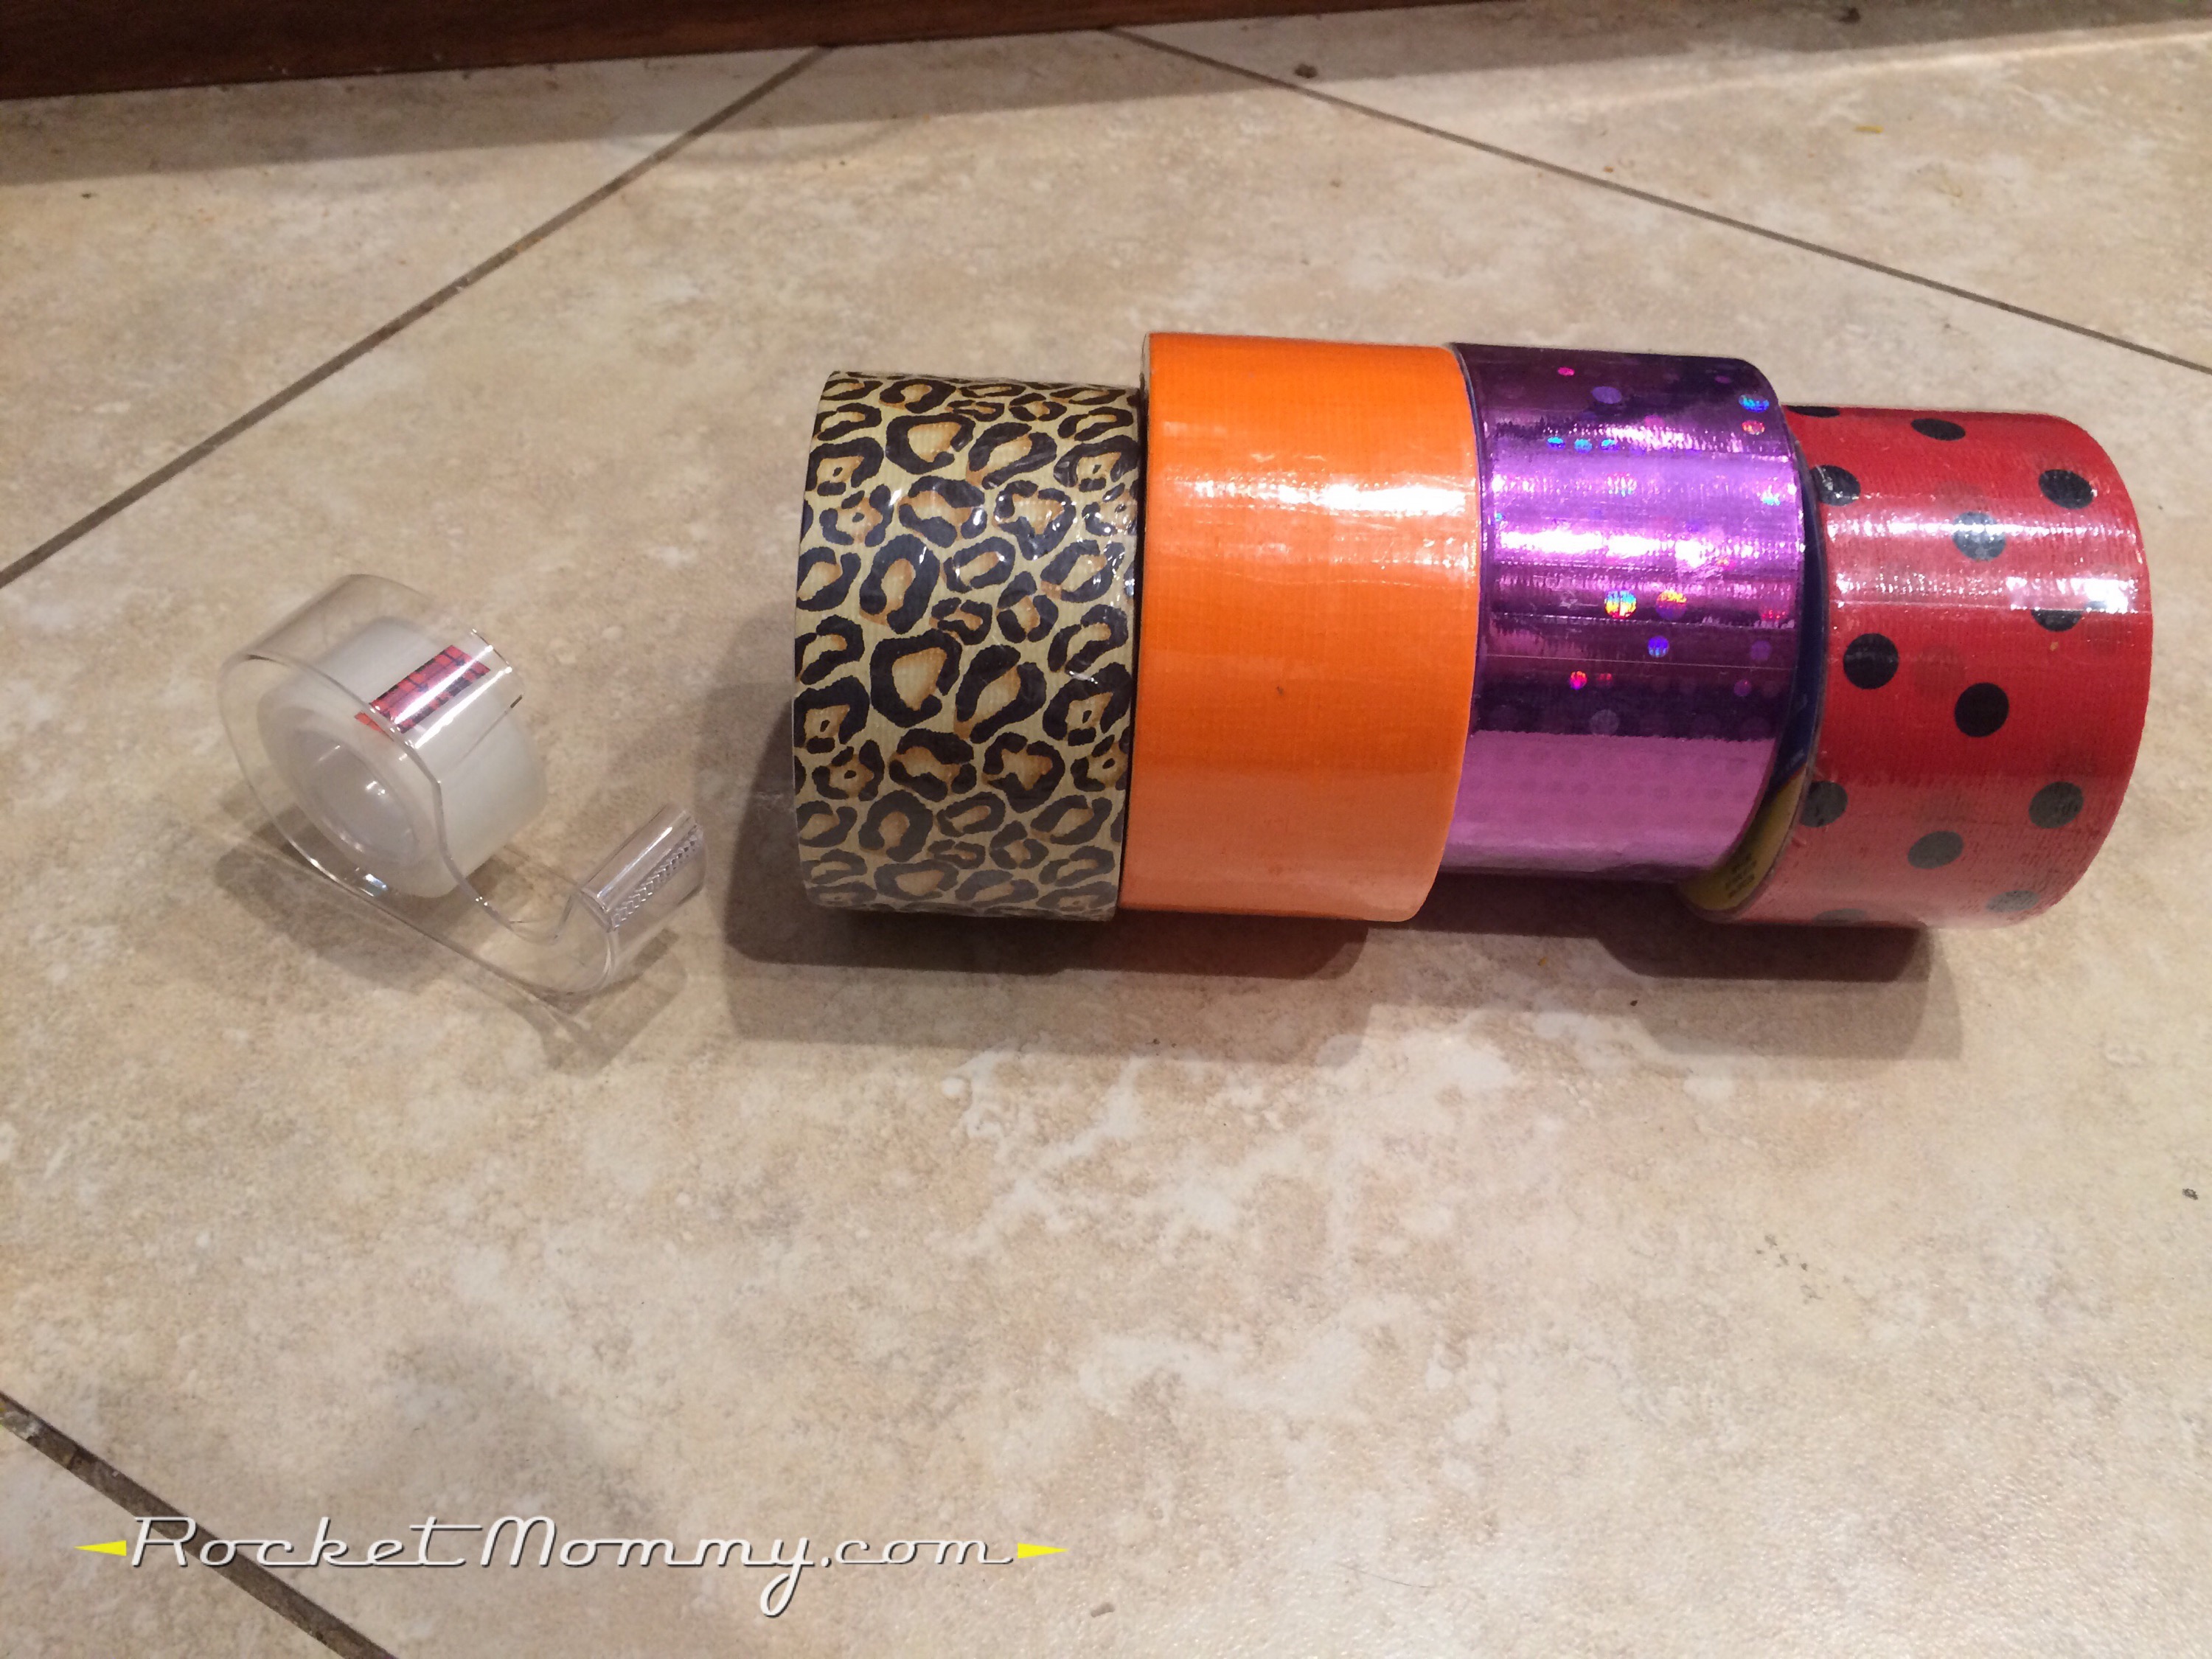
And I grabbed a couple of basic supplies. First, I raided my stash of duct tape. Don’t have a bunch of fancy duct tape on hand? They sell it at Dollar Tree, and one roll is more than enough for each of these projects. You don’t even need it at all for some of them! You’ll need a roll of Scotch tape, though, and they have that at Dollar Tree too.
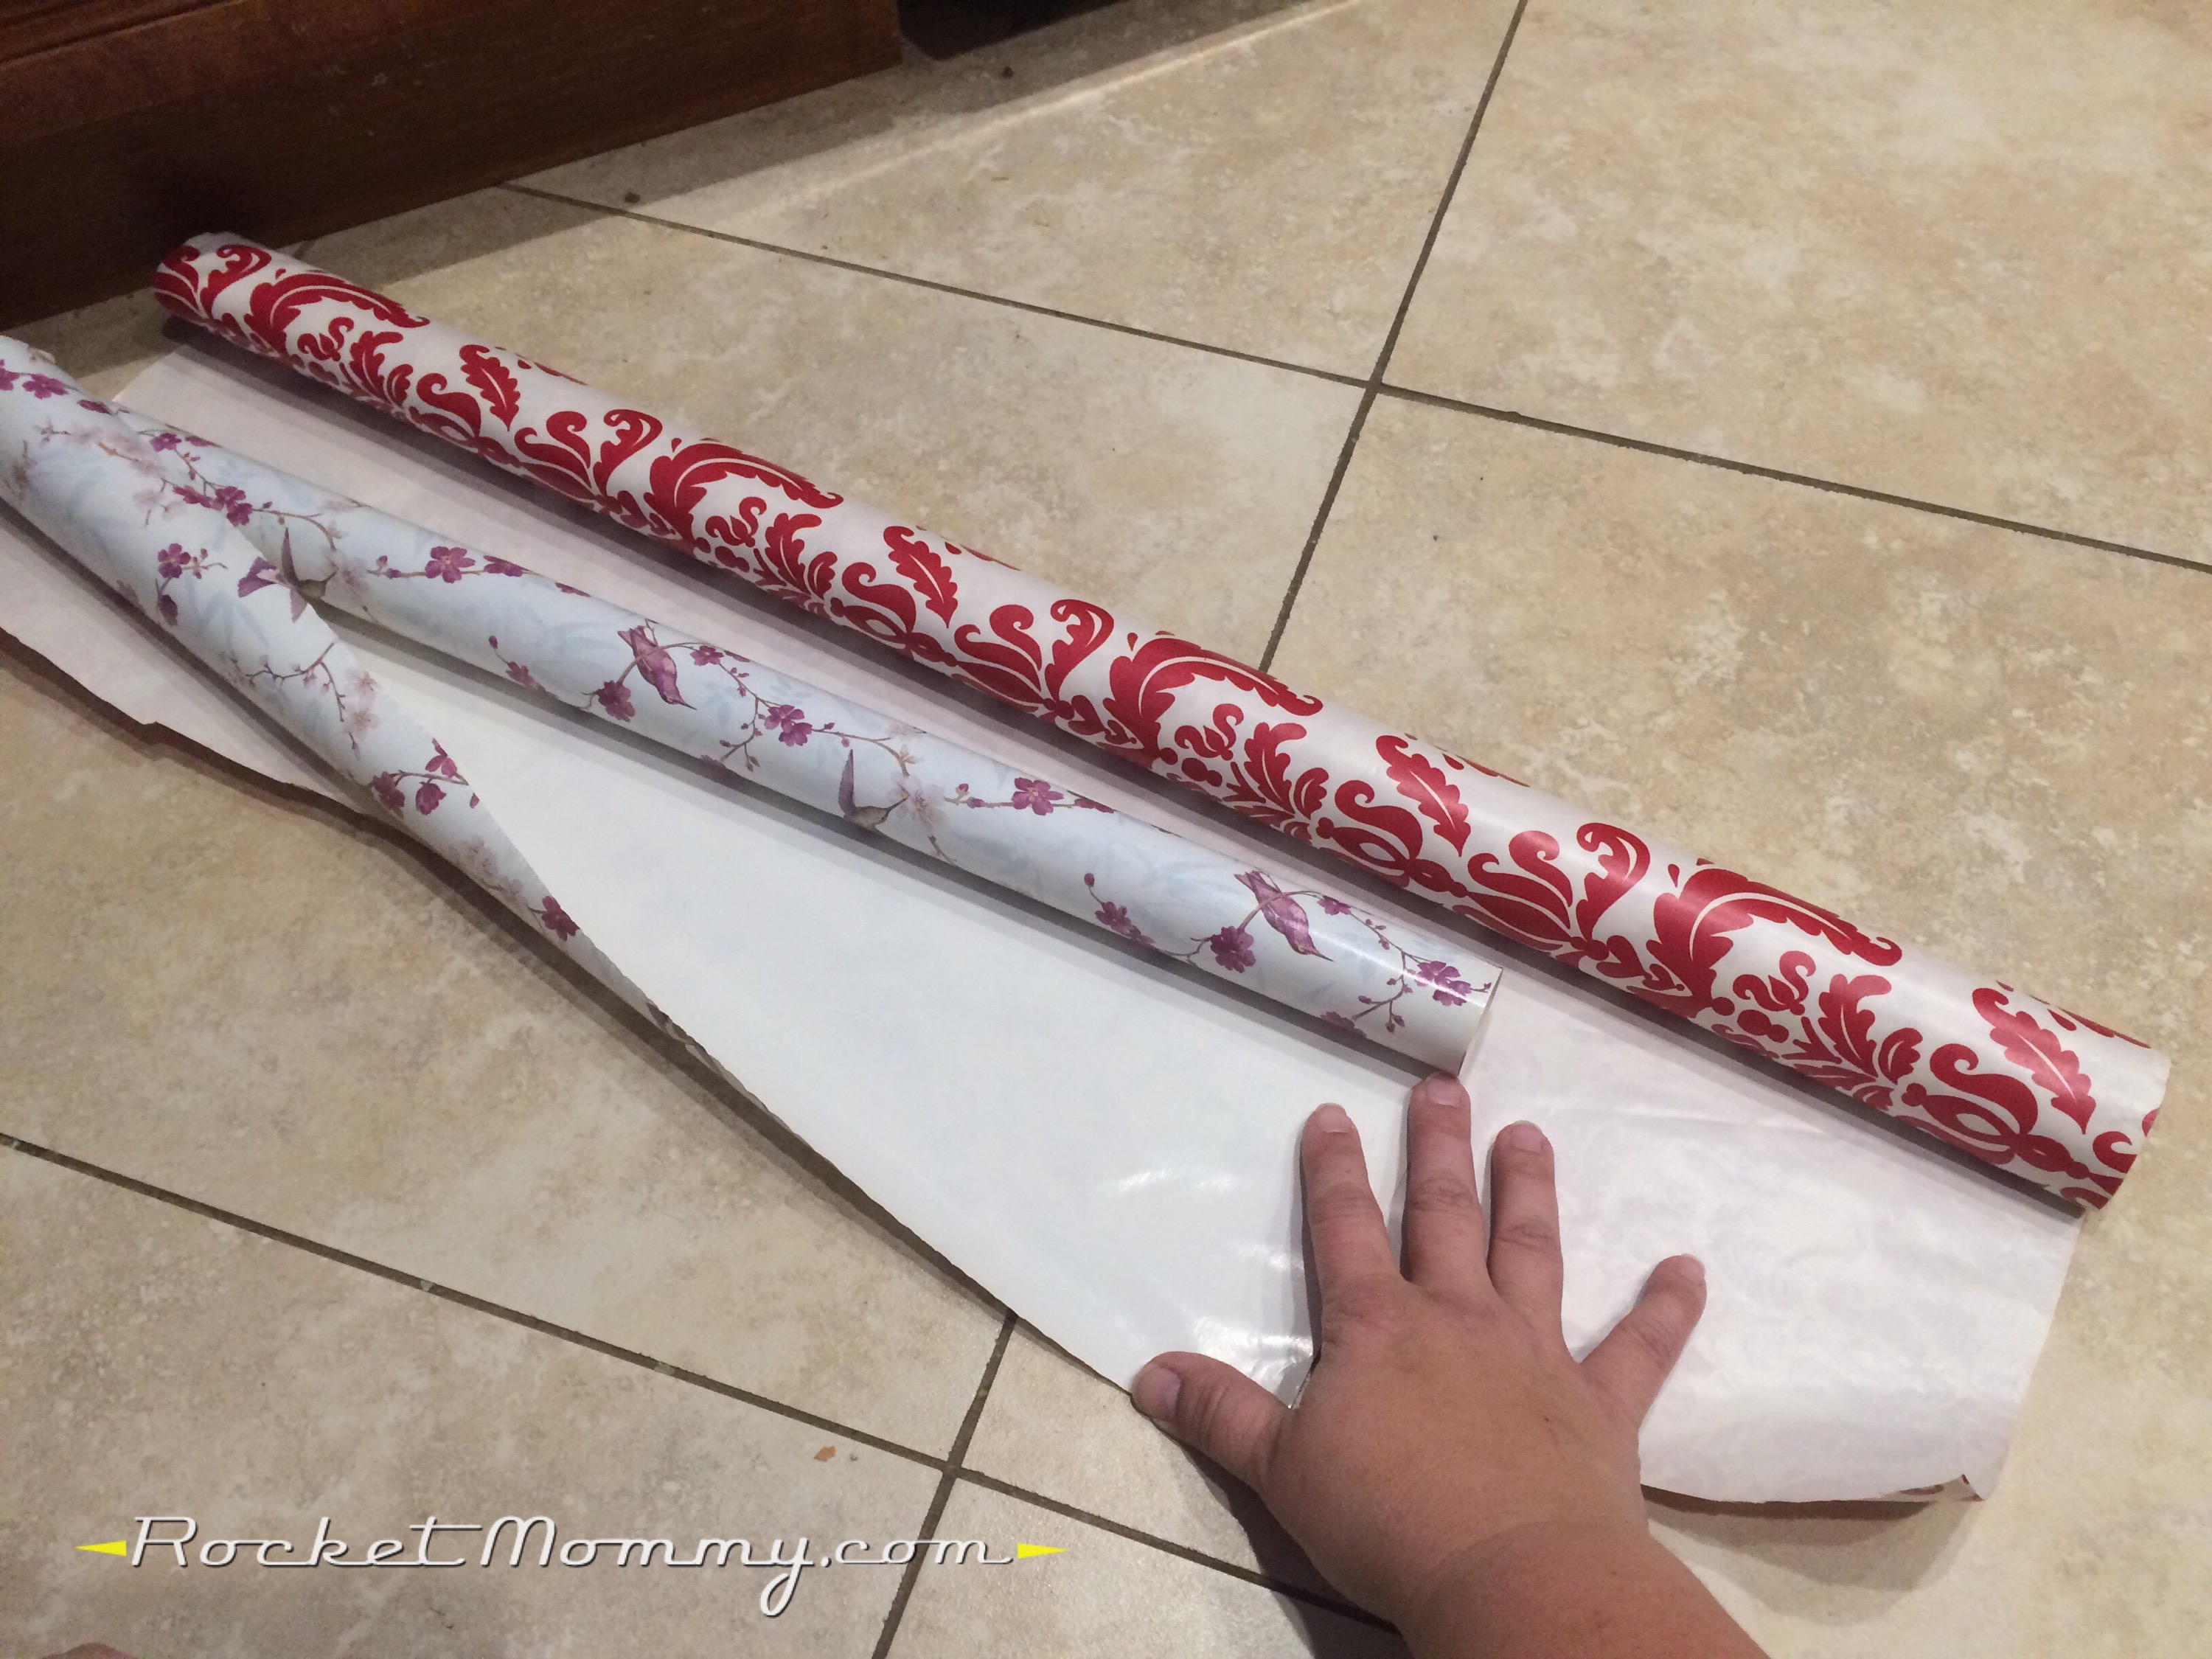
I also grabbed a couple rolls of wrapping paper from the closet. I don’t have any Valentine’s Day specific wrapping paper, but I have two patterns that I thought could probably work. If you don’t have anything at all that you think is suitable, check the back side of it – if you’ve got one that’s plain white on the back, use that one!
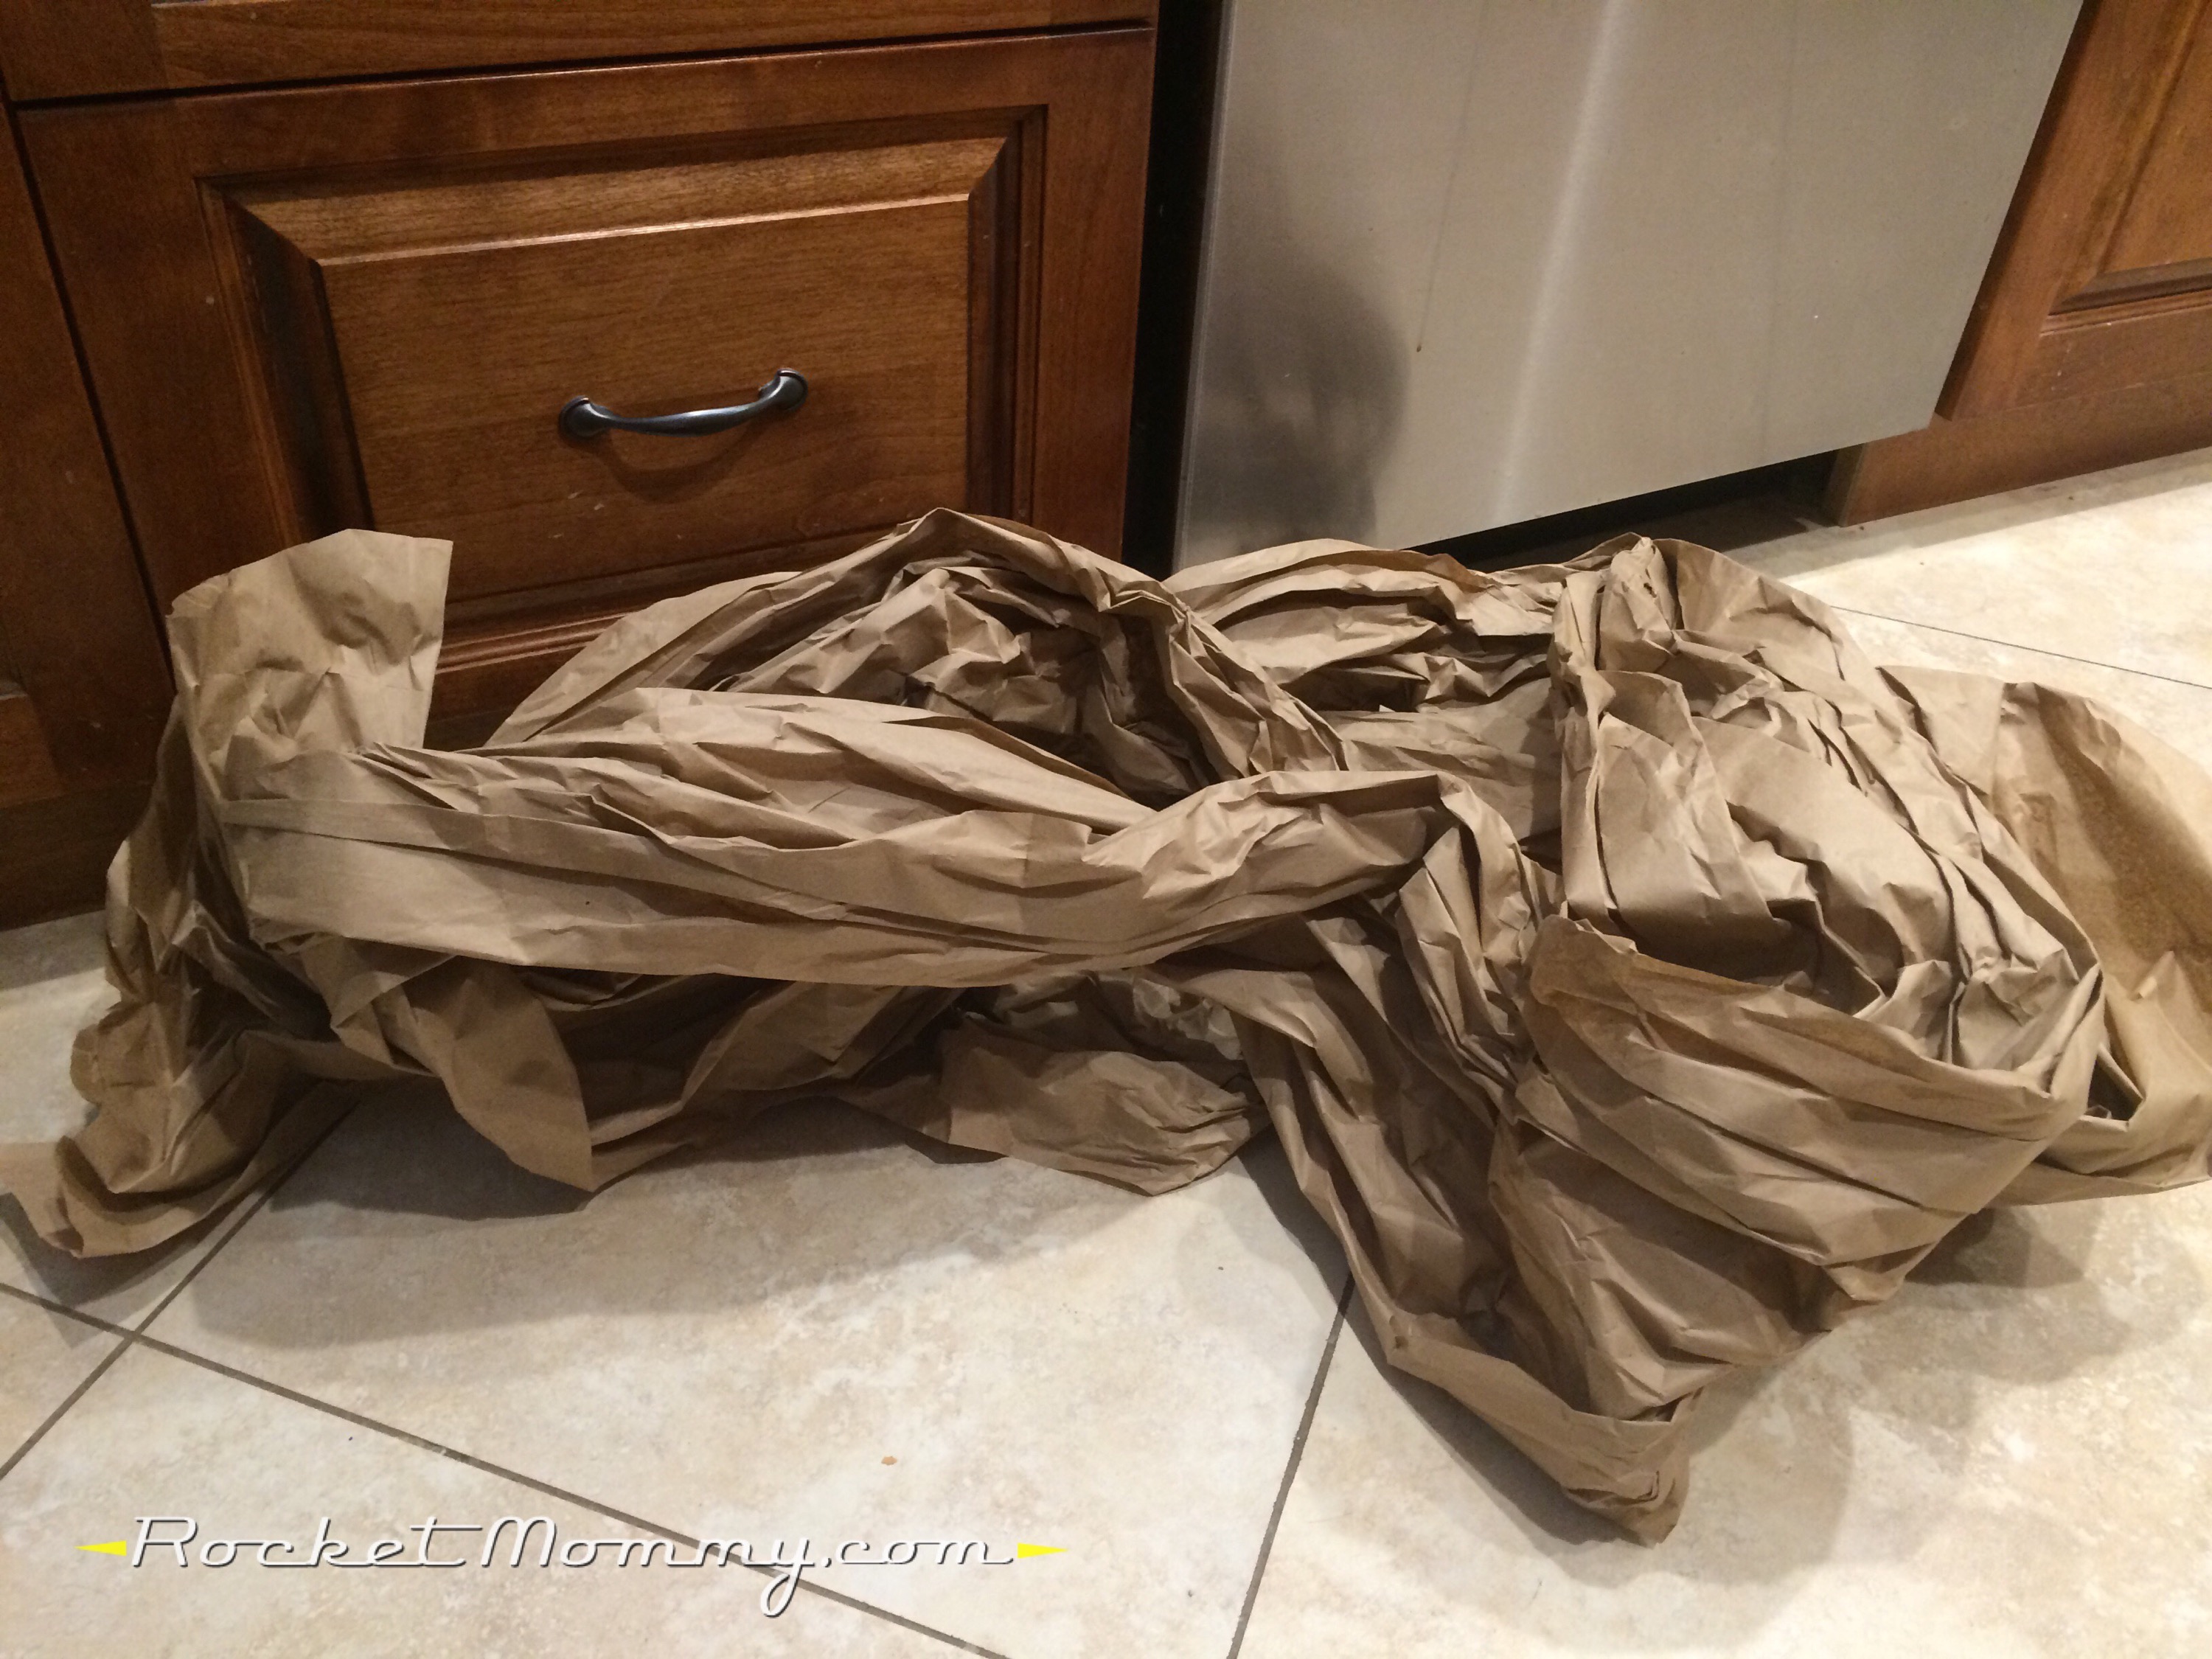
No wrapping paper at all in your house? I get it, some of us are gift-bags-only folks. Let’s see what else you might have lurking in your home that you could use. I checked the recycling bin and grabbed this huge wad of brown packing paper that came inside an Amazon box the other day.
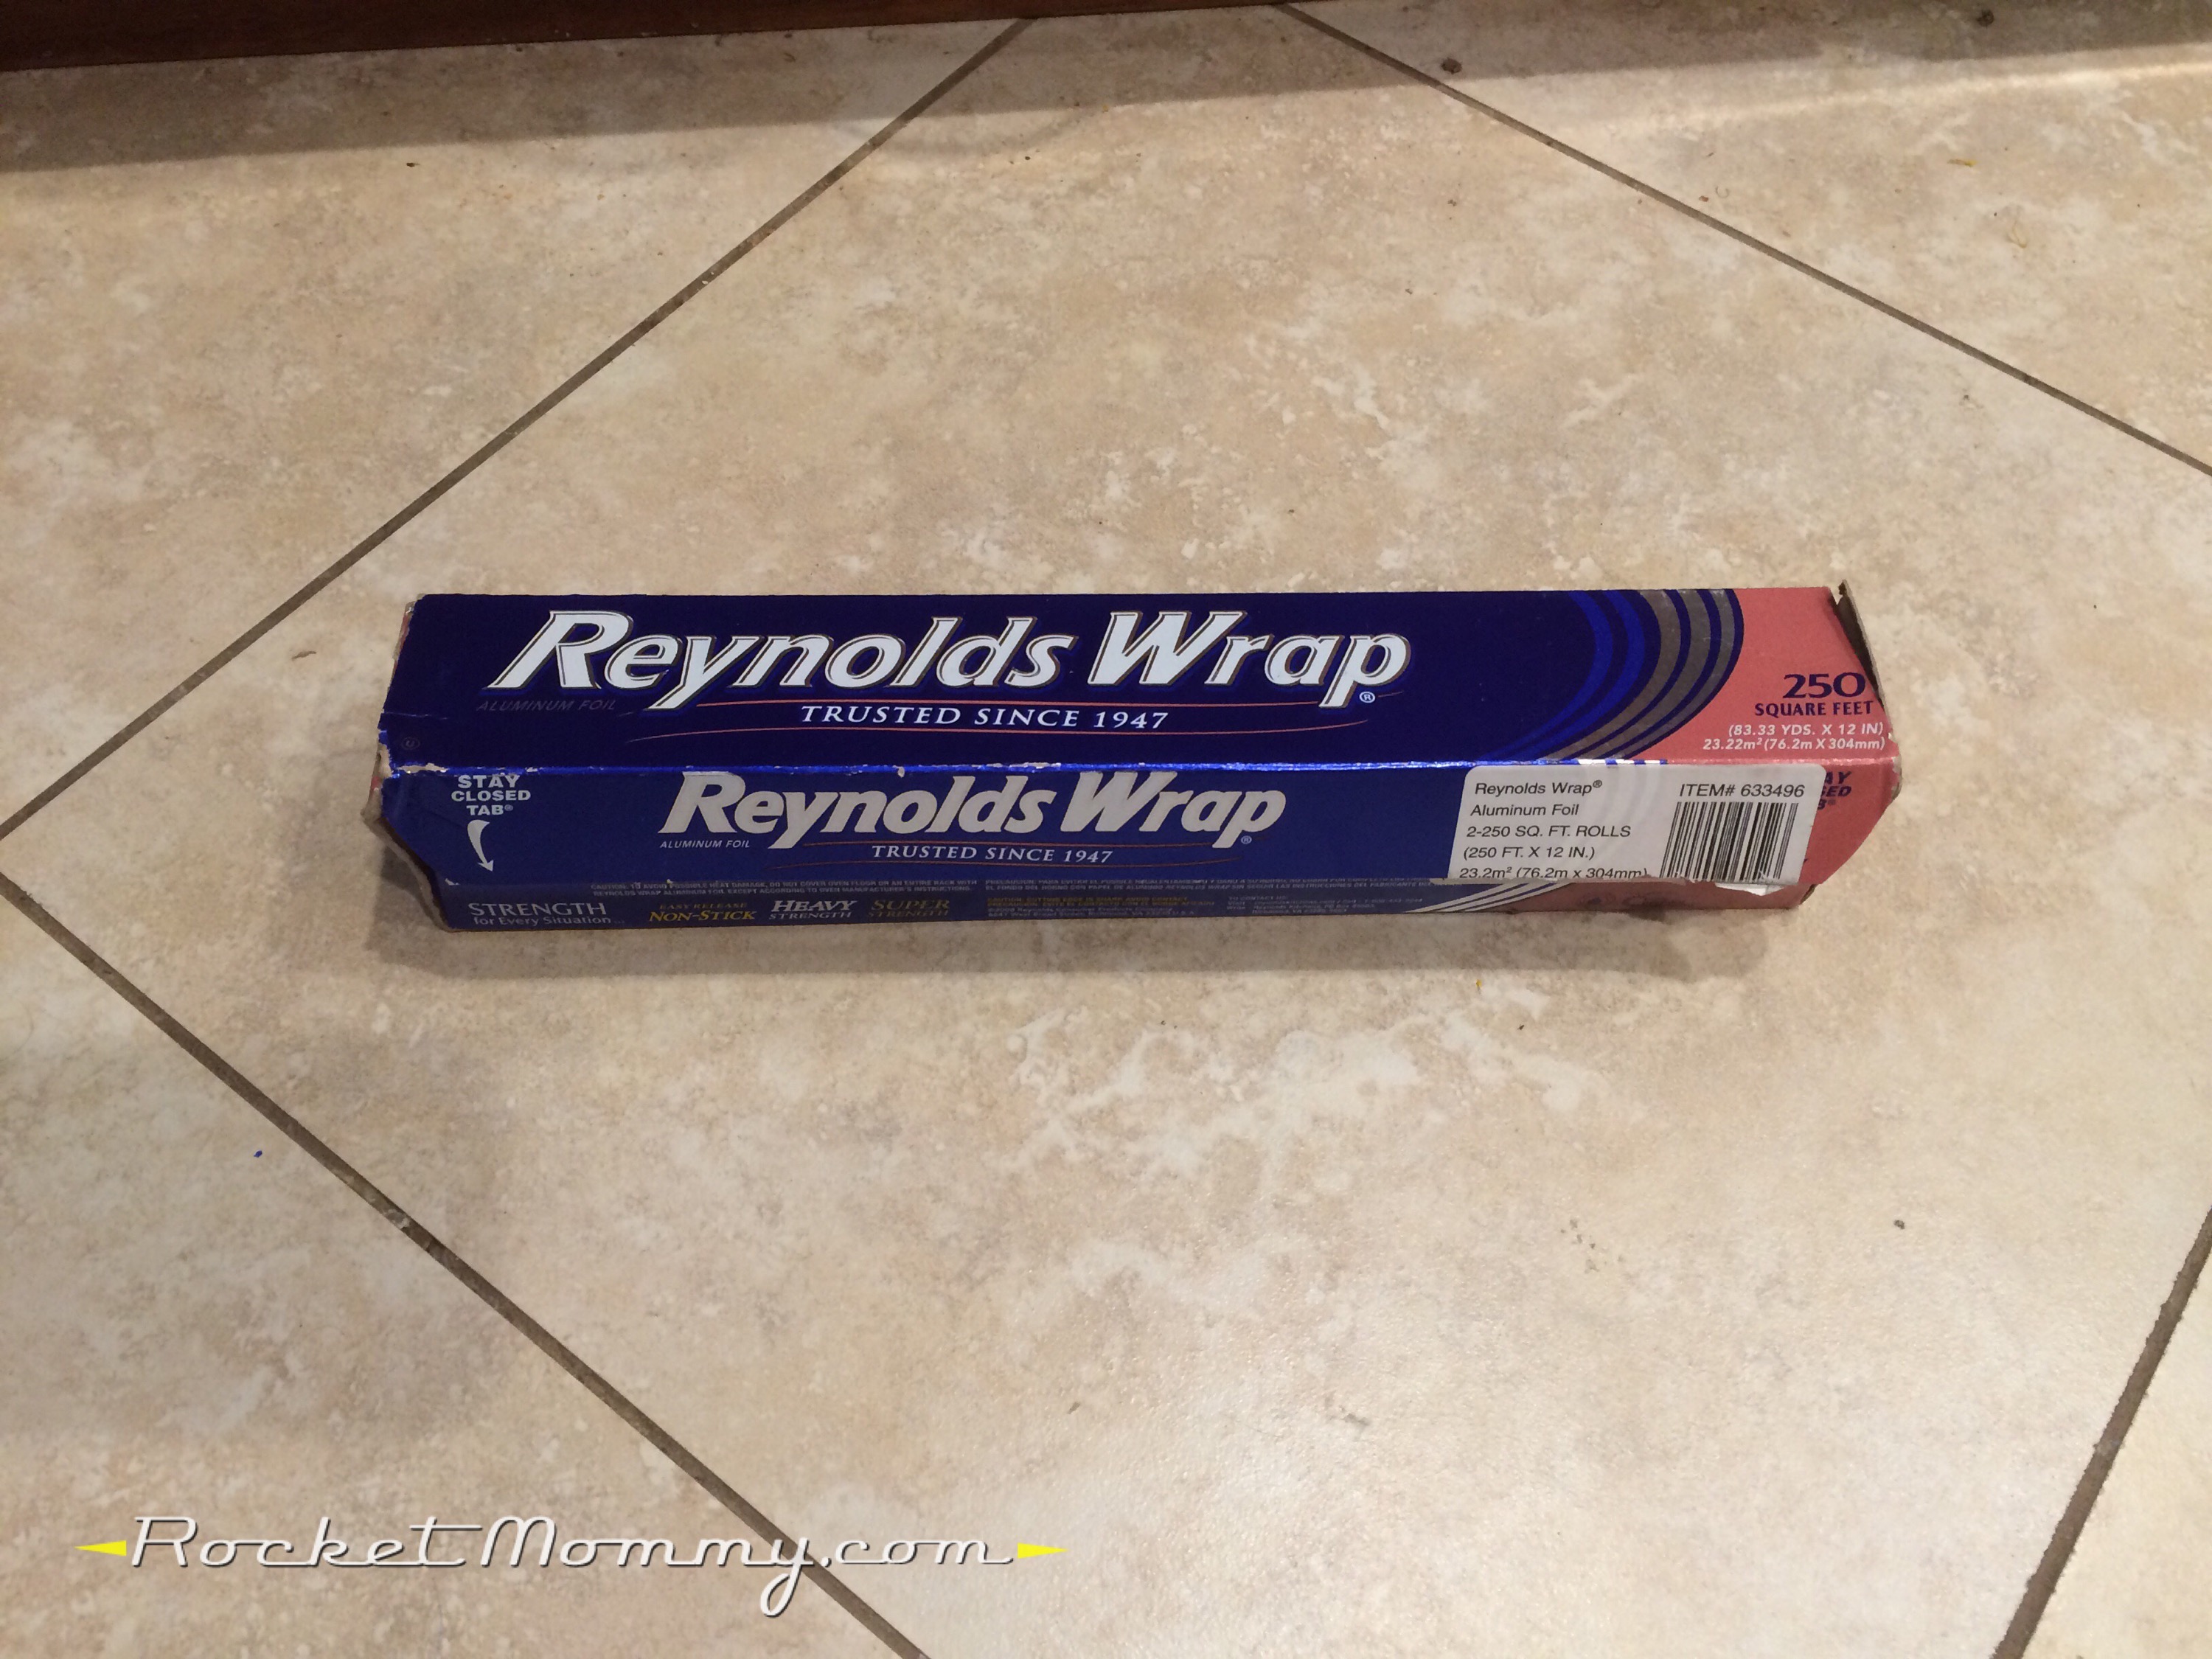
Recycling got picked up last night and you’re not sure what else you can try? How about aluminum foil?
Ok, let’s get started! Here are 12 different options for you, and all of them are pretty interchangeable – if you have one type of box but like the way another is covered, give it a try!
1. Cover a K-cup box with duct tape
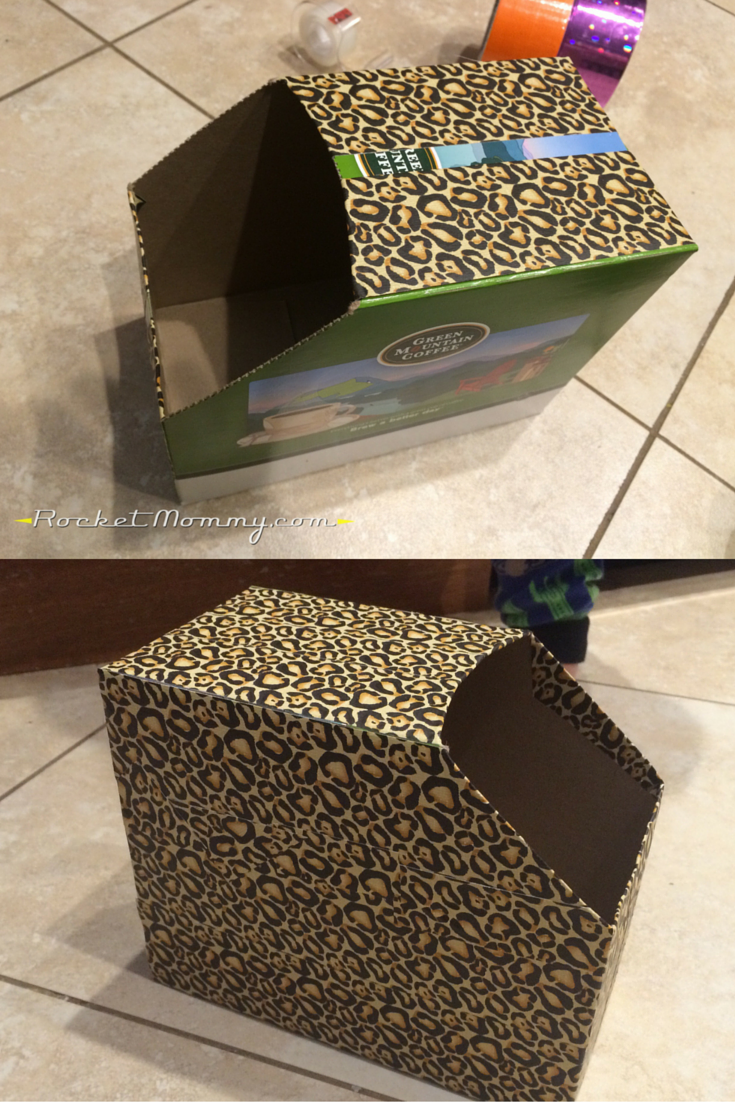
Super simple, and this would work with any box that already has an opening for a card slot. You can choose a busy patterned duct tape like this one, or use a solid color and let your kiddo decorate it with stickers and markers.
2. Cover a tissue box with duct tape and paper
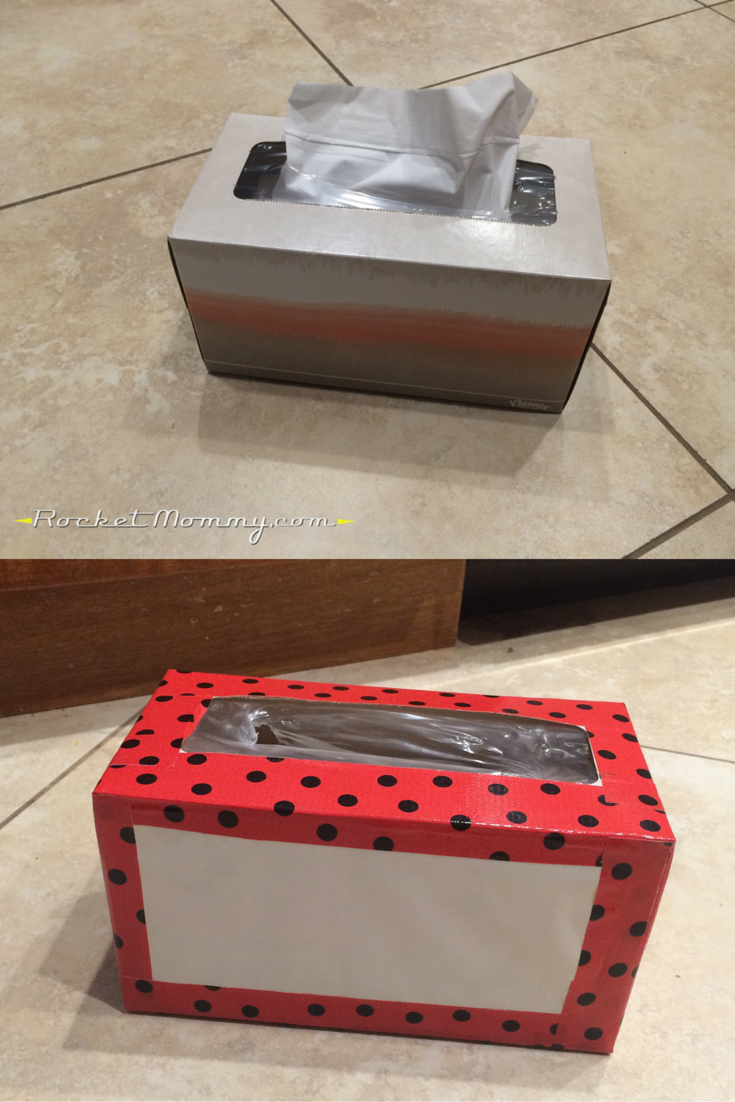
For this one, I used the back side of my wrapping paper and cut rectangles that fit along the sides of the box. Lay the tape down on the top edges of the box and fold it over the side so that it covers the edge of the paper, then do the same with all the other corners until the paper is framed by the tape everywhere. Then hand it over and let them do all the decorating on those paper panels.
3. Cover a Ziploc box in wrapping paper
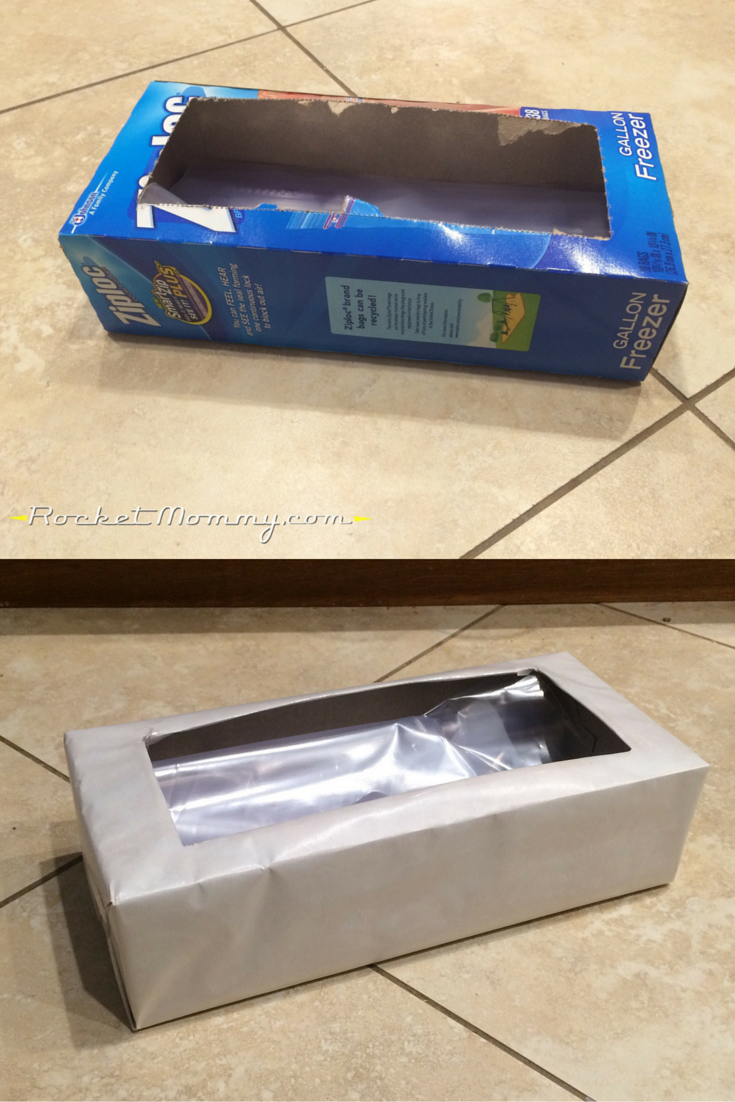
Here’s another box with a built-in mail slot! Wrap it like you would wrap any present, then cut away the paper that’s covering the opening and tape the edges down so they don’t rip. I used the wrong side of the wrapping paper again to allow for personalization.
4. Cover one of your food boxes from the warehouse club with wrapping paper
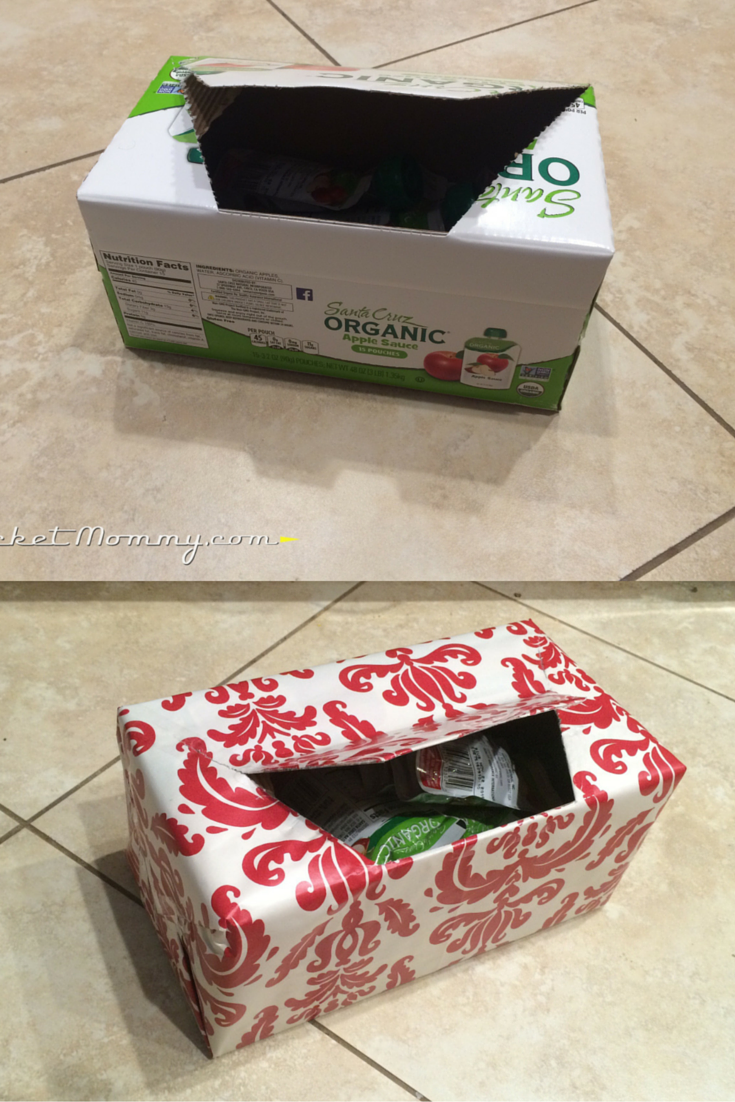
This applesauce box had a nice little opening that made it a good candidate for a mailbox. I have a Gogurt box in my fridge right now that’s similar that would also work well. This time I just went ahead and used the pattern on the wrapping paper, making this a very easy option.
5. Cover an oatmeal canister with aluminum foil and duct tape
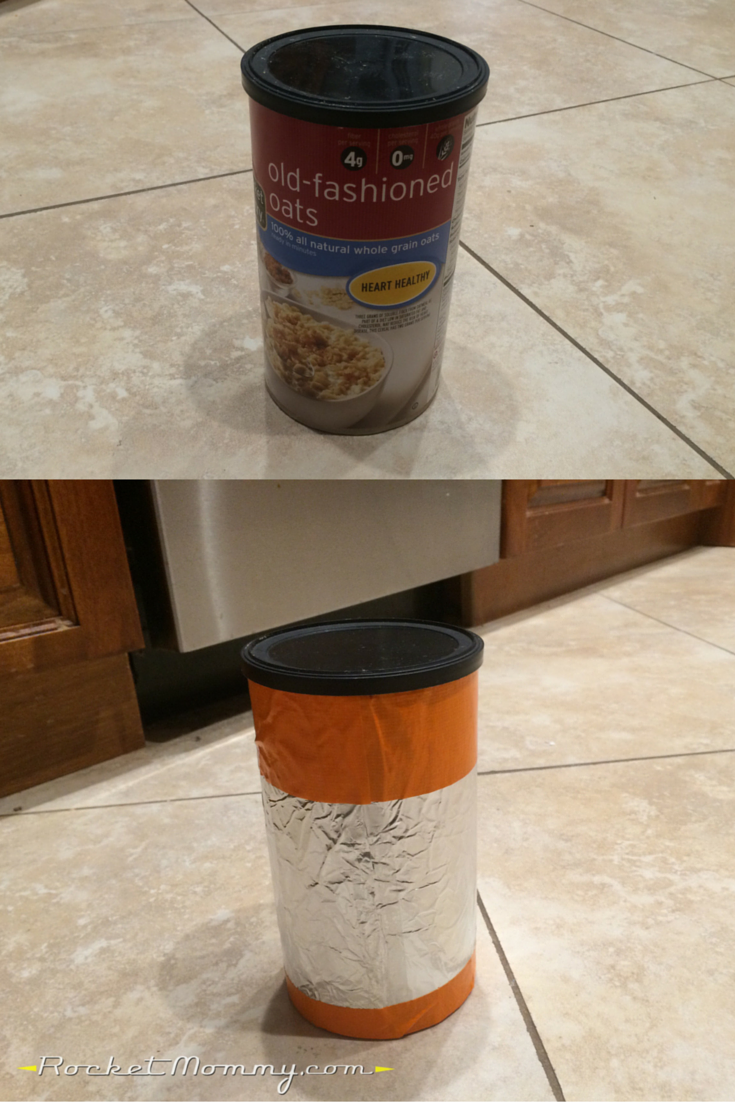
Aluminum foil can be pretty easy to work with as long as you handle it gently. Roll the oatmeal canister in the foil, tape the seam down with some Scotch tape, and add some duct tape to the top and bottom for decoration. Also, you’ll want to cut a slit in the top. I didn’t go that far because there’s still some oatmeal in there, haha.
6. Sacrifice one of your cheap plastic containers and decorate with duct tape
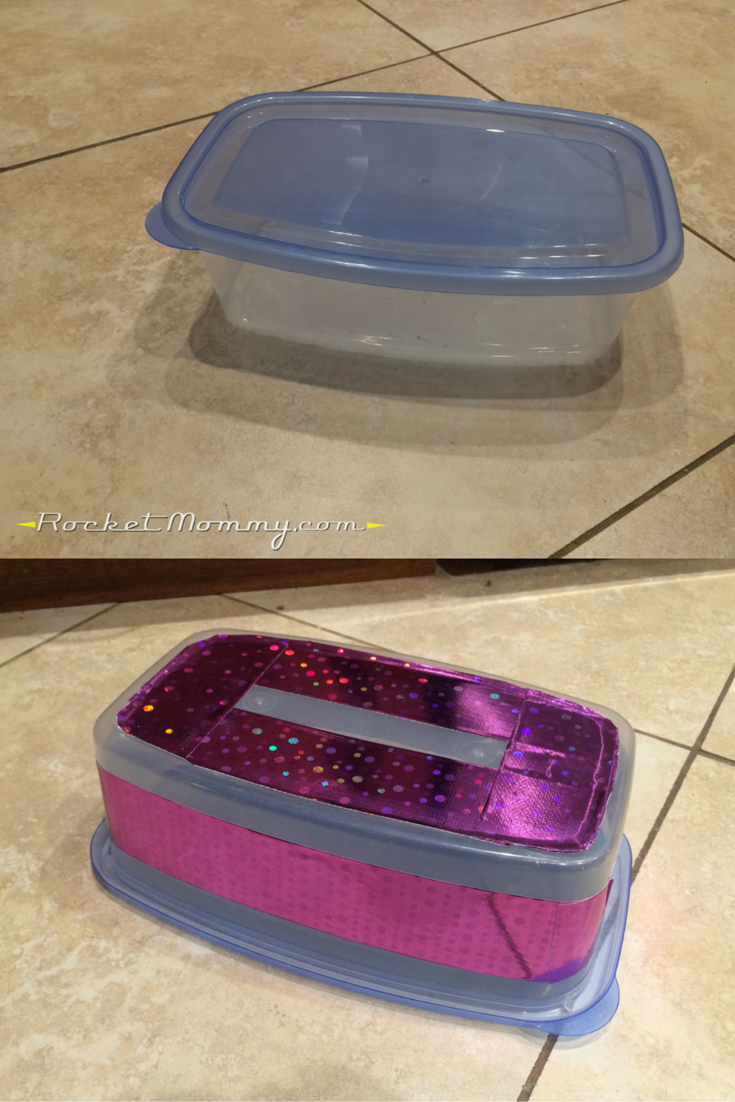
I think we got these at Dollar Tree at one point, and we have a few that we use for leftovers. If you can part with one, wrap a little duct tape around it and cut a hole in the top (or bottom, if you’ve flipped it over like I did here). Bonus: if your kiddo gets any bigger cards or treats, it’s easy to just pop the lid off and stick them in!
7. Cover a cereal box in wrapping paper
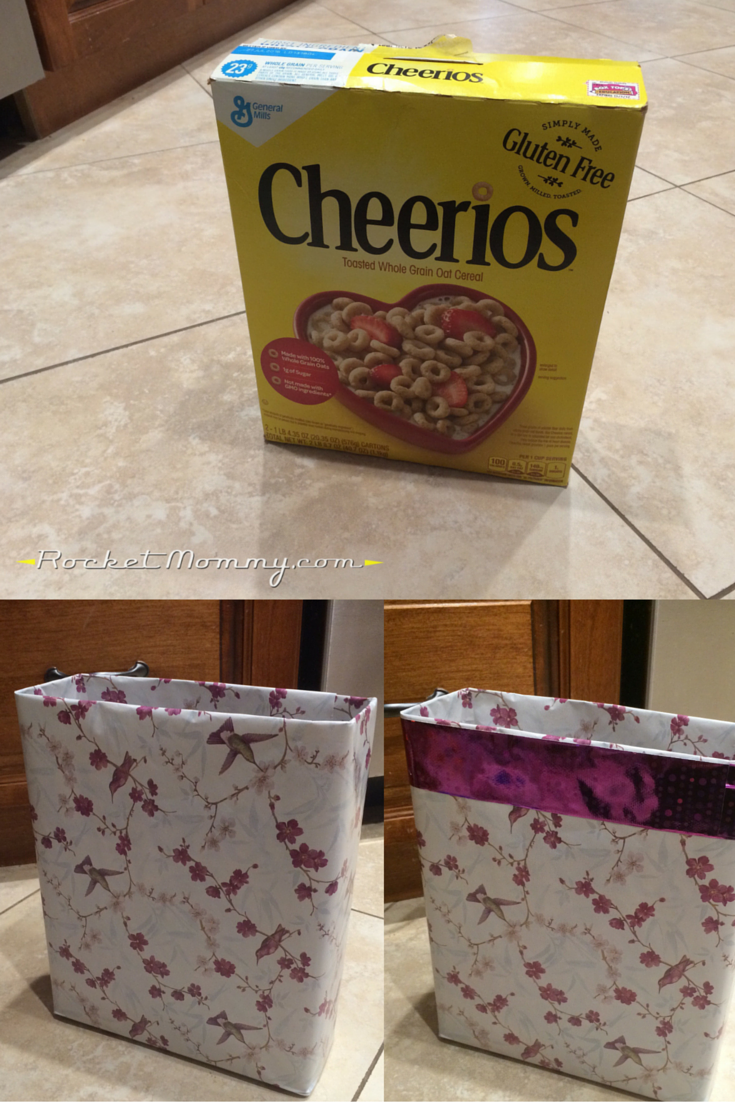
This might be the easiest one of them all. Cut the flaps off of a cereal box and wrap it like you would a present, but tuck the paper down inside the open end instead of taping it over it. I added a strip of tape at the top afterwards for decoration, but it’s not necessary at all.
8. Use the cardboard carrier from a six pack of beer

I cut out the little divider pieces on the inside of this so there would be enough room for the cards. Cover the edges and the handle in duct tape, and add paper panels on the sides for decoration. Yeah, it might not be the classiest mailbox, but it’ll work!
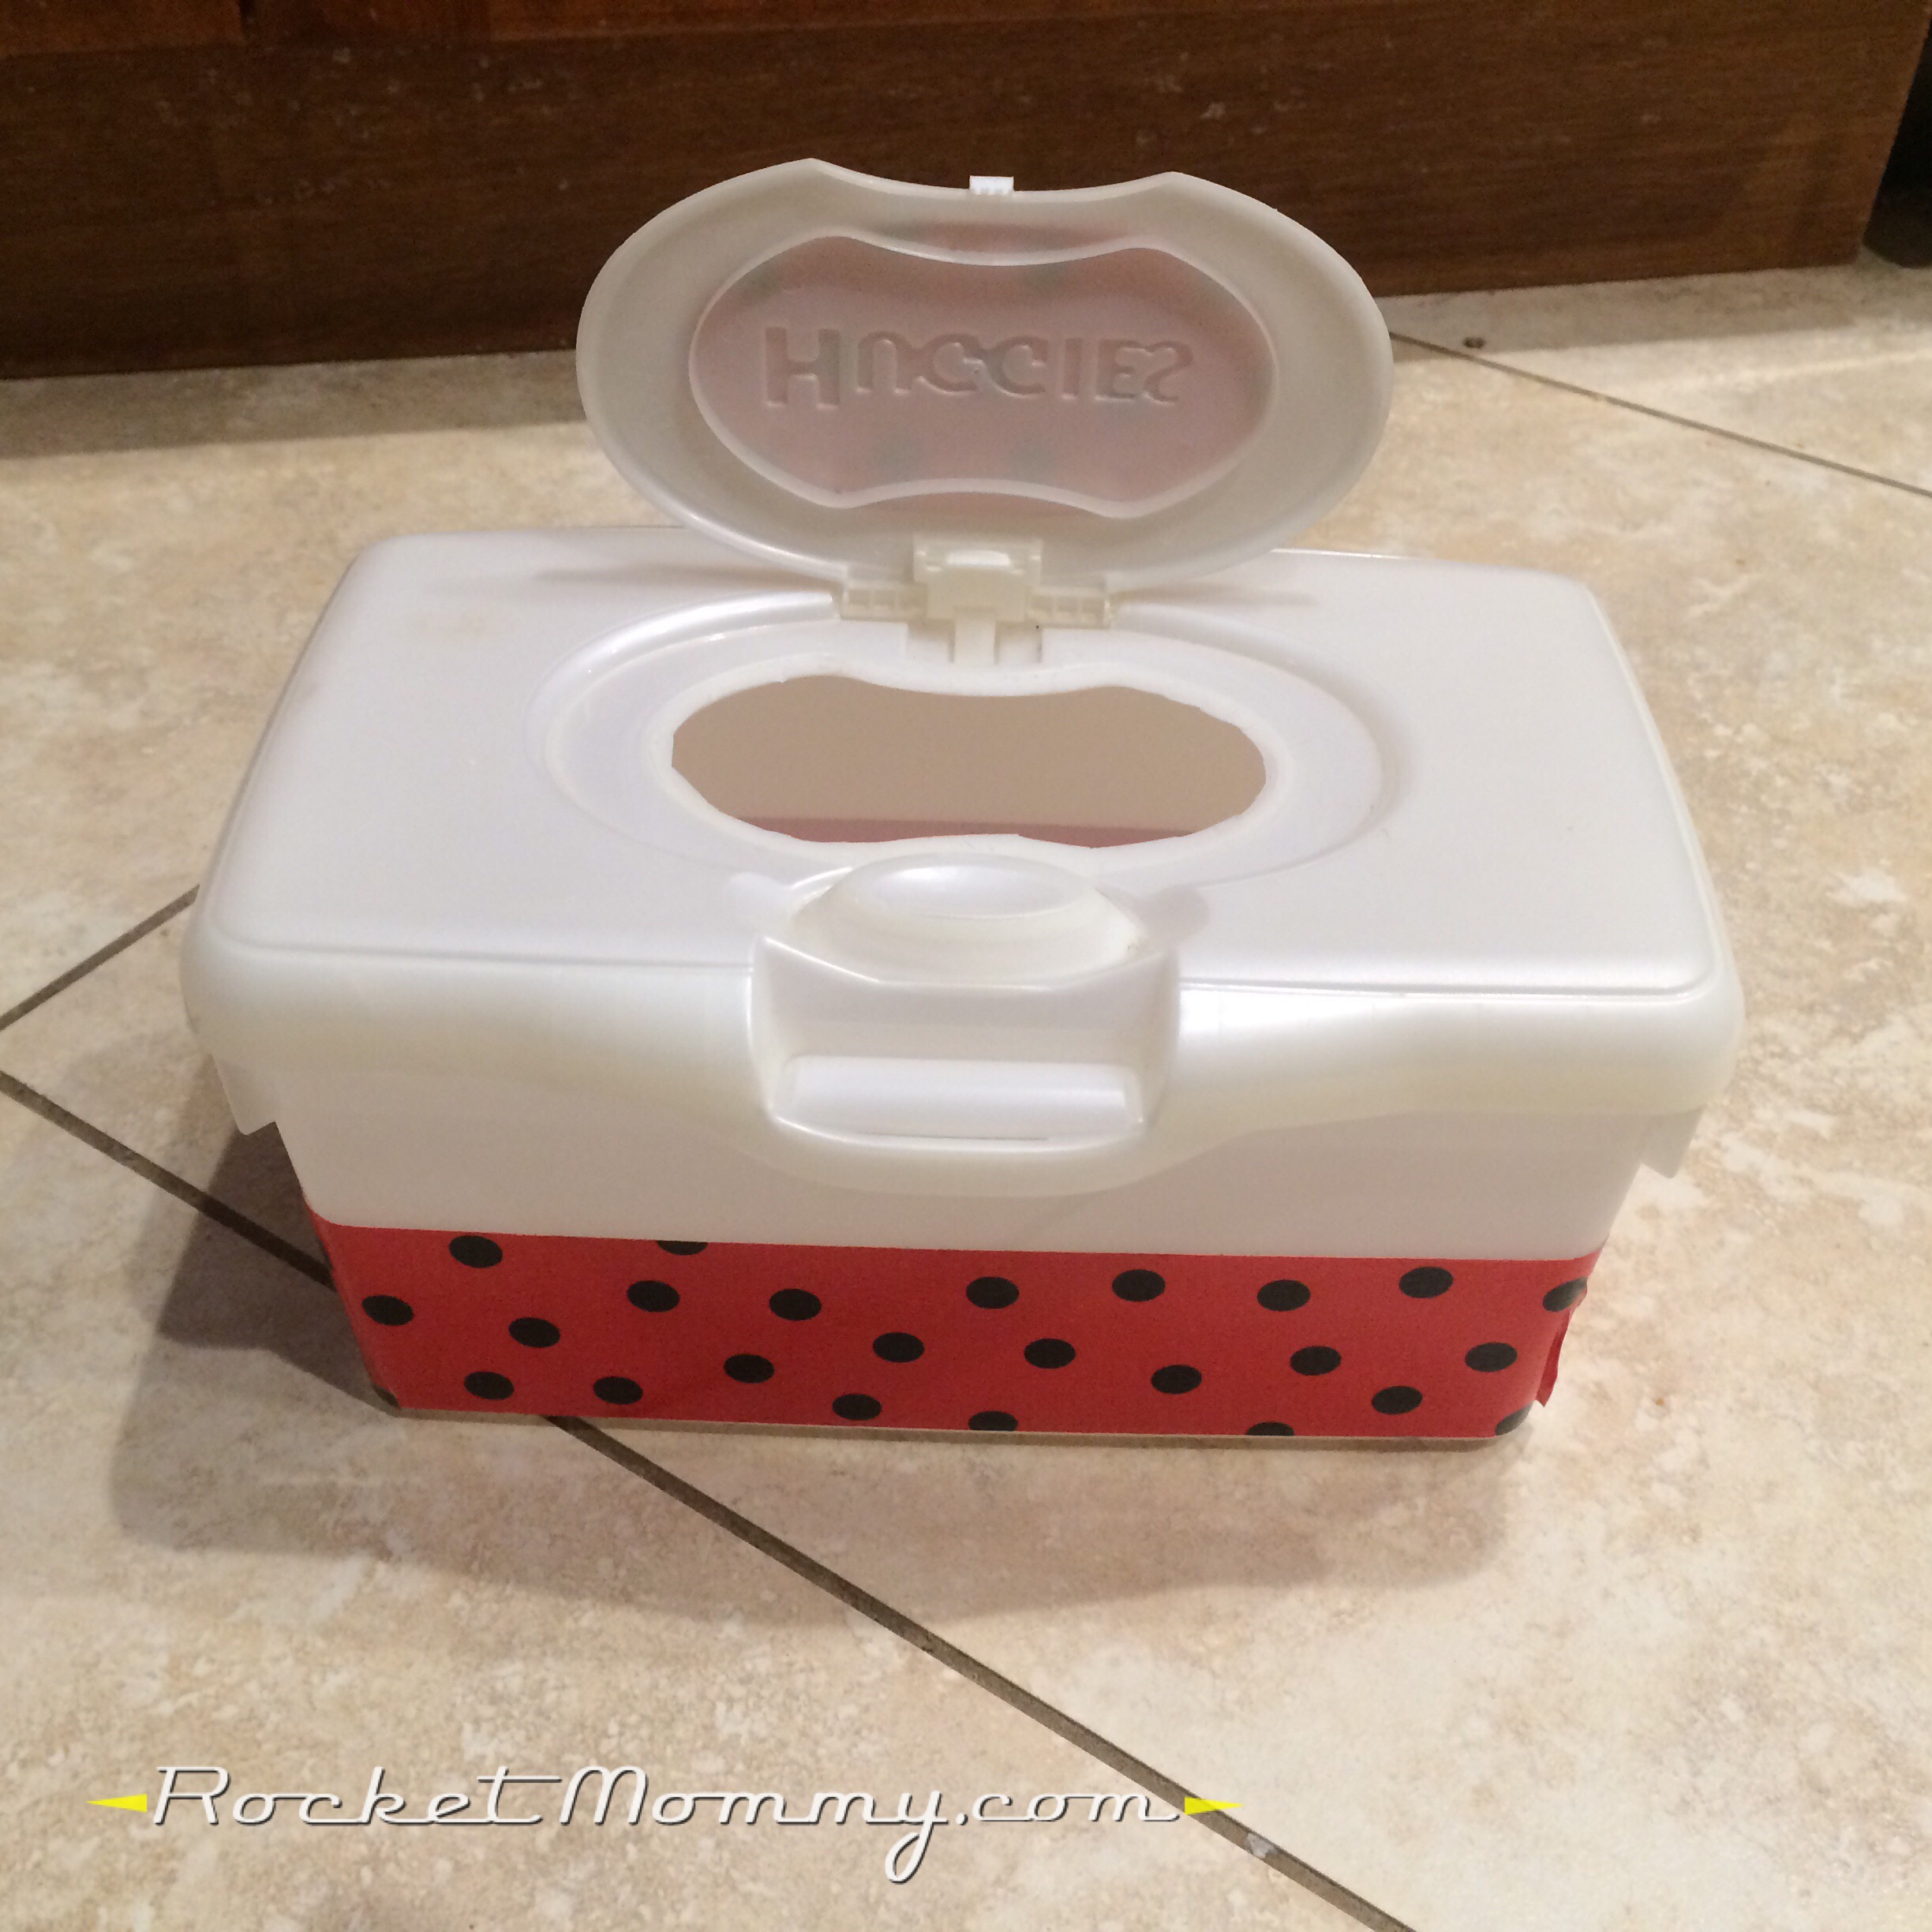
9. Decorate a wipes box
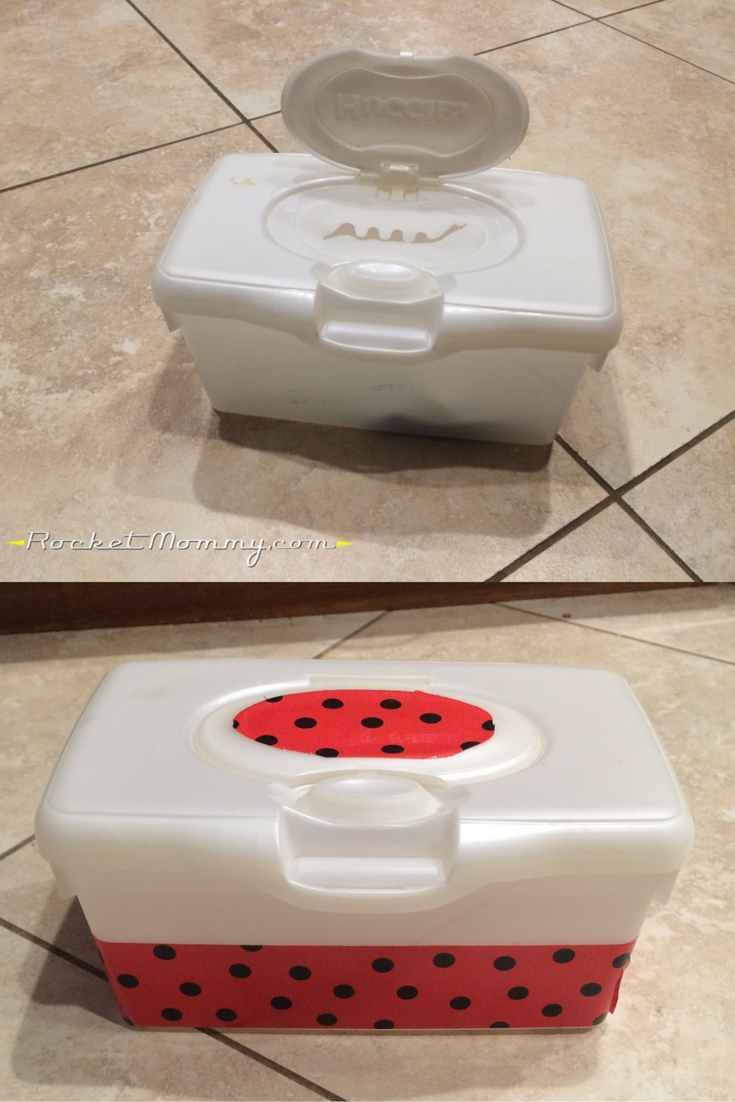
A lot of wipes boxes are already adorable and might not need any decoration at all. This one was plain white, so I added a little tape to snazz it up a bit. If yours has the little rubber gasket thing in the middle of the lid, just cut it so the area under the lid is completely open, like so:
10. Cut a hole in a plastic gallon jug

I actually think this one might be my favorite. Cut a hole at the top of a gallon jug, ideally on the side that’s opposite the handle. Bonus points if you can cut it in a heart shape. If you have enough patience to get the stickers off the sides of your jug with hot soapy water and elbow grease, more power to you. I was sitting on the kitchen floor and didn’t feel like getting up, so I made a heart out of duct tape and plopped it on top of the sticker residue that I couldn’t get off.
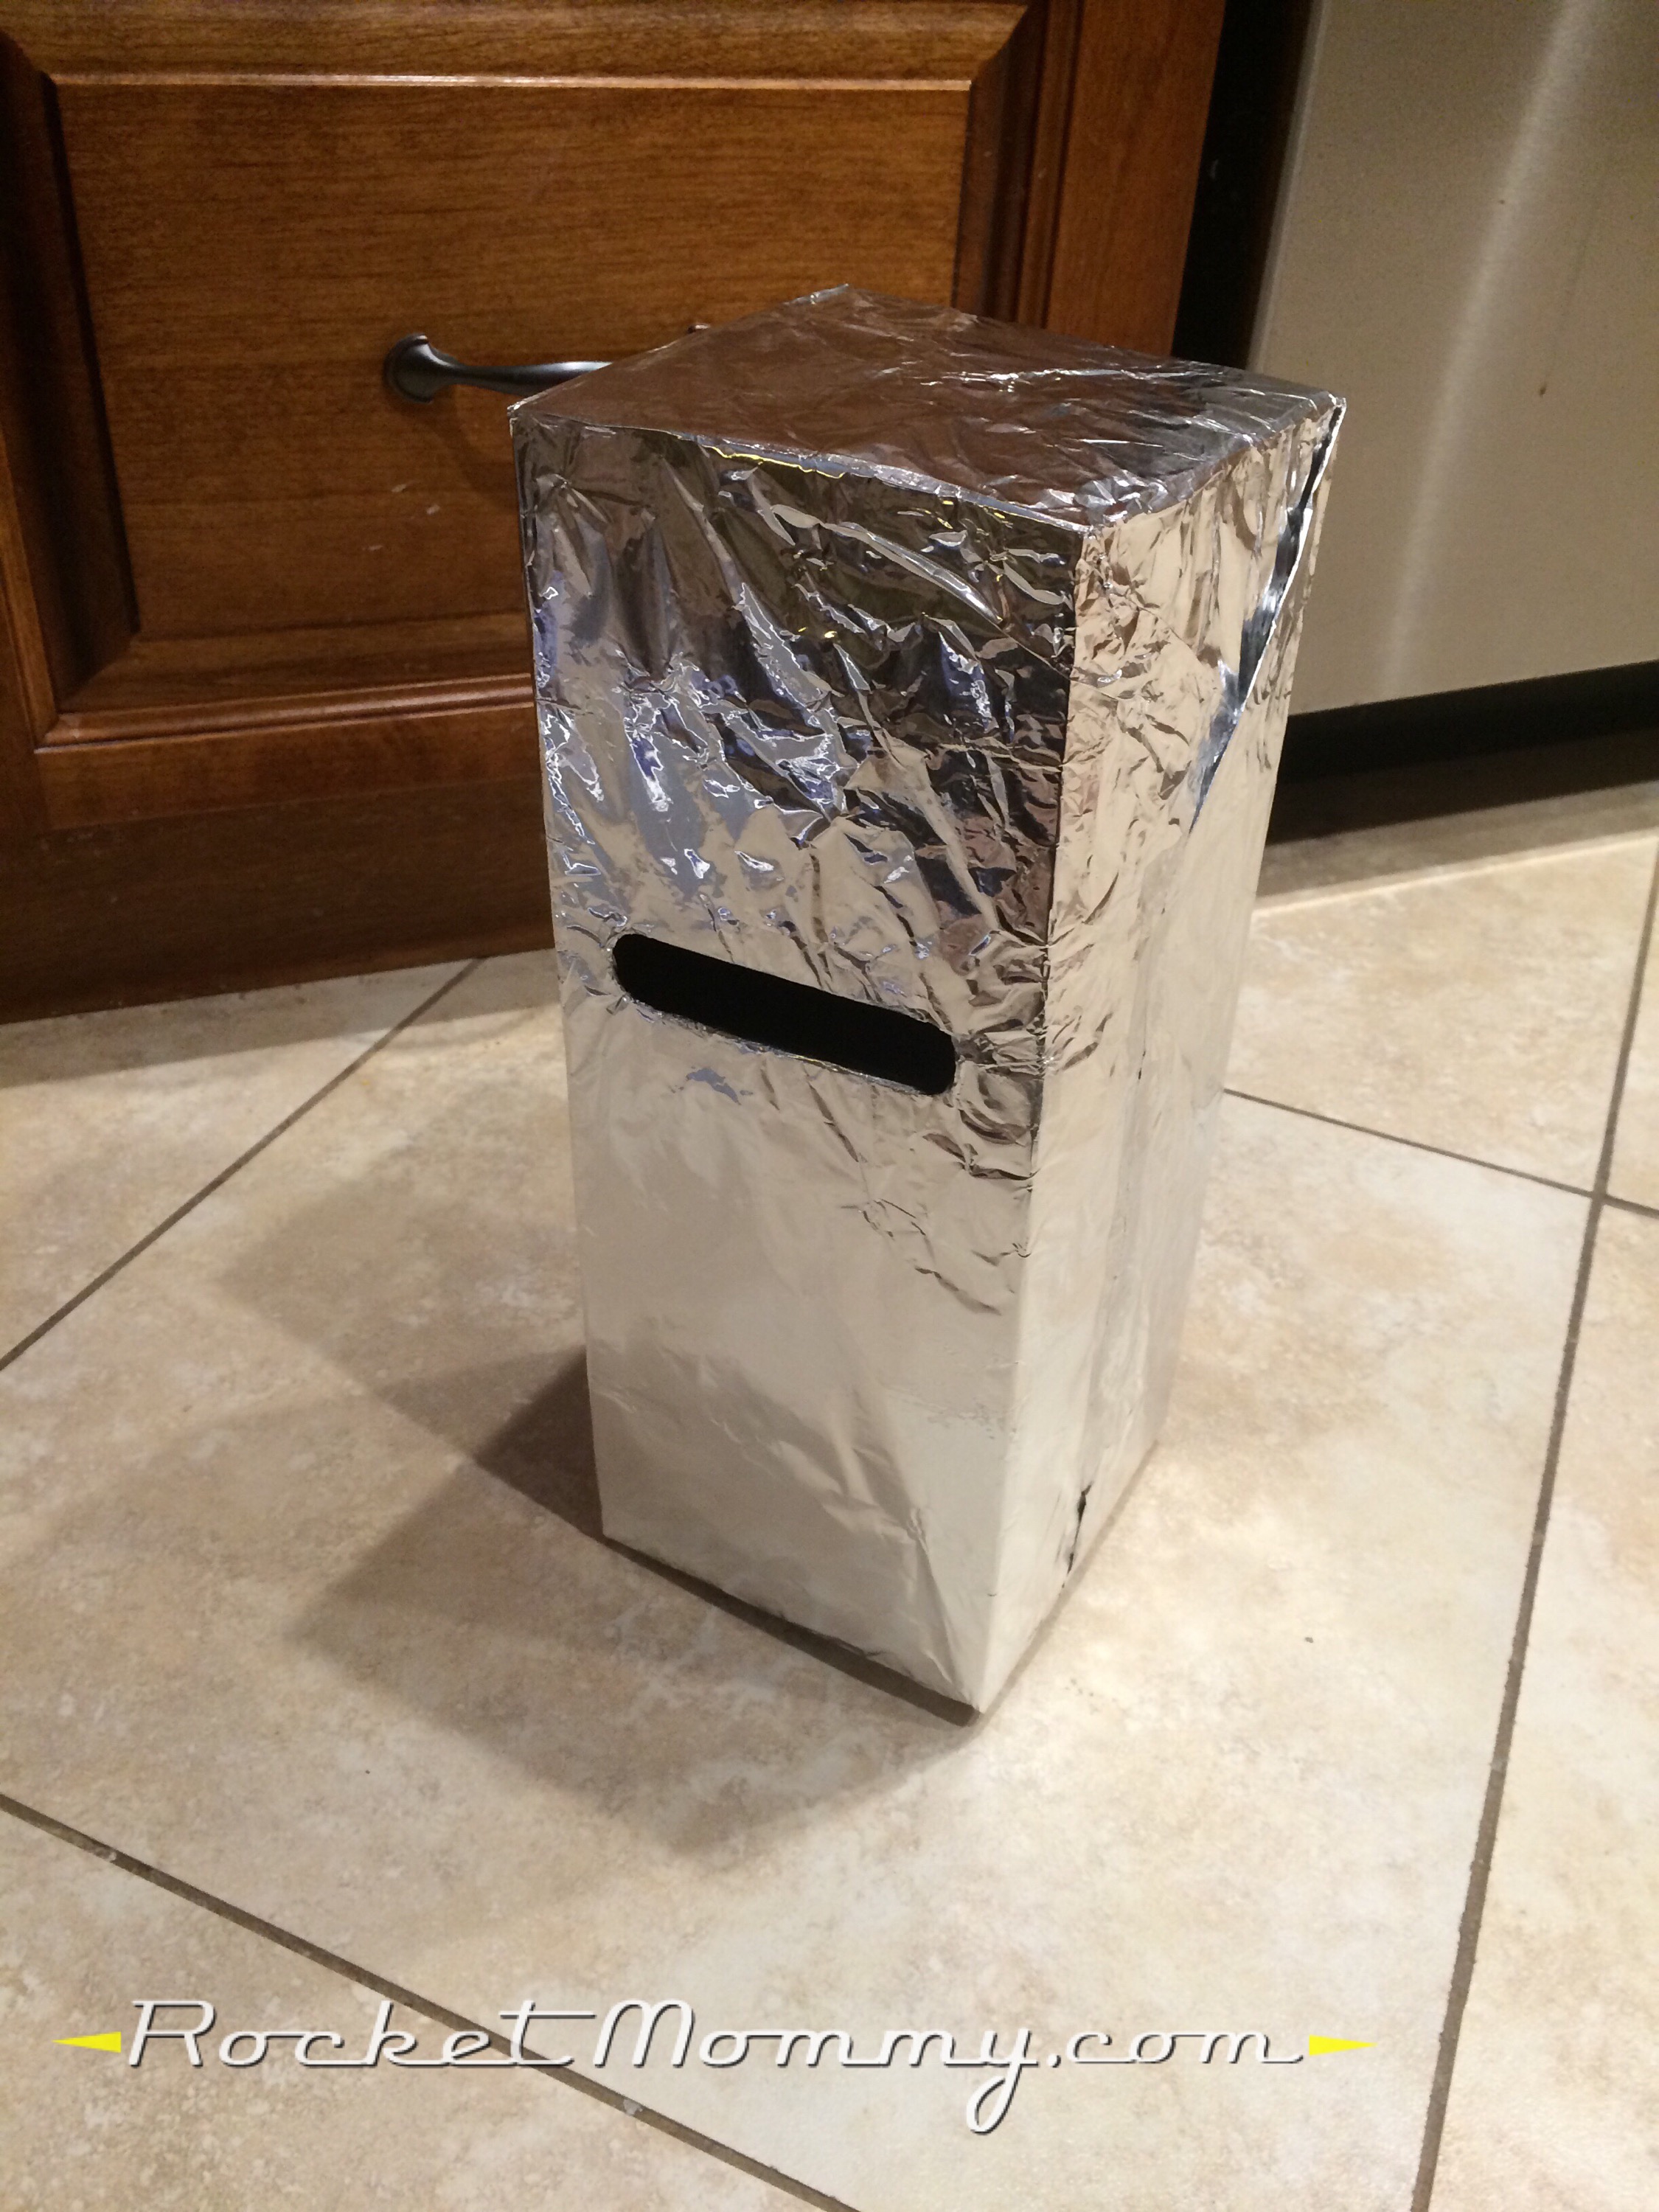
11. Cover a soda box in aluminum foil
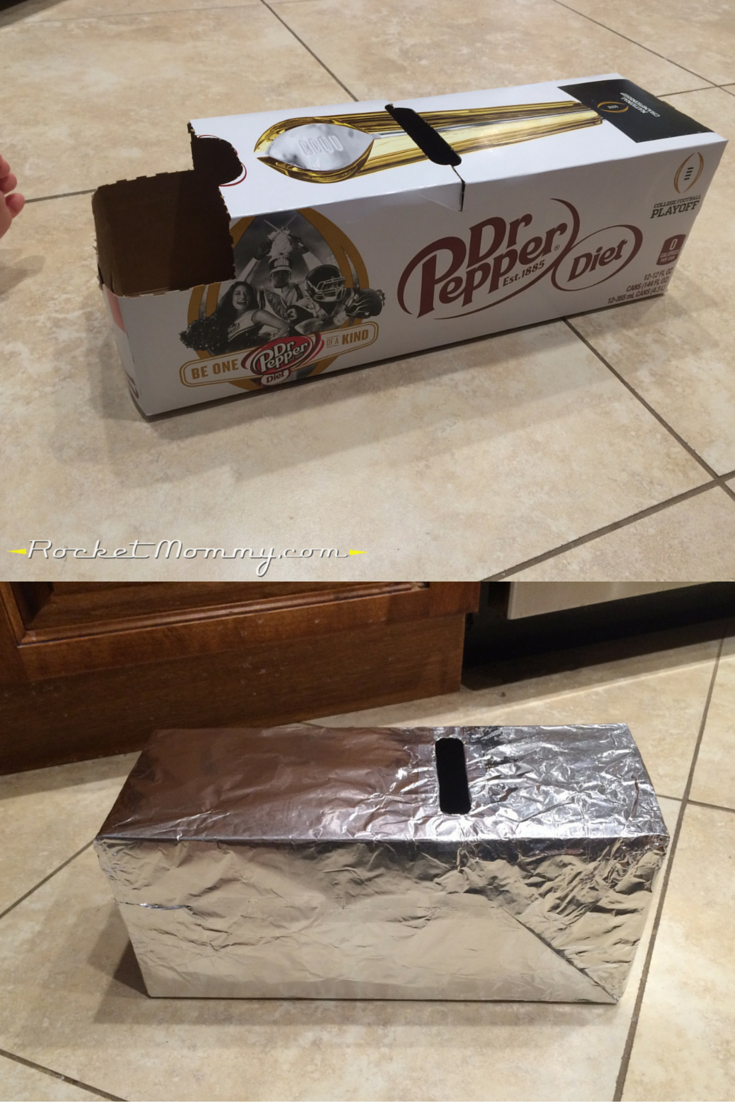
The standard 12-pack box has a nice little handle cutout that would make a good mail slot, but you’ll need to cut the open end a little bit and tape it down so the box is closed. Once you’ve done that, wrap the box in aluminum foil, tape all the seams down, poke a hole in the foil where the handle cutout is, and reinforce those edges with scotch tape. I like that this one can also stand up vertically!
12. Cover a pasta box and cut a little door in it
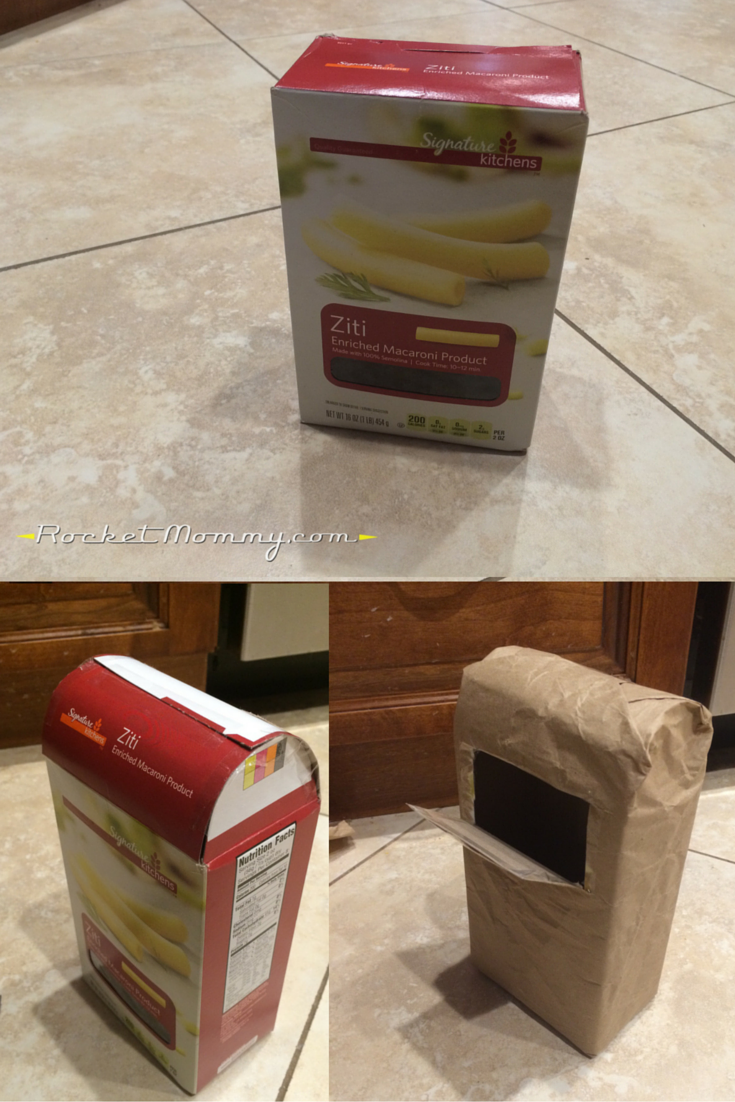
This is probably the most complicated design on here, and you could of course make it simpler by just covering it like the cereal box. I decided to curve the top of the box by cutting the side flaps into semicircular shapes and taping the front and back flaps down along those curves. I wrapped the whole box in brown packing paper, cut out the little door, and taped the paper down along the edges of the door so it wouldn’t tear. I like that it is kind of reminiscent of an actual mailbox, and it would look much cuter after your kiddo decorated it however they wanted.
So there you go, mamas (and papas) – that’s twelve possibilities to help get you started on this project. Raid your pantry, check your recycling bin, and find something that you can use to get this homework done painlessly! Good luck!